construction

Ghostbusters Project: Finalising the Booster

To continue where I left off yesterday, I continued the work on the Booster on my Ghostbusters Proton pack.

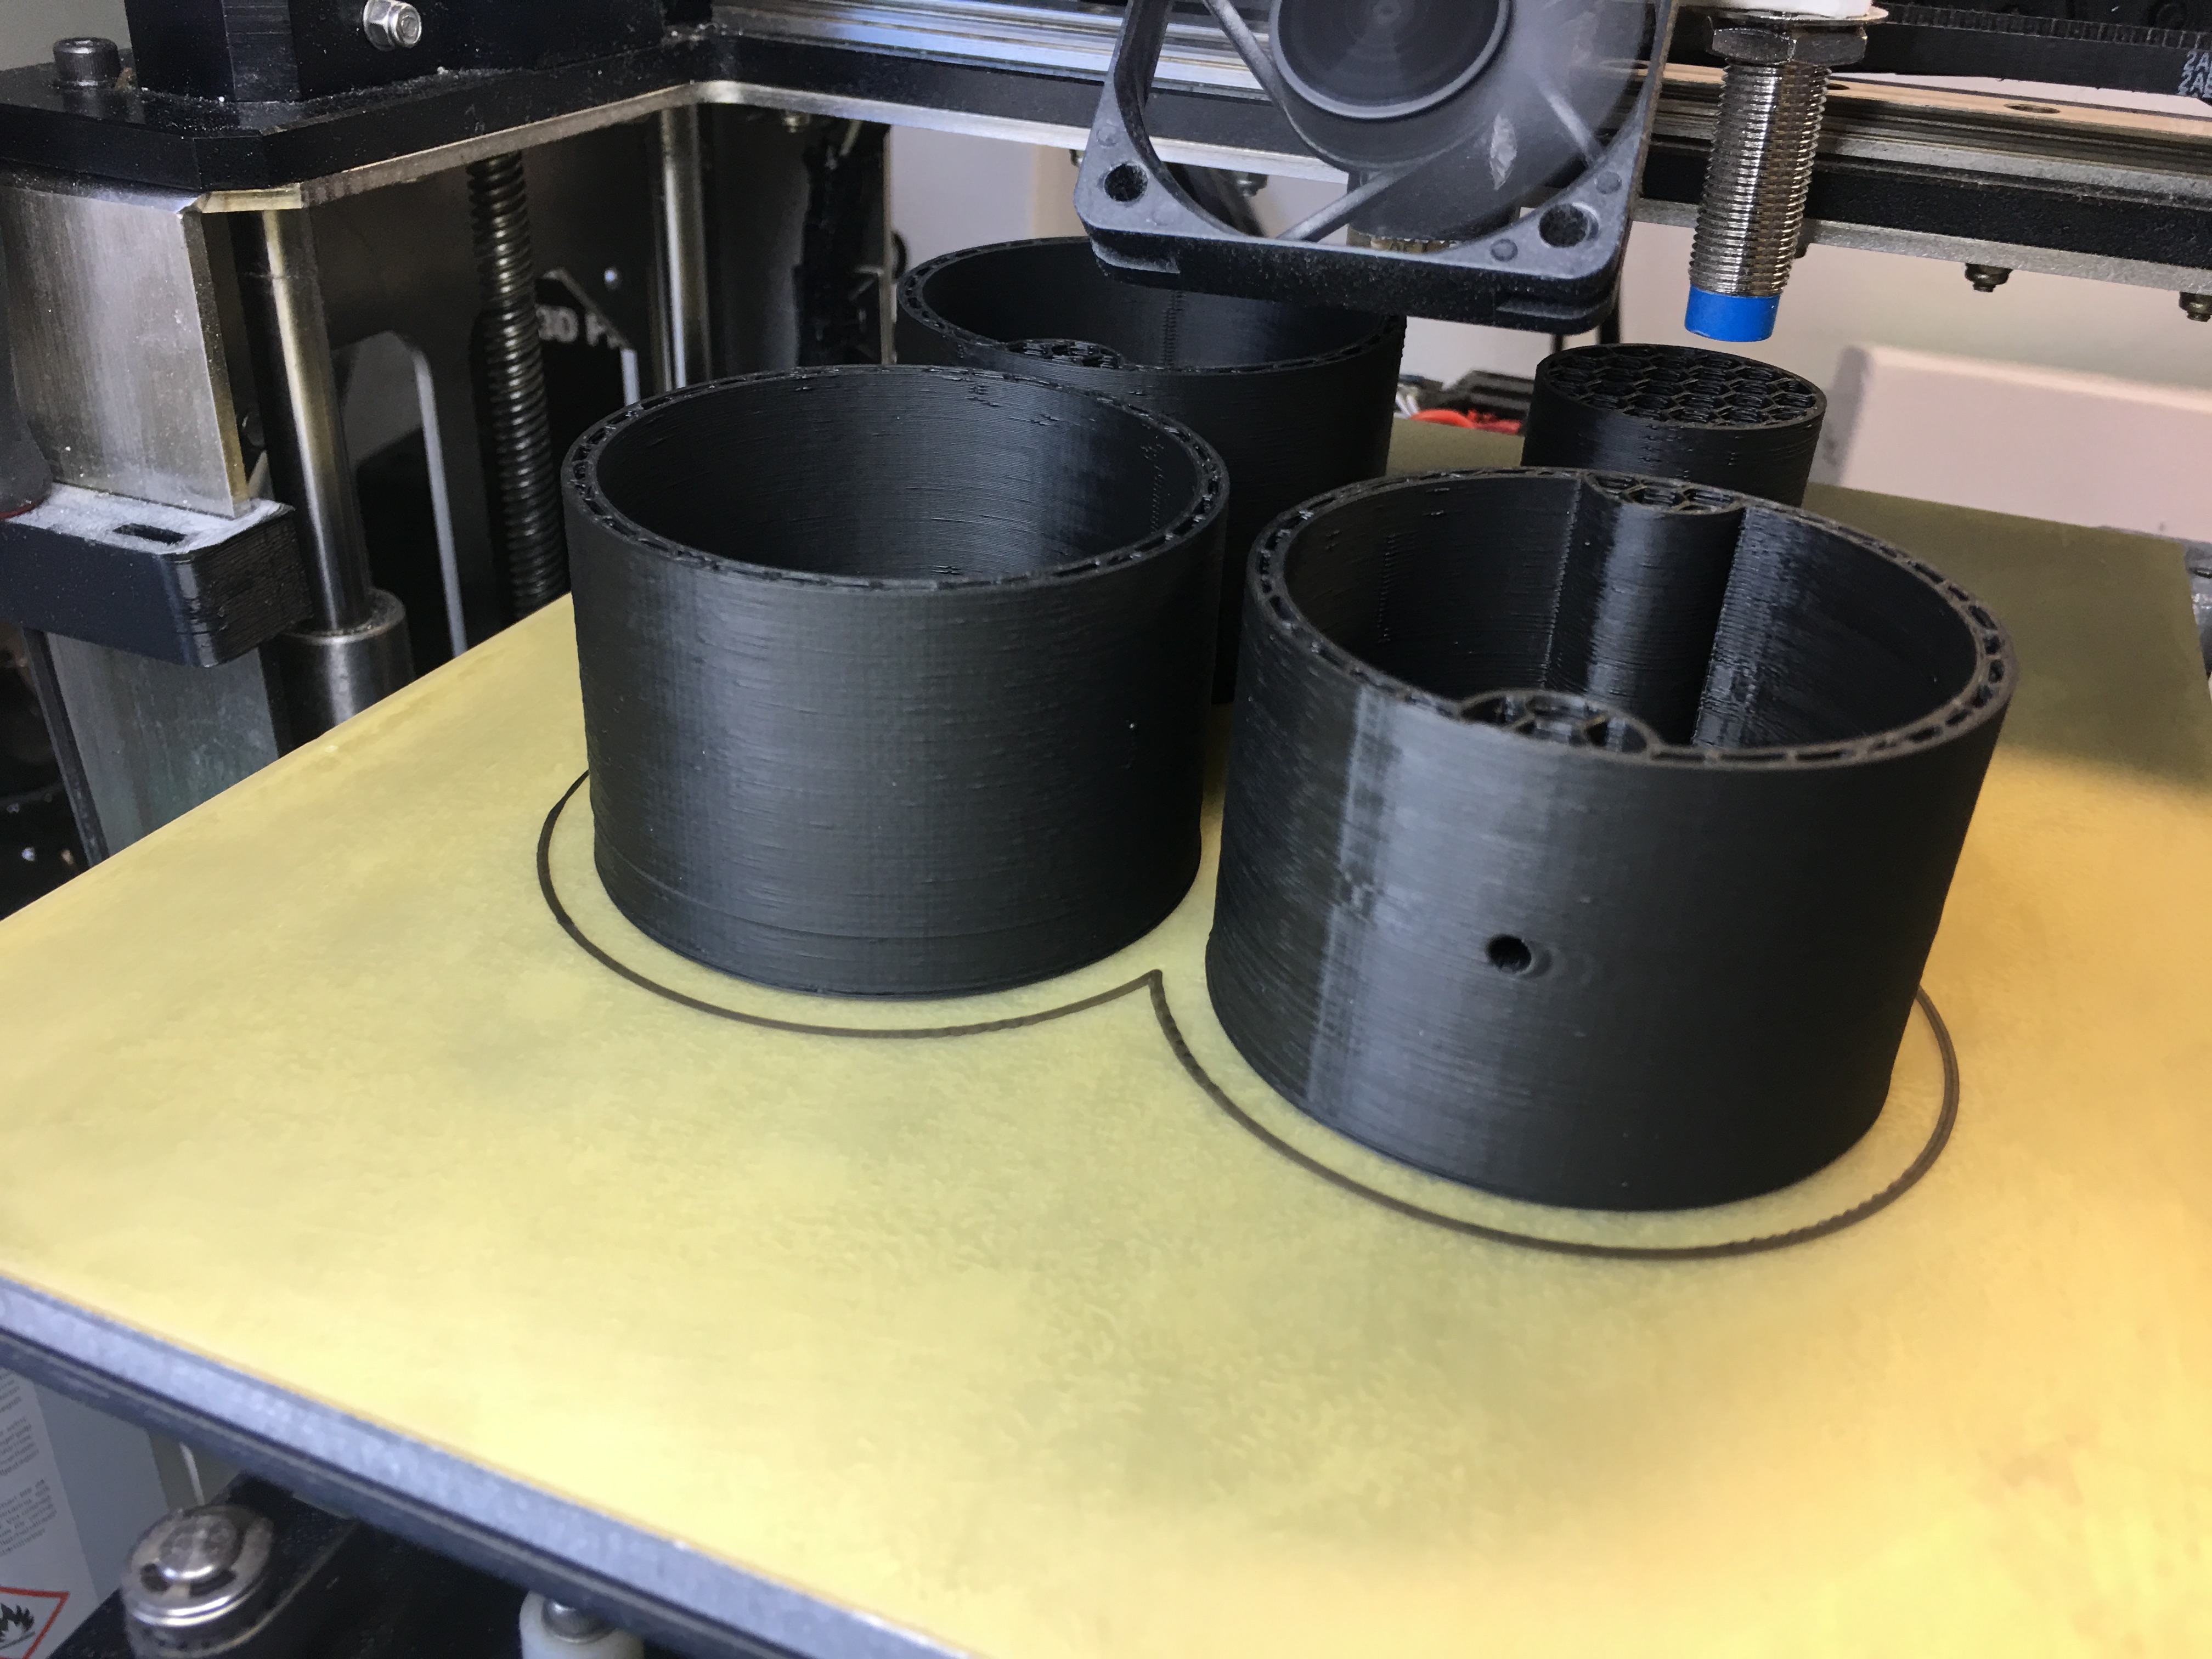
I took the raw 3d print, sanded off the biggest irregularities and then covered it heavily in spray filler. Once cured, it was time to sand it off again…

Two rounds of spray filler and sanding off until it was smooth, then time to start painting. The key to paint with spray colours is to build it up in thin layers and let them dry in between.

Once the paint was dry enough (it also dries a LOT faster when you apply it in small layers), it was time to clear coat the booster.

Once dry, it was time to mount on the proton pack. The mounting was done fairly easily and quickly. In reality, I should do a weld line around the booster, but as I am planning to replace this (possibly) with an aluminium tube at some point, I have opted to not do this just yet. We’ll see. If so I have the weld line to build up with epoxy resin, and also to do the “ugly weld” between the booster and the Ion arm.

So far, so good.

One of my pet peeves when it comes to 3d printing is that many people unfortunately do not put in the effort of making their prints smooth. Some people wishes to keep the 3d print lines as a statement, which is fine, but many prop makers don’t use the tool to its full potential: which in my world means to use the 3d printer to save time when building the core item, and the time saved in construction can be put into finishing instead. If used like this, and you use smart methods when doing the finish, you will save time overall and still have a prop that looks great!

Last piece to do on the outside of the pack: paint the motherboard, do the ugly weld and (possibly) the weld around the booster tube, then time for the dressing of the pack, adding labels, routing all the little cables and stuff that makes it look great.

There is still a LOT to be done on the inside of the pack, not to mention the thrower that I’ve barely started with. My plan for the thrower is to 3d print mounting panels to be placed on the inside of the thrower to hold the electronics in place.

By |2017-06-09T16:12:23+02:00June 9th, 2017|Building, Ghostbusters, Ghostbusters Proton Pack|Comments Off on Ghostbusters Project: Finalising the Booster

Ghostbusters Project: Building a Booster

One of the few items I have left on my pack is the booster tube.
I sourced a few nearby stores for fitting tubes in PVC, but found none that were even near the proper diameter, so I decided to make my own. Let’s get that 3D printer to work!

Now, the print went over night and when I started it last night, I was tired and used the wrong settings, so it is all spotty and blobby, but the new one above is straight off the printer with no sanding using the correct settings!.

Here are all the parts:

The booster plug just fits inside the outermost part of the booster tube, and is fastened from the inside with an m3 bolt.

All parts of the tube are designed to be screwed together to help when gluing them. I use these brass inserts that I just head press into the plastic and i just love them!

They are simply pressed into the plastic with my soldering iron, so they are melted in place.

All three parts fit together, and all holes are already made into the design.

Apart from the annoying spots, this looks pretty ok!

Here is the new booster tube, printing as I write this, and will keep on printing for another 10 hours or so. It looks much better when printed with the correct settings!

Finally a few shots of the pack with all now painted and fastened parts, apart from the booster tube and frame, which are the last parts to be mounted on the pack.

By |2017-06-08T23:23:56+02:00June 8th, 2017|Building, Ghostbusters, Ghostbusters Proton Pack|Comments Off on Ghostbusters Project: Building a Booster

Ghostbusters Project: Mounting the pack

Since I received my motherboard, I could start working on attaching the motherboard to the frame, and the shell to the motherboard.

One of the first things I simply had to try, was to fit the speakers on to my laser cut grille, and they matched up perfectly!

Next up was drilling the holes into the Alice Frame, which was a lot harder than I thought, but it worked out fine.

Once the motherboard was attached, I started attaching the L-brackets that holds the shell to the motherboard.

I used very strong magnets to hold them in place while I gently pushed then around with the shell to get where I wanted them, then drilled through and riveted from the back, as per the original packs. When they had been placed, I taped them while I carefully marked the positions for them with a sharpie.

Note that I let the L-bracket underneath the mount point for the thrower lie down, in order to make proper space inside for the metal reinforcements I will put inside.

Of course, not all of them were a perfect match, as I don’t have a proper work bench or drill press. One of them moved around a bit, but with a little filing, it fit just fine.

With the pack clamped down on top of the brackets, I drilled through the shell (going backwards first) with a 3mm drill, then continued in into the L bracket to get the hole at the precise correct place.

Once the guiding hole was done, I drilled upp to 5mm on the brackets..

.. before I hand tapped them to 1/8″.

Tapping is hard work, and with aluminium, it is important to lubricate (I used isopropanol) and go forward a turn, then back half a turn, lubricate, and repeat.

Just look at these lovely blue Pyle speakers. They will make my pack loud!

Once all holes were tapped, I screwed the motherboard in to place..

And had my (bored) fiancée take the obligatory first pictures of me wearing my work in progress:

Let me know what you think. I think it fits well, and looks like it has a good height on me.

One thing that bothers me though, is I think my shell is a bit wonky, turns out that there is a gap…

With a little mild pressure, it closes nicely, however. I’m not sure how to solve this. I think there might be a place on my shell that needs a bit of filing, but I might also make some bracket that this can hook in to from the inside. We’ll see.

I am not too worried, though.

Finally, as a closer, I also received these:

By |2017-05-24T22:41:28+02:00May 24th, 2017|Building, Ghostbusters, Ghostbusters Proton Pack|Comments Off on Ghostbusters Project: Mounting the pack
Go to Top