My Makergear M2 3D printer upgraded!
One of the best tools I’ve purchased in the last few years has hands down been my 3D printer.
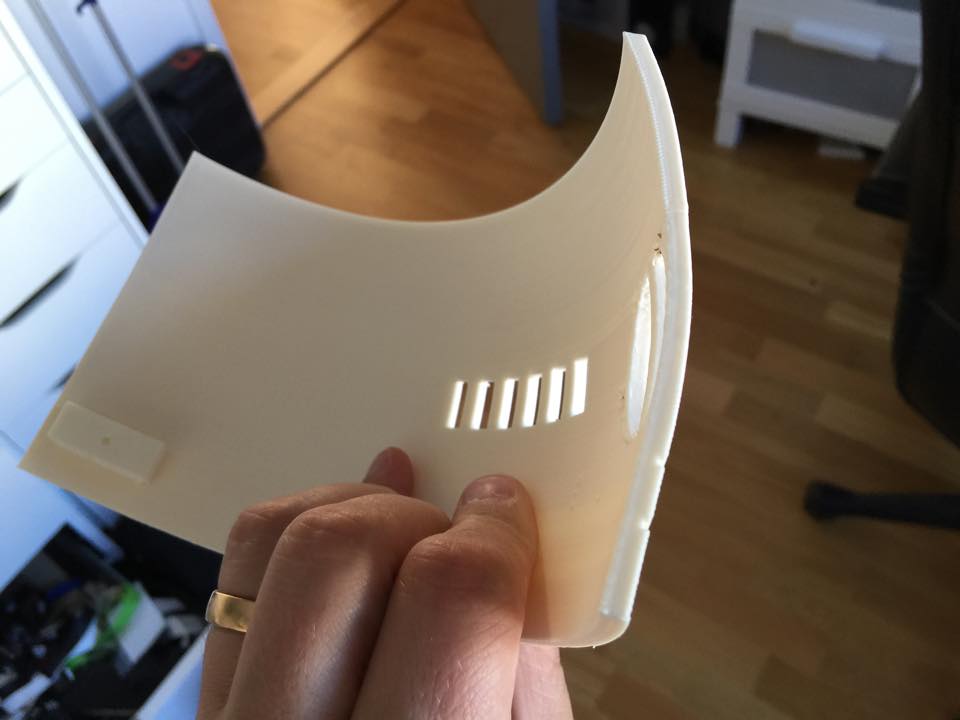
It is a Makergear M2 and I really must say it is a great piece of machinery!

The Makergear M2
Back in the day when I did my research for a 3D printer, I mainly looked at two things: Build volume and quality. Well, I also wanted something that looked sturdy and not an assortment of threaded rods held together with a few 3d parts. I got it all.
The M2 has an 8 x 10 x 8 build area, which is large enough for me to do most of the parts I would need. At the time I also saw it listed as being able to print down to 20 microns (0.02 mm thick layers). That sounded good. In reality I had no idea what it really meant. I chose this over other printers with similar build volume due to them not supporting under 100 microns (0.1 mm thick layers).
After having it for 2.5 years, I still rarely print anything with higher resolution than 0.15 mm per layer, so what on earth did I need all that extra quality for? =)
It did, however, get me a great machine. Steel frame and built like a tank. No need to constantly recalibrate.
In fact, I can pick it up, carry it to my car, put it in the front seat, drive to a new location and simply plug it in and print immediately without recalibrating the machine.
I have, however, done a few upgrades that really has increased quality and made it a bliss printing on it:
- The VIKI LCD Display! To have its own display and no need for a computer stationed next to it really helped a lot!
- Putting up a Raspberry Pi with Octoprint installed! Full control (and time lapses) of my prints!
- I upgraded to the new v4 extruder, which really works great. In addition that also meant I needed to upgrade the power supply to a 24V power supply, and this has caused the heat plate to warm up MUCH faster! 😀
- I invested in BuildTak, which is a printing surface. It is a bit pricy, and you really have to tweak around to find the sweet spot where it sticks enough to not warp, but not hard enough so you can get the model off. A Japanese putty knife really helps with removing the prints. Before I found this, I used razor blades from my break blade knife. It got the model off alright, but it also damaged the build surface, so I went through a few rather quickly until I found the preferred way of working with it!
- Thew new upgrade of Simplify3D! The software I’ve been using to slice the models for printing on and off just got a LOT better! Now, this one kicks them all out of the pond, and makes the prints look better a lot quicker!
- Replaced the fans for quiet ones! I changed out the 40mm 12V fans for Noctua fans. Extremely quiet! 😀
- Nema dampers! As most 3D printers, this printer runs on Nema 17 stepper motors. My fiancée has complained that she hears them when I run a print over night, and it has had a characteristic whining noise, but adding these dampers has made ALL the difference!

Now, I can run the prints over night and you can’t hear it even though it is in the next room!
So, at this moment, the only thing that I can really still hear that bothers me, is the PSU fan, but I am exchanging that this week as well as I’ve ordered a Noctua fan for the PSU as well.
Forthcoming updates will be:
- Changing out my laser cut electronics enclosure for a metal one. My plastic laser cut one has had a tab or two break on it, and is at this moment held together by duct tape. A metal enclosure would also help in acting as an active heat sink!
- Also changing out the PSU enclosure for a metal one. Also to act as a heat sink.
- VIKI 2.0 LCD display – updating the VIKI LCD Display for a newer version. I actually already got this, but no time to do the work.
- Auto Calibration! I have purchased a inductance sensor that I will add on to the machine that will automatically deal with the levelling of the print bed. It won’t actually level it, but it will sense how it is tilted, and compensate automatically.
- (STILL WANT): A MIC-6 6mm thick machined aluminium tooling bed! This will make the print surface totally straight and not have any small discrepancies due to thinner print beds.
So what is all this to do with my building?
Well.. I do build things… I help friends with making parts… and there is one thing .. which I am absolutely not building, but more on that in a later post!