finish

Still #NOTBUILDINGBB8 ..

.. but if I was, there might be a few things I could have done..

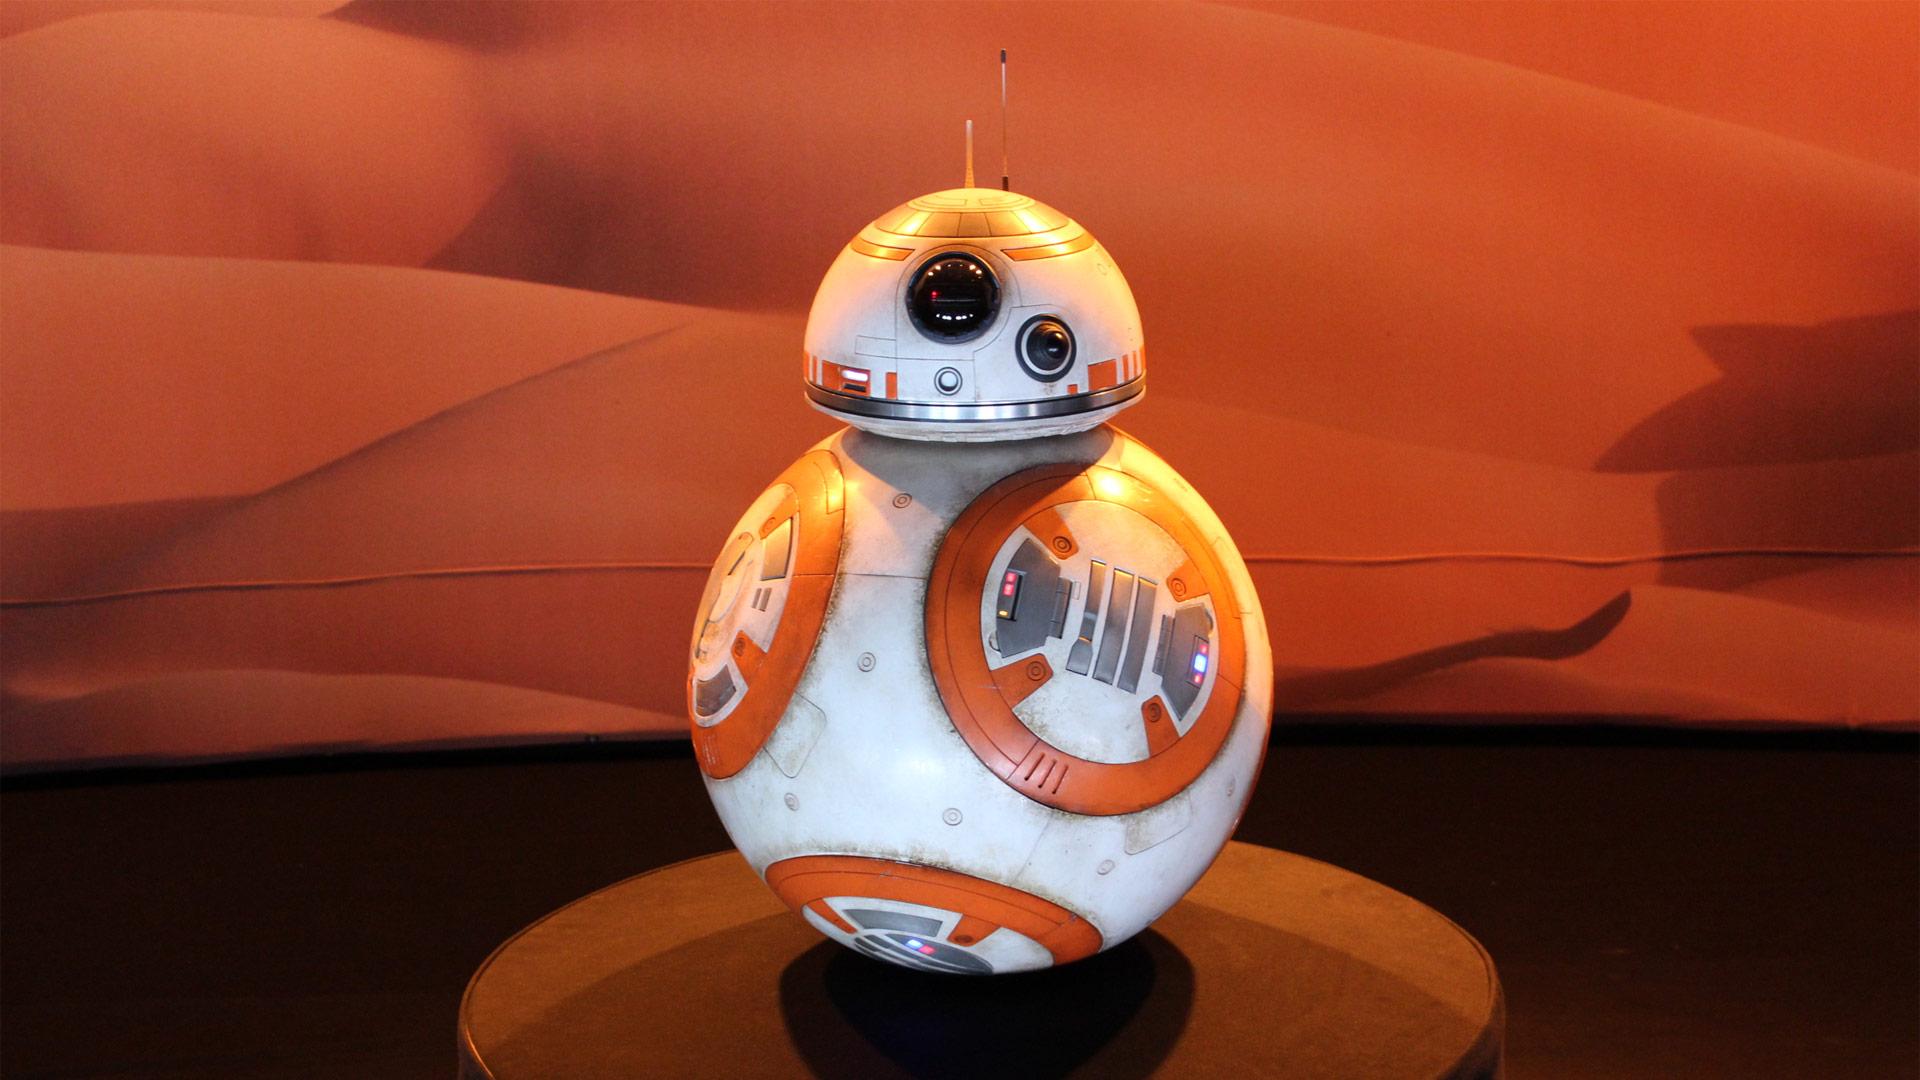
First off, I would probably have added a few pictures with everything roughly put together, just to get something cool to look at:

IMG_7757 IMG_7756 IMG_7755

How, there would still be a lot of work to do:

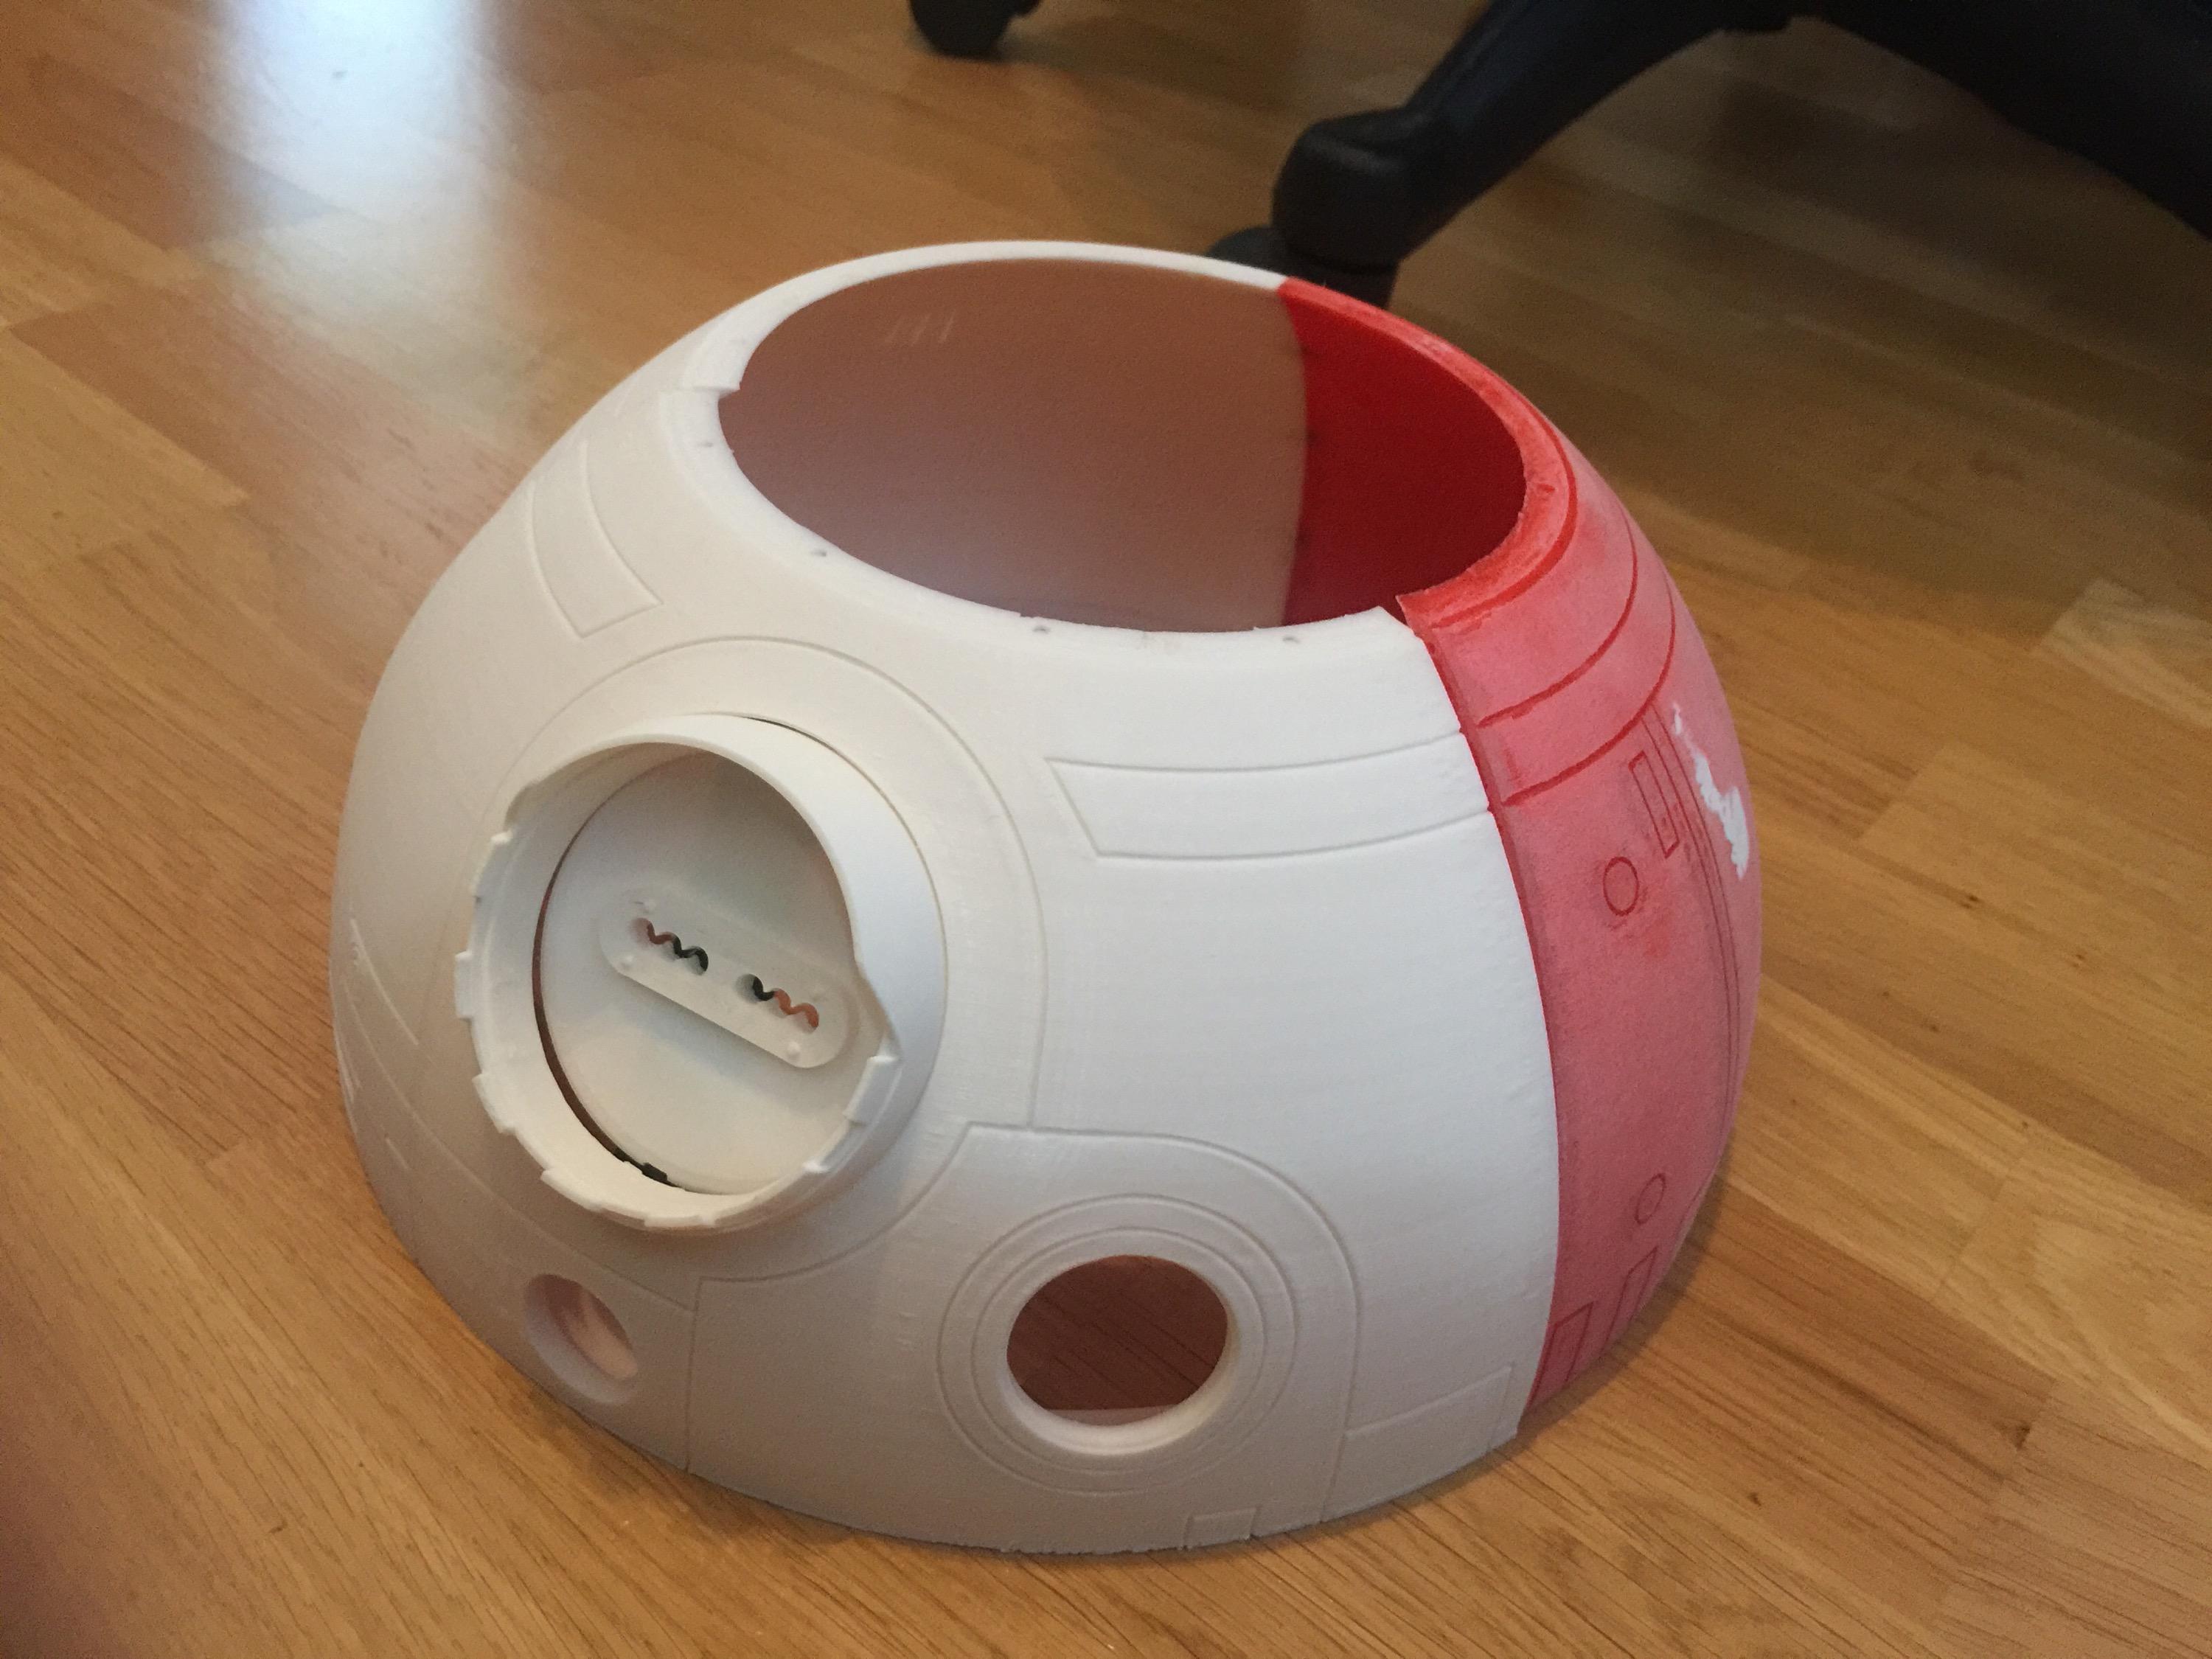
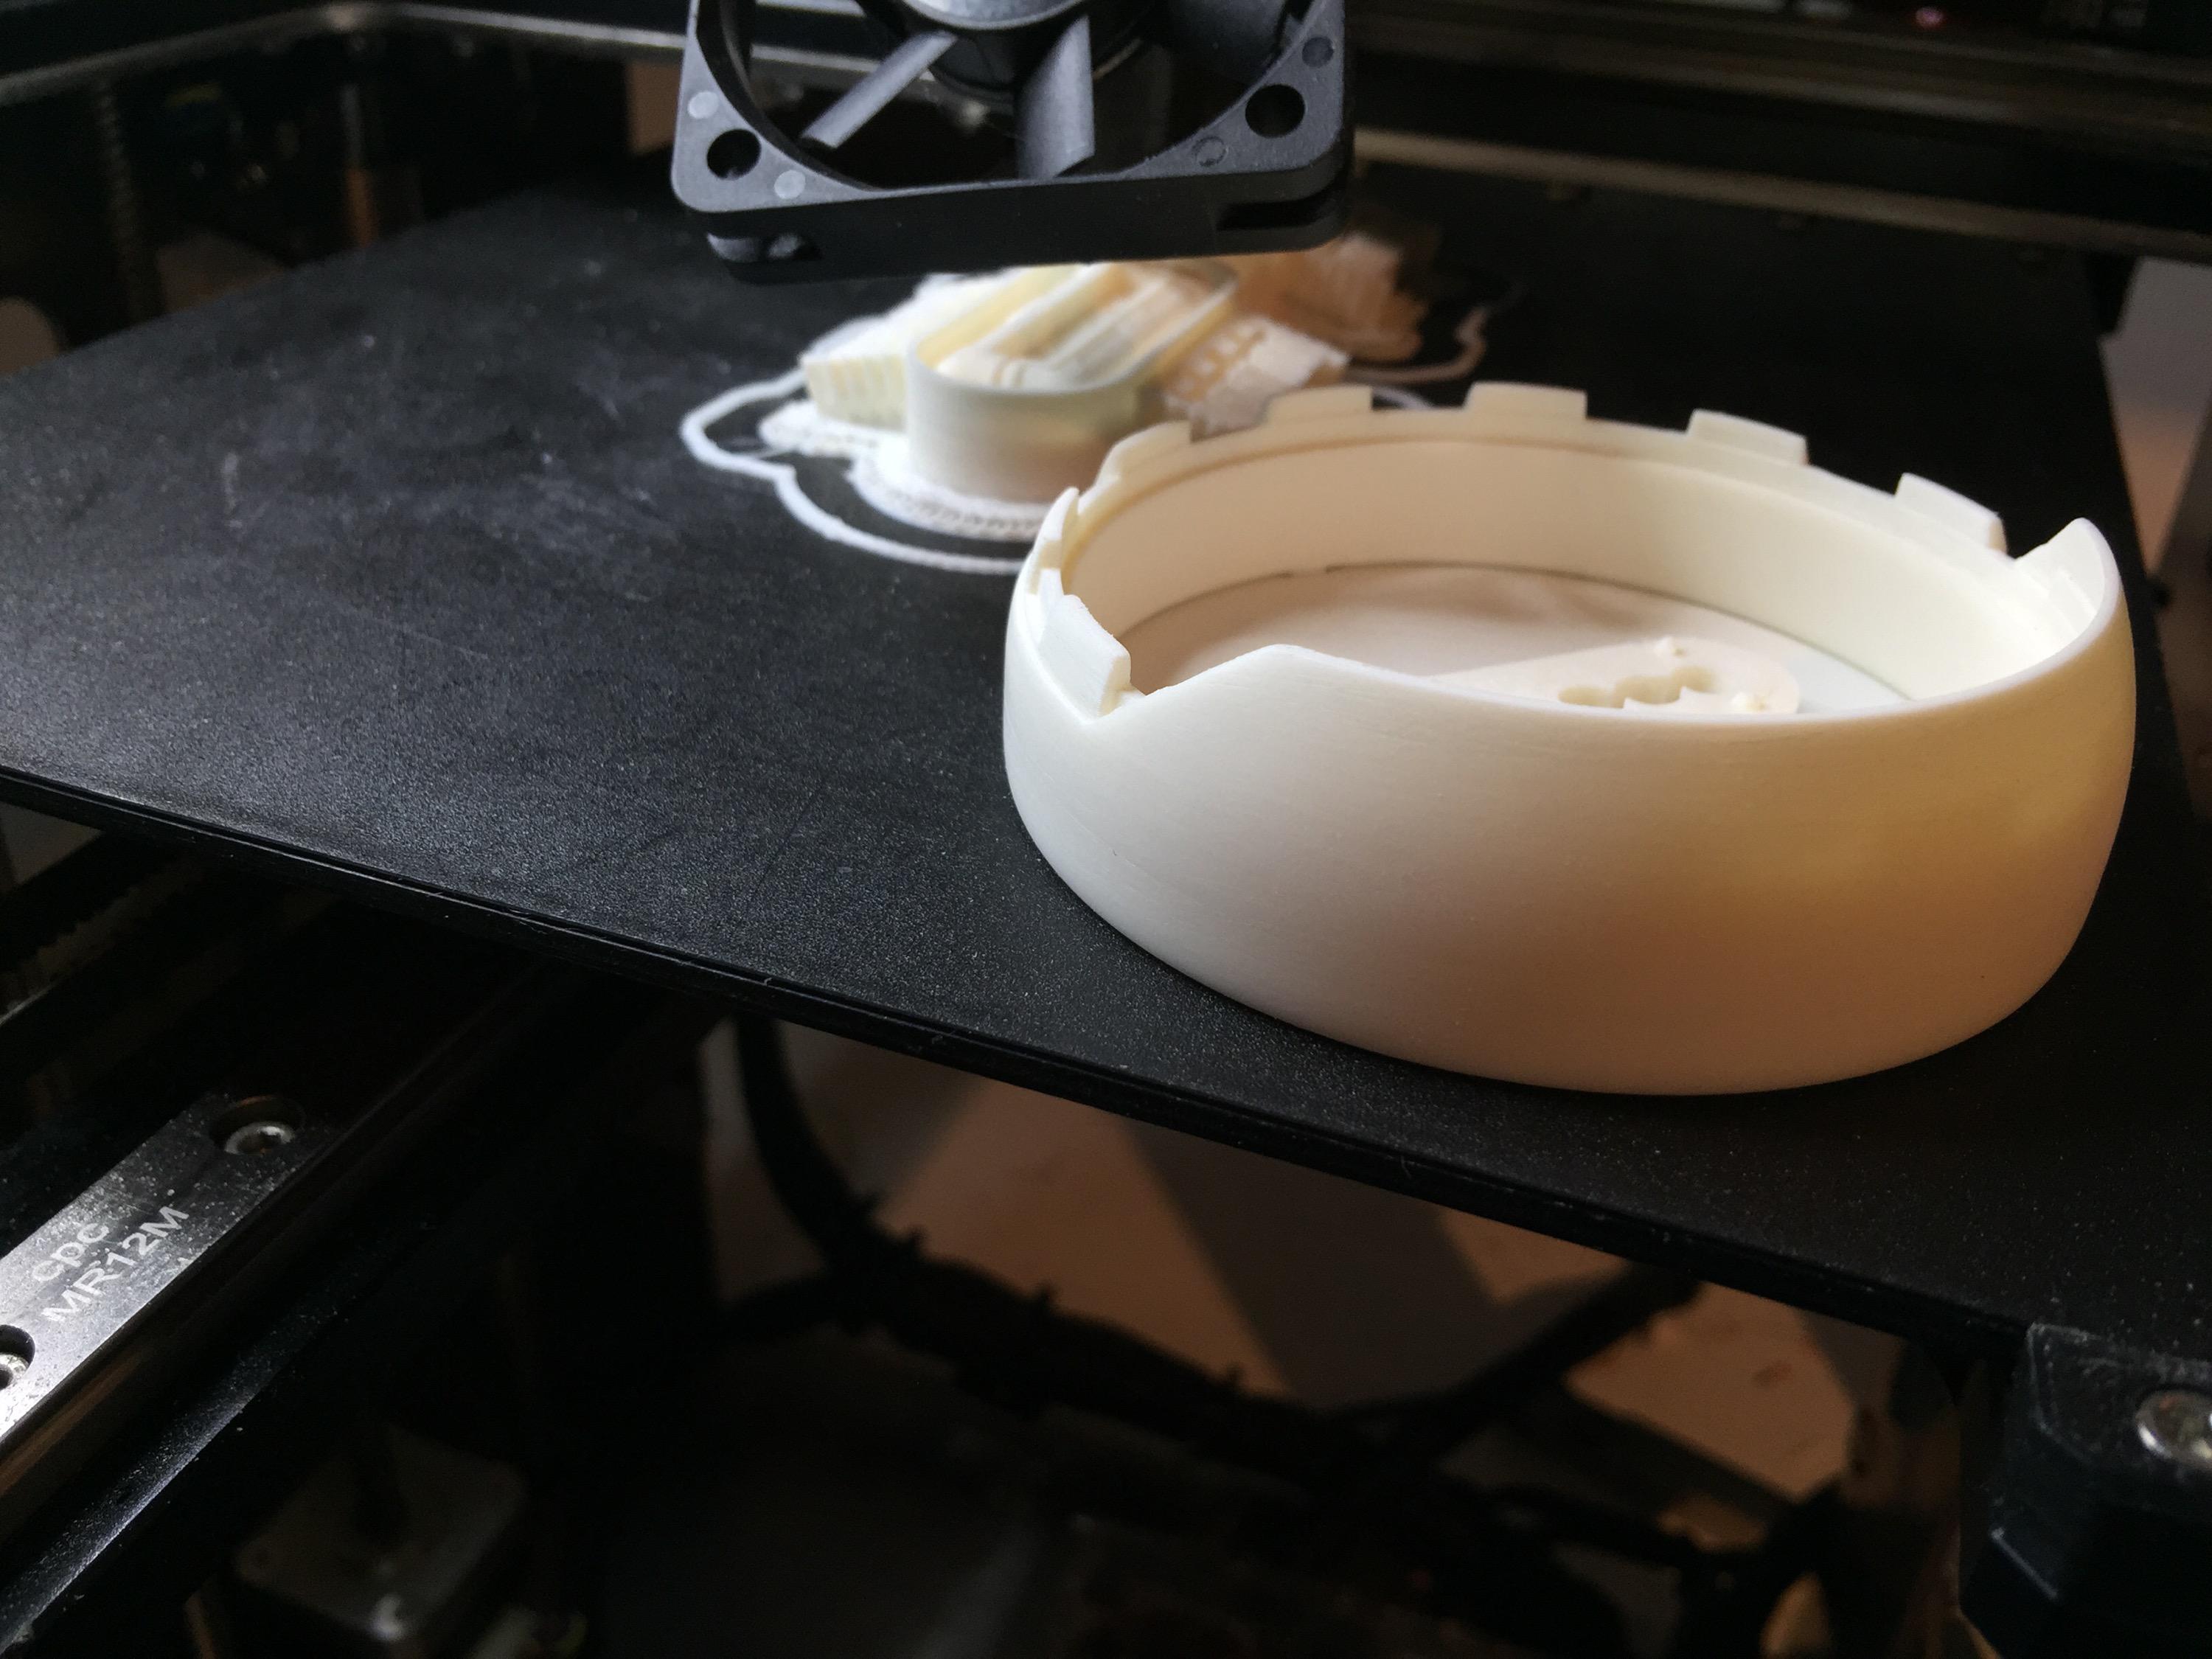
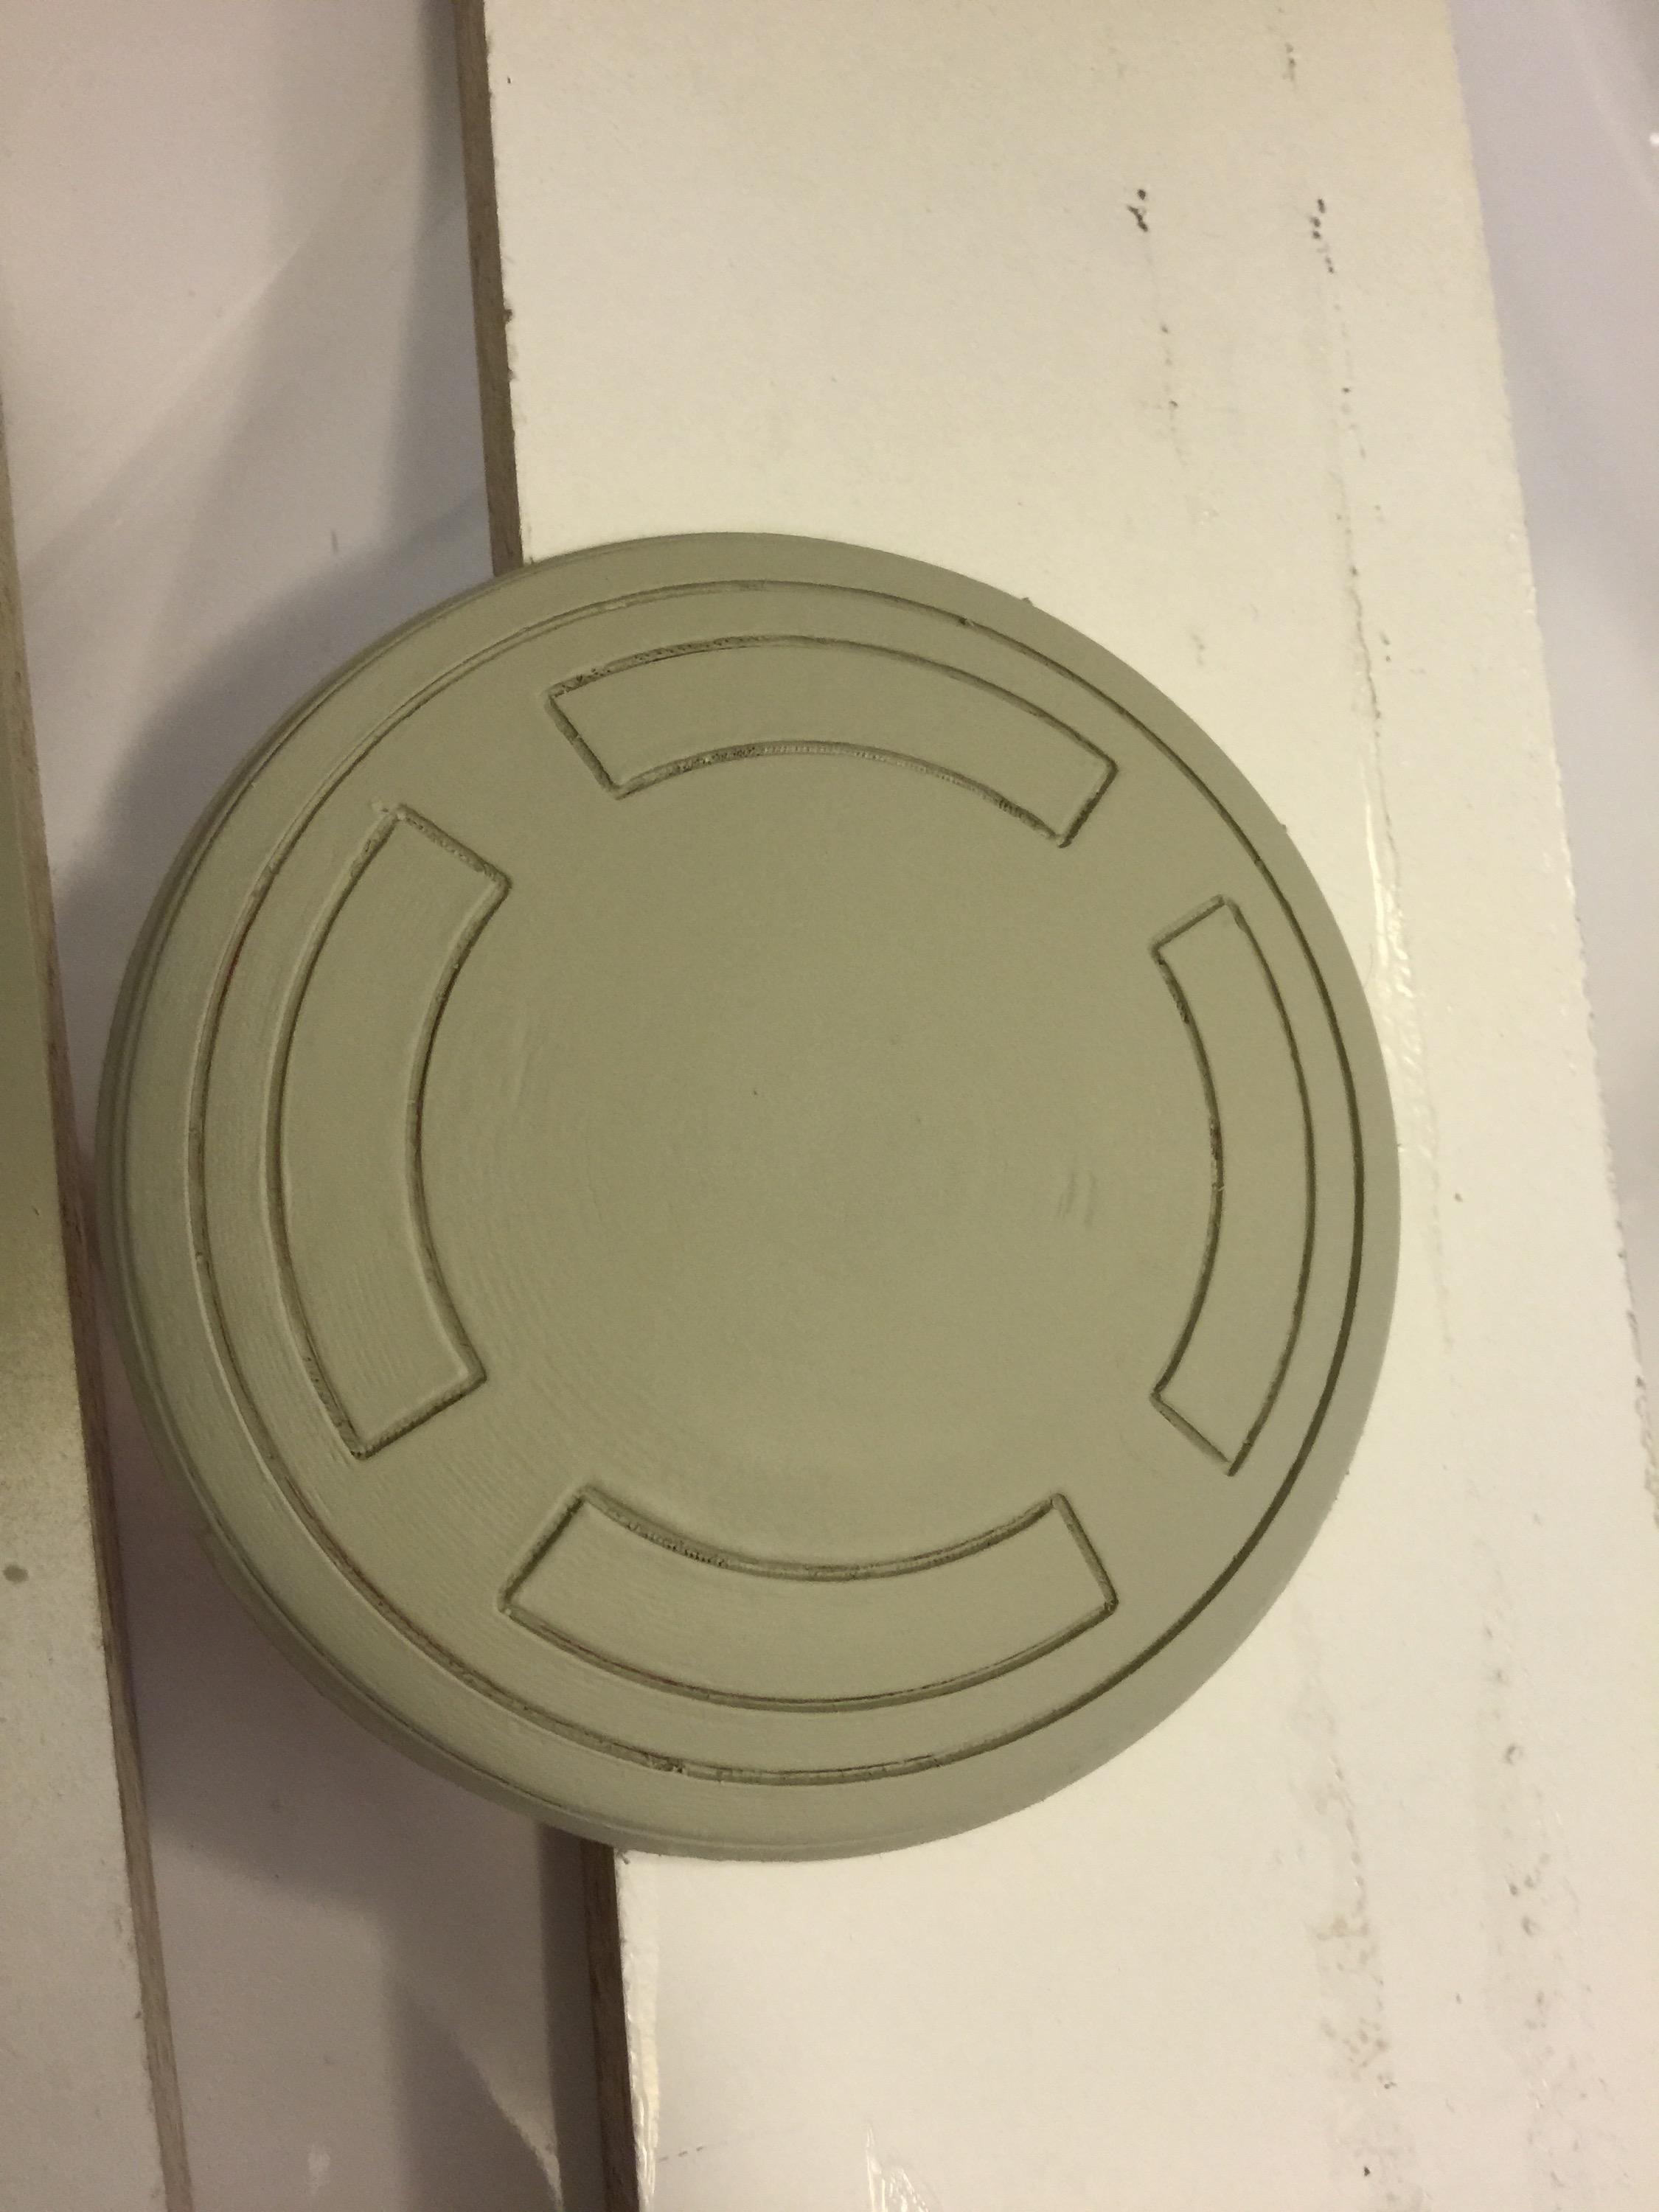
The top panel .. well .. I can start with painting that one, so I can fix it to the pie panel ring:

IMG_7908

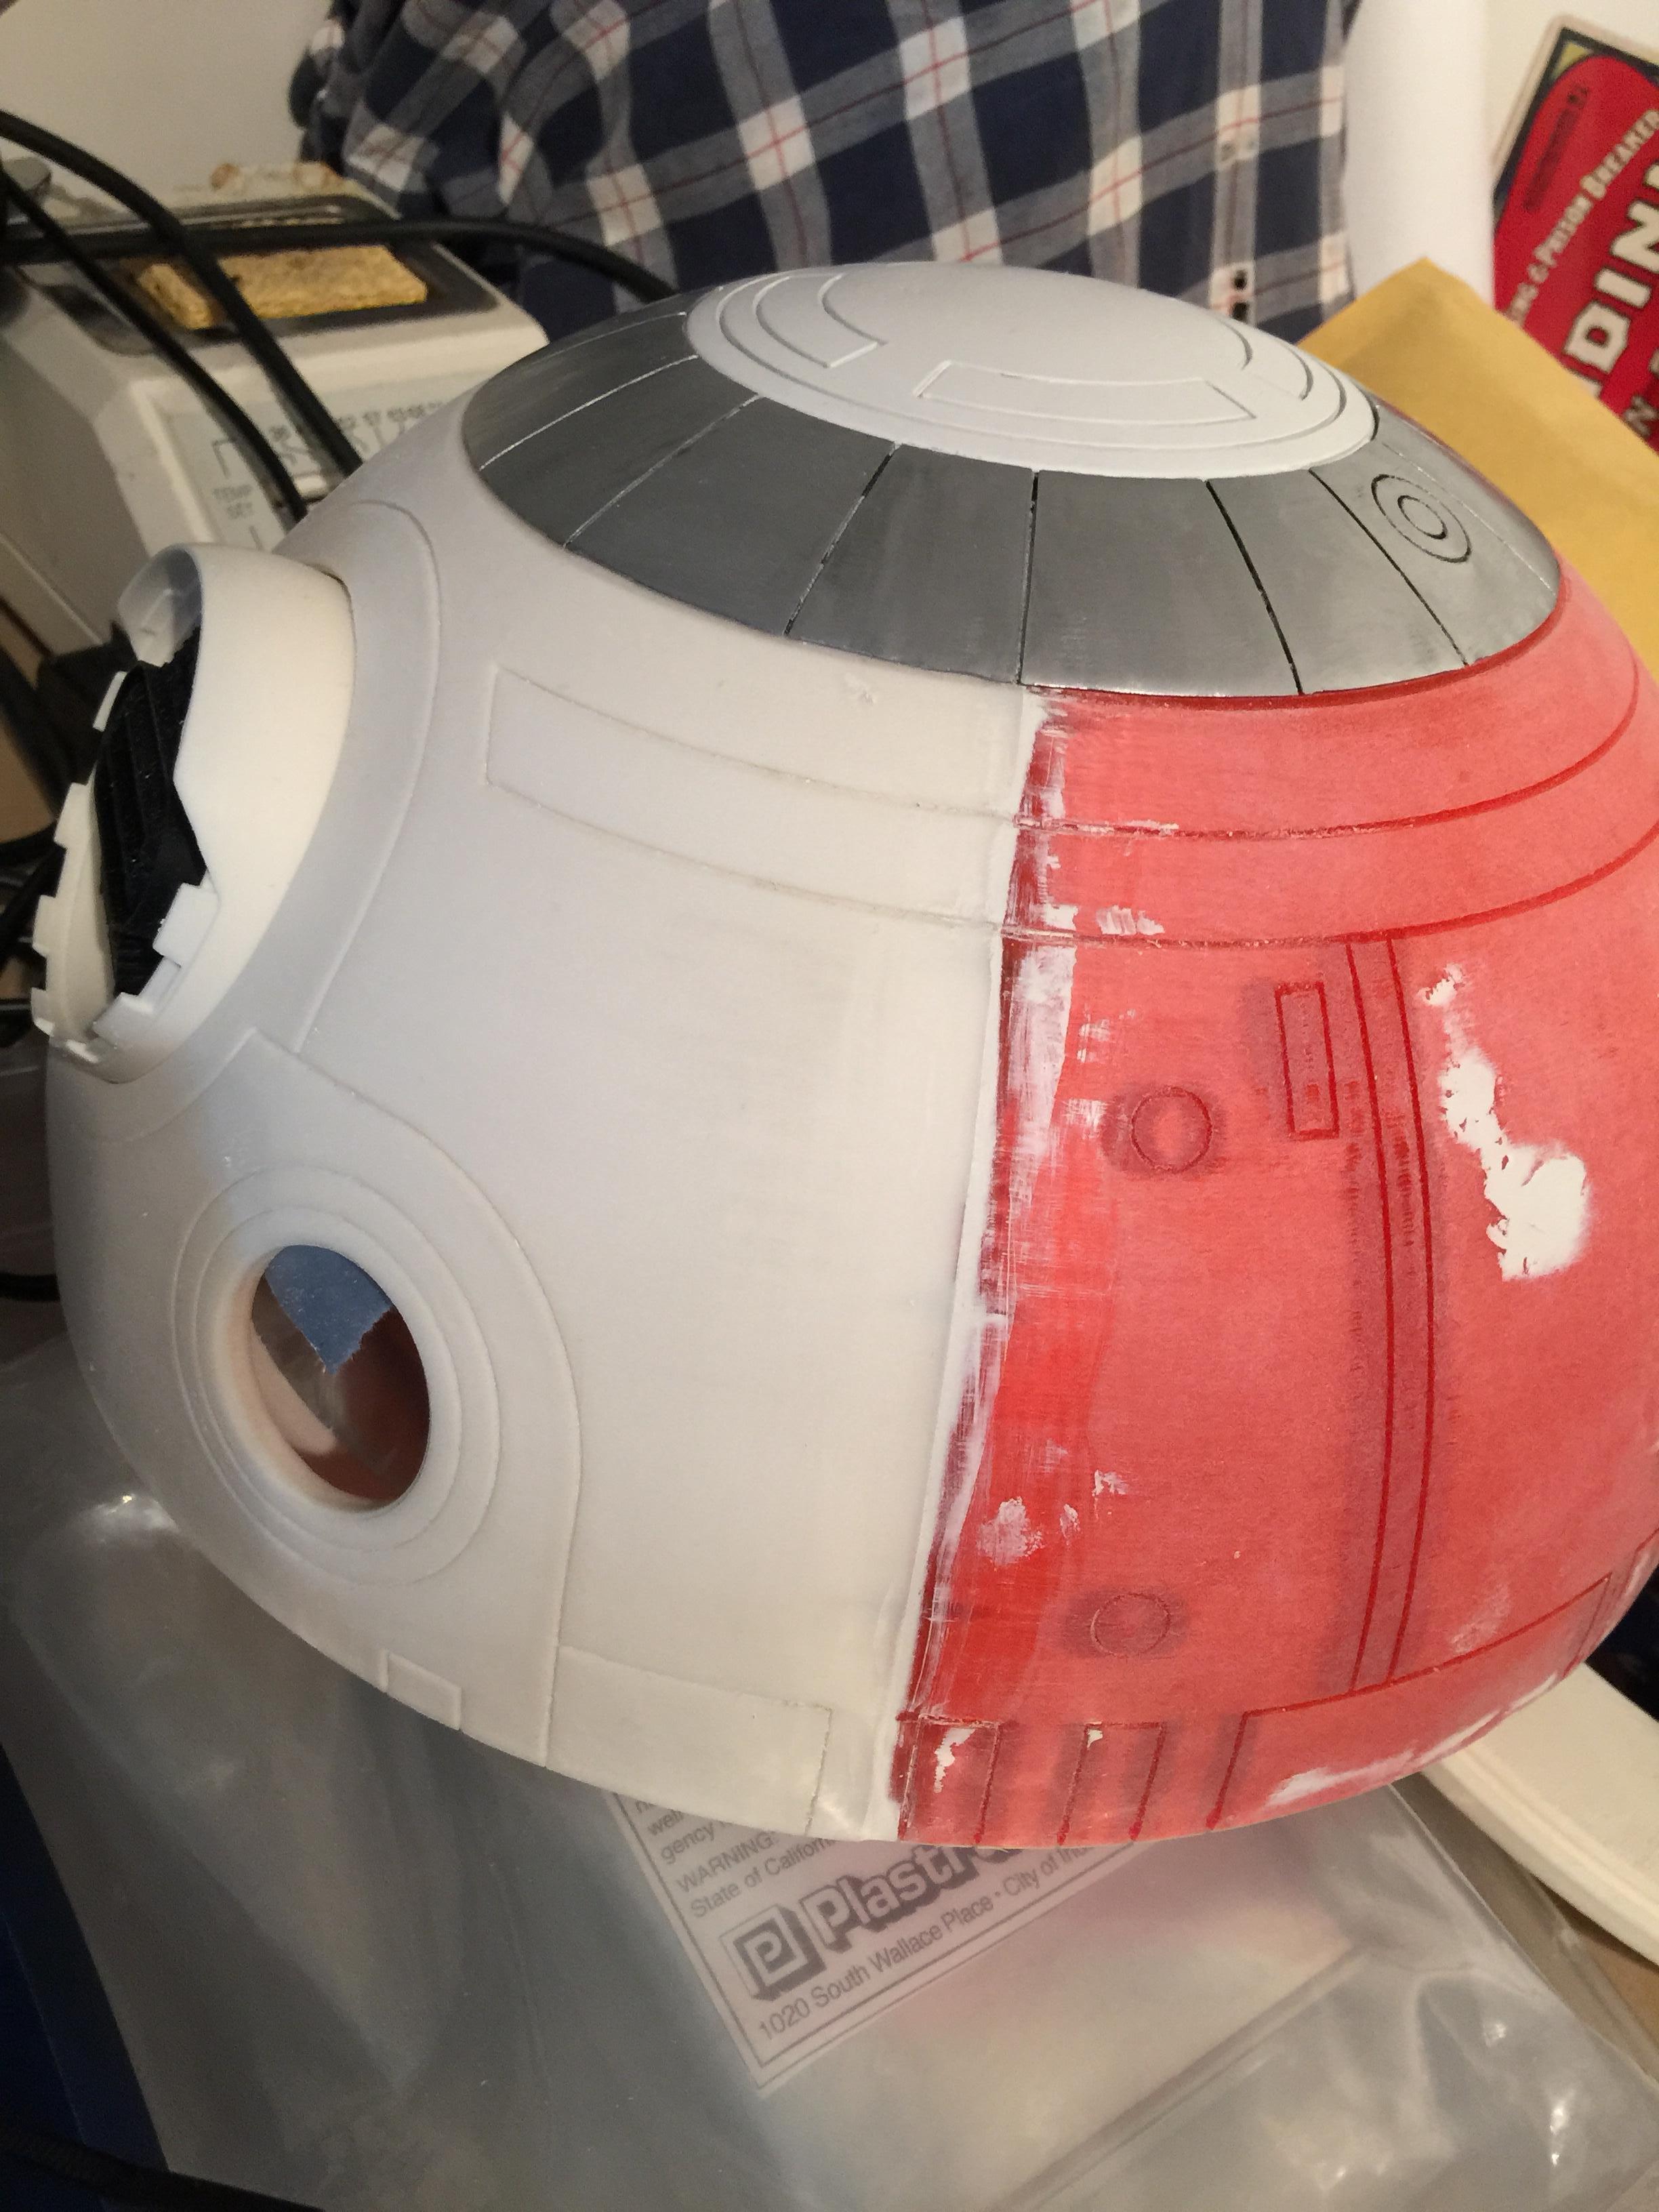
Some filler primer first…. then sanding almost the entire layer of paint down to nothing, then on to the proper colour: The Satin White used on R2-D2.

IMG_7913

The pie panels need another round of rub and buff, I think..

IMG_7928

Much better. It is still a few things visible where I was rubbing too hard, but it will still be weathered in the end, so I’ll let it be for now.

The top panel has also been fixed to the pie panel ring with my glue gun. Melt glue is perfect for this. It will hold forever.

I remembered (too late) that the top panel still isn’t clear coated, but I can easily mask off the pie panels later on for a quick spray.

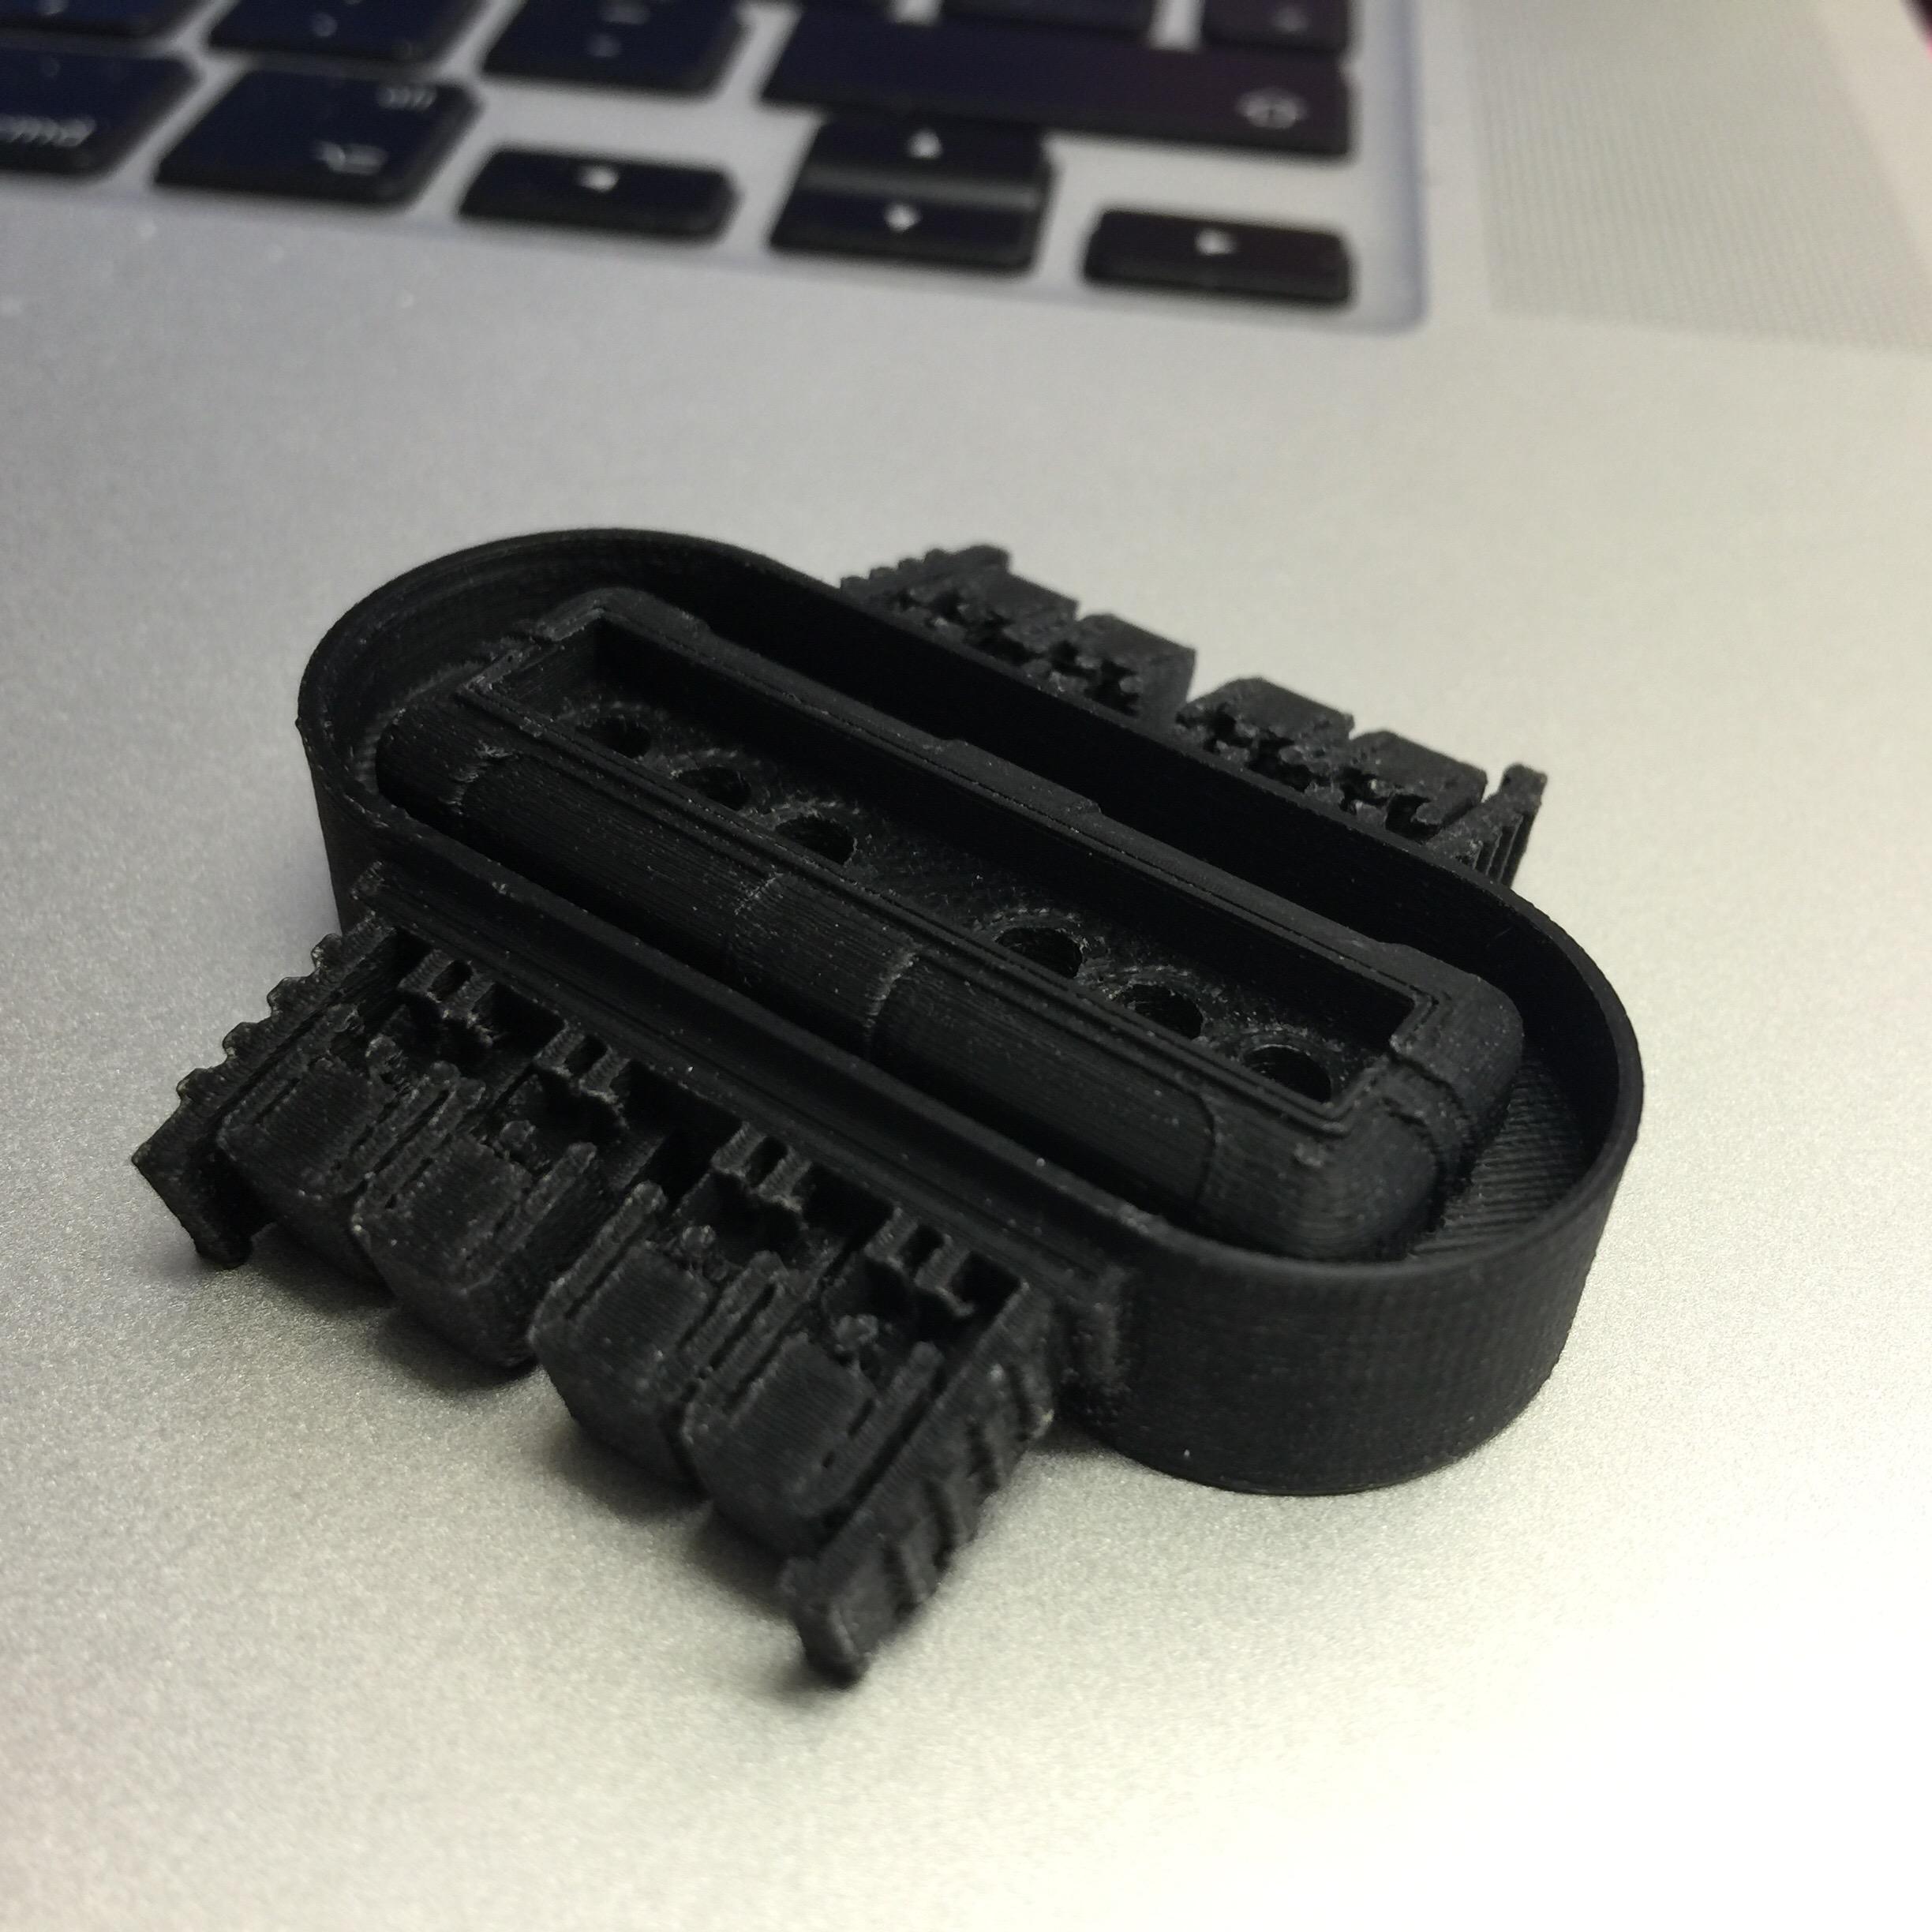
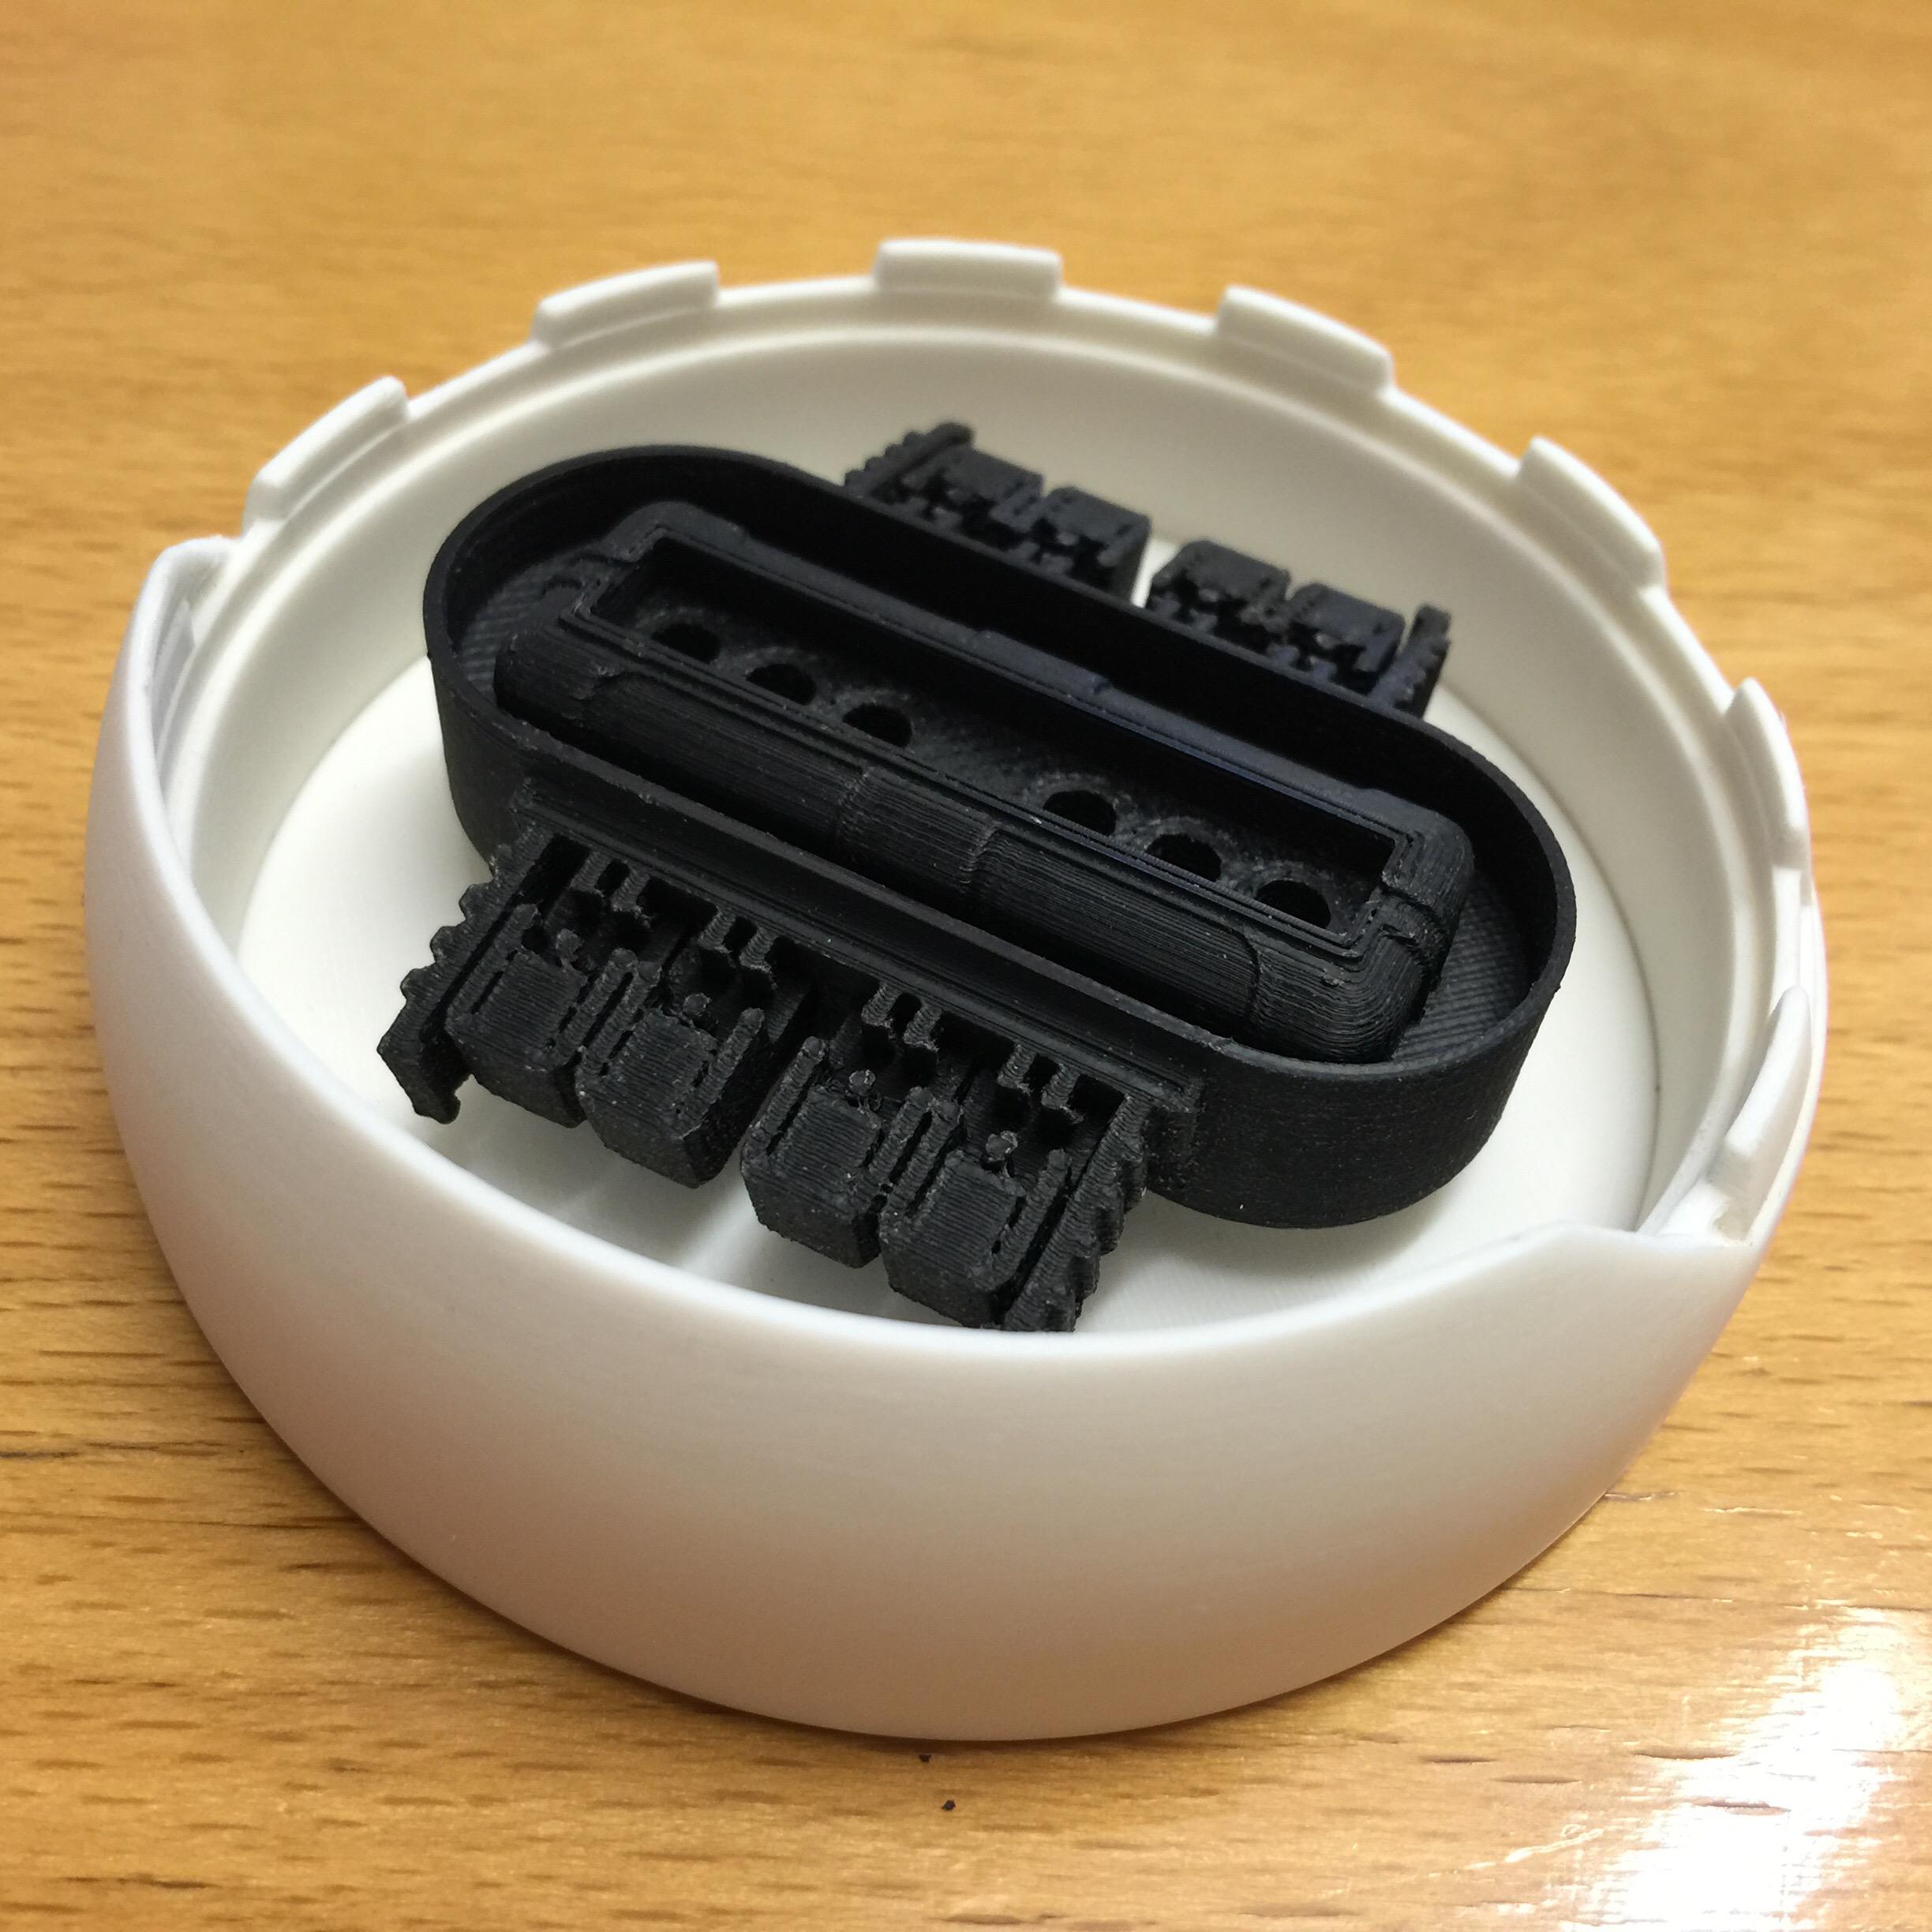
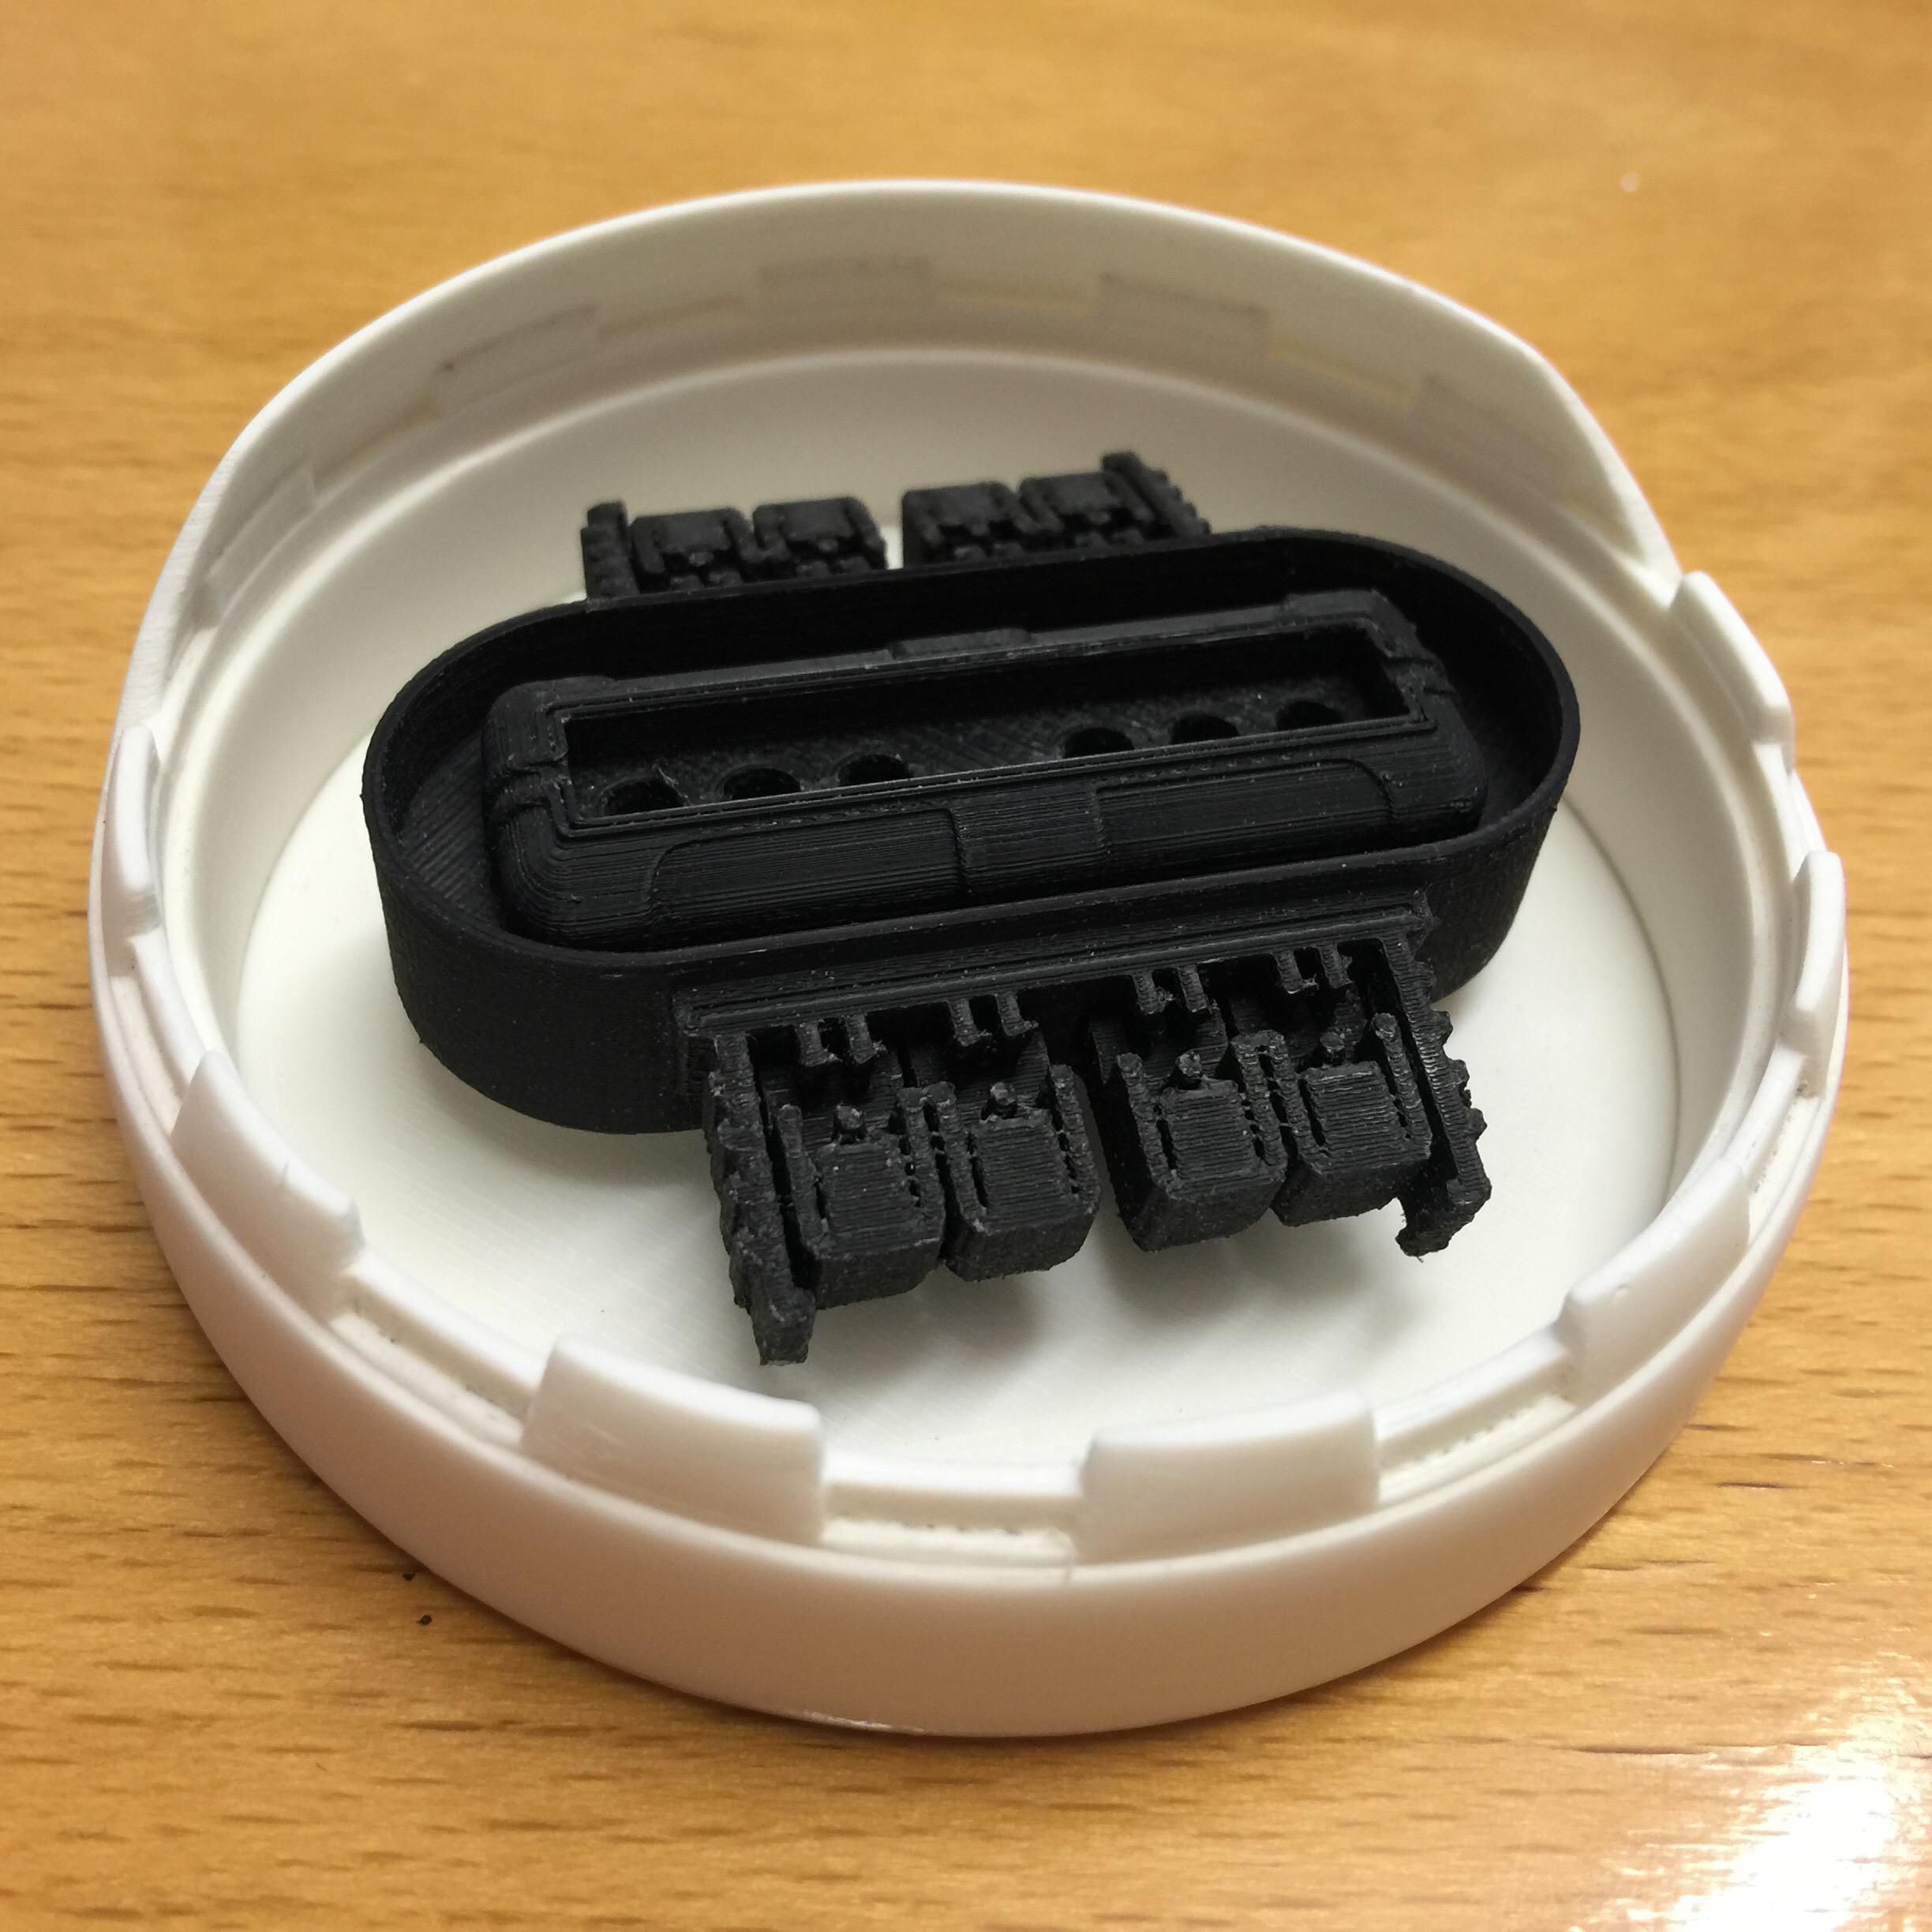
I have also drilled and glued magnets all around the pie panel ring and the top of the dome, to make the pie panel and top piece removeable. Works great!

What else.. ?

Well, The dome needs filler in the seams and sanding..

IMG_7940 IMG_7933


A couple of coats of Tamaiya Putty, scraping with my break blade knife and sanding… and I think the dome is now one more round of putty and sanding away from being pried (with filler primer of course)..

IMG_7921

This one will really look cool when it is all done..

IMG_7939

The antenna pieces have also been painted flat black. I might have made the antenna a bit too long, but I can easily shorten it, if need be. Or print a new one 😉

IMG_7938

Finally, I’ve spend some time with the holo projector, sanding all the small grooves in the rim, and smoothing the sides out. I printed this on 0.05 layer height to really make all the detail come out, and it really does. It has been sanded with 600 grit sand paper, and at the moment, I am unsure if I even have to paint it. Might still dab a few coats if black on it. It feels really smooth to the touch! Picture taken through my magnifying glass.

Next off, is painting the basic dome, but in order to do that, I need to find a decent box and get some time in the yard to do this. After that, the dome skirt needs a bit of TLS, as one part warped slightly and needs to be filled in before assembly.

That’s a project for another day, however! 😀

If i was building BB-8, that is…


By |2016-12-06T00:00:08+01:00September 1st, 2015|BB-8, Building|Comments Off on Still #NOTBUILDINGBB8 ..

#NOTBUILDINGBB8

I’m not building BB-8!

Nope!

I really didn’t like that droid when I first saw it.

Who’s Bb-8 you might ask?

Well, he’s that little round fella from the Star Wars: The Force Awakens trailer.

The little round one.

Yes.

THIS one:

bb8.0

There’s only one small problem:

As soon as it rolled out on stage in Anaheim during Celebration VI my jaw dropped.

Up until then, I thought it was nothing but a CGI robot made for comic relief, but to SEE this on stage (even though it was on youtube) blew my mind!

But … still … #NOTMAKINGBB8!

At least not as far as my fiancée is concerned…

The story of BB-8 started back in 1974, when George Lucas still wanted to make “The Star Wars” as it was called back then. Having the Legendary (capital L deserved) Ralph McQuarrie on board to do his visuals, they started an epic journey that… well … I digress.

One of the early designs for R2-D2 by Ralph featured the droid balancing on one wheel.

IMG_5233

Something not possible at the time. Fortunately for us, J.J. Abrams took the AWESOME decision to stay true to much of Ralph McQuarries ideas and designs when designing the forthcoming Star Wars films, and so, BB-8 was born.

After seeing it on stage in Anaheim (unfortunately not in person, I watched it on youtube at home), my mind started thinking… how would I build a droid like that… and I soon came up with a blueprint that would explain it all:

IMG_4075

Or … well … maybe not. But a fan online had looked at BB-8 and like me (I guess) compared it to the size of R2-D2 and extrapolated and calculated and … guessed.. and came up with this:

IMG_3183

Not completely accurate, it was still a very good start.

Thanks to a few very resourceful persons, M & T, you know who you are, I have started on a new journey with this little droid. At the moment, I am content with just doing the dome, but who knows… in the future maybe? I think I have a solution for how it actually works…

It all started with printing a lot of parts on my trust Makergear M2:

A box of parts, really.

... and here is a box of goodies... more on these later, but I can definitely say that I'm #NOTBUILDINGBB8 ...

The first piece I printed was the front third of the dome: I used PLA for this, as it warps a LOT less and less chance of cracking, like ABS.

IMG_7514

I was VERY surprised about the support towers showing in the back. They are standing on nothing (since I forgot to add a helper disk where they start), and was really sturdy!

IMG_7517

Thanks to the BuildTak, they managed to stay put the entire print, and made me this lovely piece:

IMG_7520

A few more pieces followed, and..

IMG_7533


.. we have something that already looks like a dome!

The (almost see through) red PLA was the roll I had that I’ve used the least. I figured if I was going to paint this anyway, why not use a colour I would never use for anything else…

IMG_7678


A bit of sanding and some putty..

IMG_7700


… and some more printing…

IMG_7524

… and gluing … and sanding… part after part..

IMG_7681


.. and tweaking the firmware of your 3D printer and modifying layer heights… and print speeds.. and making the best prints you’ve ever made..

IMG_7694

…and reprinting…

IMG_7704

realizing you just printed something that has a layer height of 0.05 mm.. 1/20th of a millimeter…

IMG_7707 IMG_7705

.. so I guess … that when almost all parts for the dome are done … like now..

.. i guess that I AM building BB-8 … after all

But still…

If my fiancée asks..

or if anyone asks..

Remember:

#NOTBUILDINGBB8


By |2016-12-06T00:00:11+01:00August 26th, 2015|BB-8|Comments Off on #NOTBUILDINGBB8

More Data Panel..

Will this never end?

MORE on this data panel nonsense?
Yes! Indeed!

First the easy bit: I removed the 3d printed coupling once again, and superglued it in place, instead of the hot glue that was not doing its job.. but that was not the big thing!

Basically, I had done the bulk of the panel, but lacked the surrounds for it. I started by looking at the surrounds I already had on the A&A Kit I purchased some years ago and realized that’s not going to work.

So, using that as a template, I started cutting and filing and doing my thing in some 1mm styrene to come up with something like … this:

IMG_3002.JPG

I painted that with Satin White, and drybrushed it with some old, trusty “Mithril Silver” and glued it in place..

IMG_3005.JPG

filthied it down, just like I did the original panel.. (Using “Chaos Black” and “Flesh Wash”. Really putting these two old Citadel colours to work here)

IMG_3006.JPG

.. before I went over it with cotton pads and a solvent to clean it up and also burn the weathering into the lacquer paint.

IMG_3007.JPG

It really looks the part (pun intended) now, and it feels more solid.

I tested it in place, and it is ready to be fitted in place, but before I go down that route, there were a couple of other things needs to be done first.

First off, since I want this hatch to be openable, and I didn’t prepare anything for it, I realized I needed to route a hole in my top ring around the utility arm area:

IMG_3026.JPG

I fastened an M4 screw in place and it sticks up just enough in my routered path that it works!

IMG_3031.JPG

While doing this, I also removed the old magnet holding the door shut… and shimmied off some material that was catching when the door was closing… and this is when R2 realized that “hey, it’s been too long since a blood sacrifice was made”..

IMG_3028.JPG

Once the bloodlust of R2 (Bet you didn’t know he had one. All builders can agree with me that he has one) was settled, I could finish off the short time of work for the evening, which was to switch two cables on the dome motor, to make R2 turn his head in the direction I want him to!

Next up is attaching a servo to the frame, and start working on getting this hatch to close… not sure how that’s going to go, to be honest….

When working in cramped areas like this I really wish I had a set of old dentist tools and drills.. it could make live SO much easier 😉

By |2016-12-06T00:00:21+01:00April 12th, 2015|R2-D2|Comments Off on More Data Panel..
Go to Top