aluminium

Opening the vent

Not a lot done today.

Yesterday was a full day with a lot of work and a late night gig. Today was spent mostly to prepare for my fiancée who’s turning 40 tomorrow!

However, I managed to get a few hours in my little office and continued working on that pocket vent.

This is where I left off from Wednesday:

I tried scoring and snapping, but managed to get a few folds that showed a little too much, so I quickly went into another tactic: I drilled holes across the ribs that should be removed, scored as deep as I could so I got a visible trace on the back of the vent, and then, with a pair of pliers, gently started rocking the piece that was going to be removed back and forth until it started to loosen up. Once that was loose, it was easy to just bend back and forth at the ends to break these tabs off.

A bit rough, but probably salvable..

After the last piece was cut out, and I’ve worked with the files for a while, and finally sanding the front panel off, this is the result:

Next step is to make that insert, the big pocket itself. According to the blueprints it should be roughly 16mm deep. A scrap piece of aluminium, some scoring and snapping, some sanding, more scoring and intricate folds, and we’re left with this!

It has a bend that follows the curve of the outside of the vent (I’ve bent the vent too, so it should fit nicely in the end)

There is no real room to make tiny tabs on the end that I can glue into the front vent, due to the skins interfering, but I’ve solved that with using aluminium tape on the inside, and adding some CA glue.

Next up: The sides!

These will not be as nice fit as the curved piece, since I want them to extend around a bit, in order for me to add some plastic padding to really lock the shape properly.

This is the basic shape:

These pieces gets sanded as well once they are cut, and I carefully assemble the thing, first with tape, try a bit of CA glue, realize it isn’t strong enough, mix up a small batch of plastic padding, only to realize that once I was ready for it, it had already set. *sigh*

I taped the entire assembly together, loosened the tape on one end, made a new batch, added on to the untaped piece, taped, removed the second tape piece, put the goo on there and kept on going. This was the only way I could be sure it would stay in shape while adding the sticky stuff!

When it was all done: this is this part of the vent from the back:

A little bit of aluminium tape there tstill to make sure it sticks together and sets properly.

From the front, it looks a LOT better!

A quick test fit on the frame..

Oups! The inner skin is a little too tight, I need to trim this a bit..

Scoring and snapping… how I love working with styrene! It is a bit scary to modify the skins when they are glued on to the frame, but I really had no choice!

After repeating the process on the back Pocket Vent area, it now fits like a glove:

Next step will be adding the depth to the ribs in the pocket vent.

I will make this by cutting strips of 2mm styrene and dress them in aluminium tape. I will then sand the tape with 400 grit sand paper, and this should look the same as the outside of the vent. The very back of the vent will be a straight piece of either aluminium or styrene. I haven’t decided yet. I don’t even knos if I’ve got enough aluminium at home for it, but the idea is since the back of the ribs (small sections is blue, I will simply make one full plate that will go over the entire area and have that painted blue. It will make my life a LOT easier.

Before that, however, I need to celebrate my fiancéss birthday, and maybe have some time to sand off the front of that vent again, looks like it got a wee bit dirty during my final assembly!

Anyway, the last bits of this vent is really the easy part! =) One (almost) down. Three vents to go!
By |2016-12-06T00:01:13+01:00October 5th, 2012|R2-D2|Comments Off on Opening the vent

Things that go Bump in the night..

What what?

THREE updates in one day?

Oh my, really!

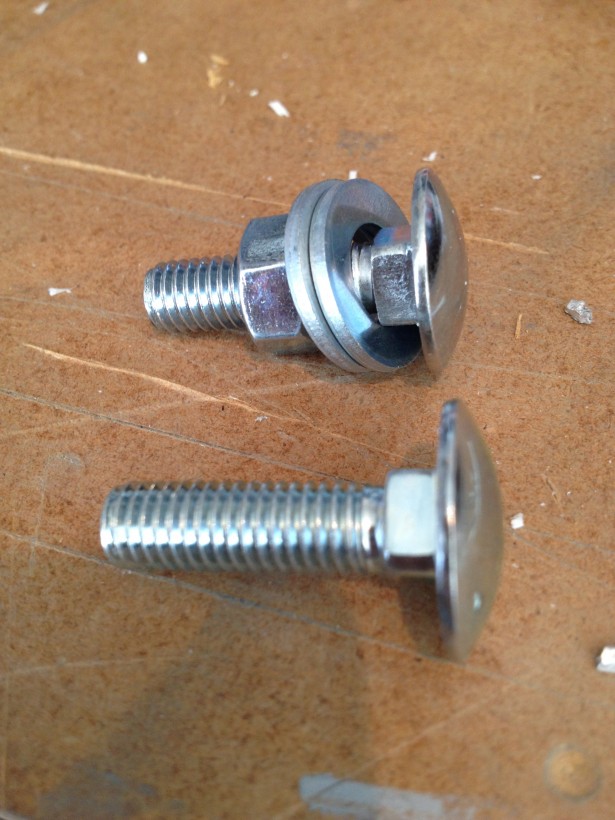
I found a bag of carriage bolts on my desk when rummaging around, and completely forgot that I had to add the Dome Bumps to my dome. That should have been on my R2-2DO list!

Well, no need to add that to the list *now* as it is already completed!

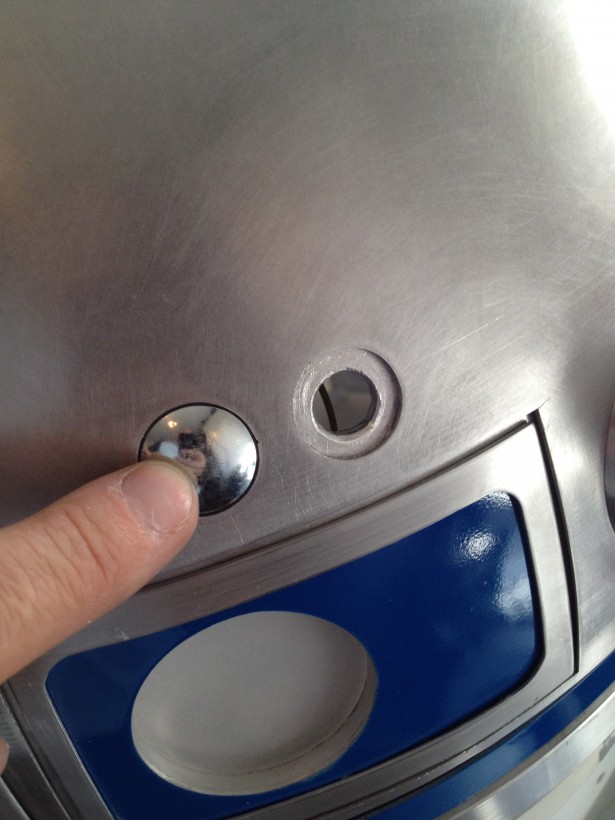
These are about 20mm in diameter, and the opening for the dome bumps is around 21mm. These are the best ones I have found so far, and even though the area around the bump could be slightly bigger, it will do nicely!

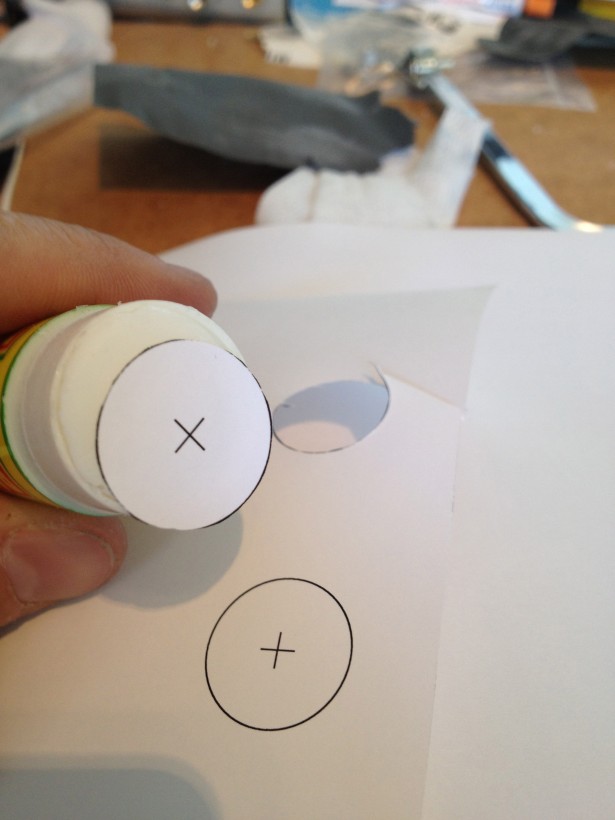
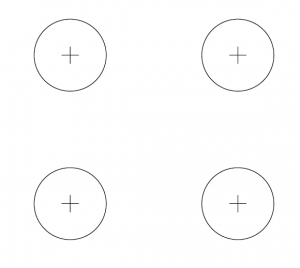
I started off by making a dome template, in order to get the hole centered..

I printed it out, used one of them to measure my carriage bolts, yes they would work great!

Two of them, I cut out and glued on to my done inside the holes using repositionable glue.

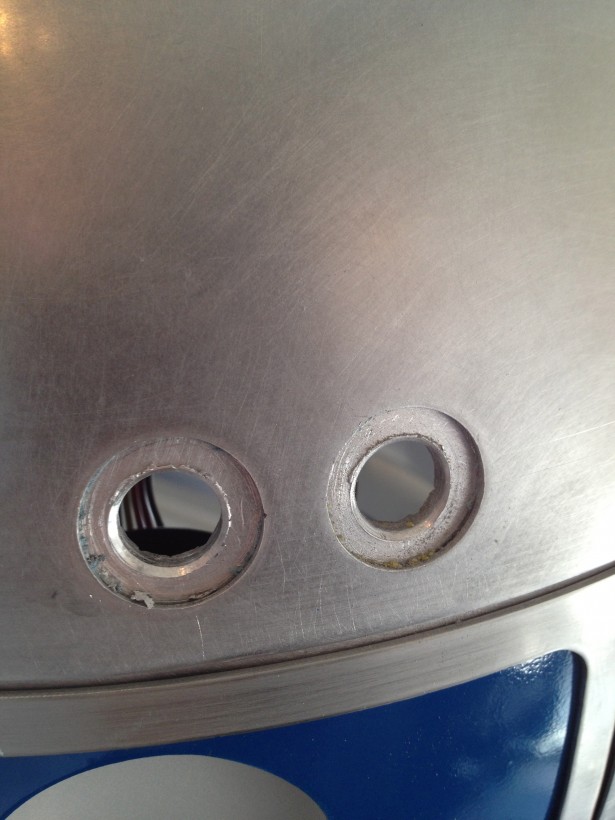
With these in place, I started off by making a mark, using a 2mm drillbit, and then my step drill, to make the holes 12mm.

I needed the holes larger than the bolt, as the carriage bolts has a square area closest to the head, and this needed to fit through the hole as well. Plus, with a slightly larger hole, I could adjust slightly if I was not exactly in the center…

R2’s poor head seems to be doomed to suffer. It is his lot in life.

After a bit of sanding, a quick test fit…

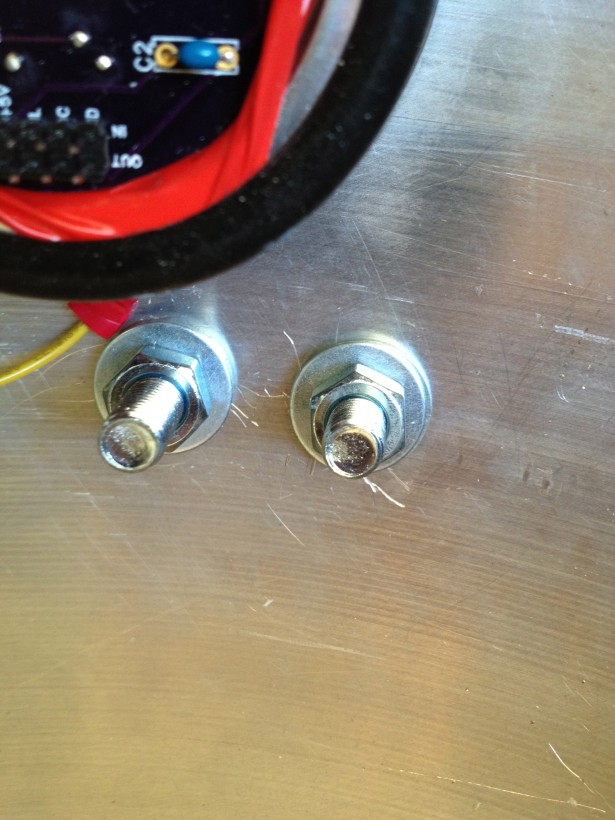
As you saw in the first picture of the bolts, I also purchased washers, that are big enough to go over the square portion of the bolts, and by using these as distances, it was only a simple matter of gently screwing these in place!

Something that annoys my esthetics, as that even though I managed to find the same diameter heads on the bolts, I failed in finding two of the same length…

Oh well, you can’t tell from the outside anyway =)

I think they look great! Of course, they need to be painted, but so does all my blue bits. They are the wrong colour, but that will be fixed… all in good time…


By |2016-12-06T00:01:21+01:00September 17th, 2012|R2-D2|Comments Off on Things that go Bump in the night..

Monday morning lobotomy

Fueled by colder weather and the signed Kenny Baker panel in my droid, I decided it was lobotomy time!

This is yet another of those posts where the build has not really progressed… visually, but functionally!

Inspired by Edwardo, I decided to cut open the area behind my unpainted dome panel, for easier access to hooking and unhooking my slip ring connector board. Prior to doing this, I had to balance the dome halfway on its side while inserting the dable that gives the dome power. Nore than once I have been close to dropping or scratching my dome, and even though it would be considered “genuine weathering“, I strongly opted against this!

Step one was to pry loose the unpainted panel. As I’ve only fastened my panels with some tesa carpet tape (works fine, by the way) this was relatively easy…

I used a plastic butterknife to do so, to avoid scratching…

Second: Using the old and tested pen-and-washer method, I outlined the area I needed to cut…

Then, I taped along the lines where I was going to cut with painters tape and took out my trusty dremel…

First cut is always the scariest… after this there was no turning back!

I had planned to only cut through with my dremel, and then use the same saw I used when cutting the dome to cut open the panel, but I felt like taking a walk on the wild side, so I dremeled out the entire panel!

One small slip, made a small mark that I managed to sand over, so no biggie…

When using a dremel, I strongly recommend a facemask. Earplus ang protective goggles is a MUST when dremeling through the dome! Noisy and tiny metal splinters everywhere! Also, I recommend using the thicker cutting wheels with quick release. These do not shatter like the thin standard wheels and are much more suited for cutting through say.. a dome!

(I also like the way the quick release edge sort of looks like the bat signal…)

Once cut all the straight edges, I finished up by cutting the edges with a metal saw blade.

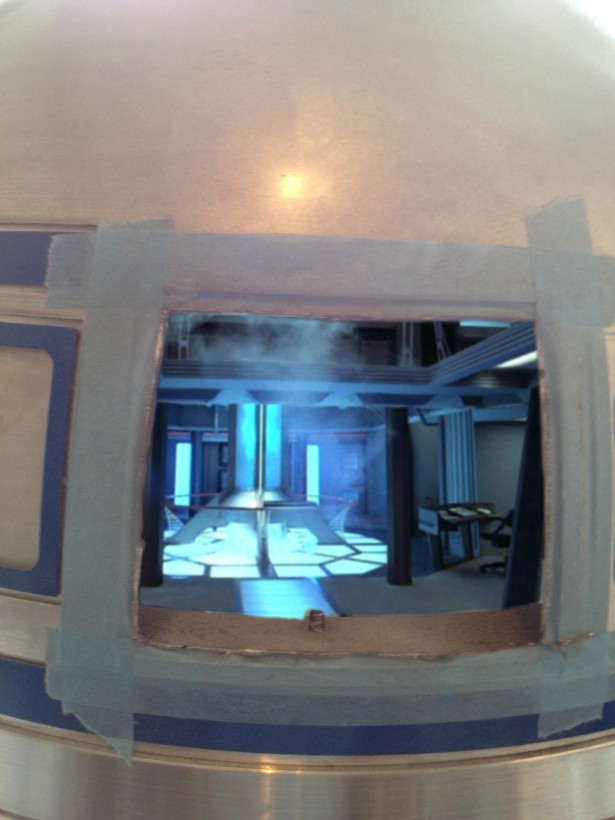
The inner dome panel is gently removed, as I will use this when hinging the door, and we can get a nice look at R2’s brain…

Then, time to file and sand. Make all the edges smooth…. time to pop off the head and add some hinges!

I’m using a JAG hinge for the panel, and at this moment, it is only superglued into place. After the first time it breaks off, I will replace the superglue with milliput, which should hold it in place forever! =)

Turn the head around, and tape the small insert from the inner dome that I cut out previously, and superglued that one as well. (no pic here, sorry)

lastly, I put on new, fresh strips of the carpet tape on the outer panel and taped that in to position, (with protective paper on one side still), turned the dome around and removed the paper and pressed the inner dome panel down to the outer dome panel from the inside.

It sounds more complicated than it was, trust me!

R2 got his head returned, and the final result looks … well just like before!

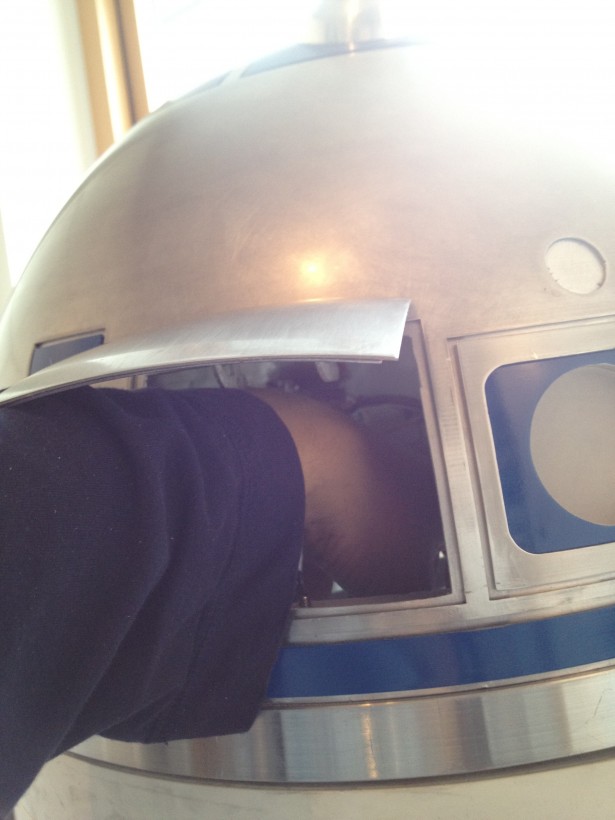
.. only this time, I can open up the panel..

… and easily reach in to do whatever I need to do in there!

I may need to add a magnet to close this up properly, but I’ll have to see it in action properly first, with R2 on his 3 legs and moving the head about, but that should be no problems! =)

Not bad for a monday morning!

By |2016-12-06T00:01:22+01:00September 17th, 2012|R2-D2|Comments Off on Monday morning lobotomy
Go to Top