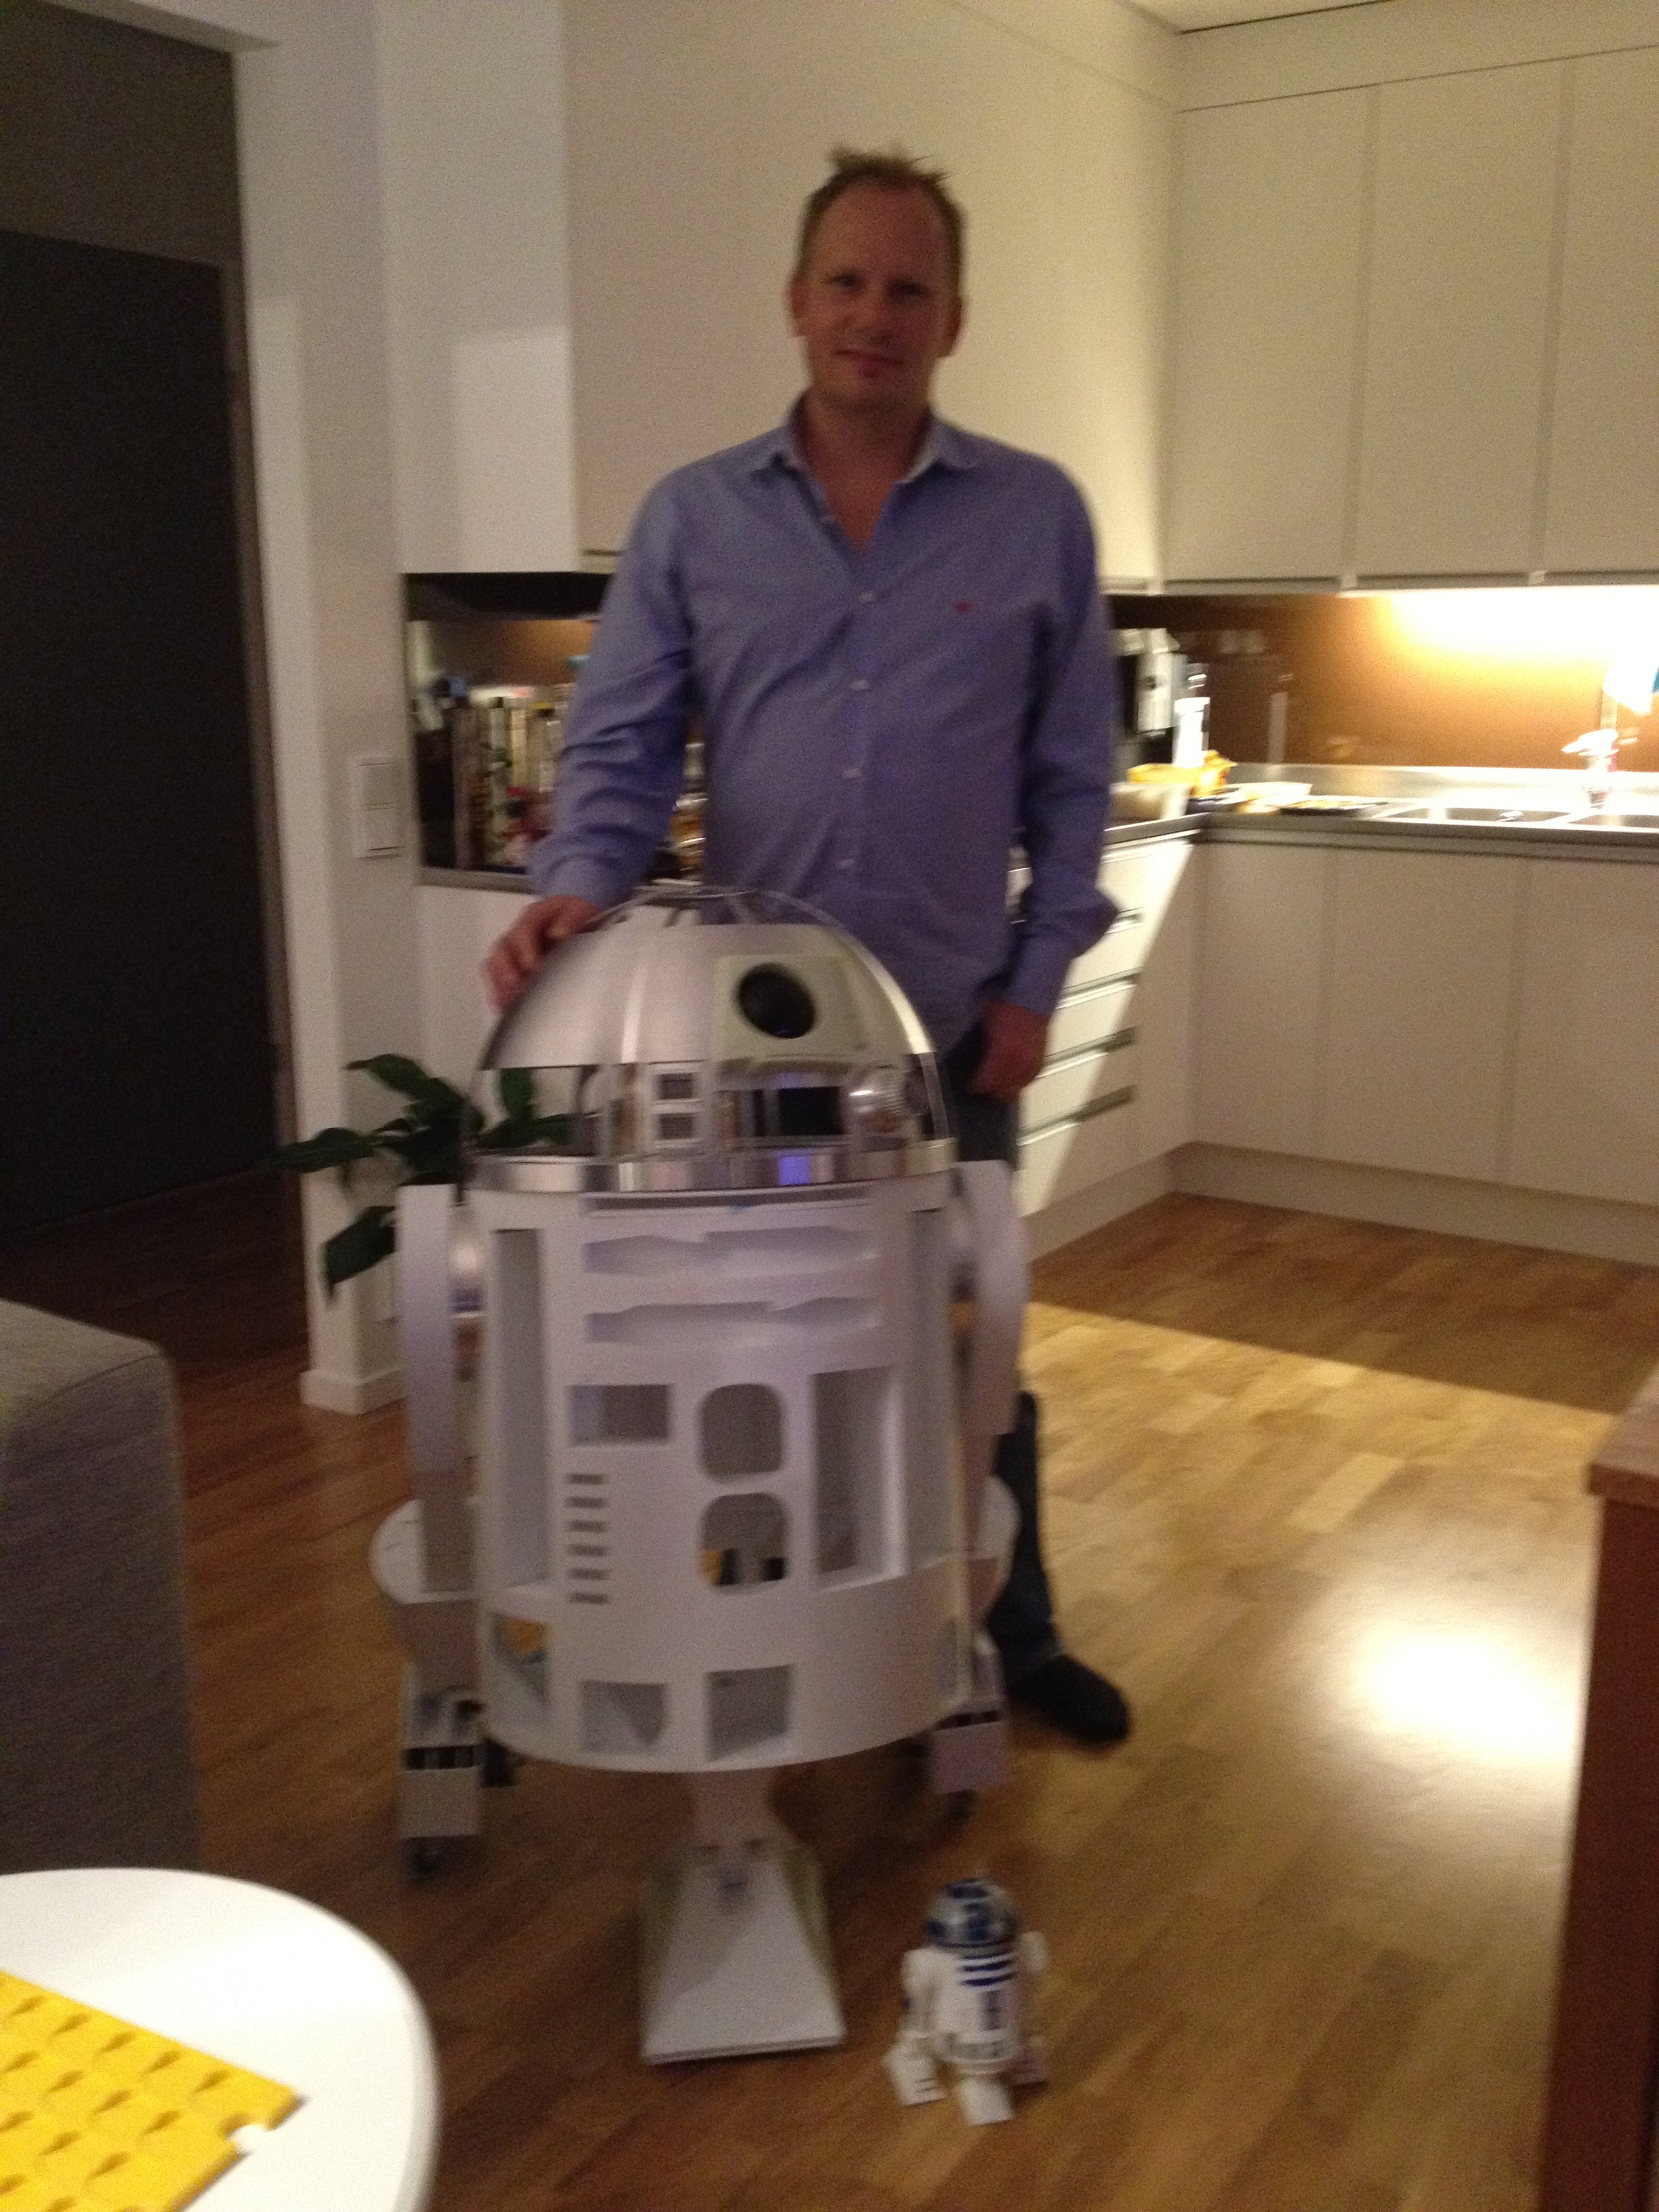
Skirt, dome, feet and skin work!
So..
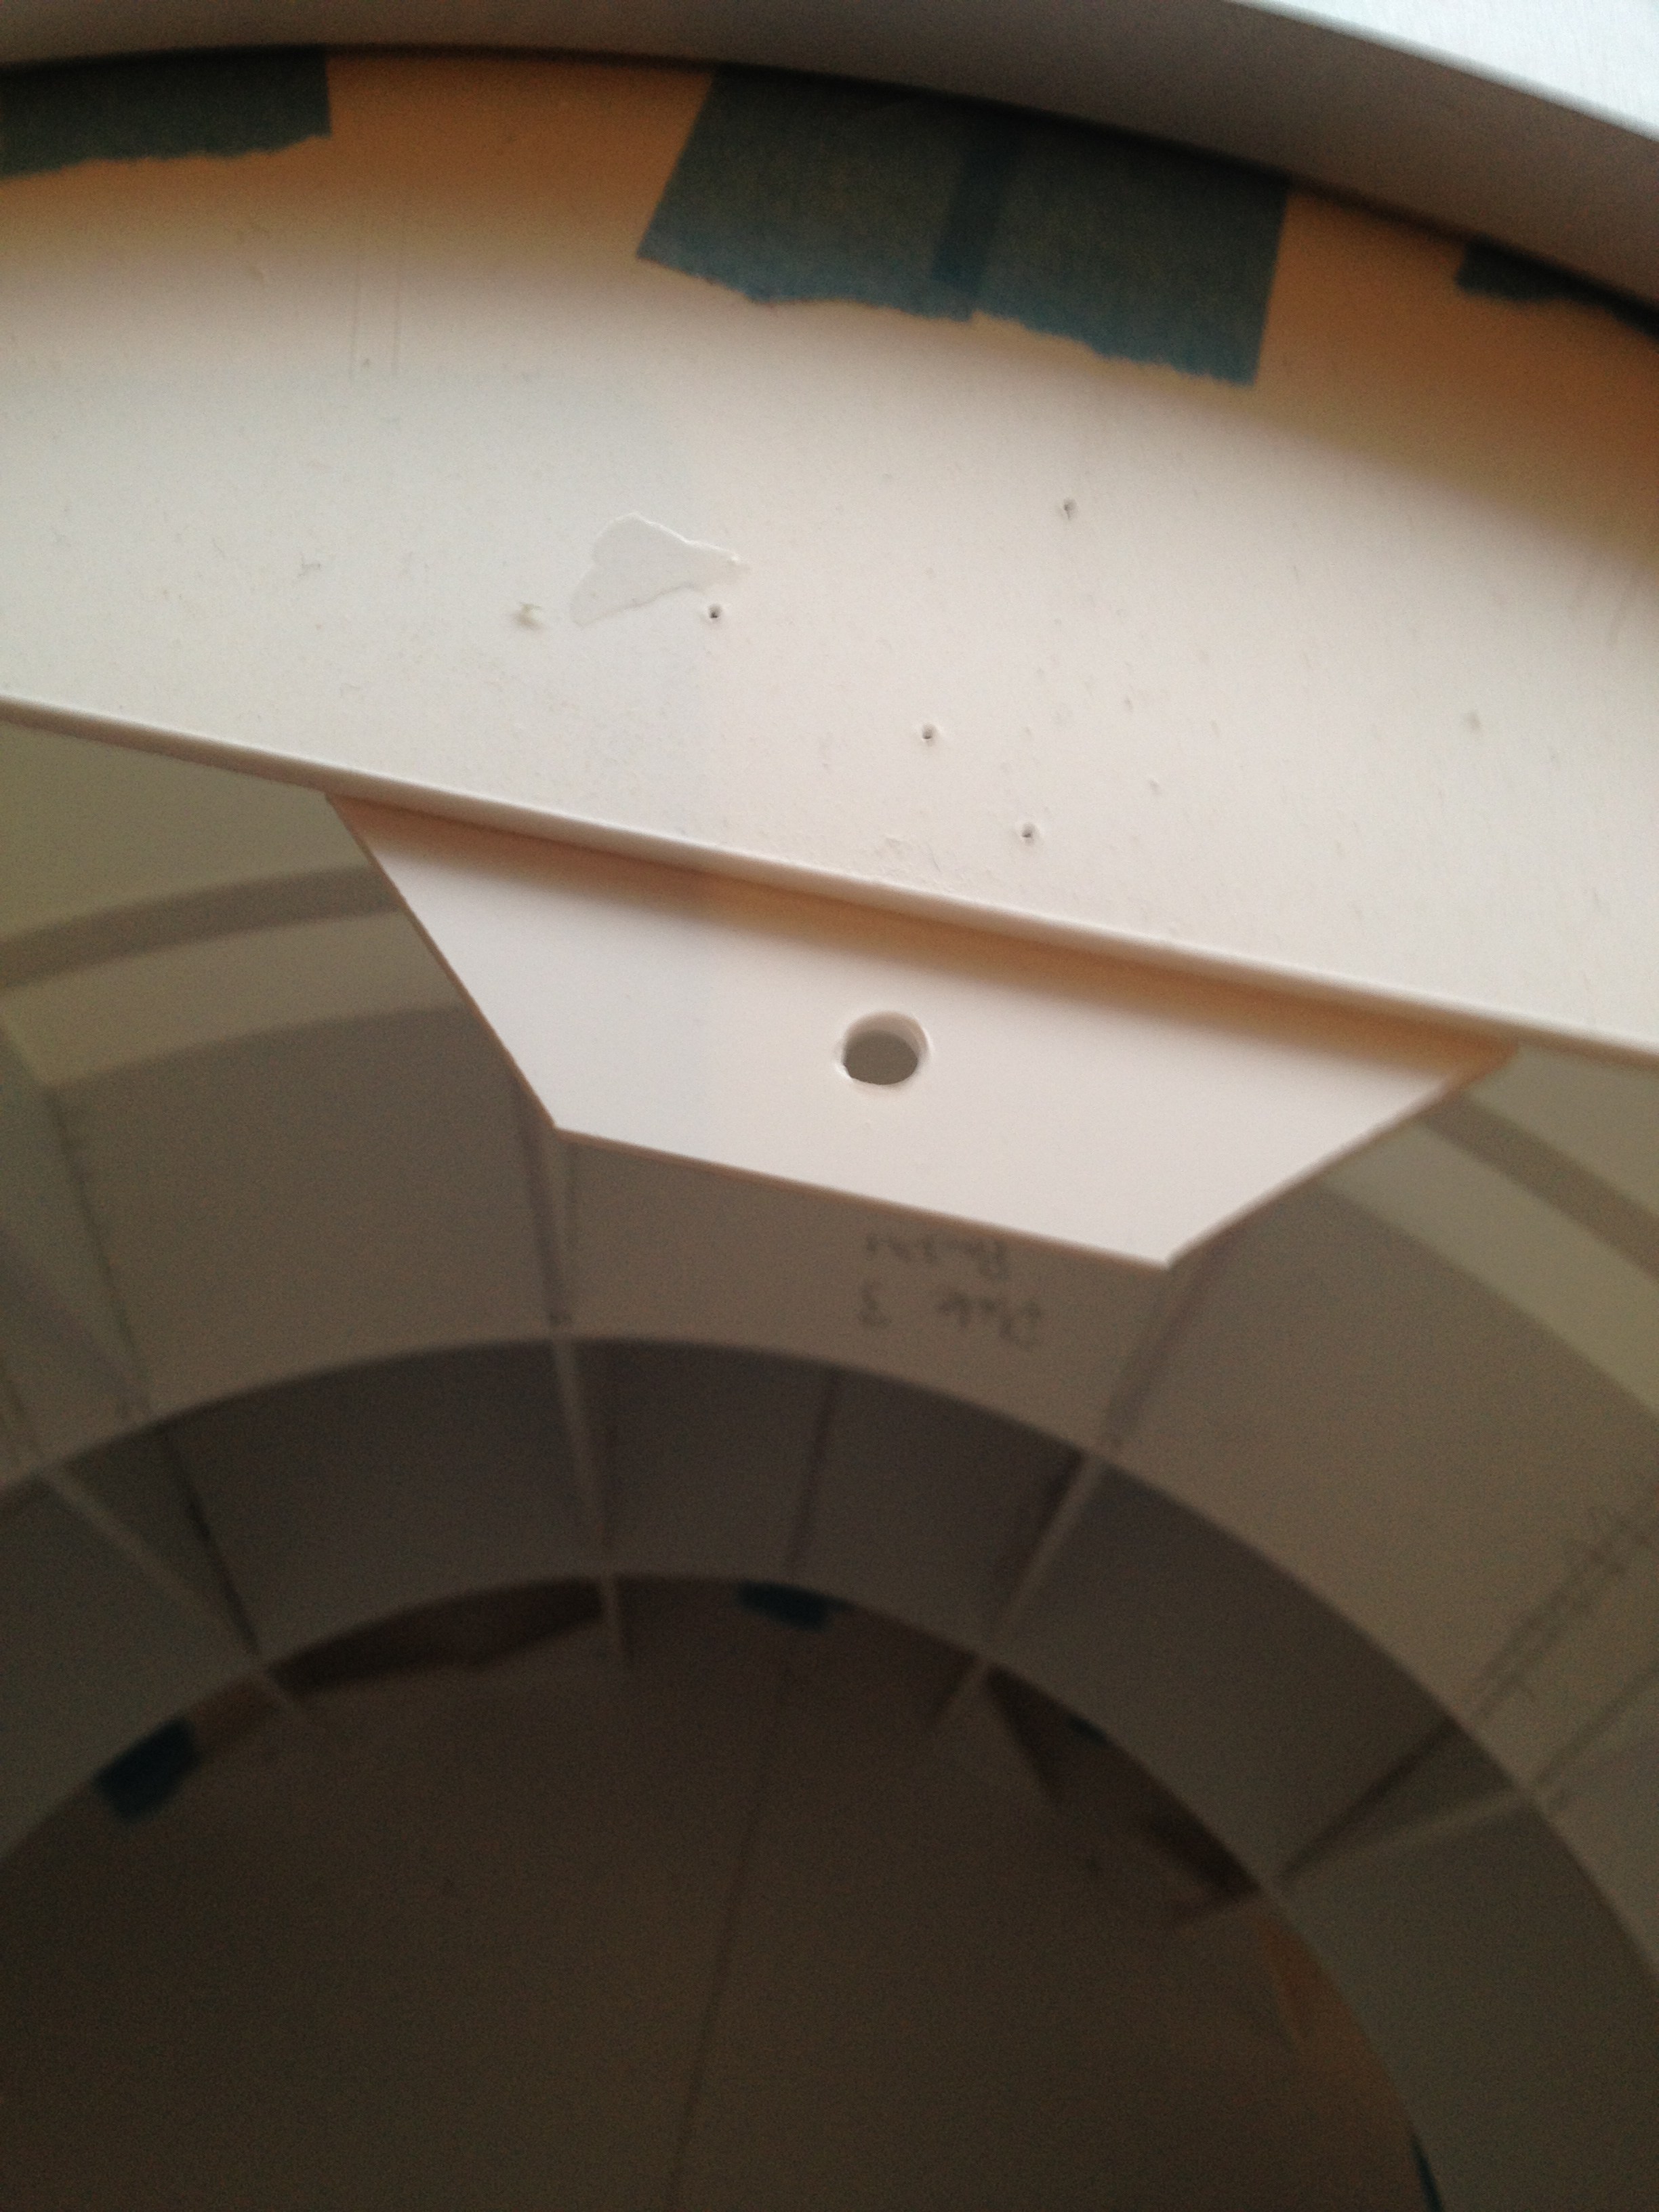
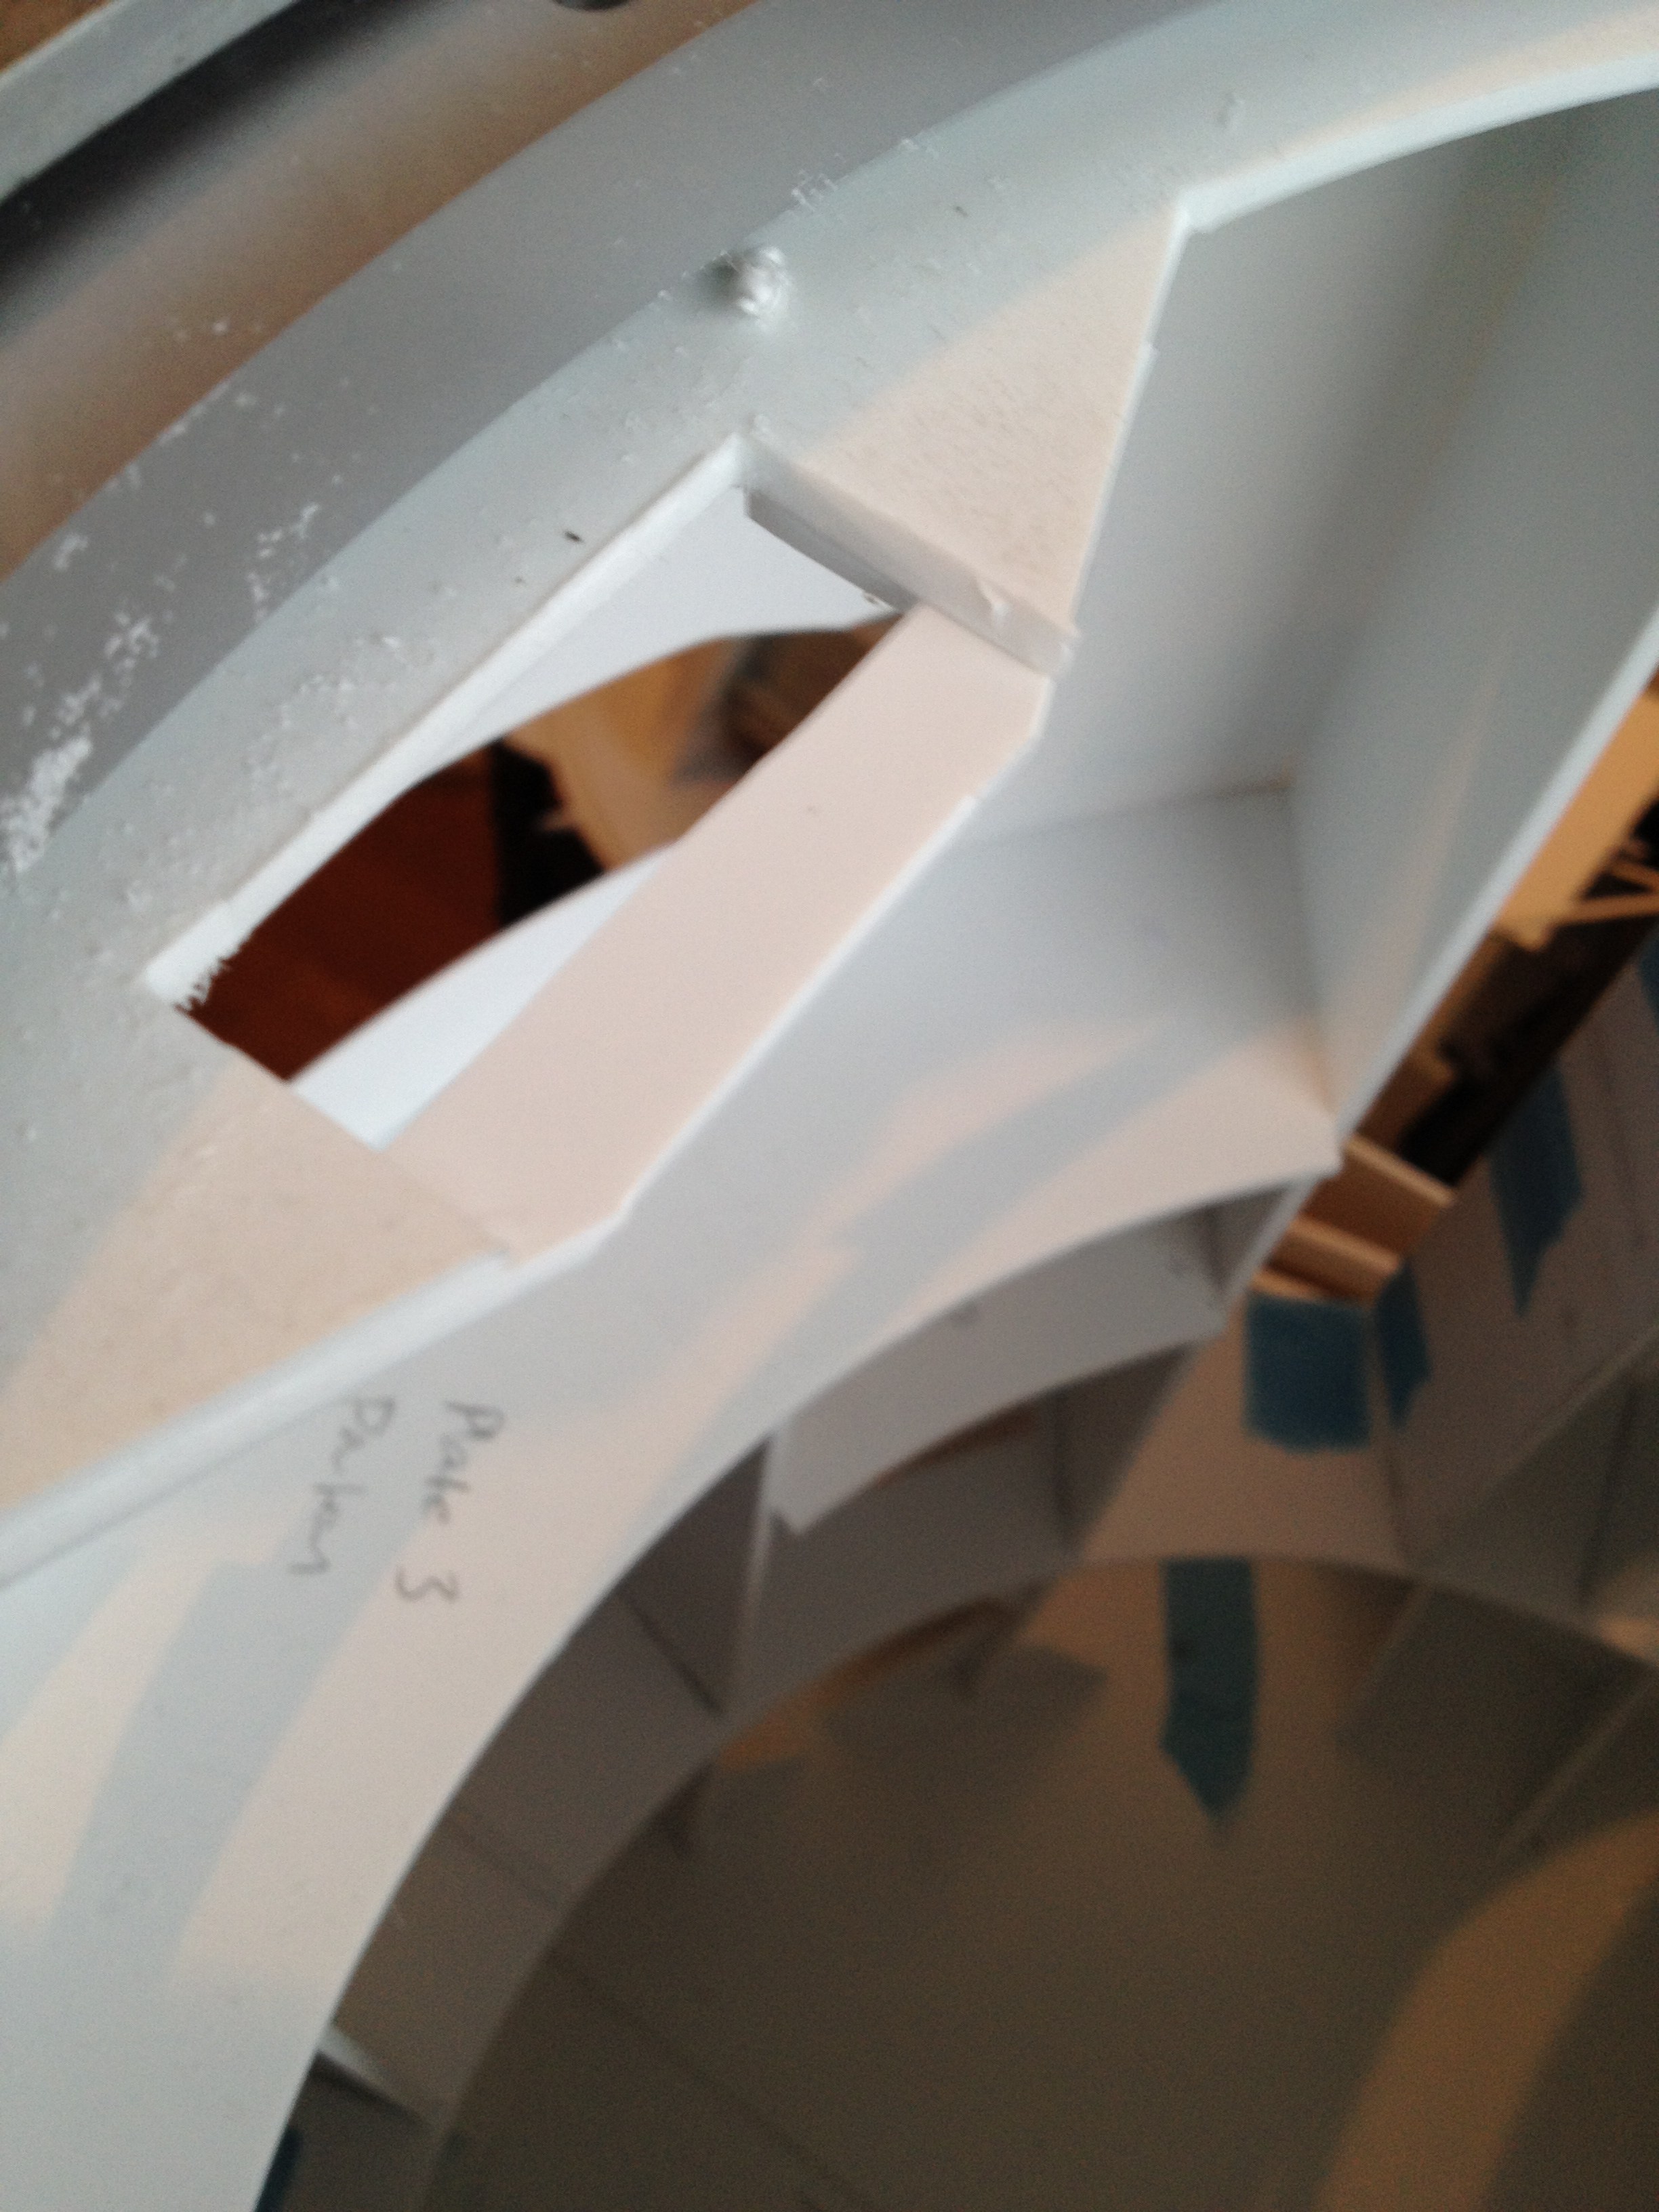
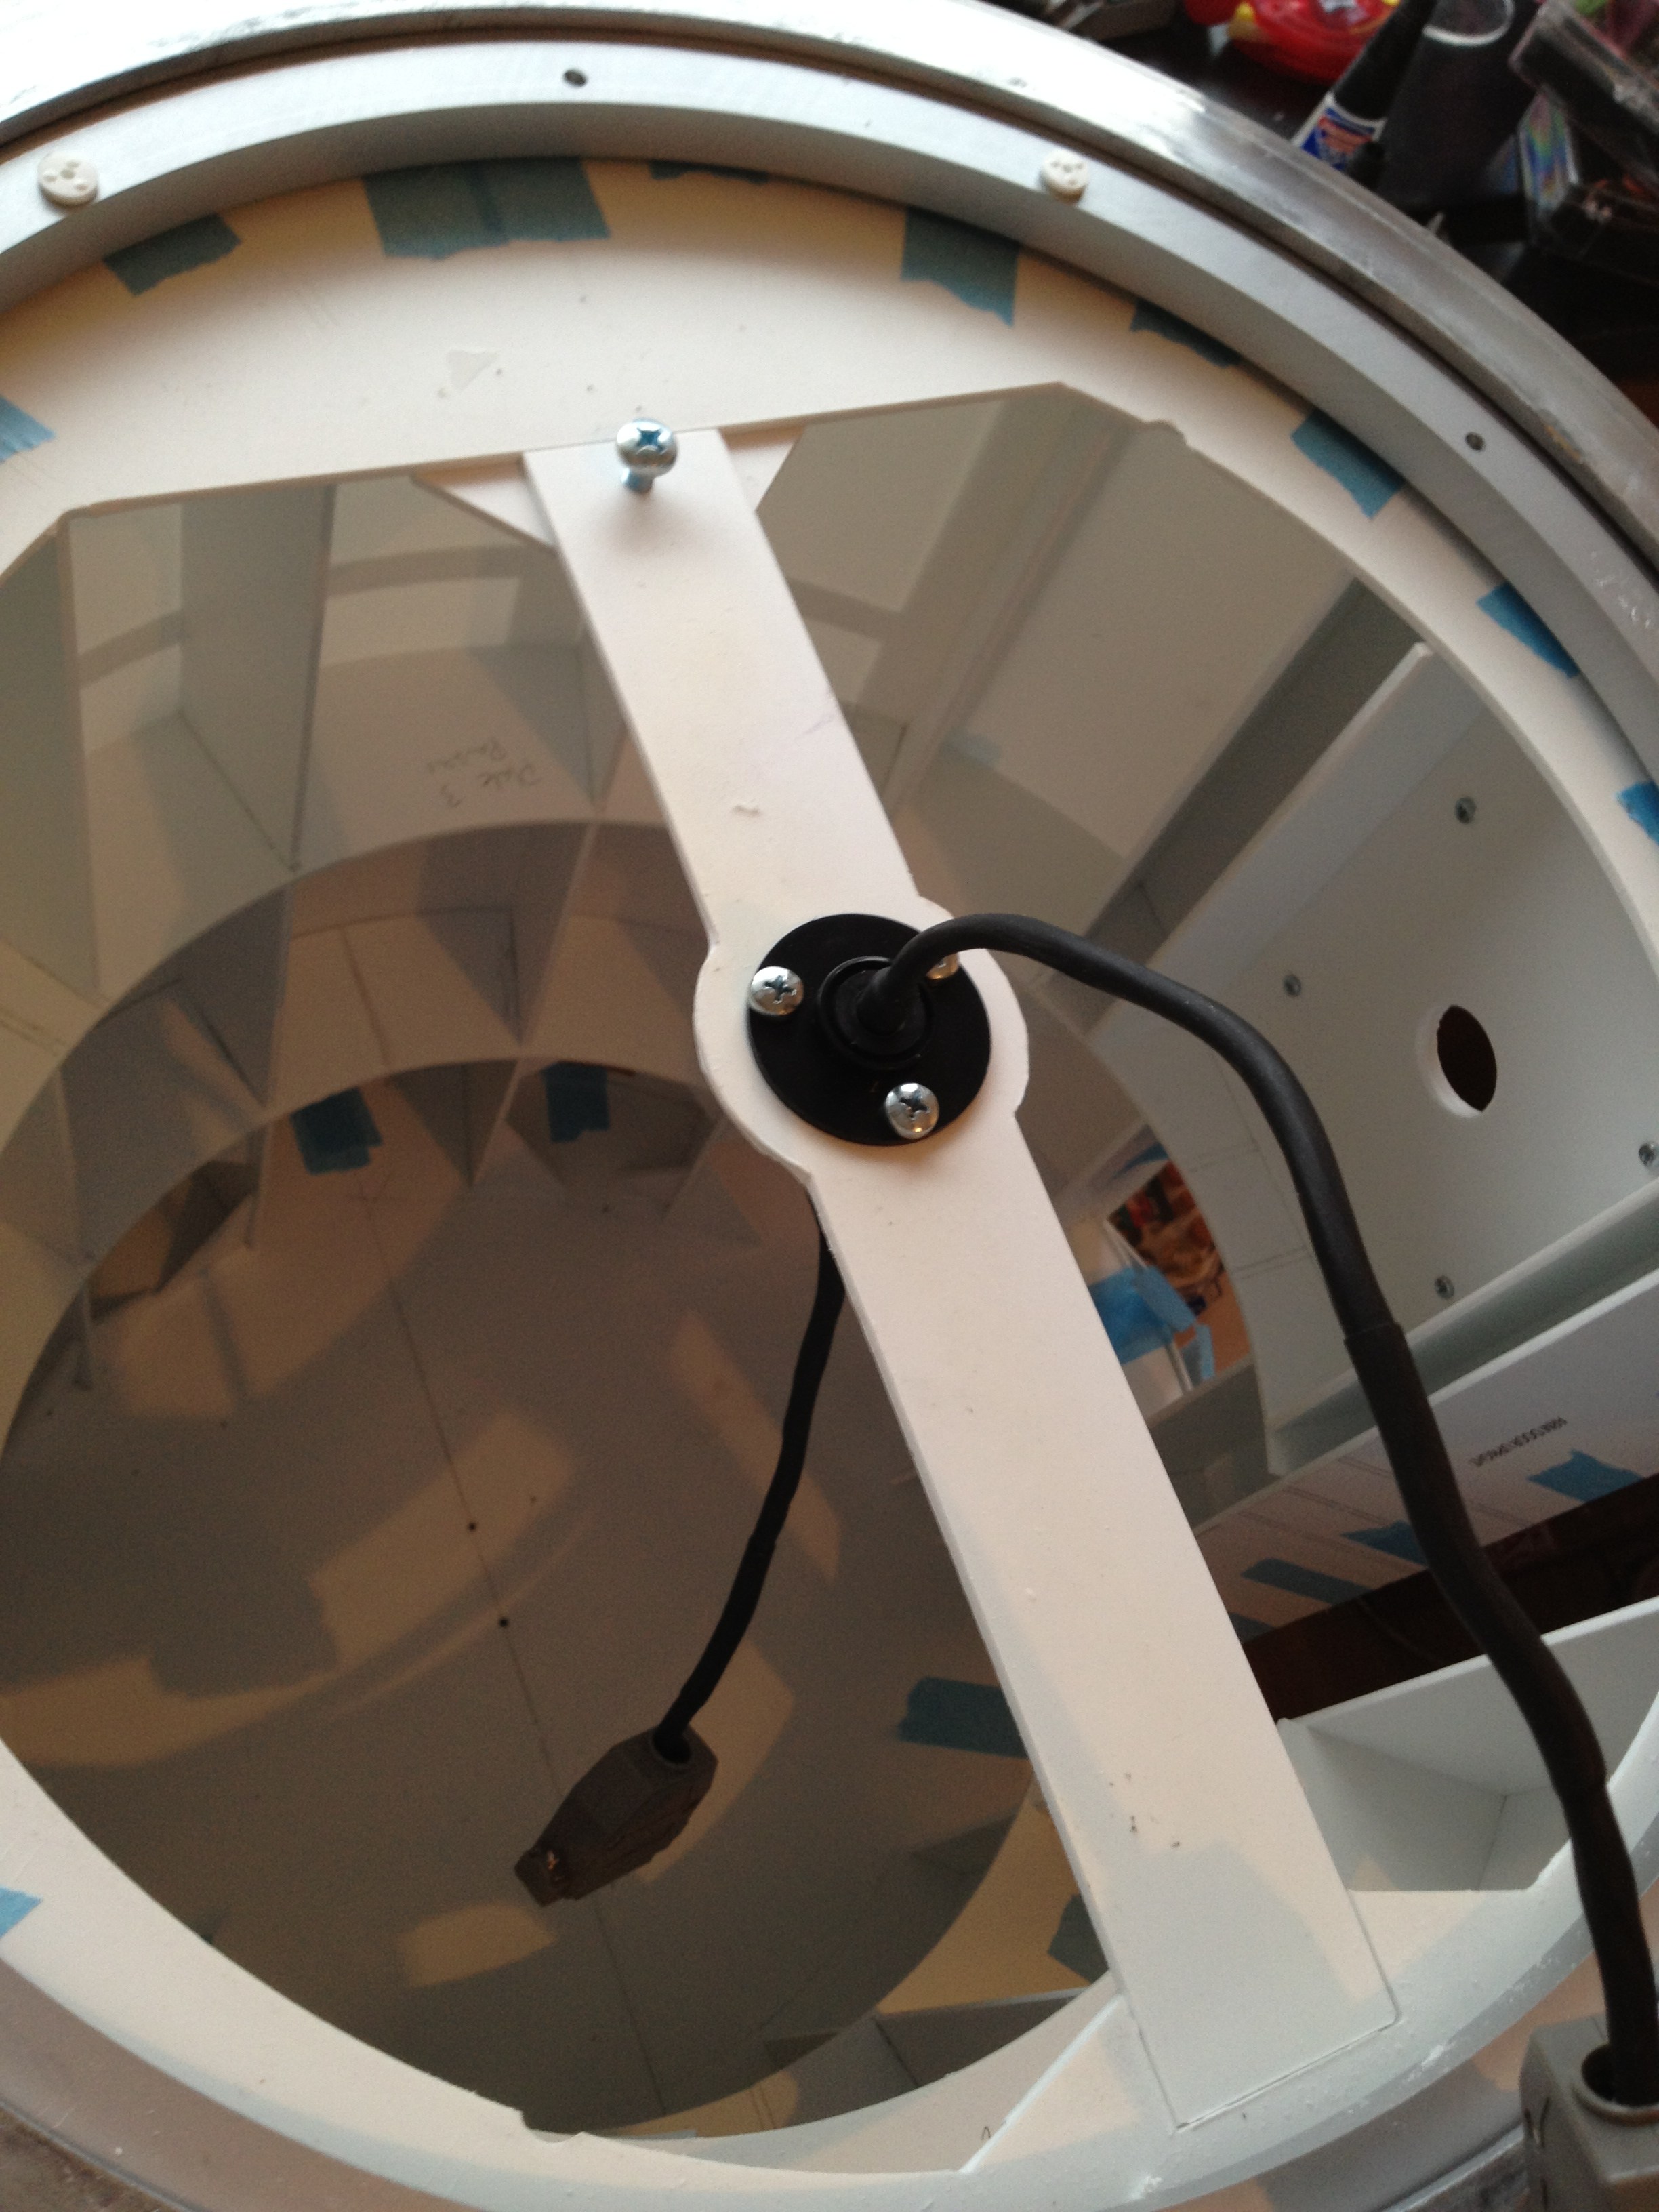
Looking under the skirt…
A lot of time over the weekend has been spent with just going over fine details. Sanding, tweaking, that sort of thing. I did start proper work on the skirt two days ago, but nothing to really show for it, but as of now, I guess it is about halfway done.

I’m going to add inner walls to the skirt, to make it look nicer, even though it is only for myself… This piece needs a good sanding before I continue working on it.
We’re Domed!
Today, I actually got around to debarring and filing the tabs off all dome panels. They have been sitting in a box for a while, and since the cut in my hand (which was way worse than the image I posted) is preventing me from doing any advanced stuff, I spent a few hours in front of the tv filing away…
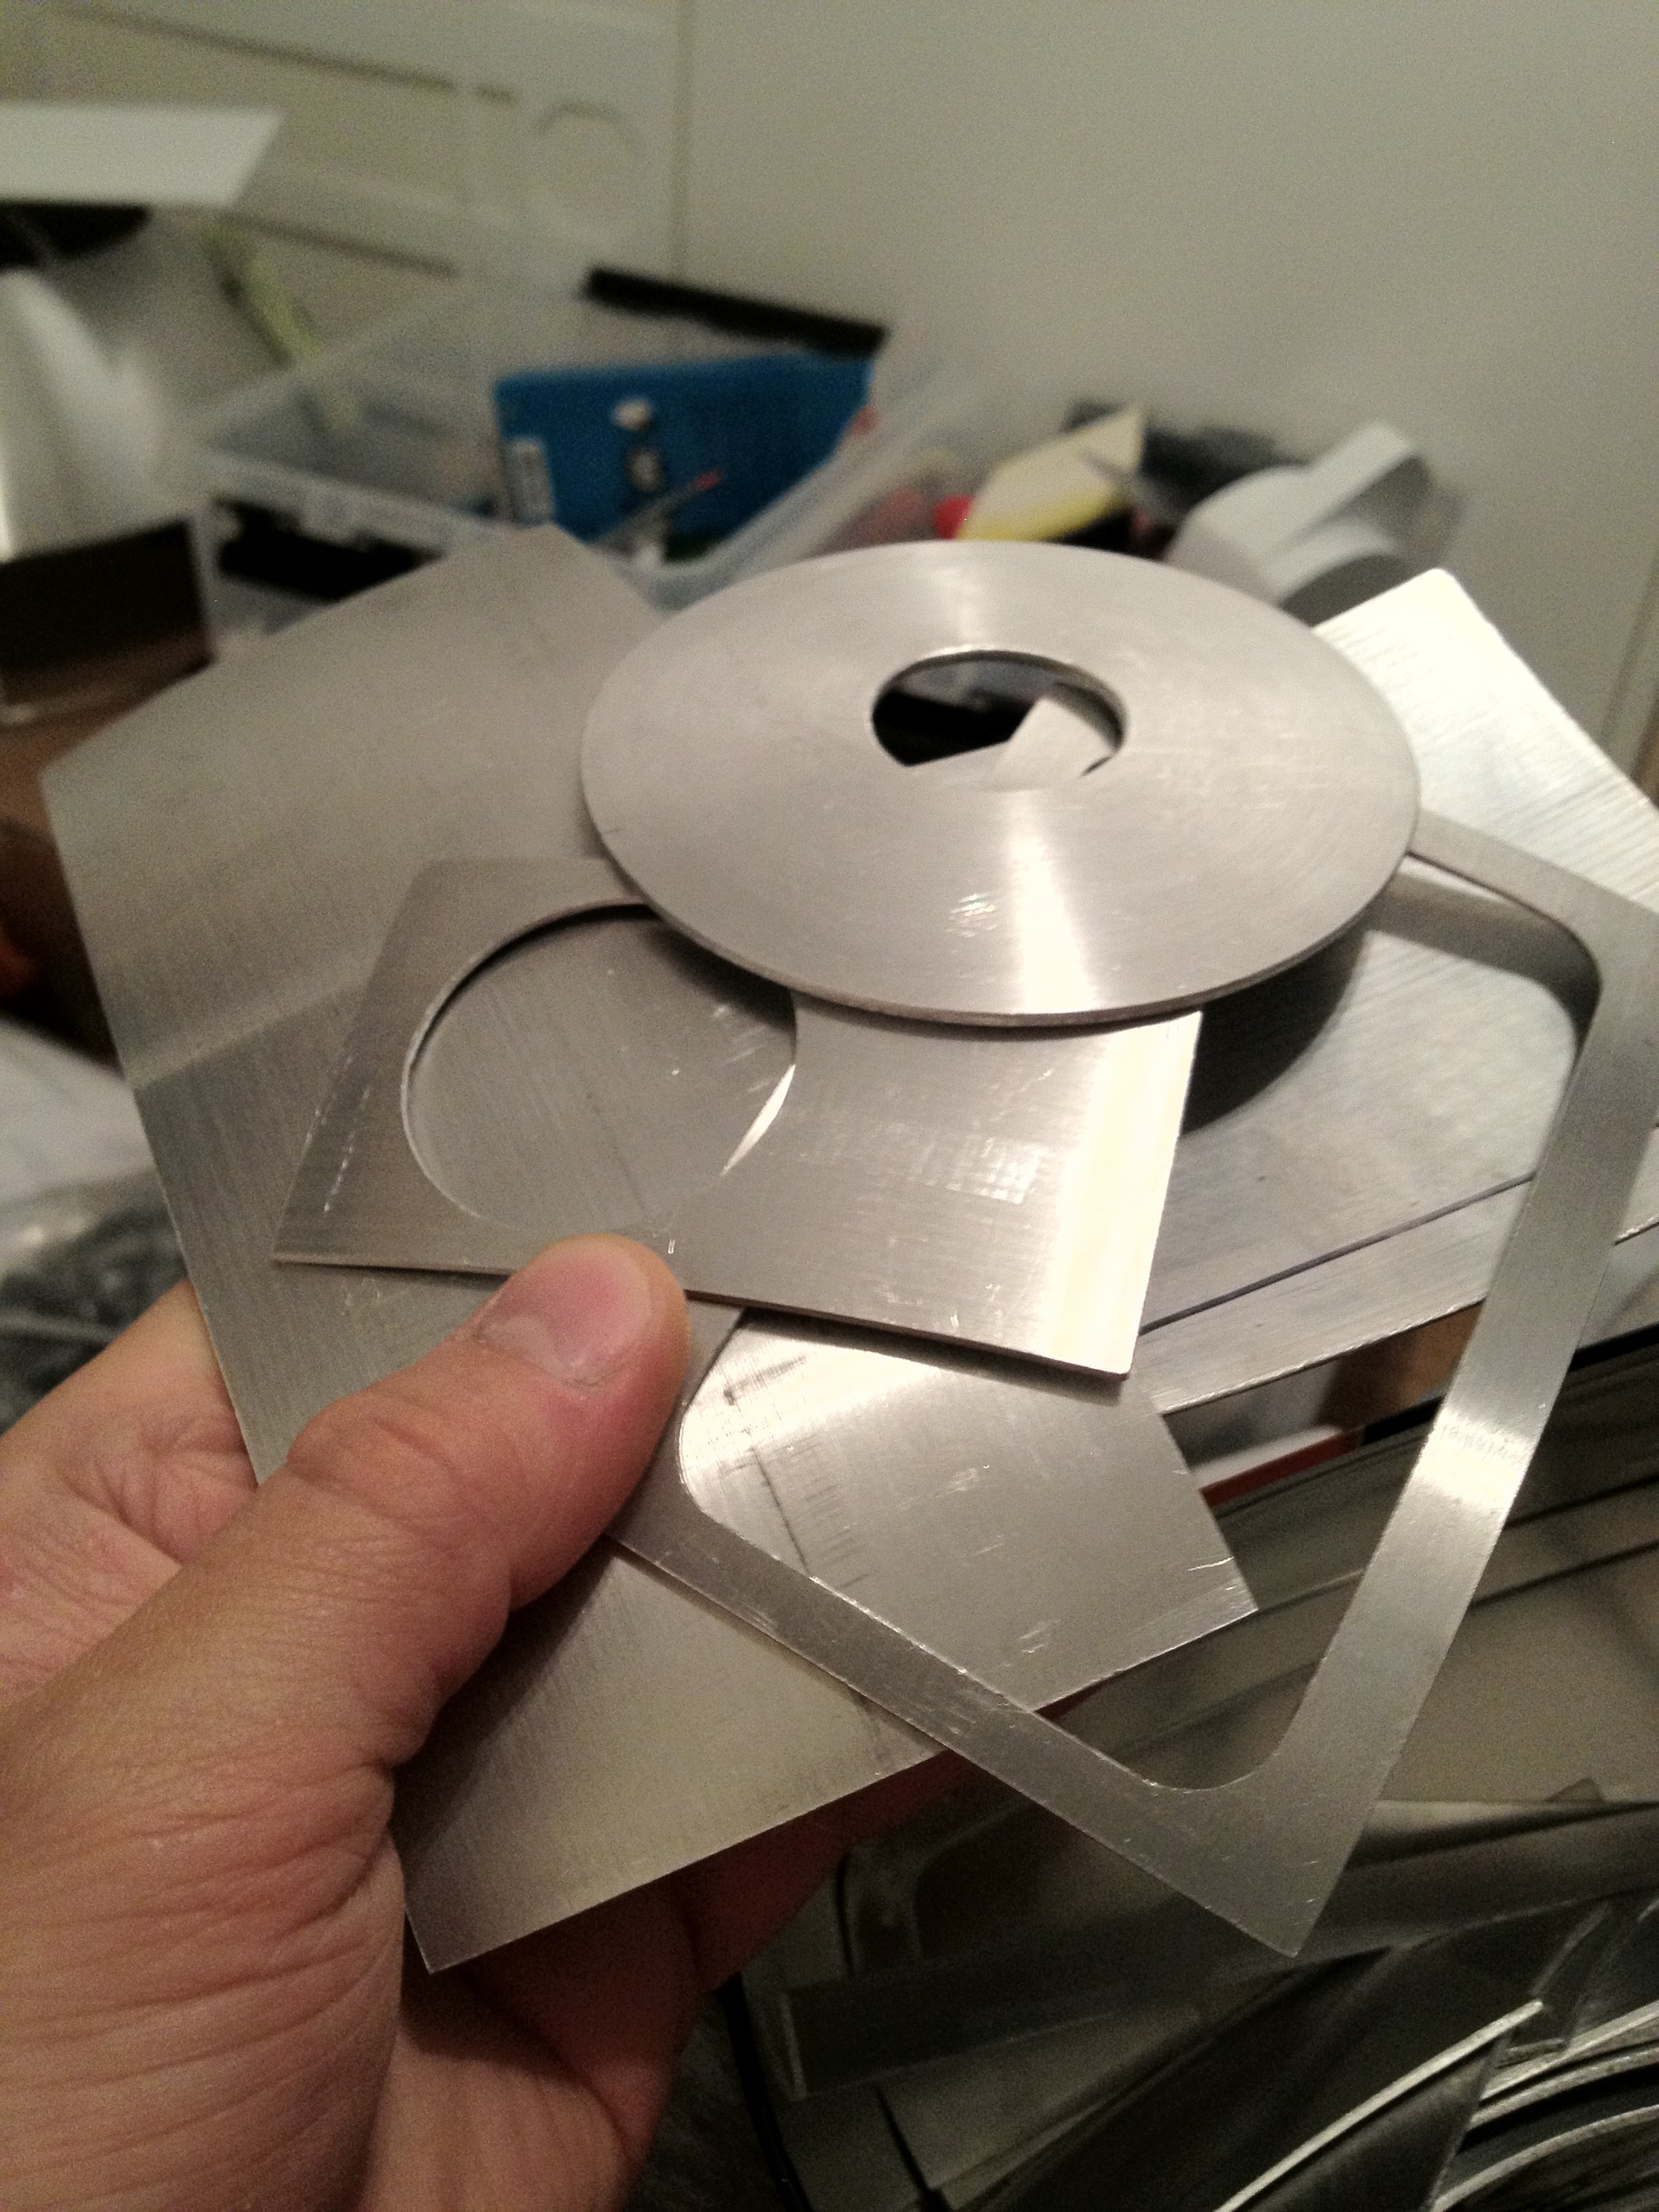
Once done, I had to test fit the rear Logic Display, and it needed a little extra filing to fit, but it fits like a glove now:
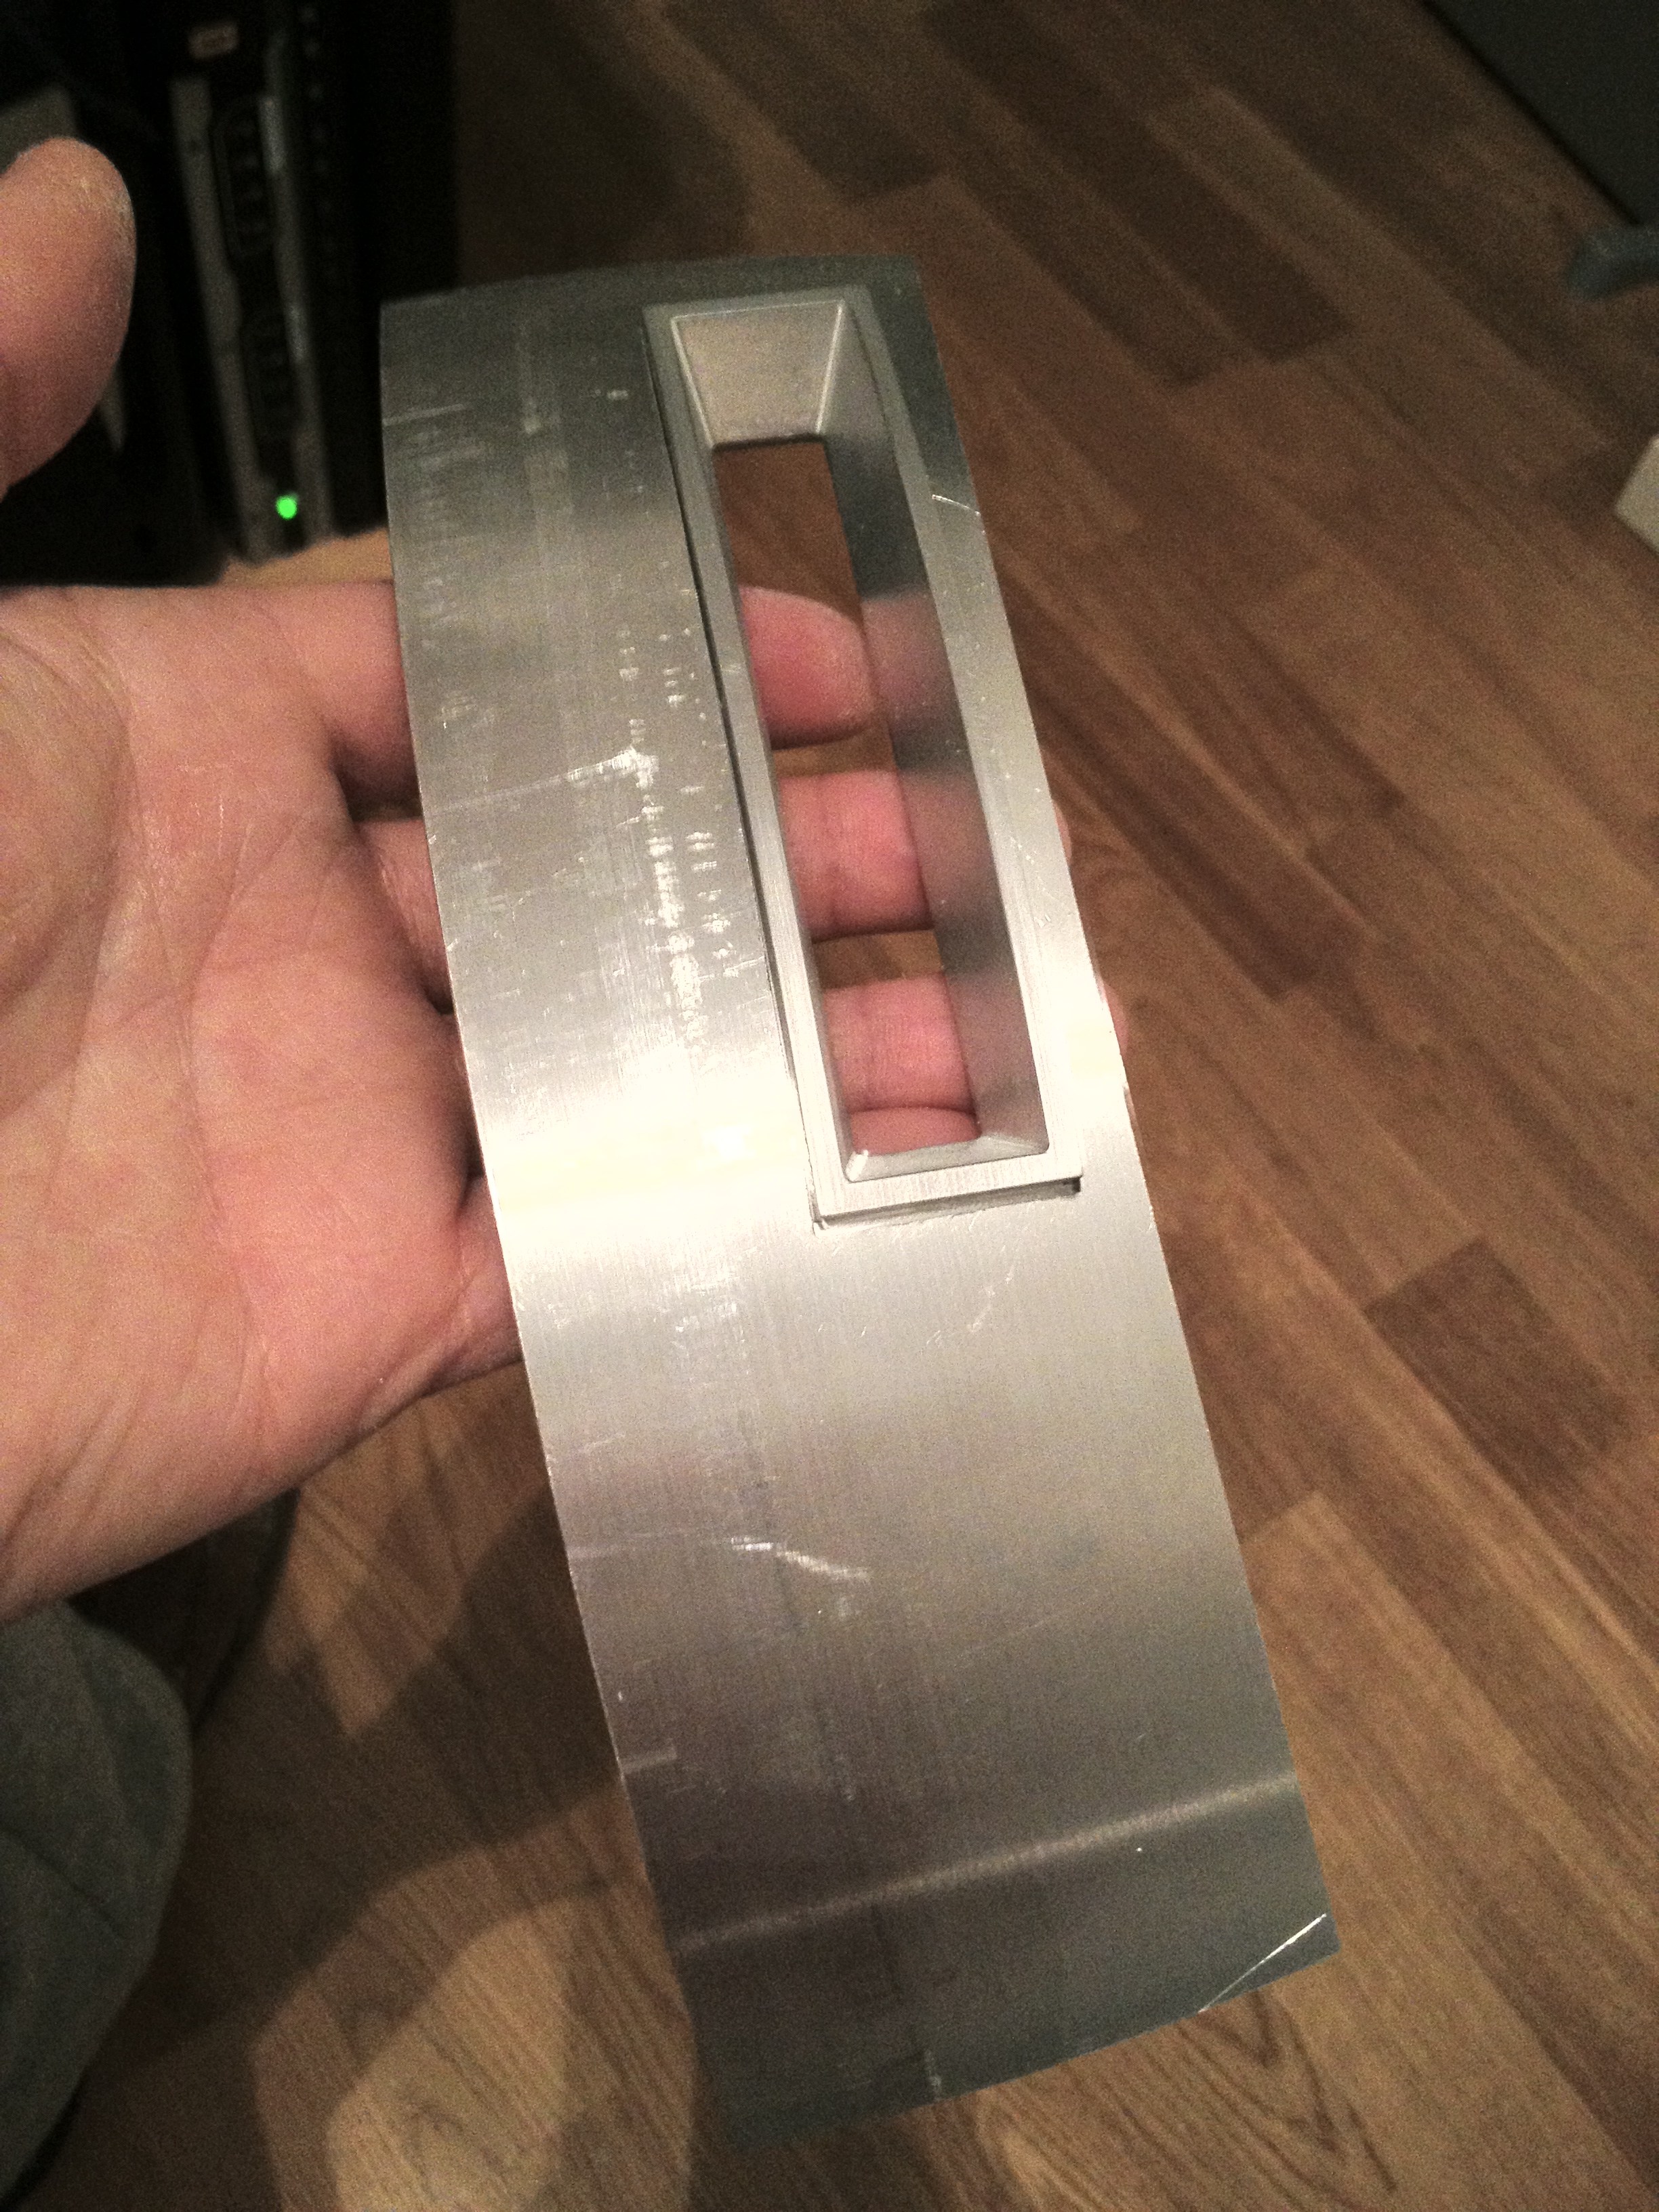
I still need to sand these to get rid of some of the bigger marks from the manufacturing, but that will be at a (much) later date .. 😉
Footwork:
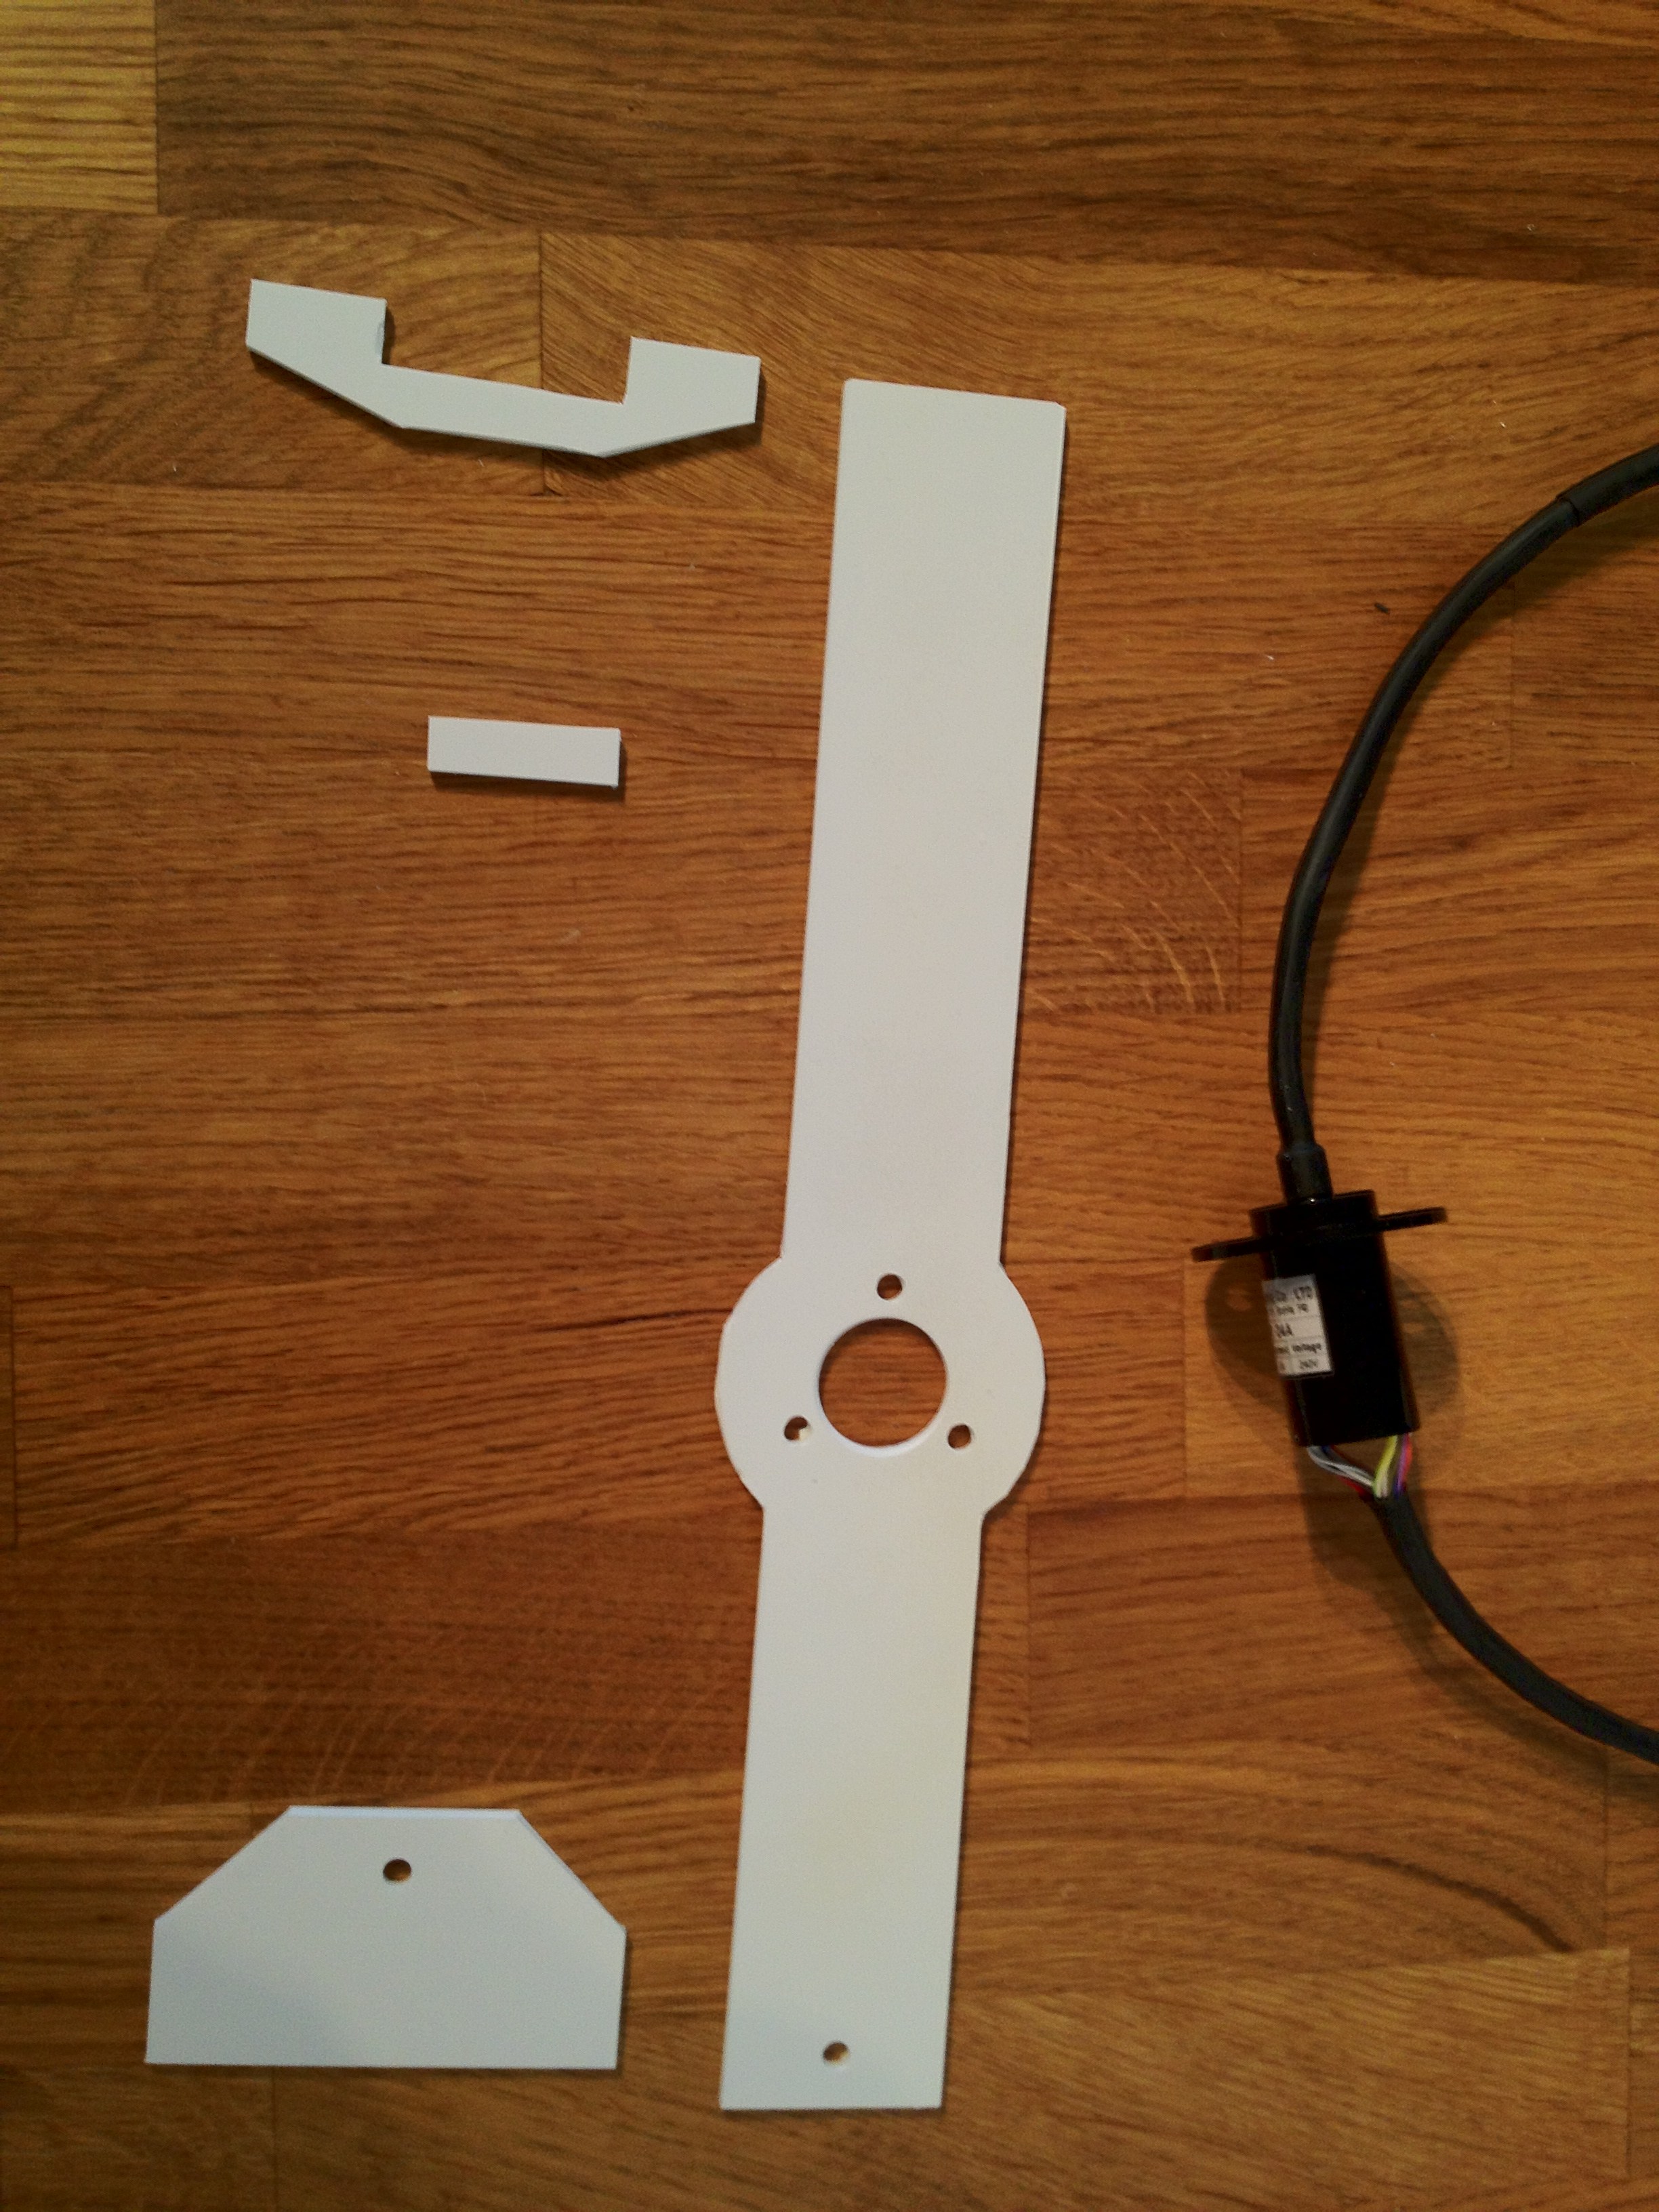
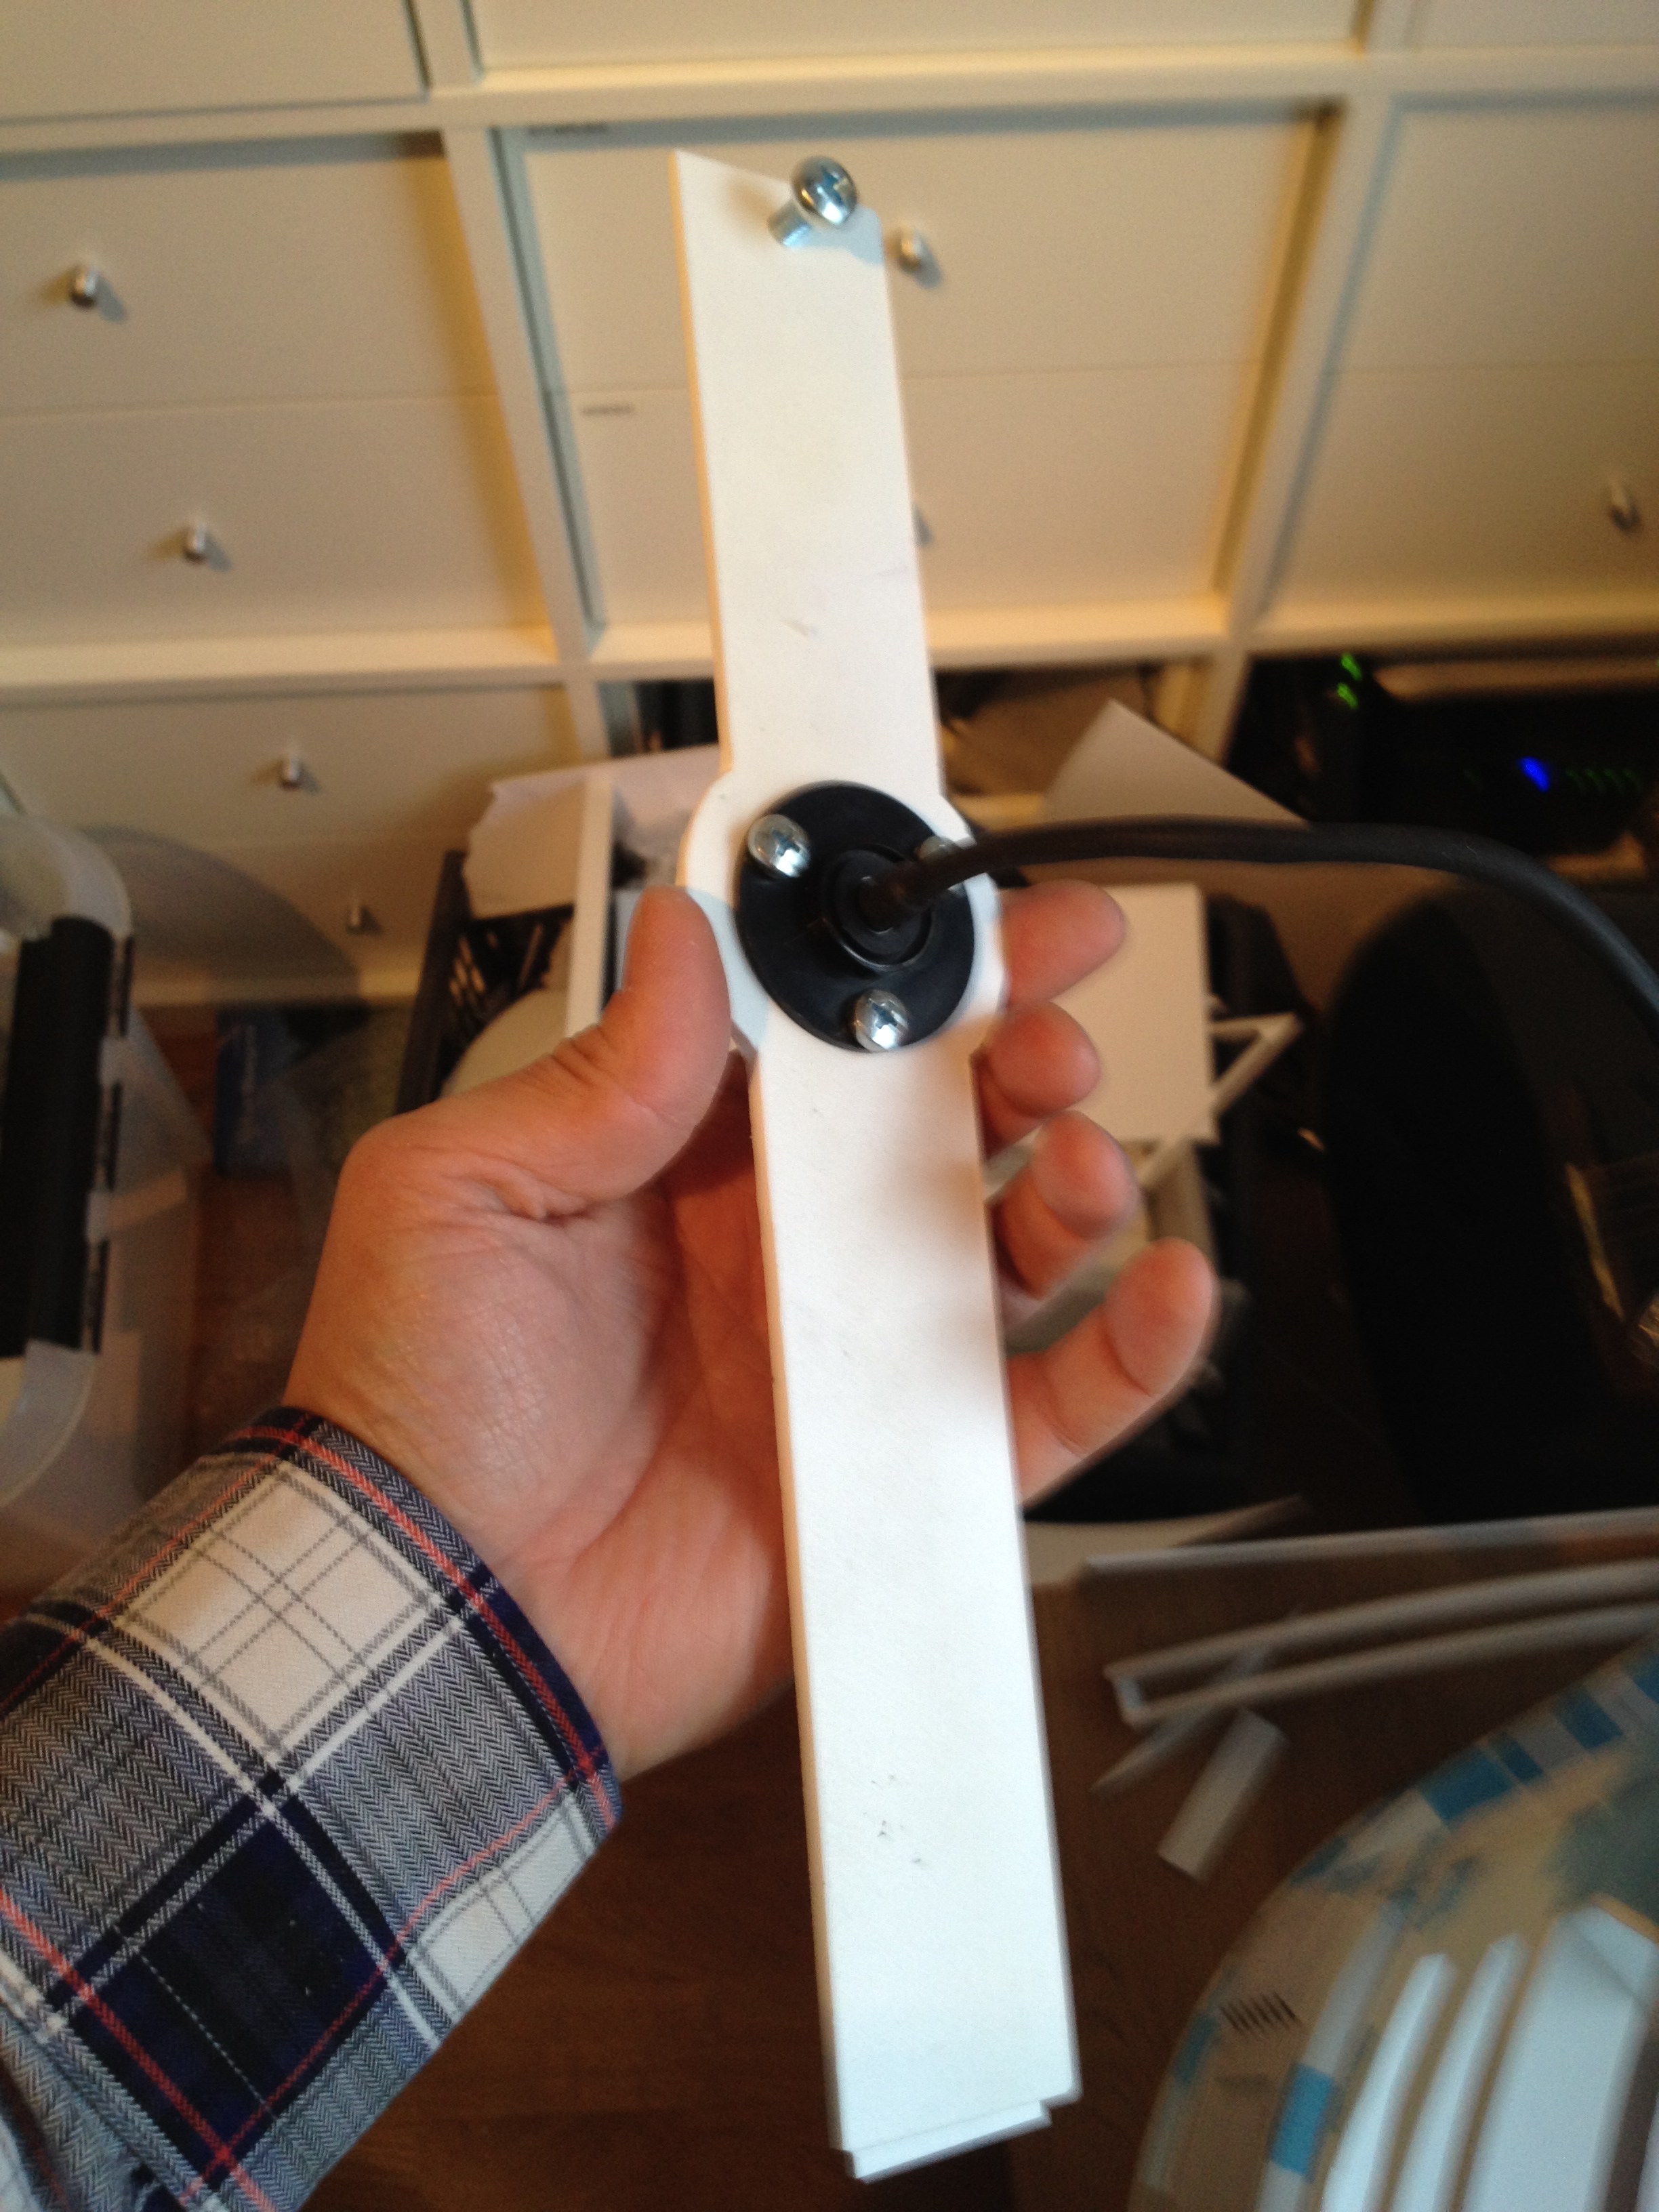
So, I had this idea of how I should attach the bolts that holds my main feet in place, and since I use foot shells that are hard to get off, and also slightly difficult to reach into, I decided to use T-nuts on one side, thus leaving plenty of room on the battery box side, and that being the only place I need to do anything on when attaching the feet!
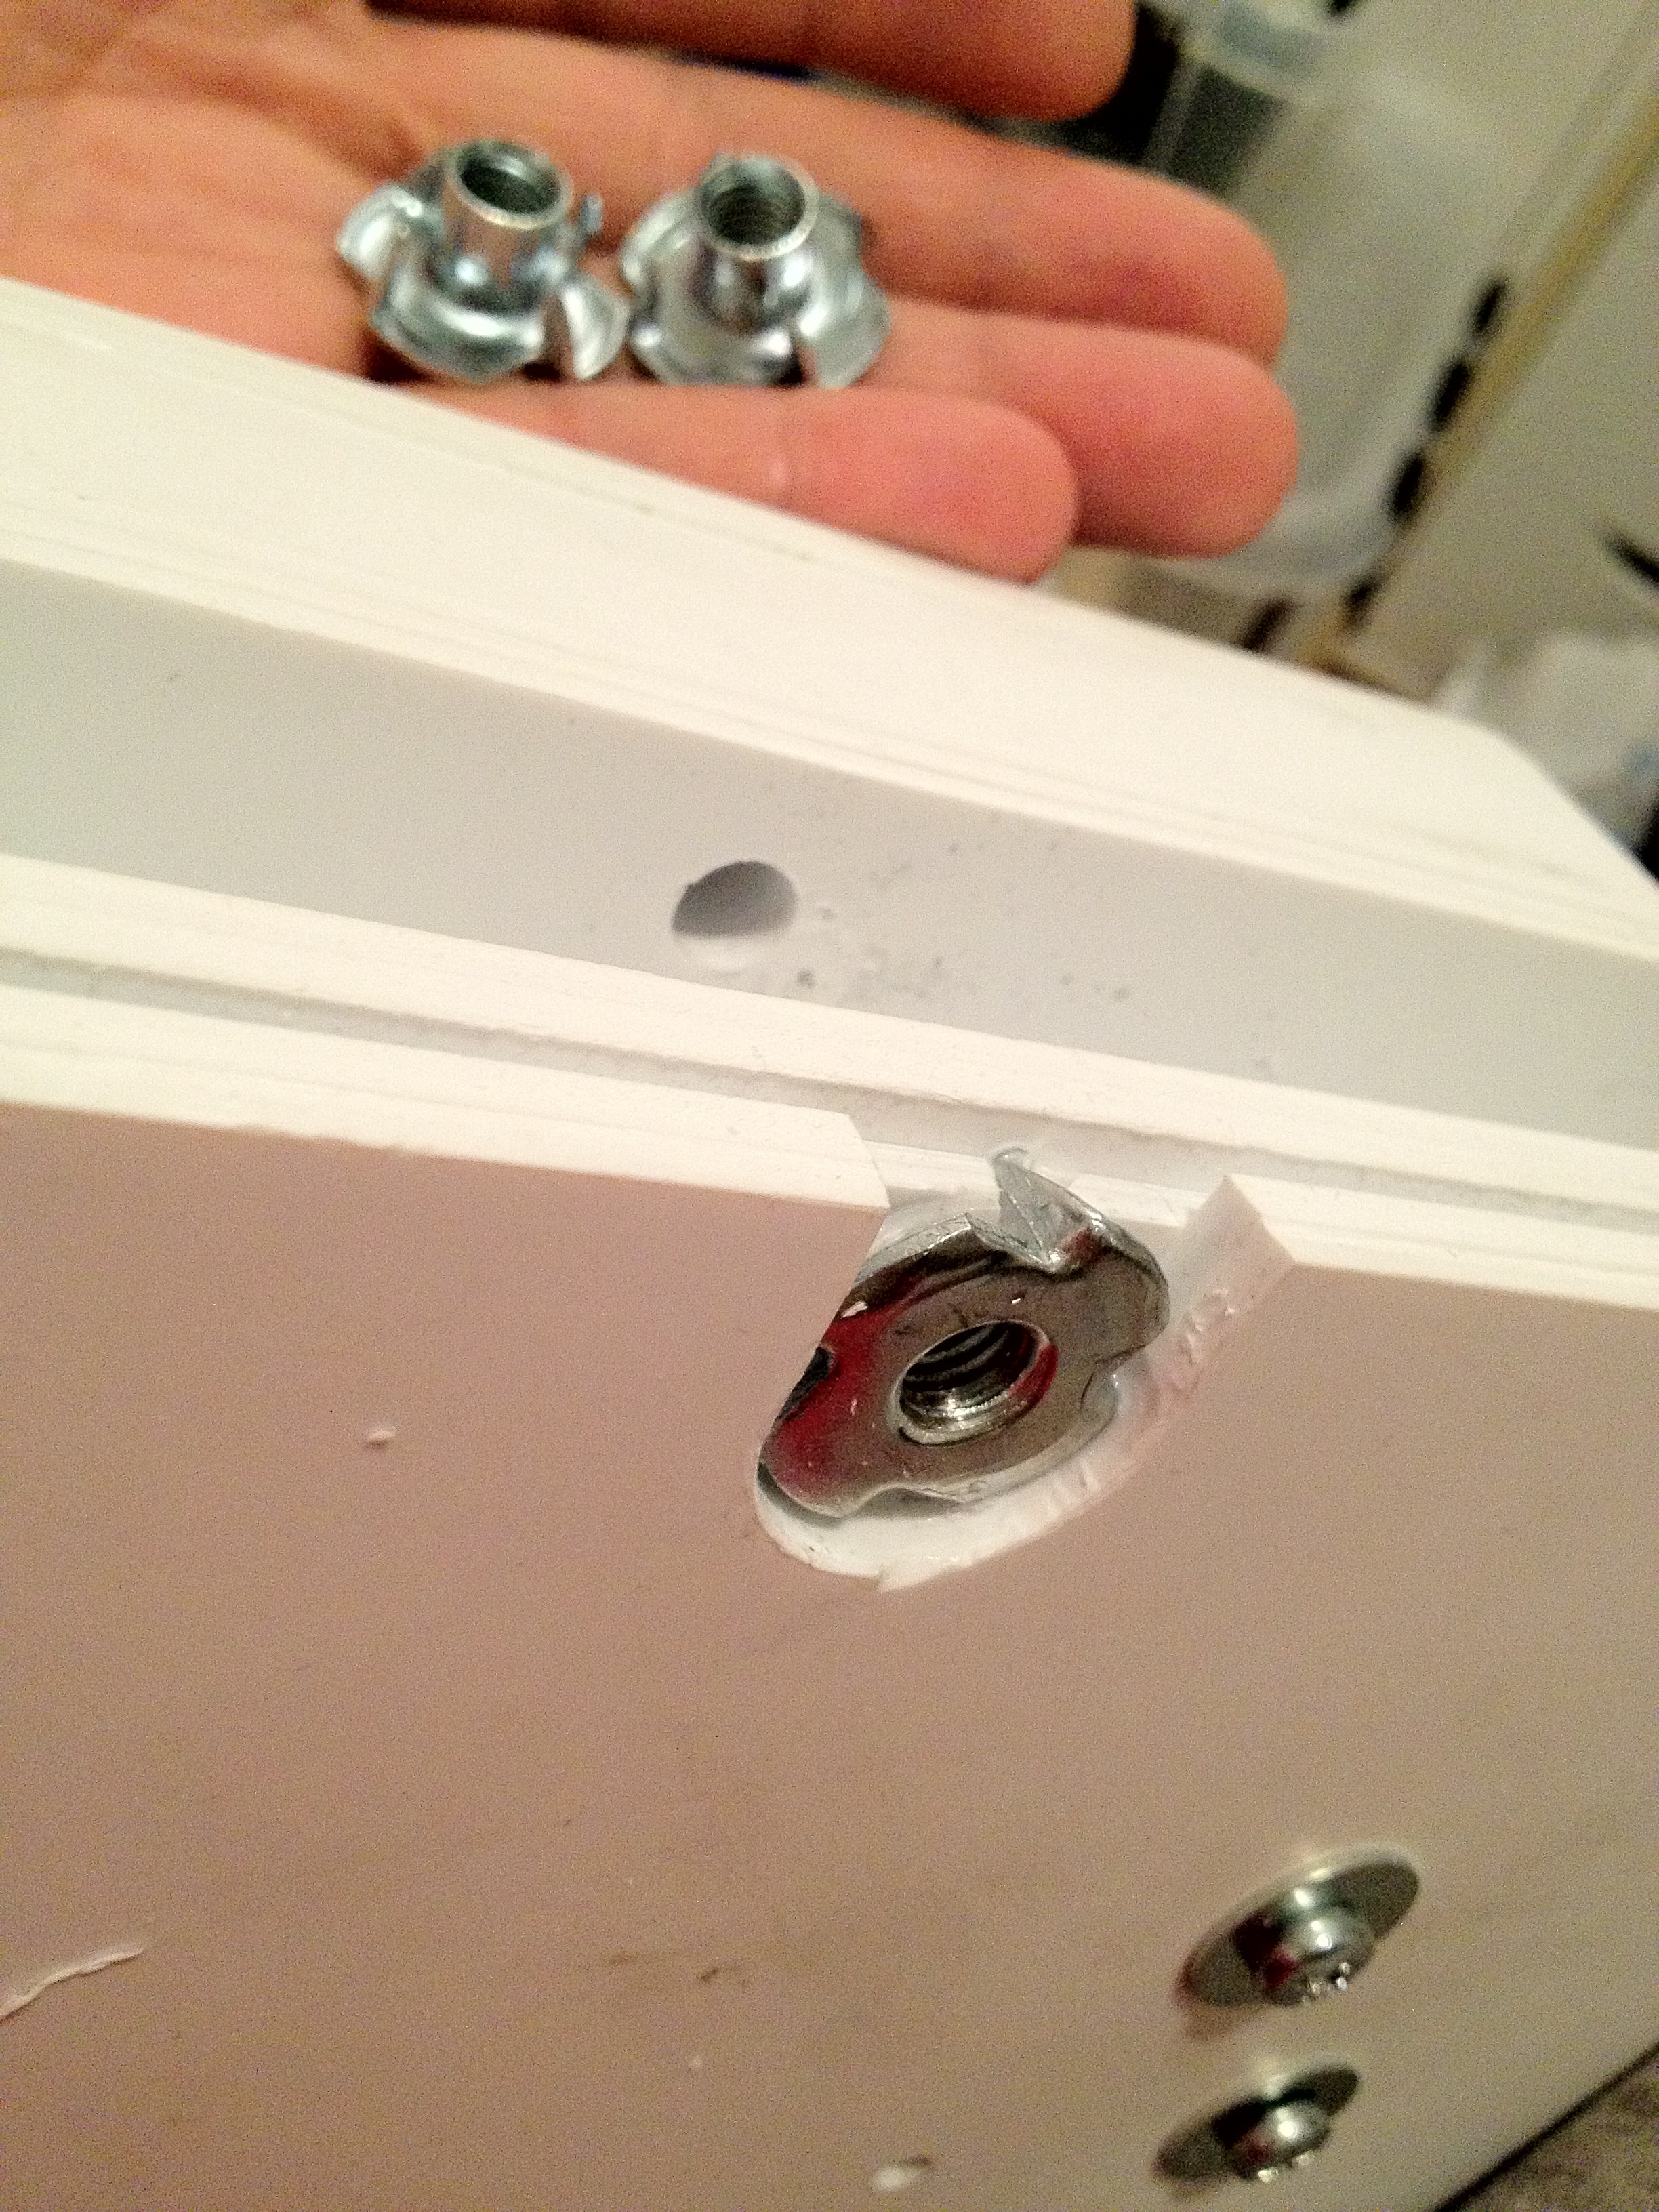
Since the feet is such an important area, I really did not want to do something that would weaken them, but I still have 9mm of styrene on each side of the foot “trench”, so I think I should be good =) Can’t wait to try them out for real!
Legging it!
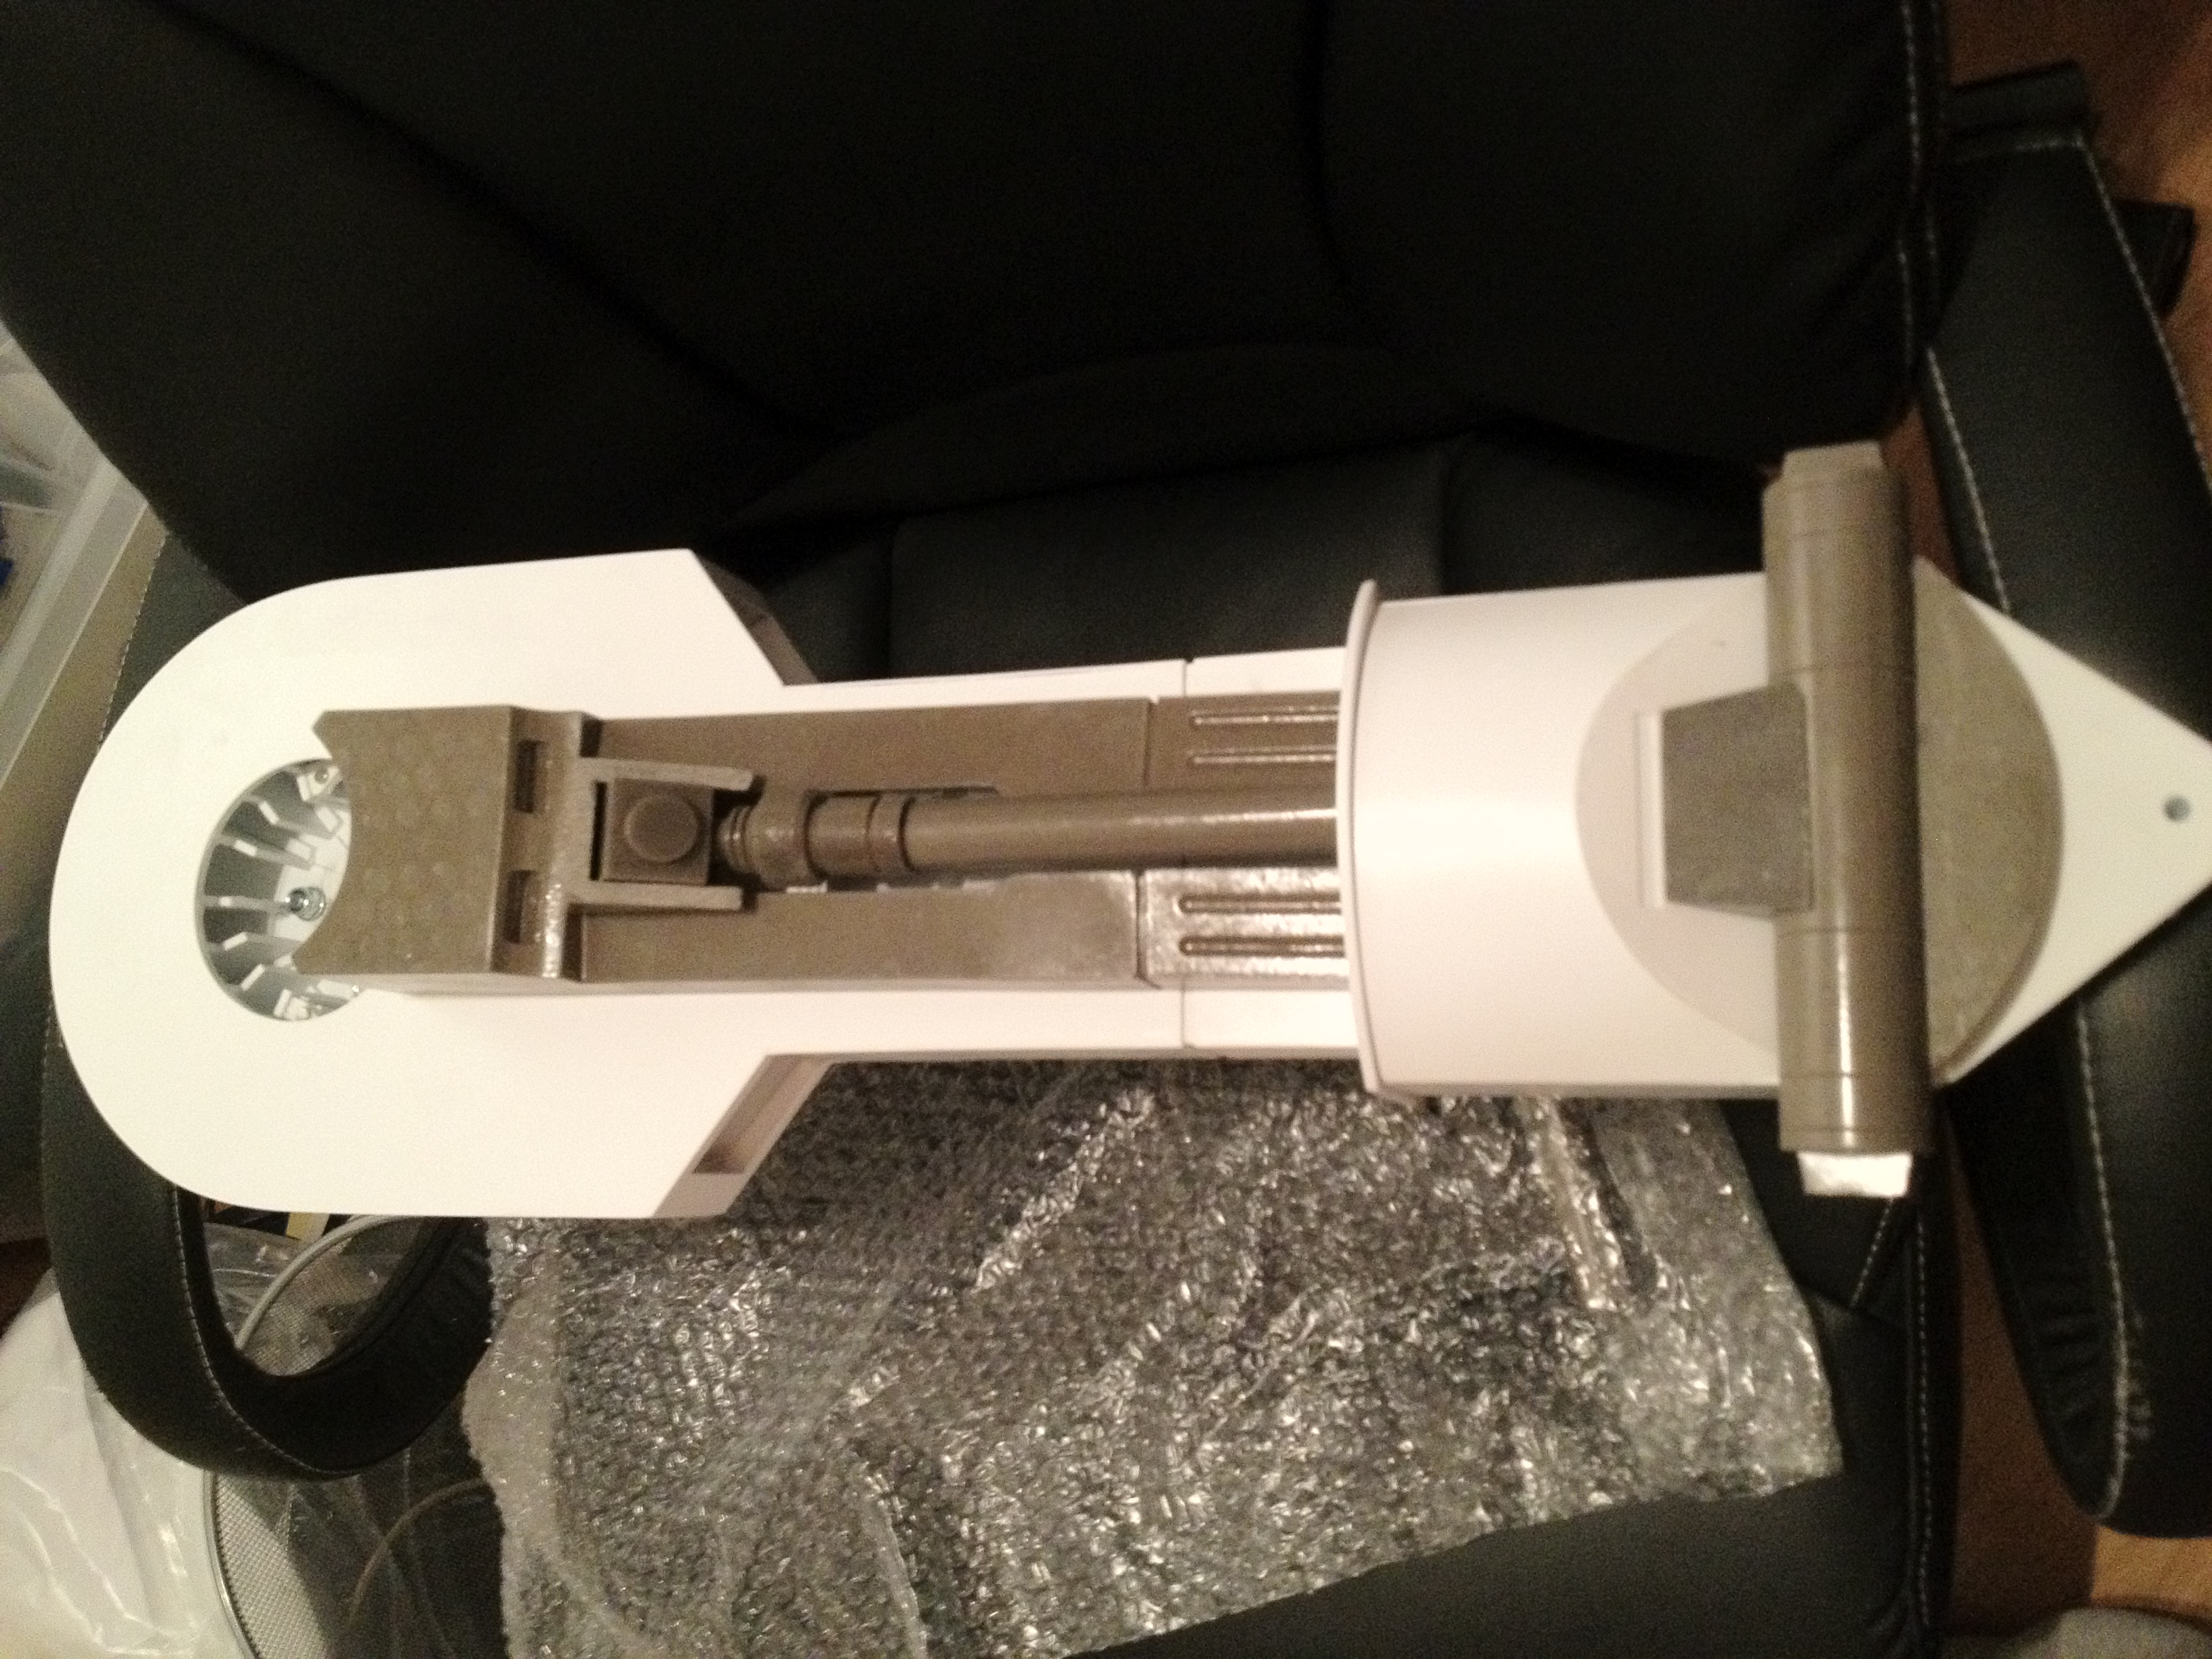
I just had to try … get a feel for what they will look like! horseshoes is the next area where I will start constructing after my skirt is done… I think… unless I actually make the second foot shell first. This will look so much better once I get the aluminium leg strut, that should arrive in a few days! I’m also thinking about having someone make me an aluminum version of the plate that the booster covers and leg struts rests upon.
Anyway, Since I had skinned my ankle all around, the resin tube that goes across the ankle is slightly too small, and I either need to scratch build one (easy) or dremel it up a bit. I’m leaning towards scratch building!
Thinking outside the Box
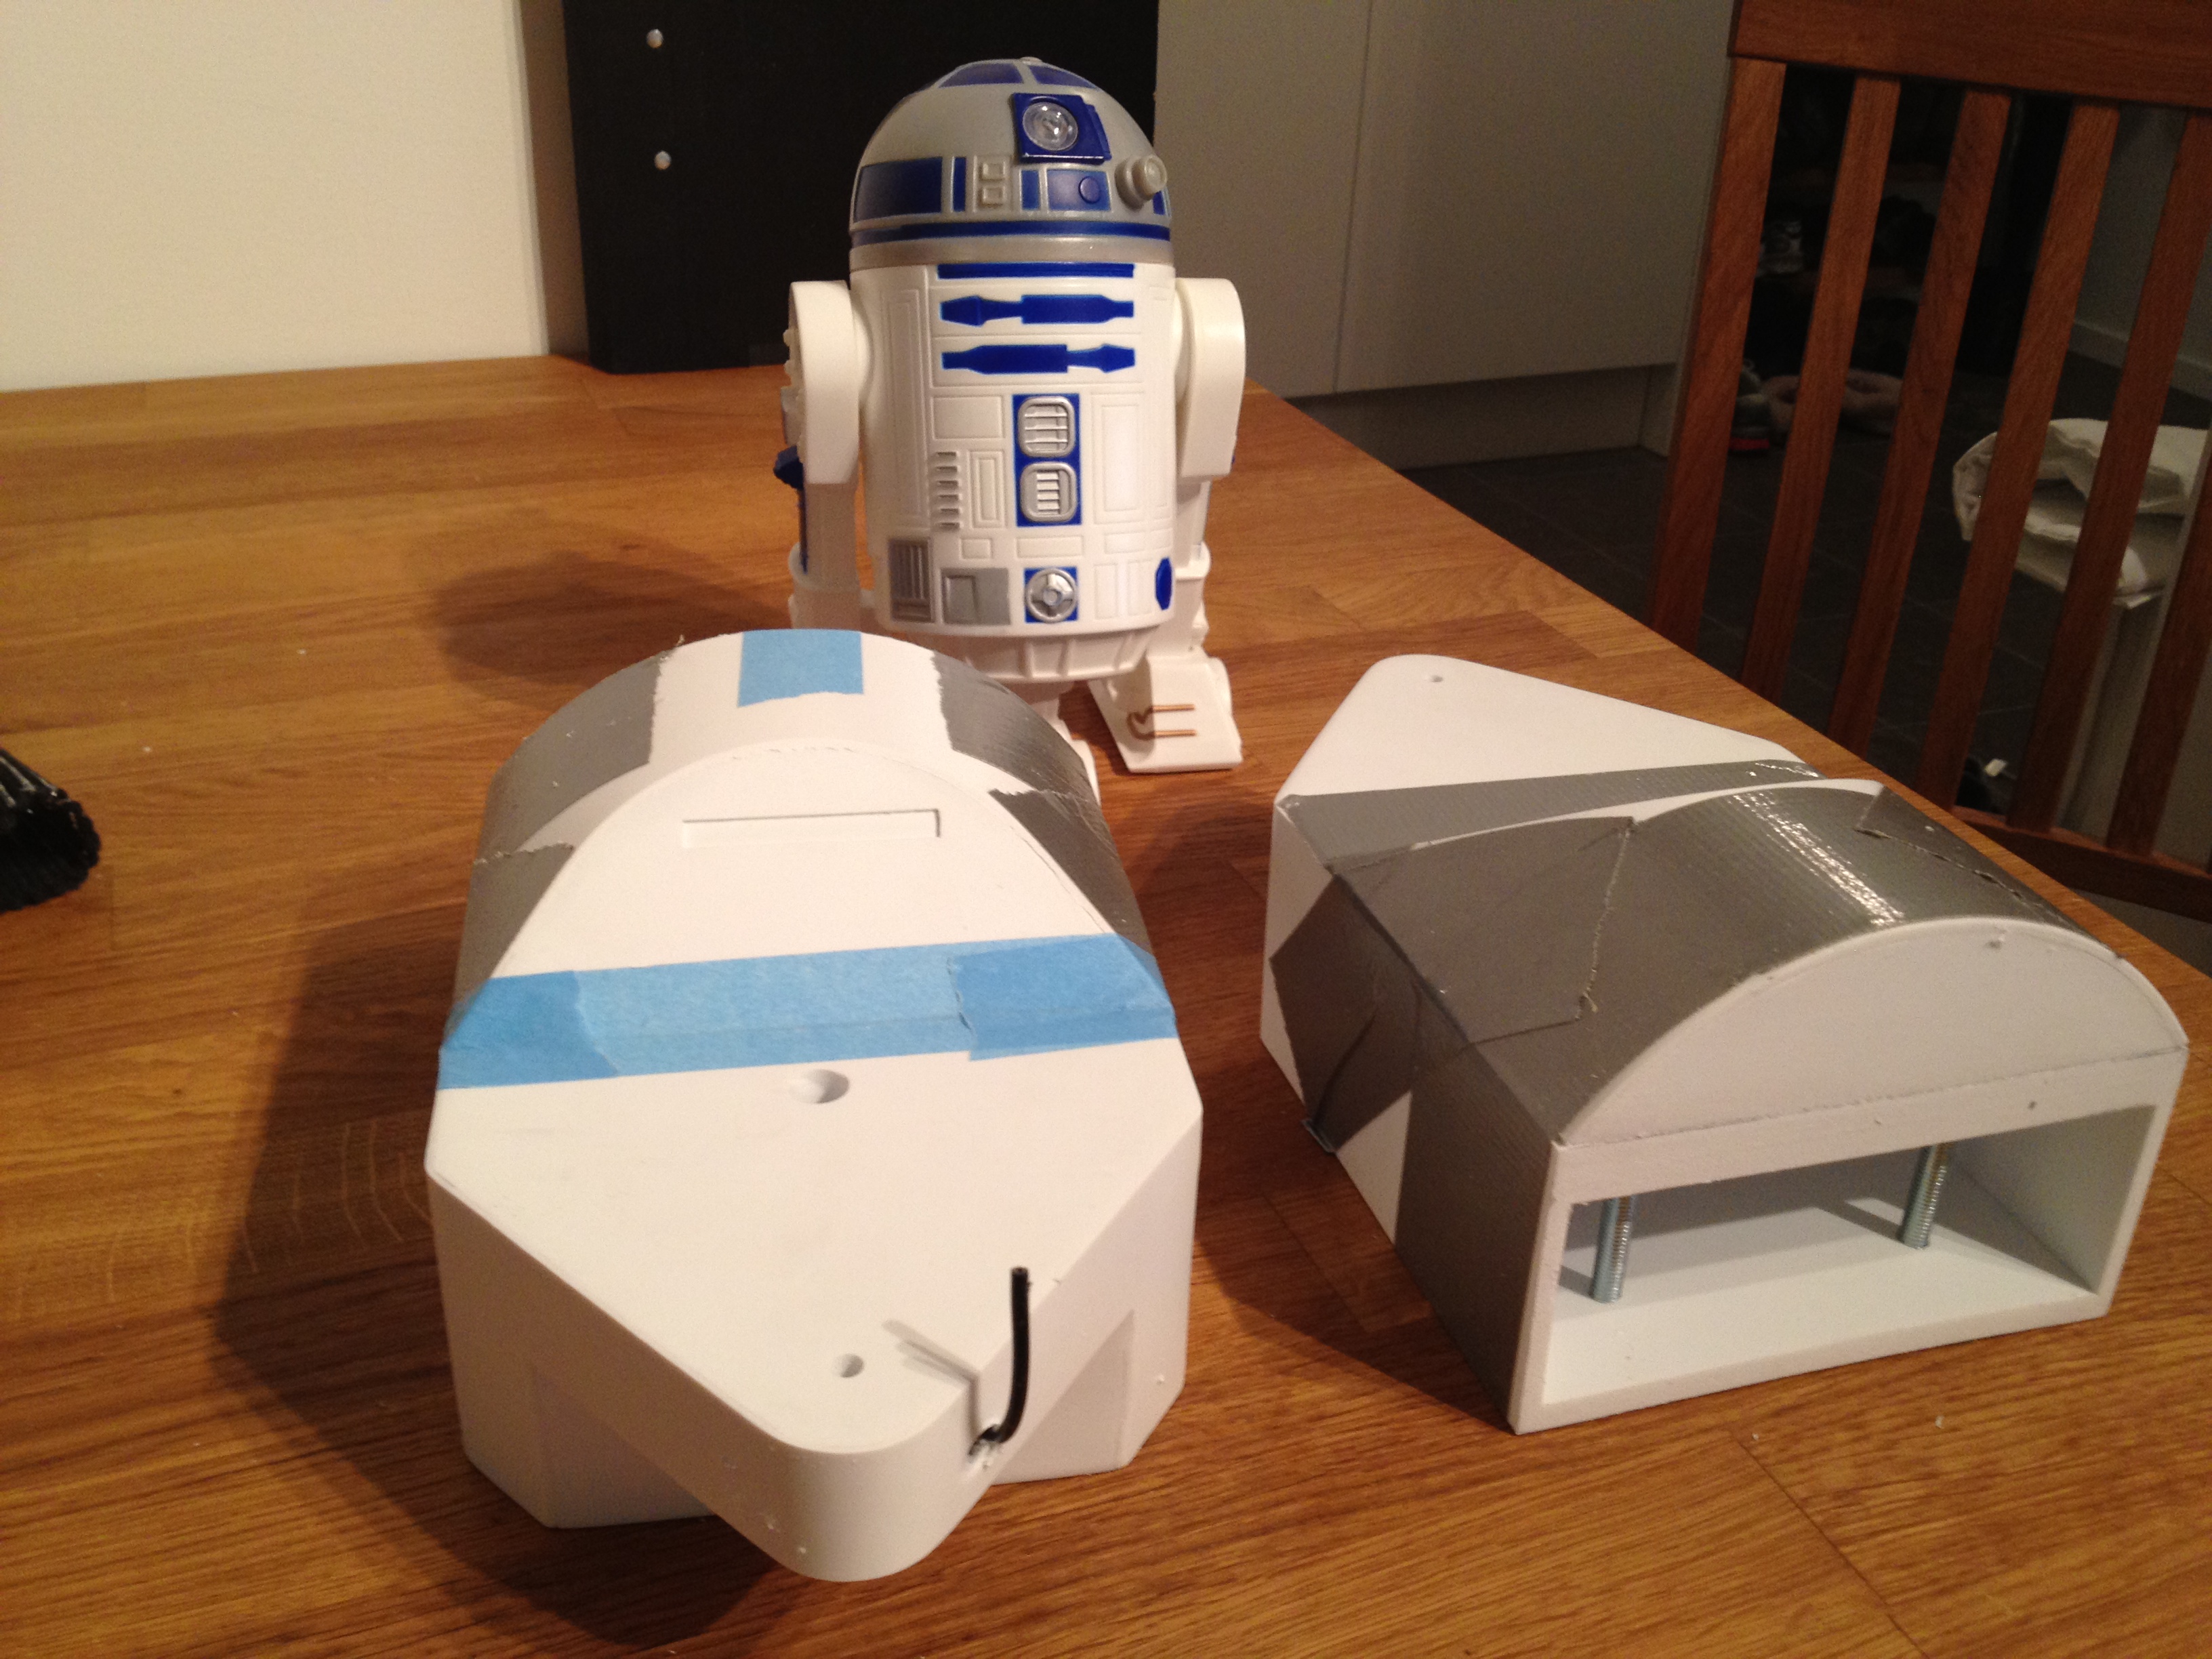
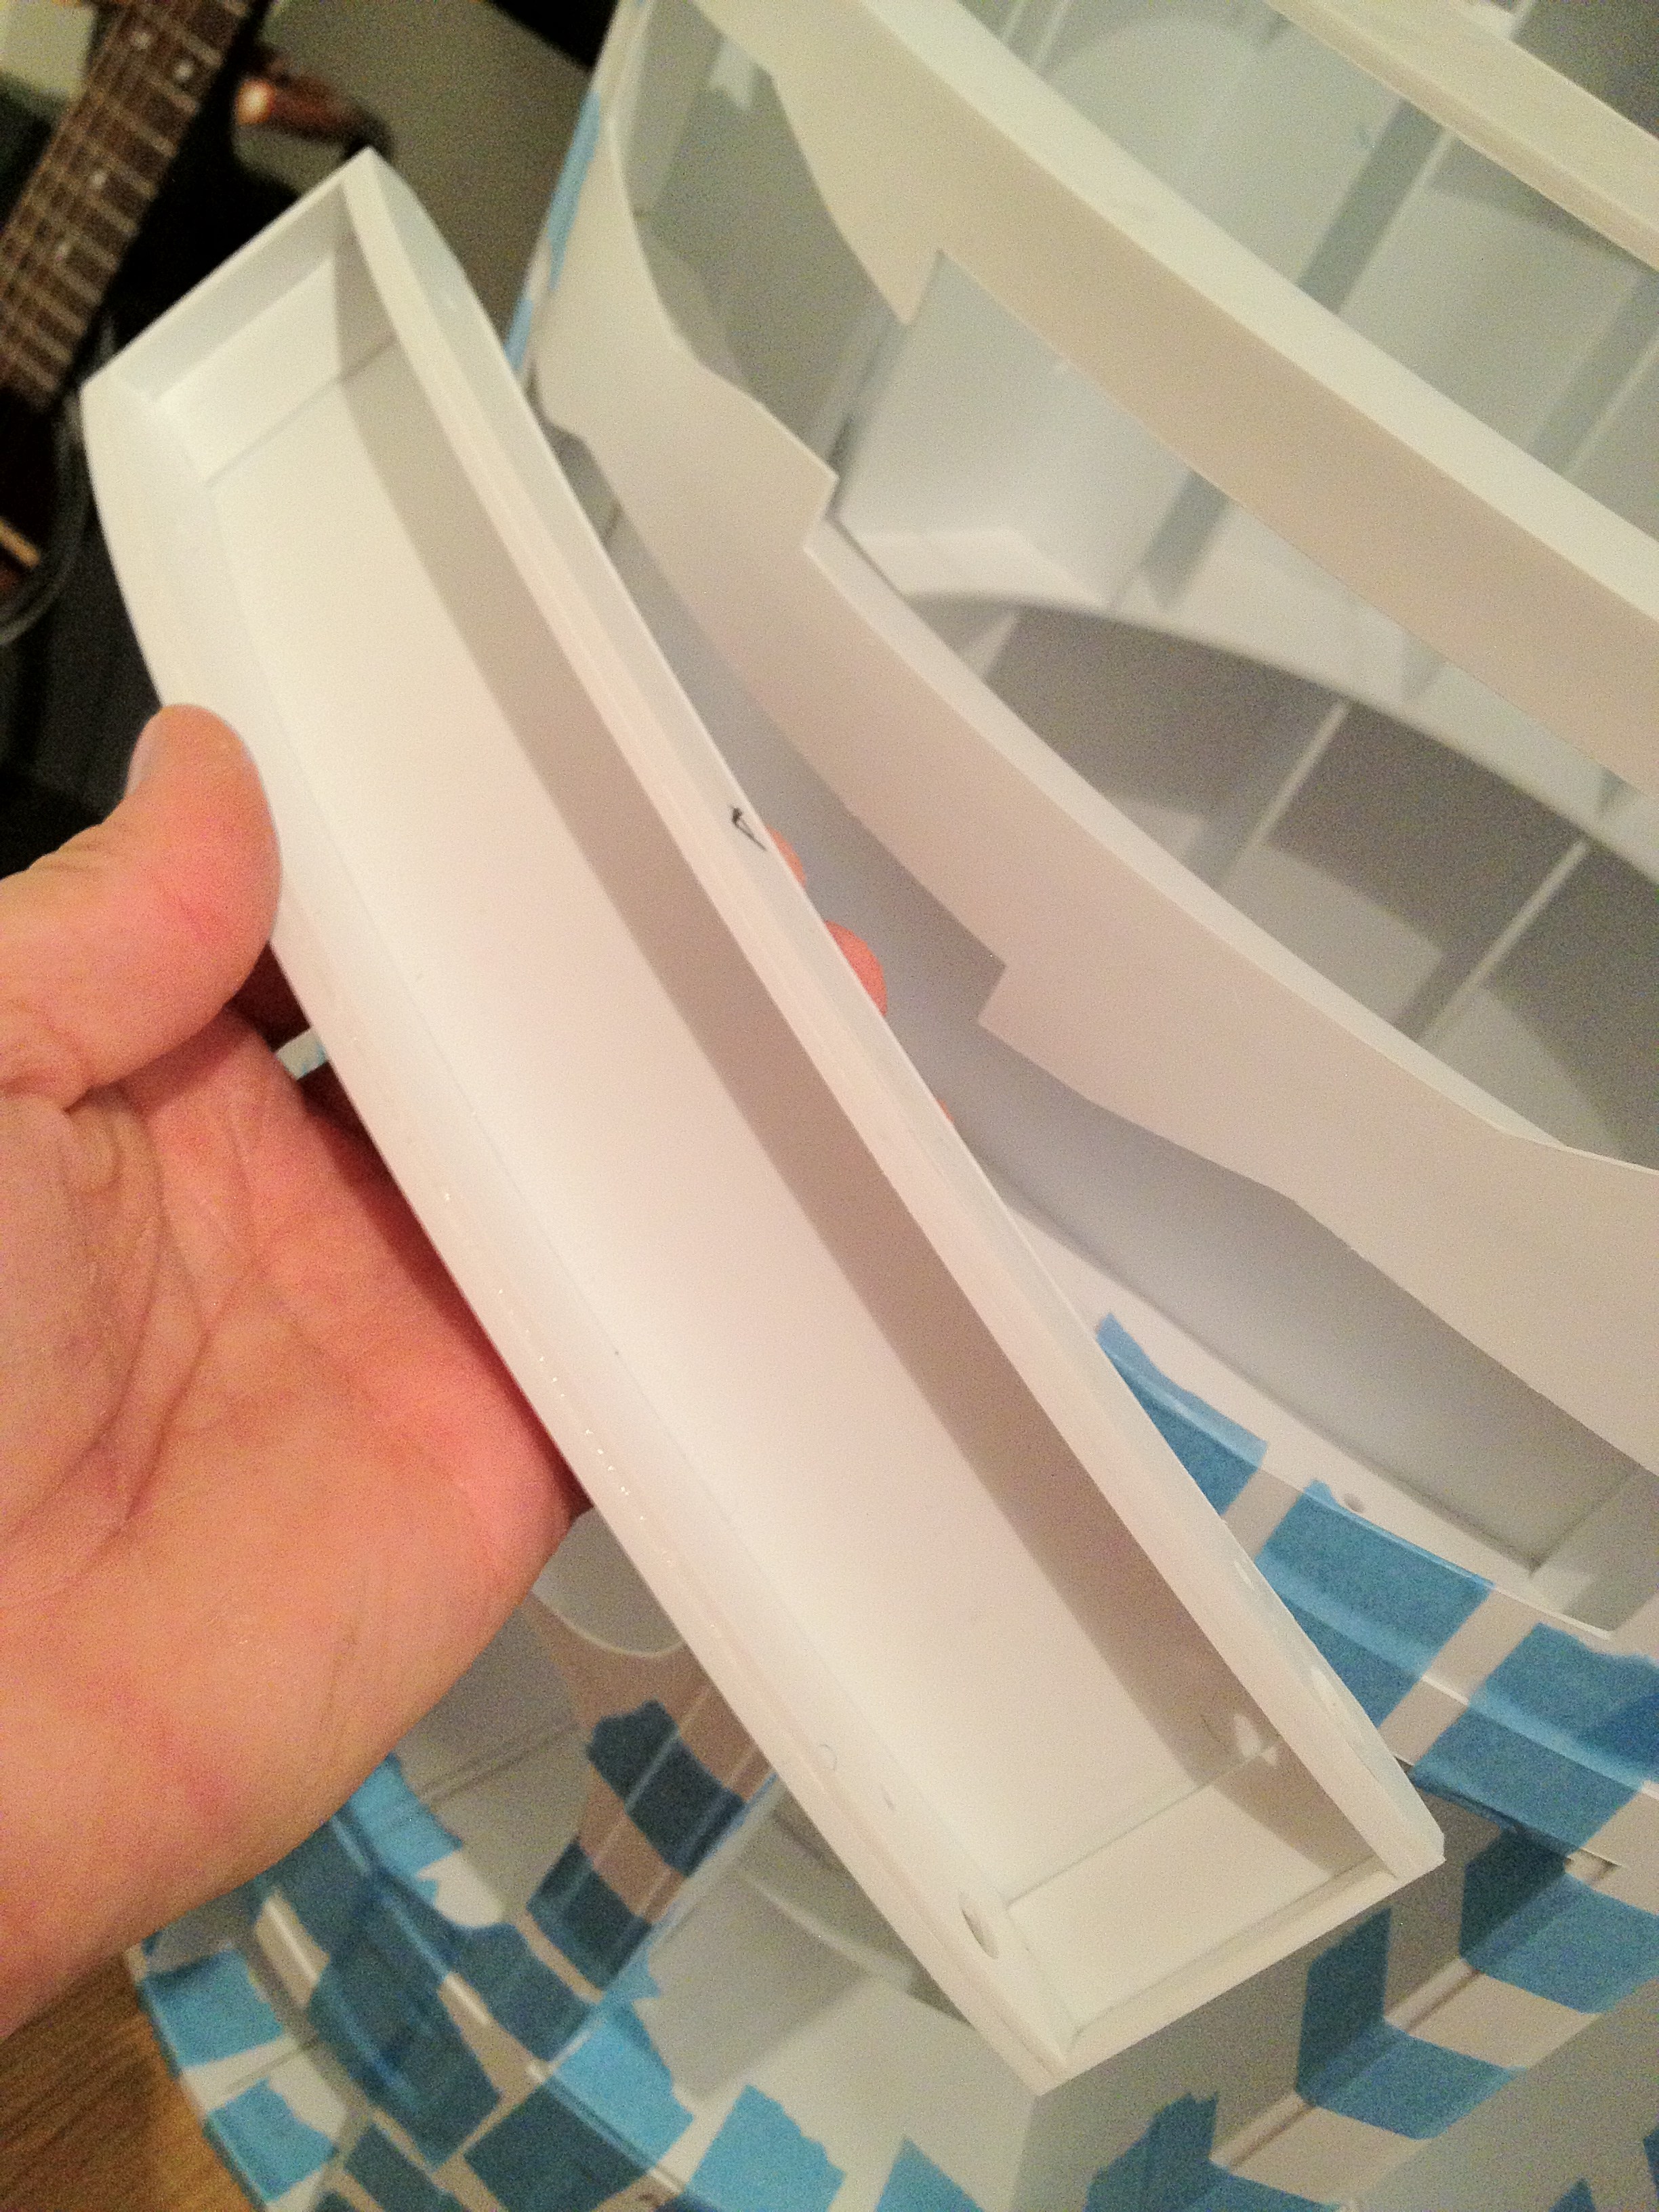
Yesterday, I also completed my arm boxes, and made some extra bulkheads inside the skin to stiffen up the utility arms are, and also to really hold up the LDP. I still have no idea how that will be fastened yet, but some ideas spring to mind. I may need to add something to my LDP build as well …
Skin Deep
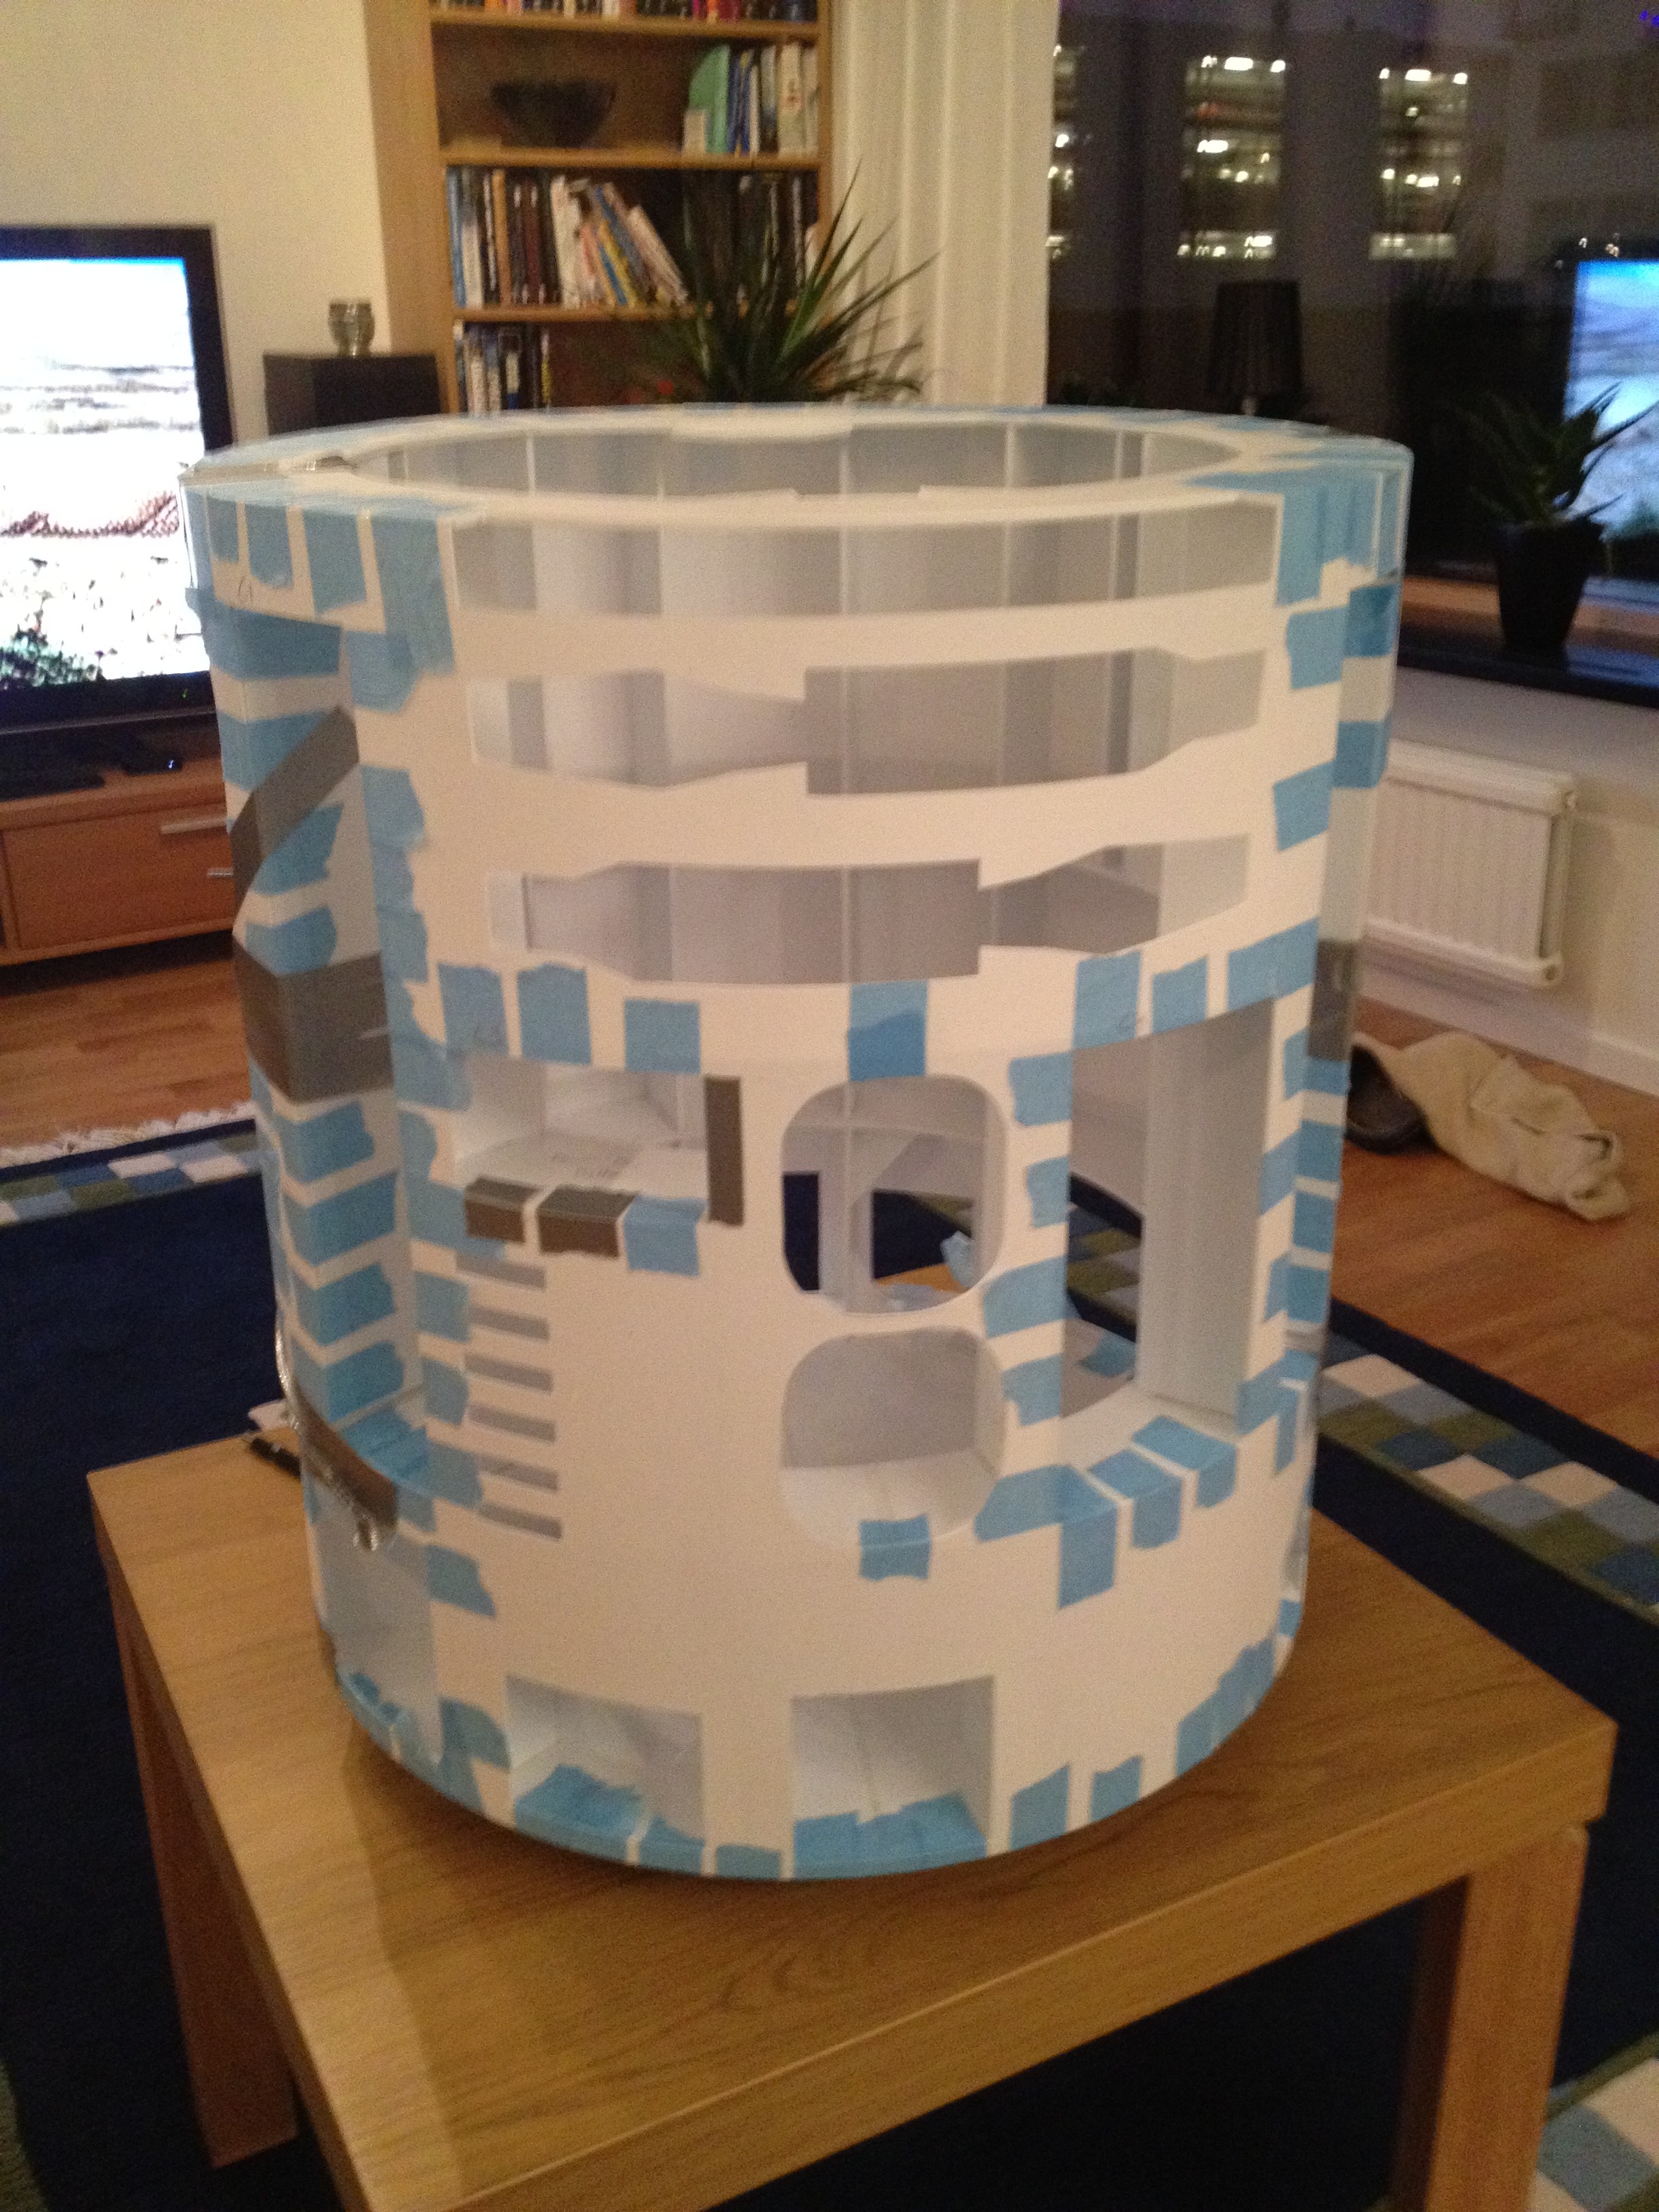
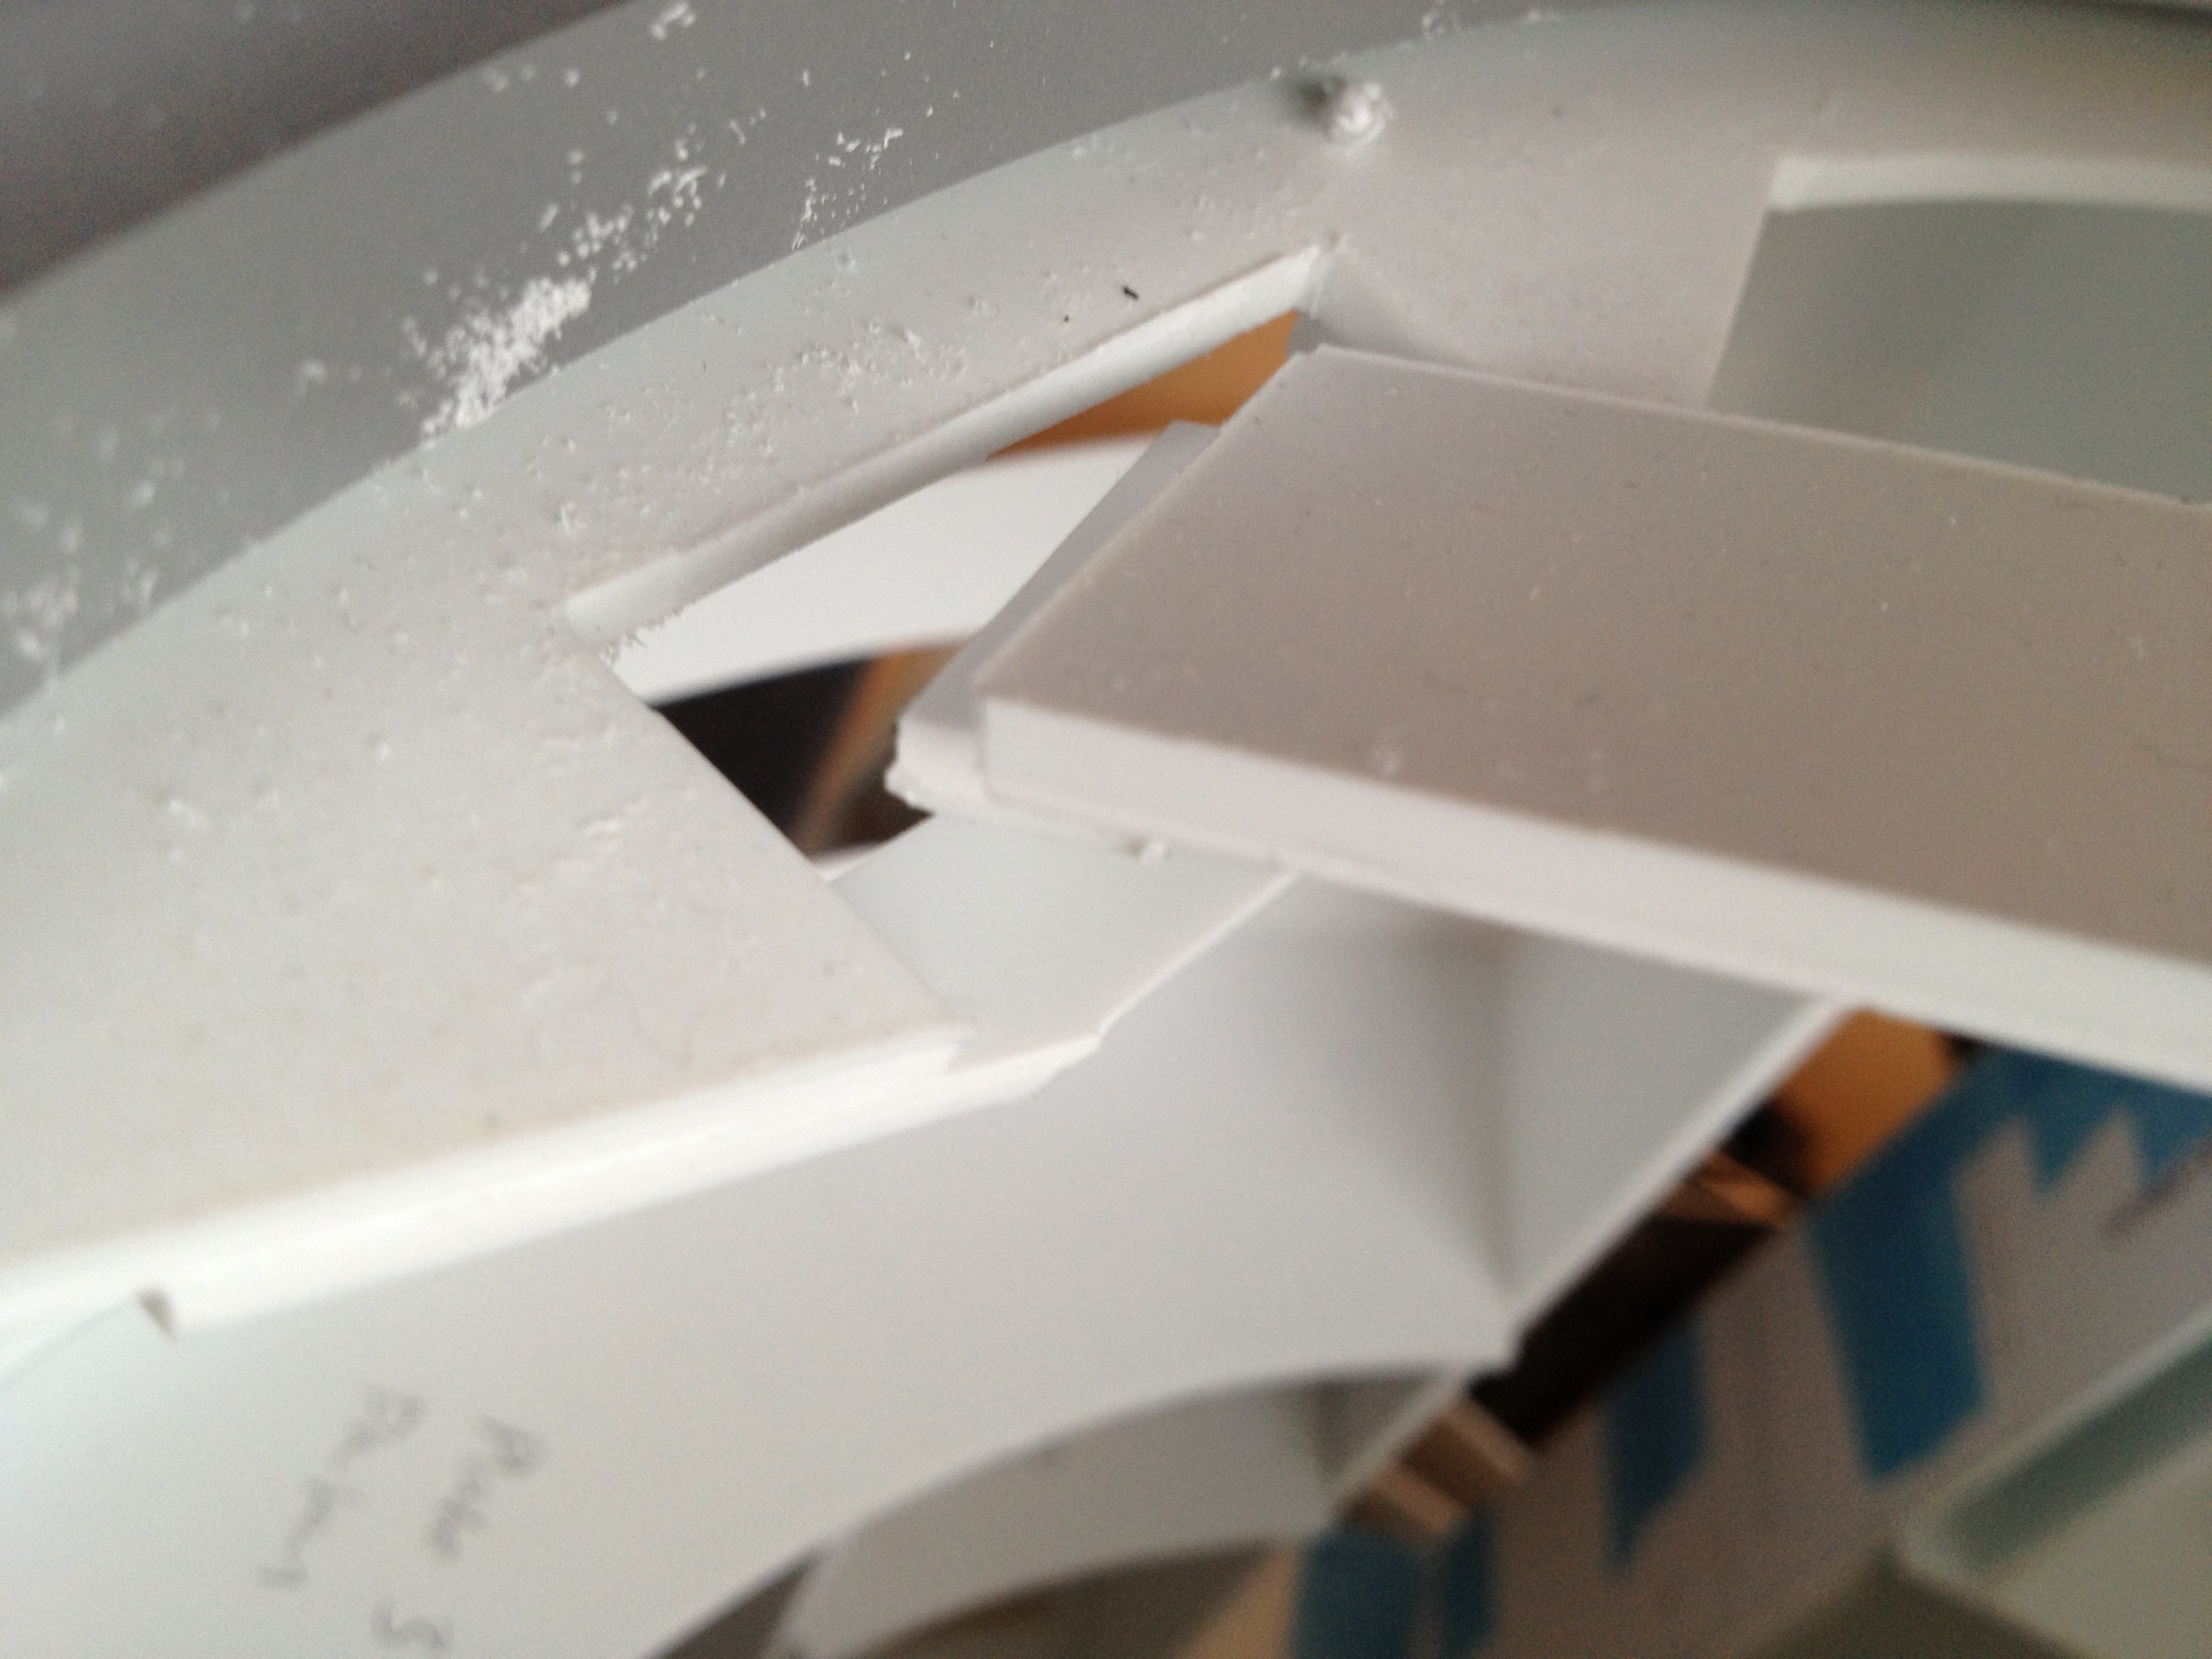
The outer front skin is now glued in place, and should hopefully be taped well enough over night to fasten securely. I’ve already identified several areas where I will need to cut out more from the skin after they have set, but It’ll be fine, I’m sure.
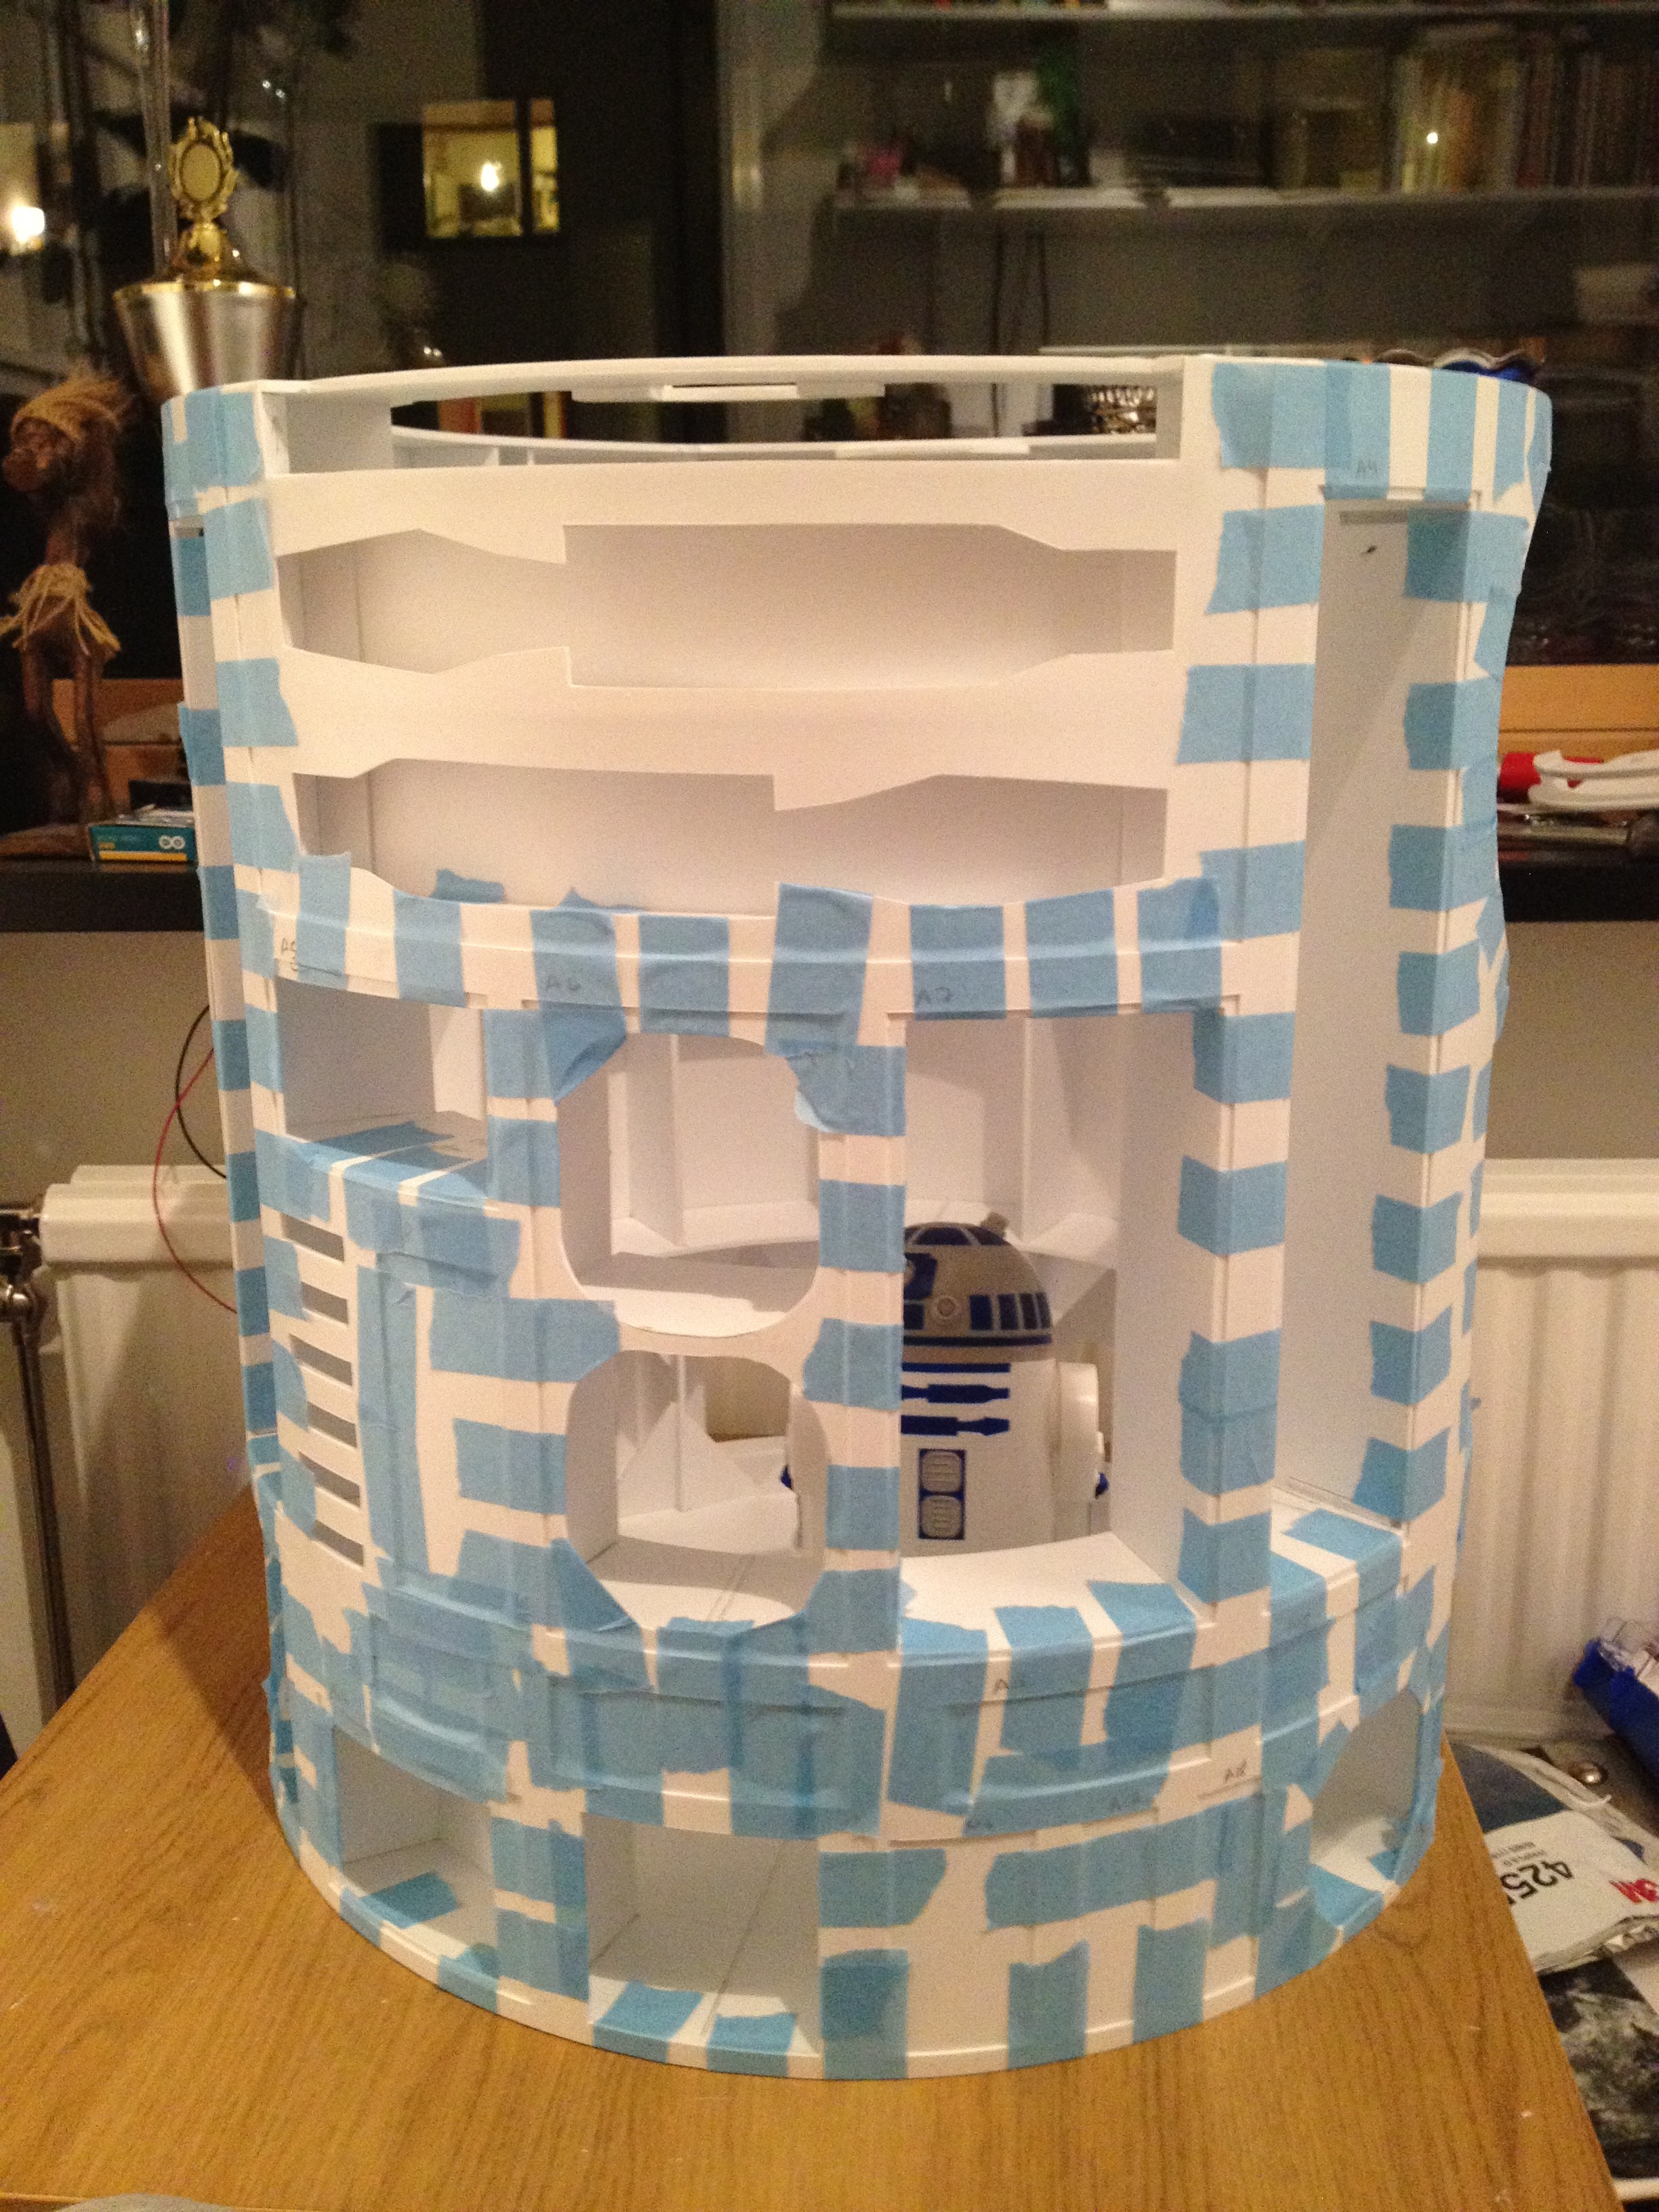
Back outer skin will be glued tomorrow, but since I have no opening doors on the back side, I might go around a different route how to glue it in place… We’ll see =)

Me in “glue mode” .. Don’t want to get too much of them fumes… gives me a headache!
All in all, a good weekend, and I had a lot of fun just temporarily attaching the feet yesterday to get my droid on all three for the first time…