styrene

Skirt complete and first steps..

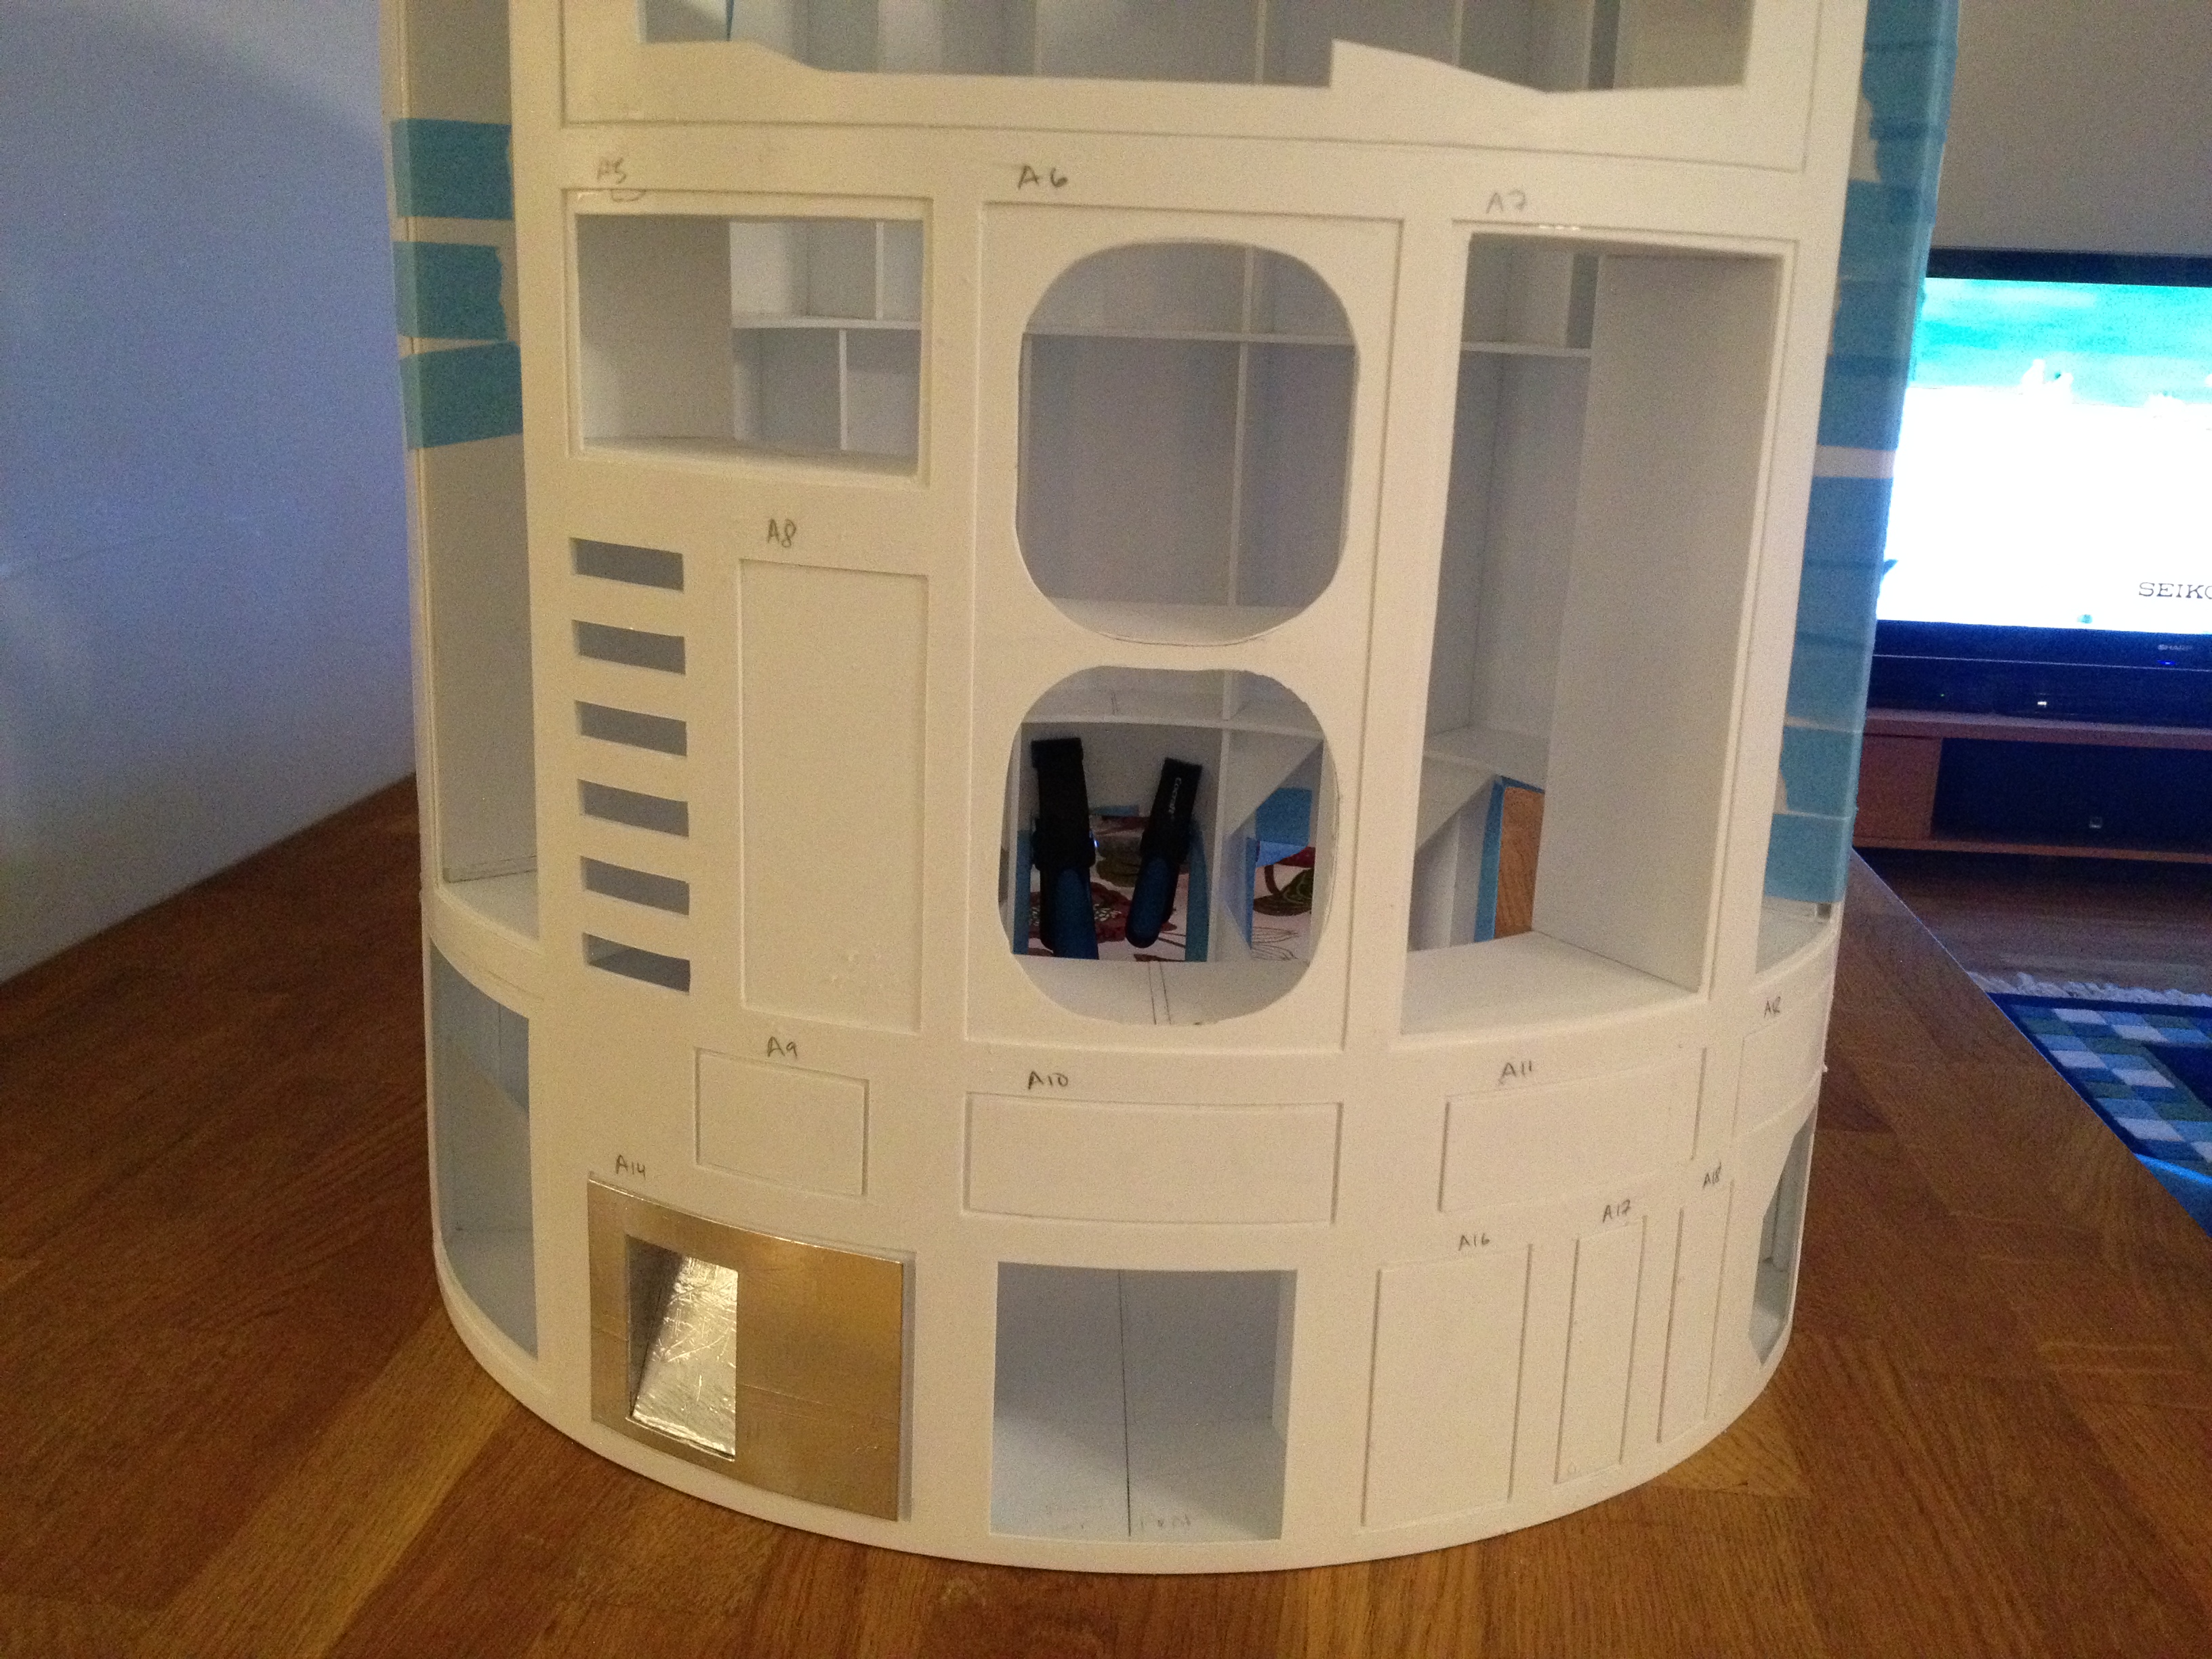
So, I gook the R2 unit outside and sanded it off good, before going wild with a 2-component bond (Plastic Padding). This was supposed to harden within 10 minutes.

To my surprise it had still not hardened and really started stinking up the place real good after about an hour.

Guess it pays to take out *everything* from the box. It was a 2-component bondo, so I forgot to mix in the hardener..

Ah well, take it out again and scrape off as much as I could, before applying a new layer.

This time it DID harden, and I sanded most of the skirt. I will go over it once again before painting, but all in all, I’m really happy with how it came out.

What do you think?

Yesterday was another day with my cold still not allowing me to move about as I wanted, so it was a calm day. Spent the evening fiddling with the electronics, trying to get a small servo to move by remote control.

No result.

For starters, it seems I had put the LED’s on the controller card facing the wrong way. Guess it was a while ago I was soldering those analog synth modules…

Anyway, after removing the LED’s and trying everything again nothing worked still.

At least the LED’s lit up, but that didn’t really help me.


So, at this point, I figured I needed to get something out of the equation, so I called it a night and decided to go and pick up a tethered PS2 controller that is on the “supported” list of my controller card, instead of the unlisted wireless controller…

Back home after todays meetings and usual Friday stuff, I got to work.

Took the R2’s legs down from the shelf, made ankle wedges for them and removed my small caster I had previously installed in my wheels as I realized they would cause more problems.

Finally, It was all about lifting in the experimental wiring I had done on my desk into the R2.

Armed with nothing but tape, I mounted the circuit boards where I could attach them, and tried the controller.

Well .. it moved but not as I wanted. Seems there was still some fine-tuning to be done.


Once the channel mixing was engaged on the controller, another try, and this time, something different happened.

I caught it on film but it wasn’t as interested as when I put the dome on and put in my bluetooth speakers inside the body!

Behold: the first steps of R2 … now it really is starting to feel reel. I have an astromech!

After the successful test, I spent the rest of the evening, making a small, but much more neat and handy electronics board:

Notice the über-small 11.1V, 1.3 Ah Li-Po battery at the bottom. Using two 11.1V 6Ah Li-Po batteries rather than two 12V 7.2 Ah Lead batteries will cost about three times as much, but it will save me more than 4 kg’s inside the droid.. Still haven’t decided what to do, but for testing purposes, this will do just fine!

Please note that in this picture, the Sabretooth is not hooked up completely, and the Slip Ring connector board I haven’t even touched =)

Still .. again, it really feels like I have an astromech!

By |2016-12-06T00:01:47+01:00February 24th, 2012|R2-D2|Comments Off on Skirt complete and first steps..

R2 is now wearing a skirt and has a detachable center foot mount!

Felt a little better today. The cold is definitely on its way back, and I’ve taken things easy again.

However, there are a few things that I’ve done on the droid after all.

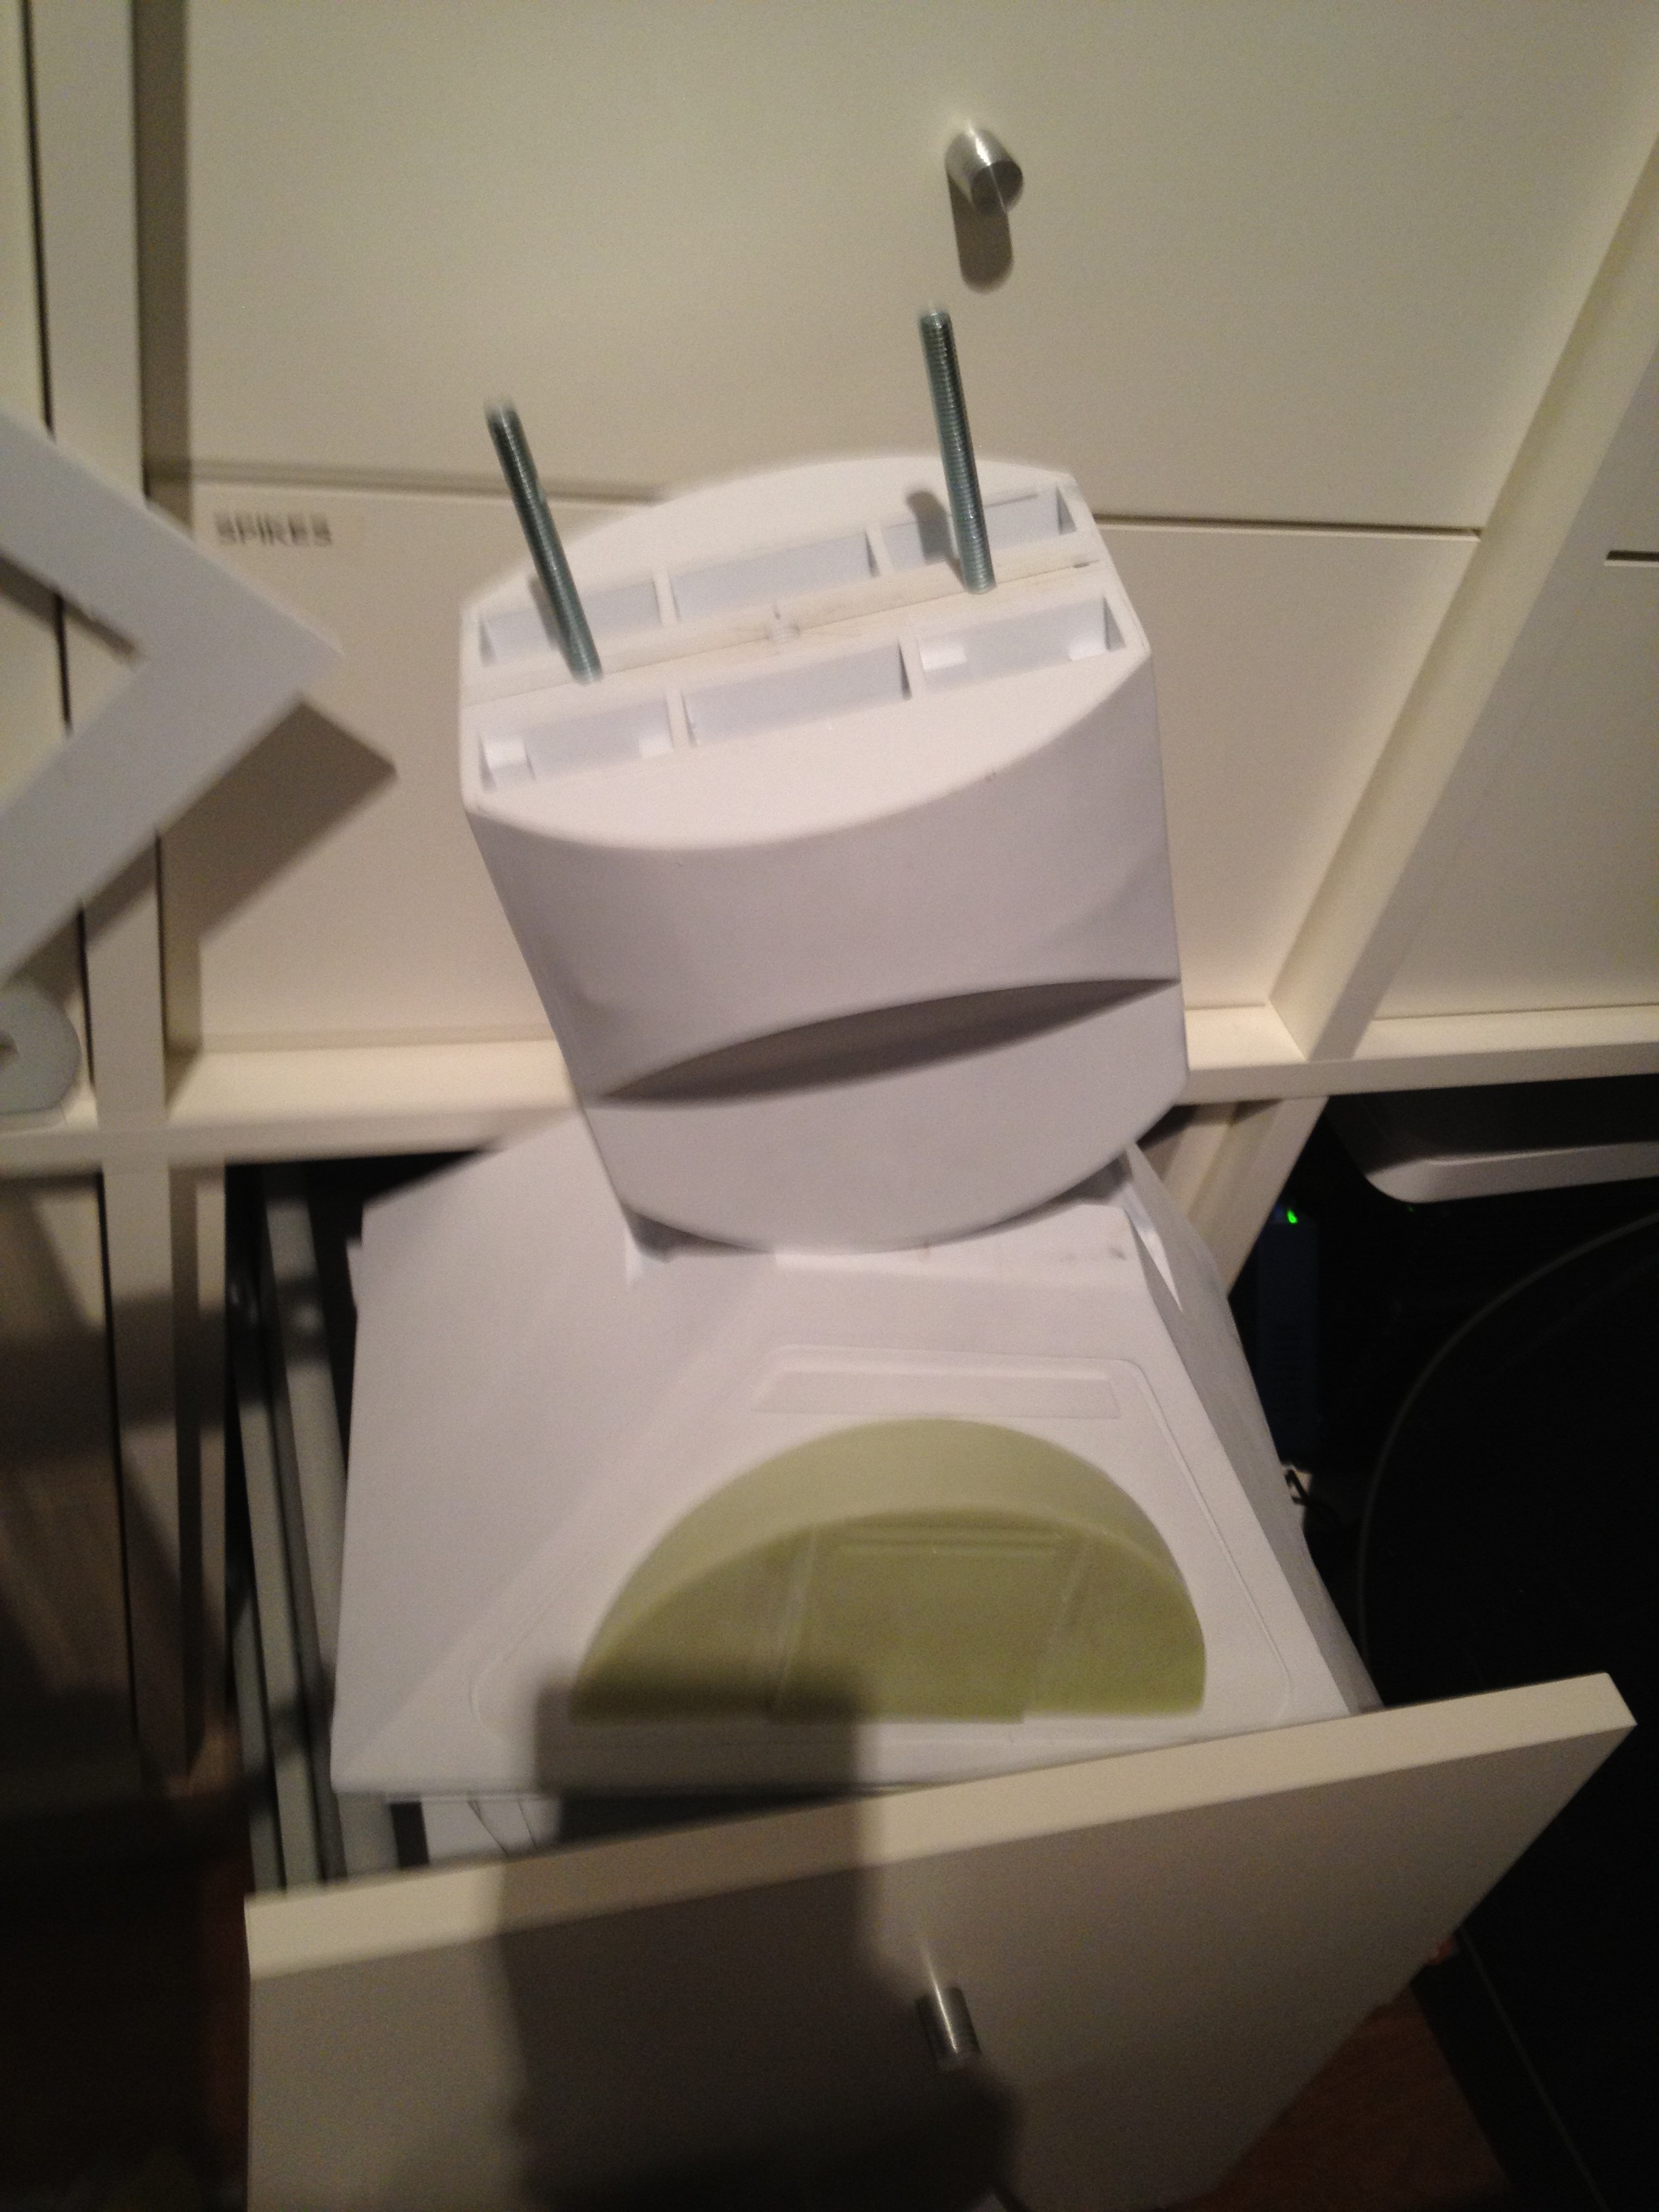
First off, I drilled and tapped the center ankle and also the skirt and frame bottom, to allow for the center foot to be mounted on and off with 6mm wing nuts, just like the center legs.

So, now my leg mounts are complete! I also drilled and fastened the center foot into the ankle with 6mm bolts, so everything is secure!

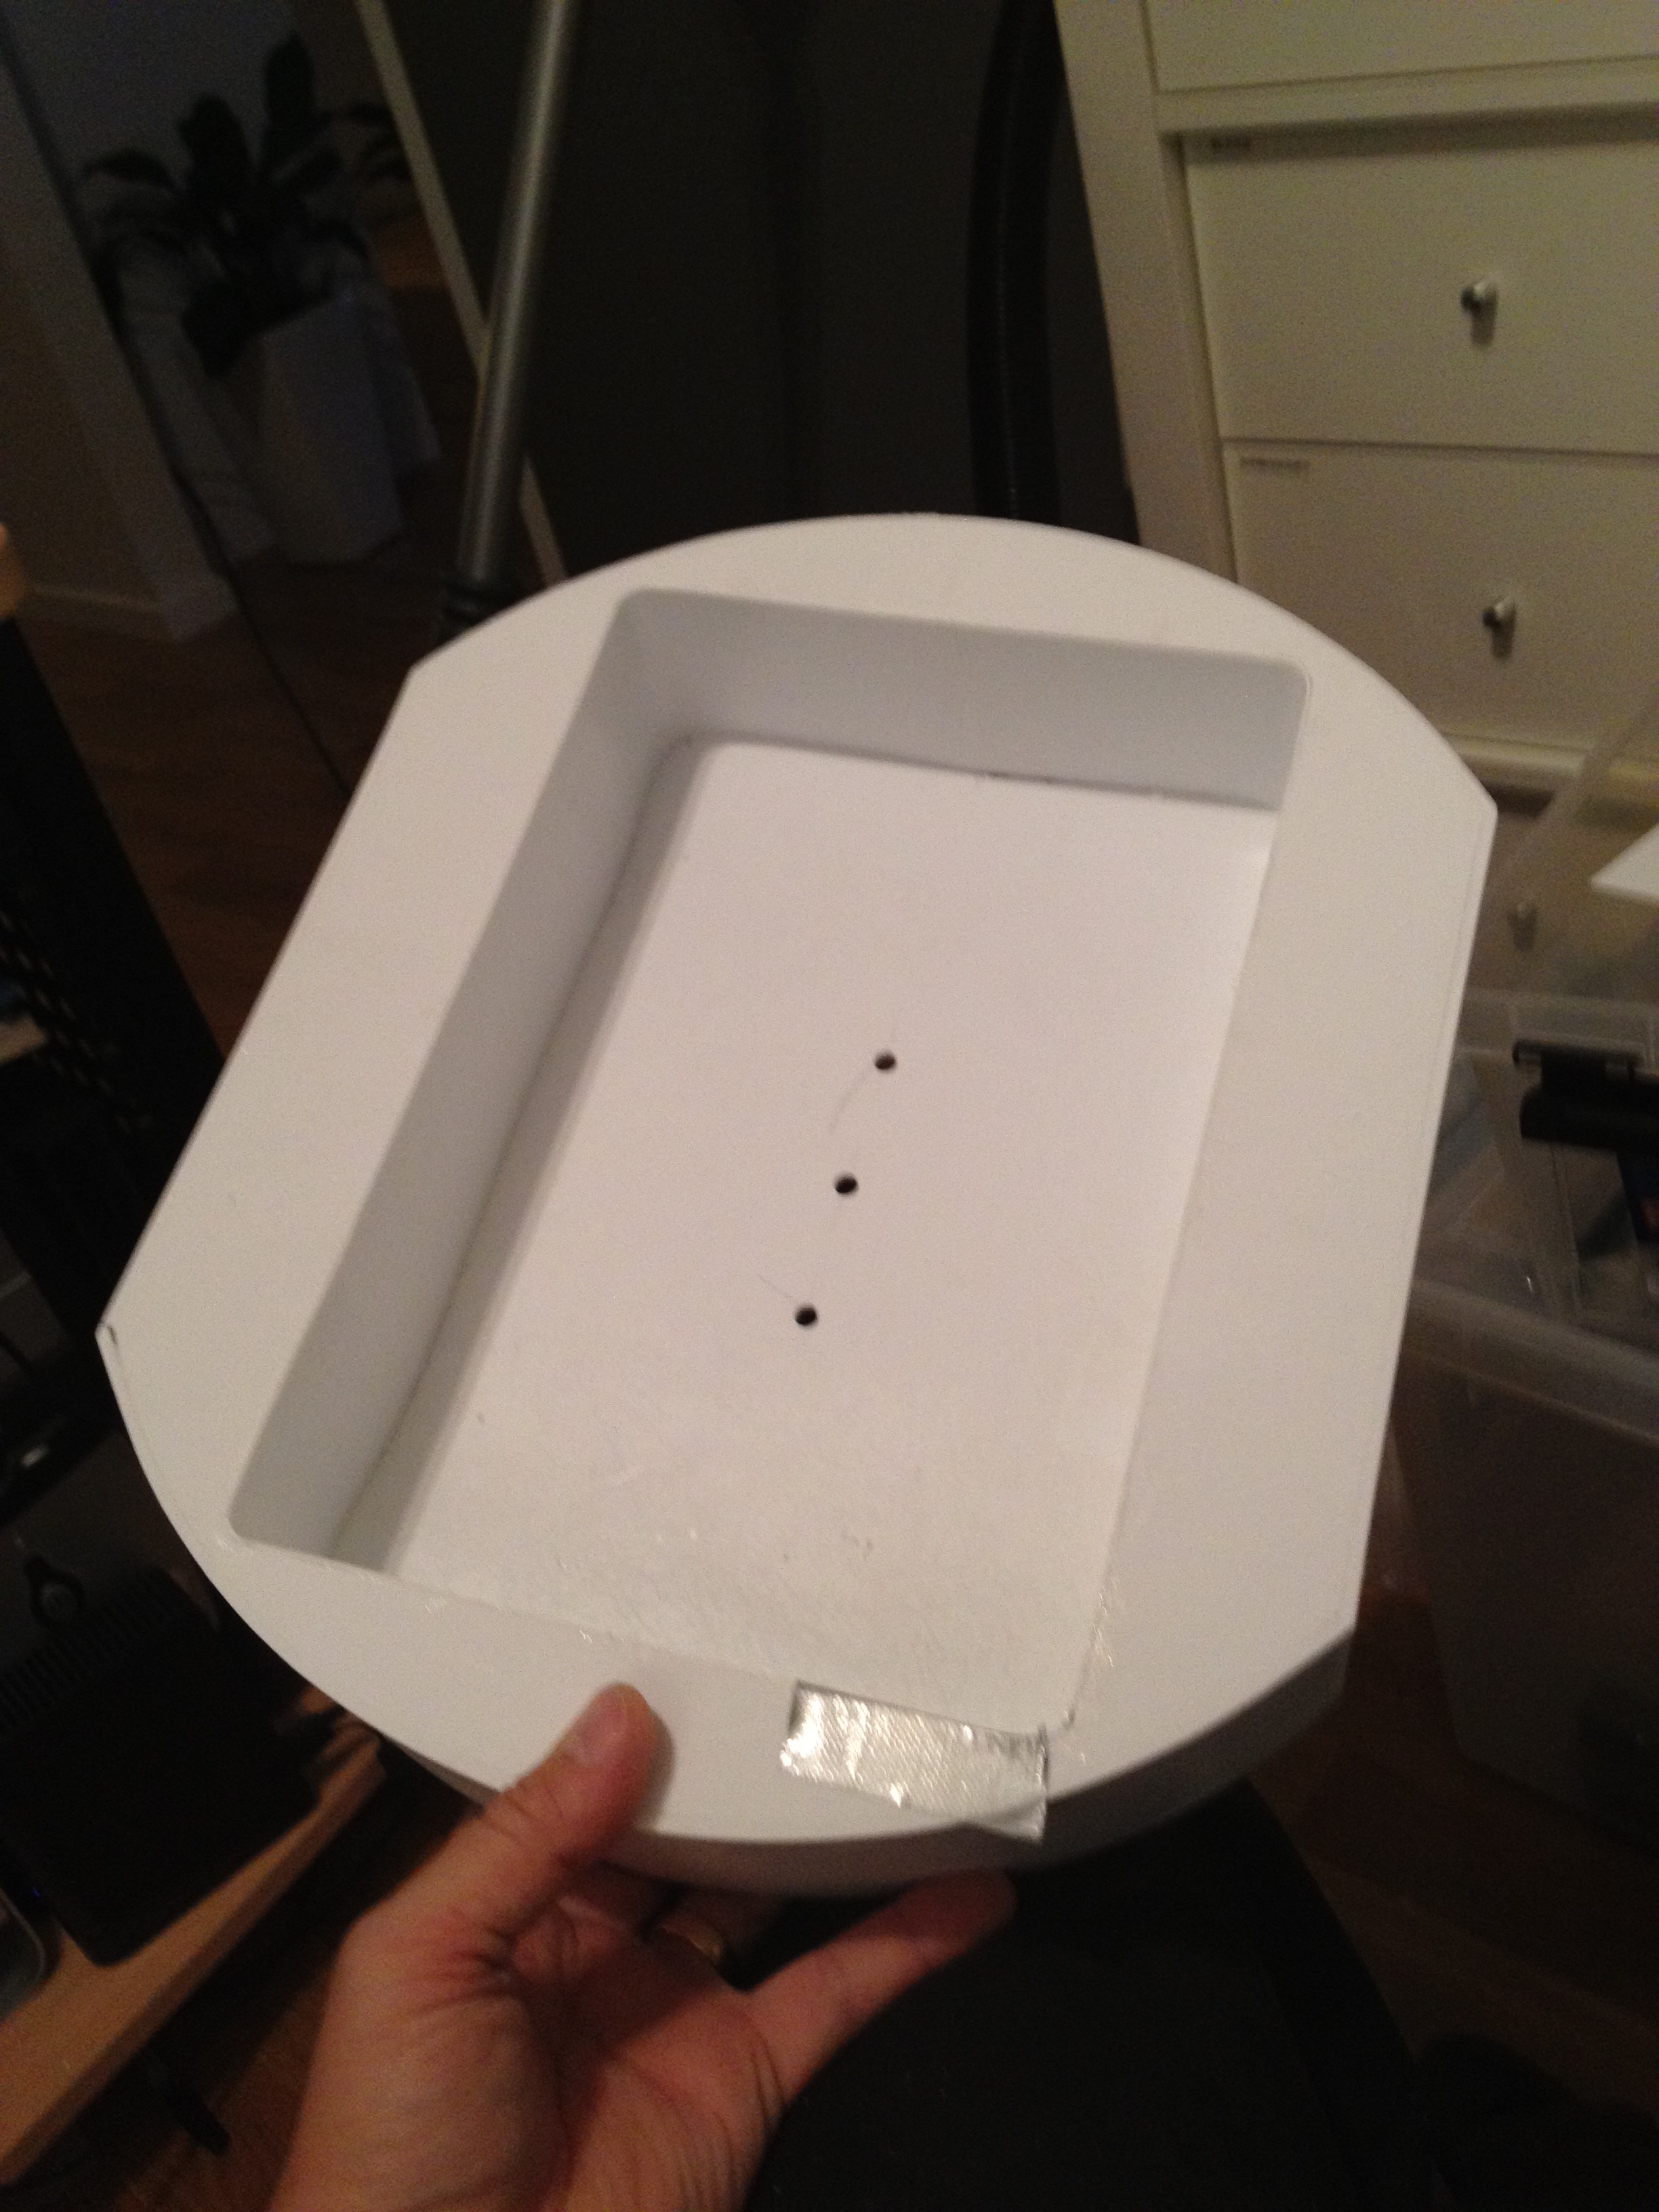
Next thing was to sand the edges of the skirt, to get ready for completing it. I also wanted to add inner walls to the skirt, even though it is on the underside of R2, and very few people will ever see anything there, but I like to keep things looking neat, so I glued in 1mm styrene to cover the structure of the skirt.

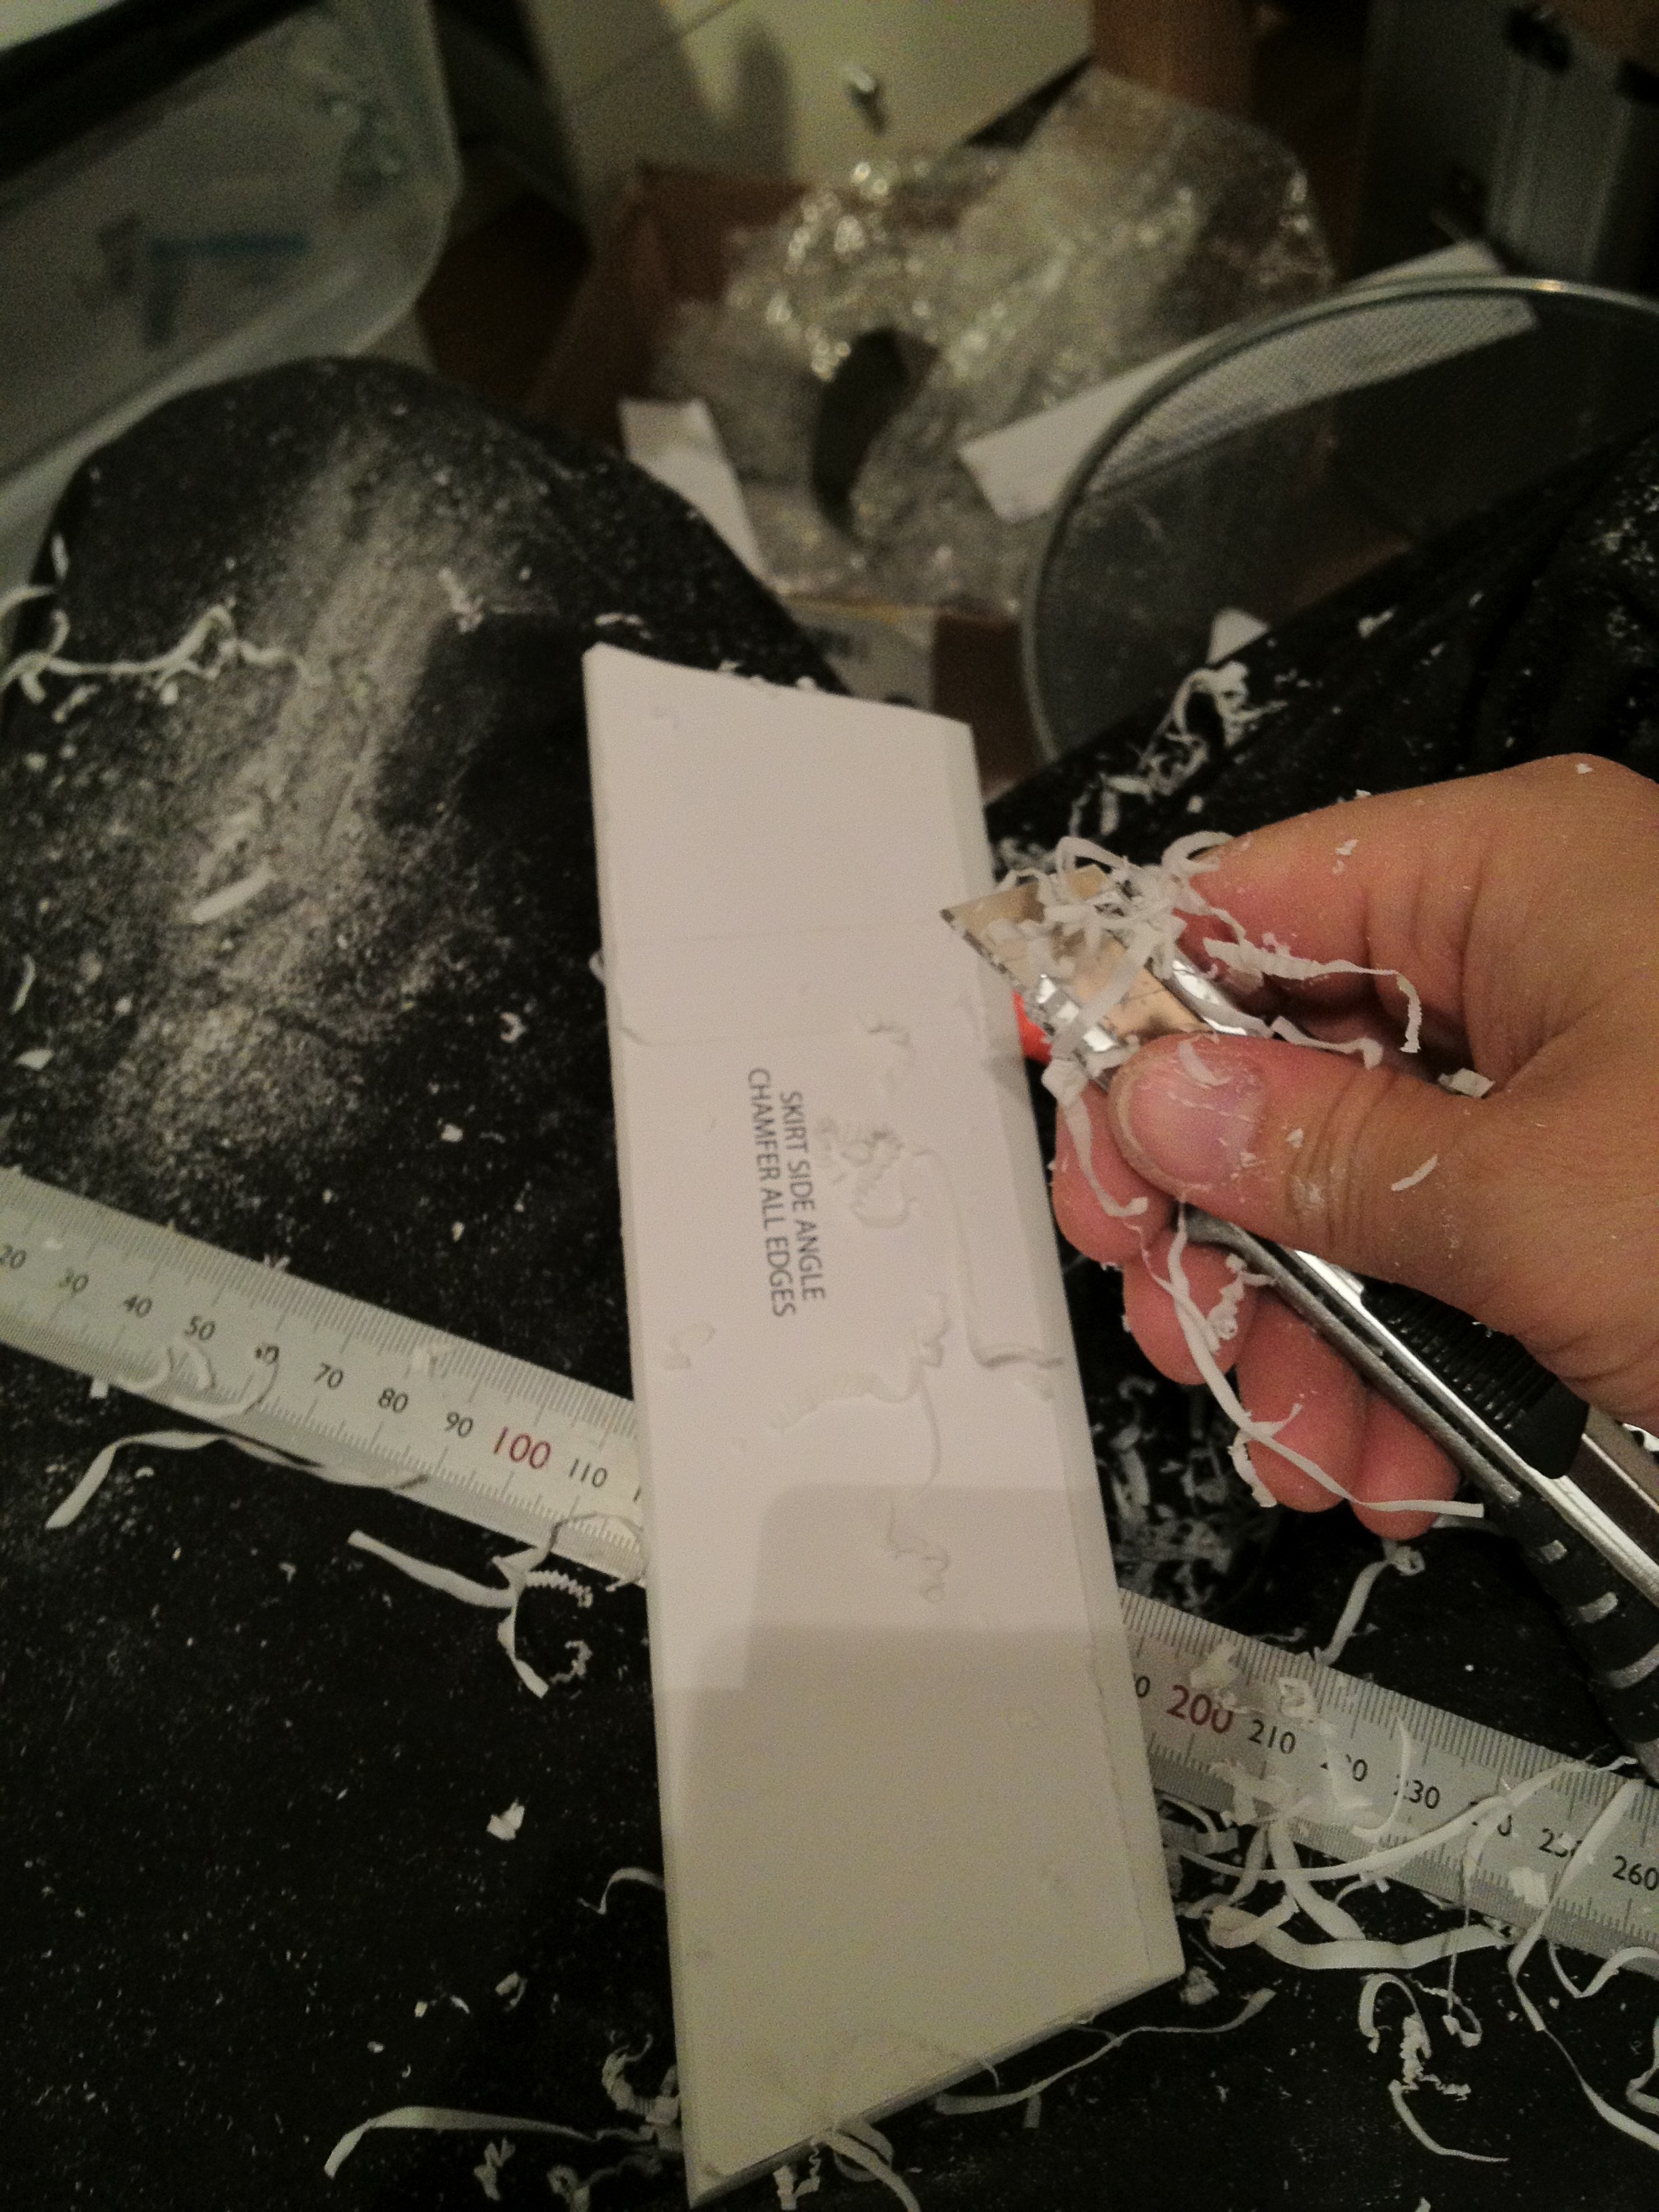
Once that was done, I sat in my chair for a while chamfering. *sigh* Not my favorite thing to do, but necessary. And messy.

(… and I had cleaned up twice before I took that picture…)

Finally, the skirt, side angles and cones was glued onto the bottom ring, and is left over night to dry off. Only thing remaining now is the “ribs”, something that will require a lot of chamfering… again.

By |2016-12-06T00:01:48+01:00February 22nd, 2012|R2-D2|Comments Off on R2 is now wearing a skirt and has a detachable center foot mount!

More skin work and coin return!

Hello =)

I’m glad that YOU decided to read my blog again today =)

So, today has been one of those days where I made good progress, but mostly on small things that are not too visible.

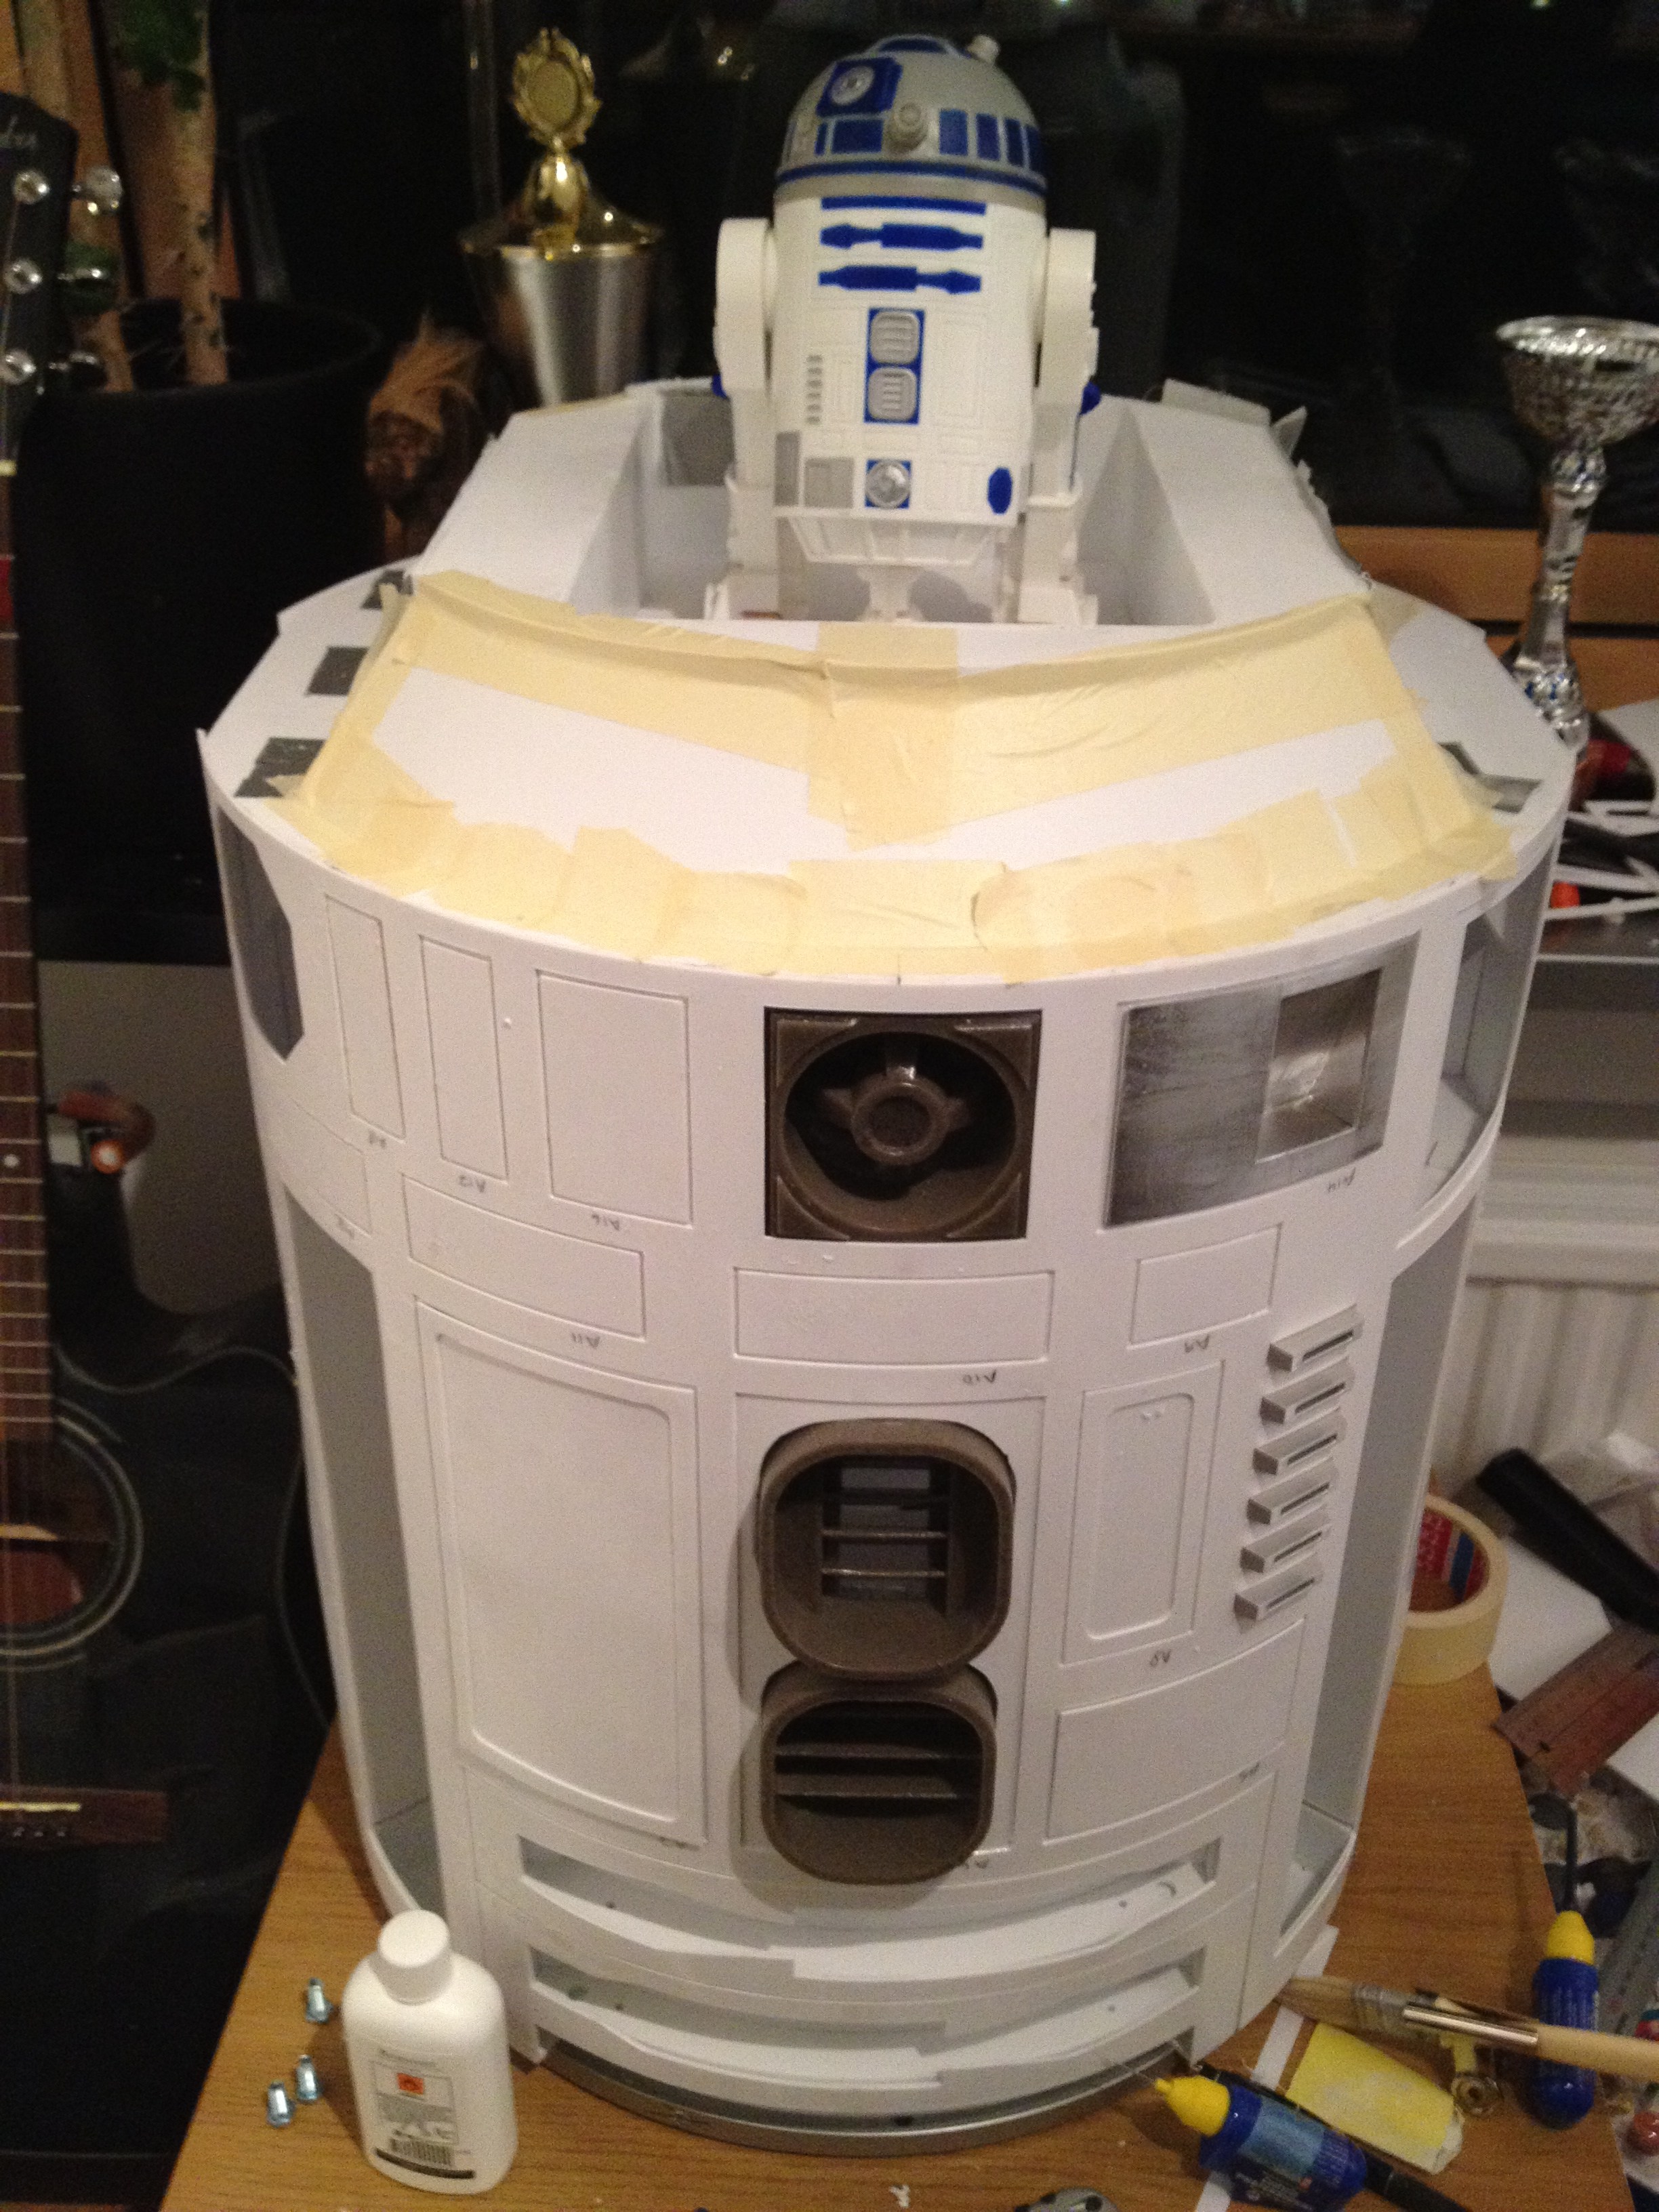
I started off with gluing on the remaining pieces of the front outer skin, the hatches that will not open, the utility arms surrounds etc, and having these glued on really helps to bring out the texture in the front of the droid.

I also got around to glue the rear outer skins as well, including the small tidbits.

I looked over the hatch surrounds, the thin styrene pieces that is basically the outline of the hatches (even the ones that will not open) and I realized that I will need to touch up on most of them, and possibly redo one or two, so they are not added.

However, I had this amazing idea yesterday to try and make a coin slot using the aluminium tape to cover it with. The tape is not wide enough to cover the entire coin slot, but how much of a seam would be visible?

I figured that in worst case, I’ll get the fronts made for me 😉

Didn’t come off too bad, I think, and the seam is not visible if you are half a meter from the droid!

What do you think?

Of course, the back is not nearly as pretty as the front..

I used quite a few scrap pieces just to fasten everything in place, more than needed, but I didn’t want to wait for everything to set before trying it on, so I slabbed on a few extra styrene pieces 😉

Front of my droid, with small hatch covers glued on, ad the nice coin return.

Works pretty ok, doesn’t it?

I didn’t find a blueprint for it (only searched for about 3 minutes) so I estimated the angle. After all it was only a test.

I’ll get back to the construction store and see if they have slightly wider aluminium tape. I could work wonders with this!

I might as well, as on a personal note I don’t know how things will be in the near future.

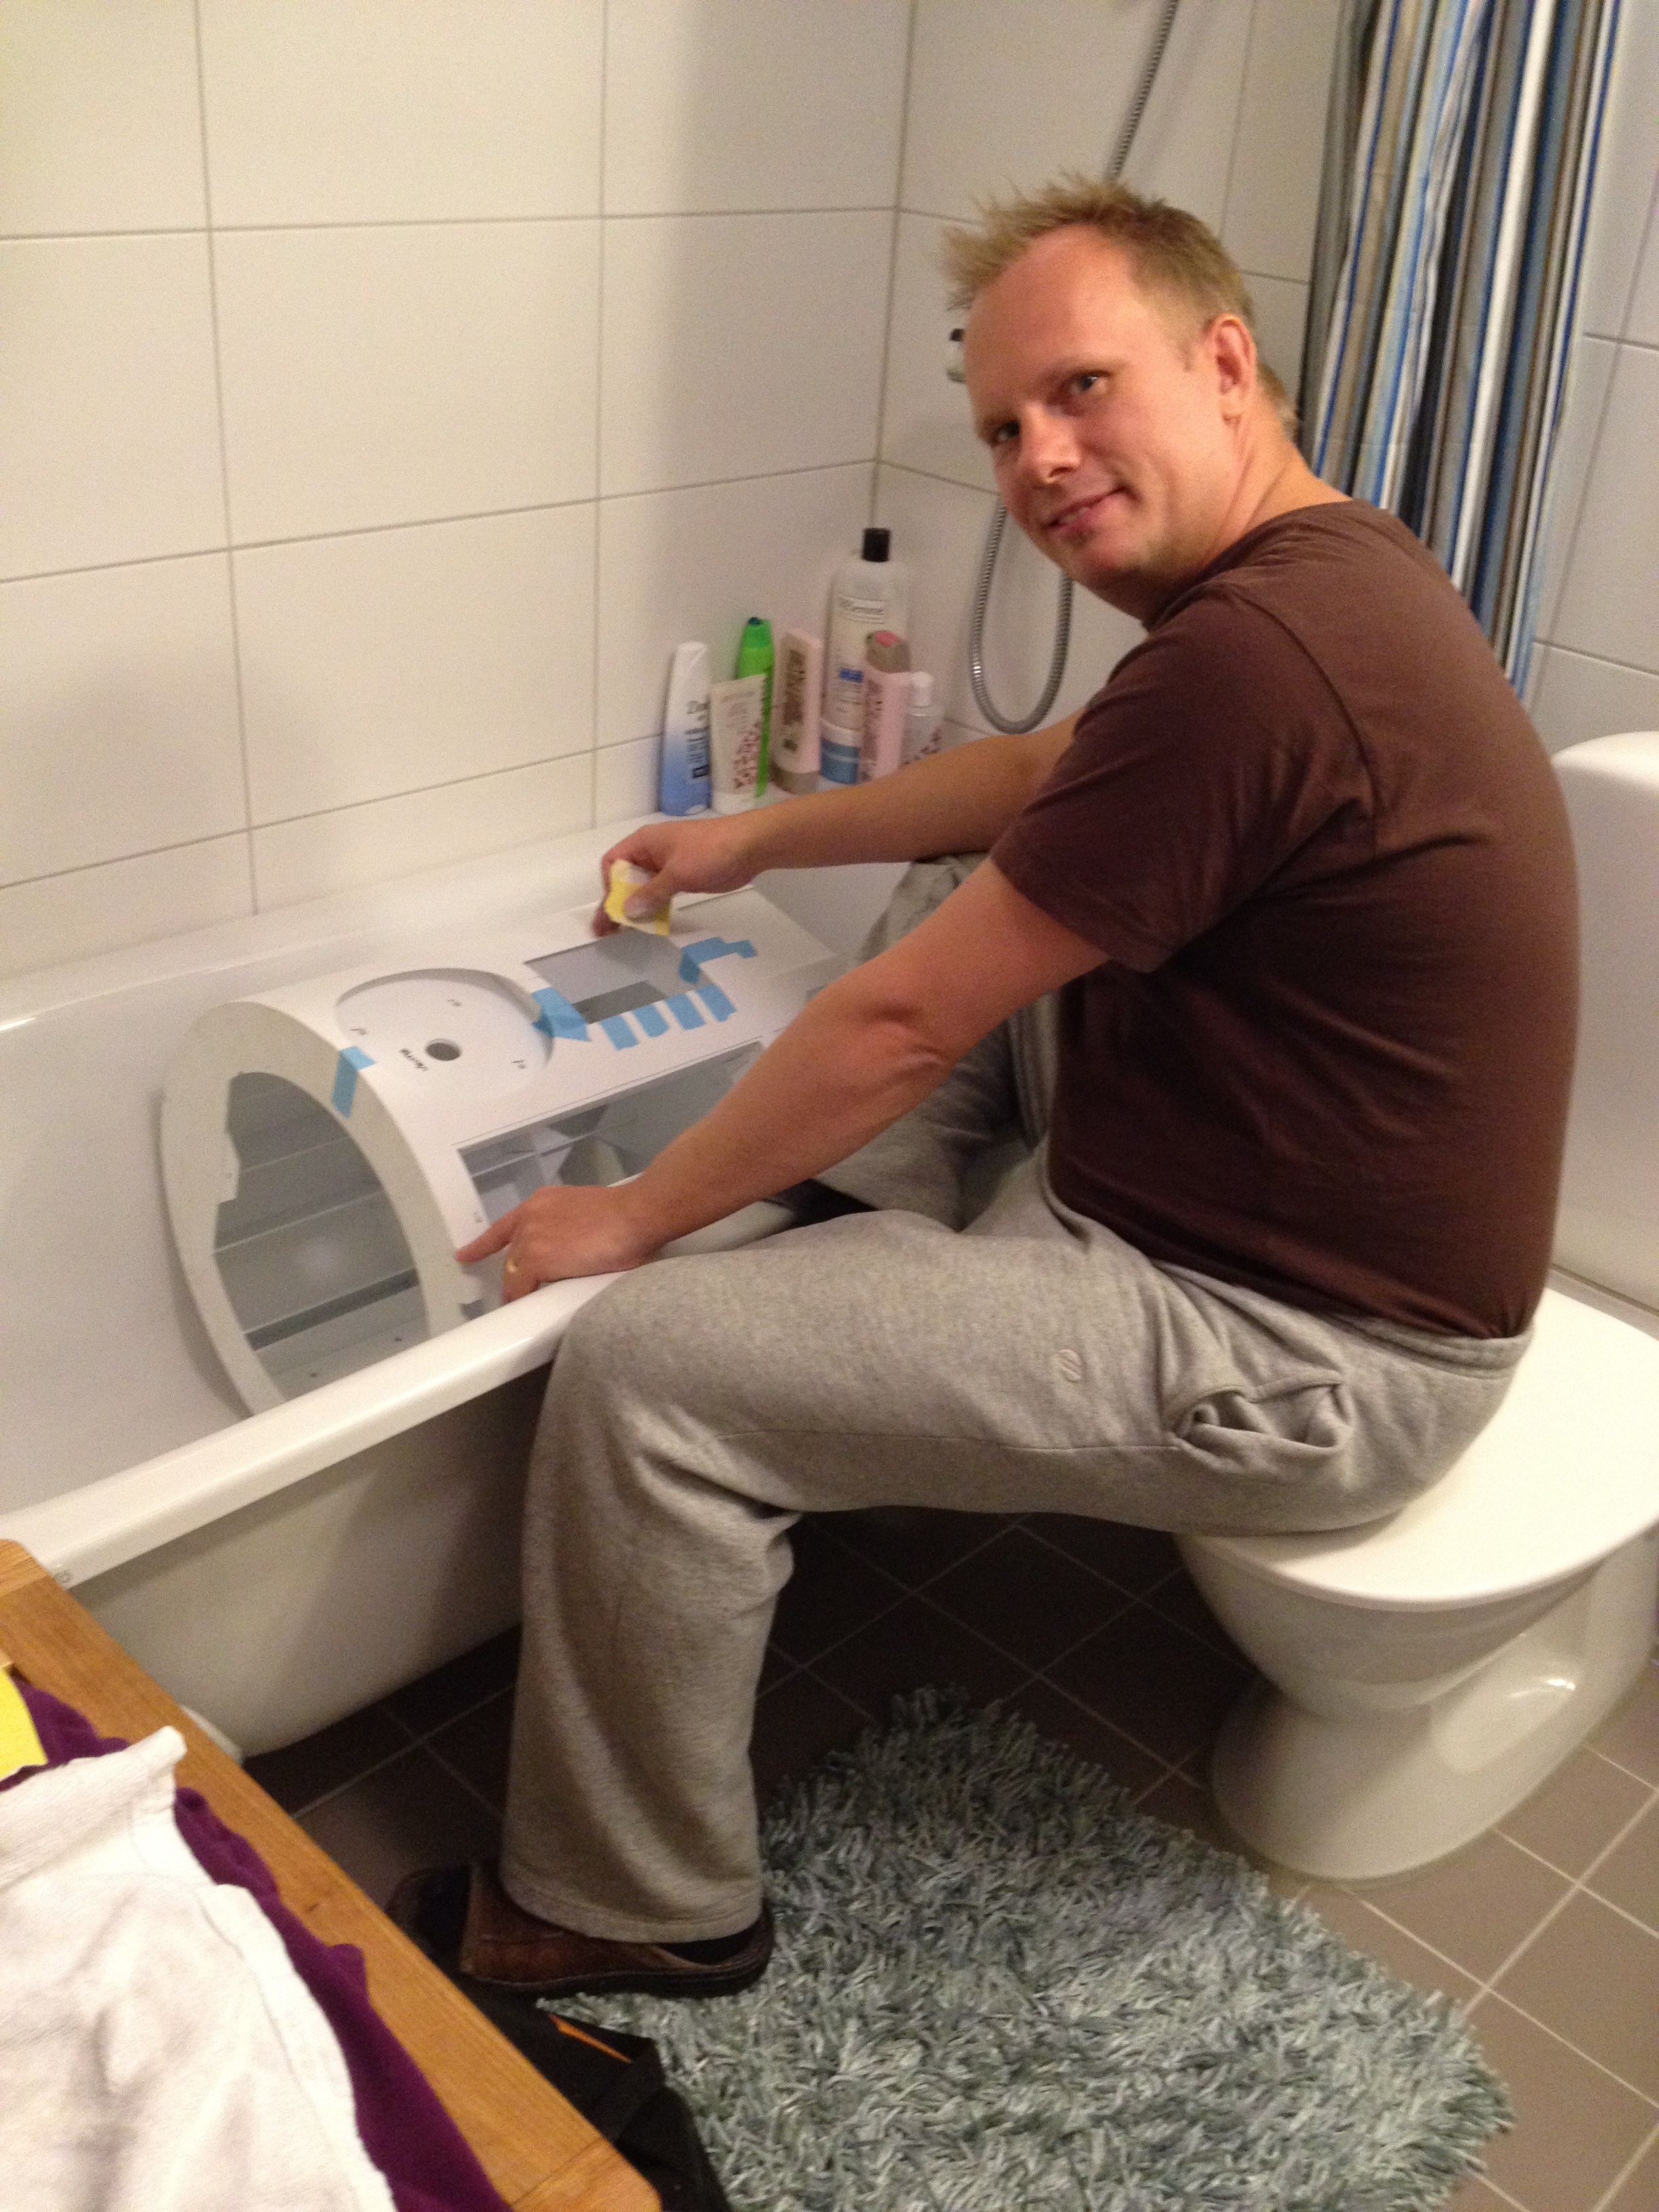
My fiancée walked in on me giving a sponge bath to someone else today…

By |2016-12-06T00:01:53+01:00February 20th, 2012|R2-D2|Comments Off on More skin work and coin return!
Go to Top