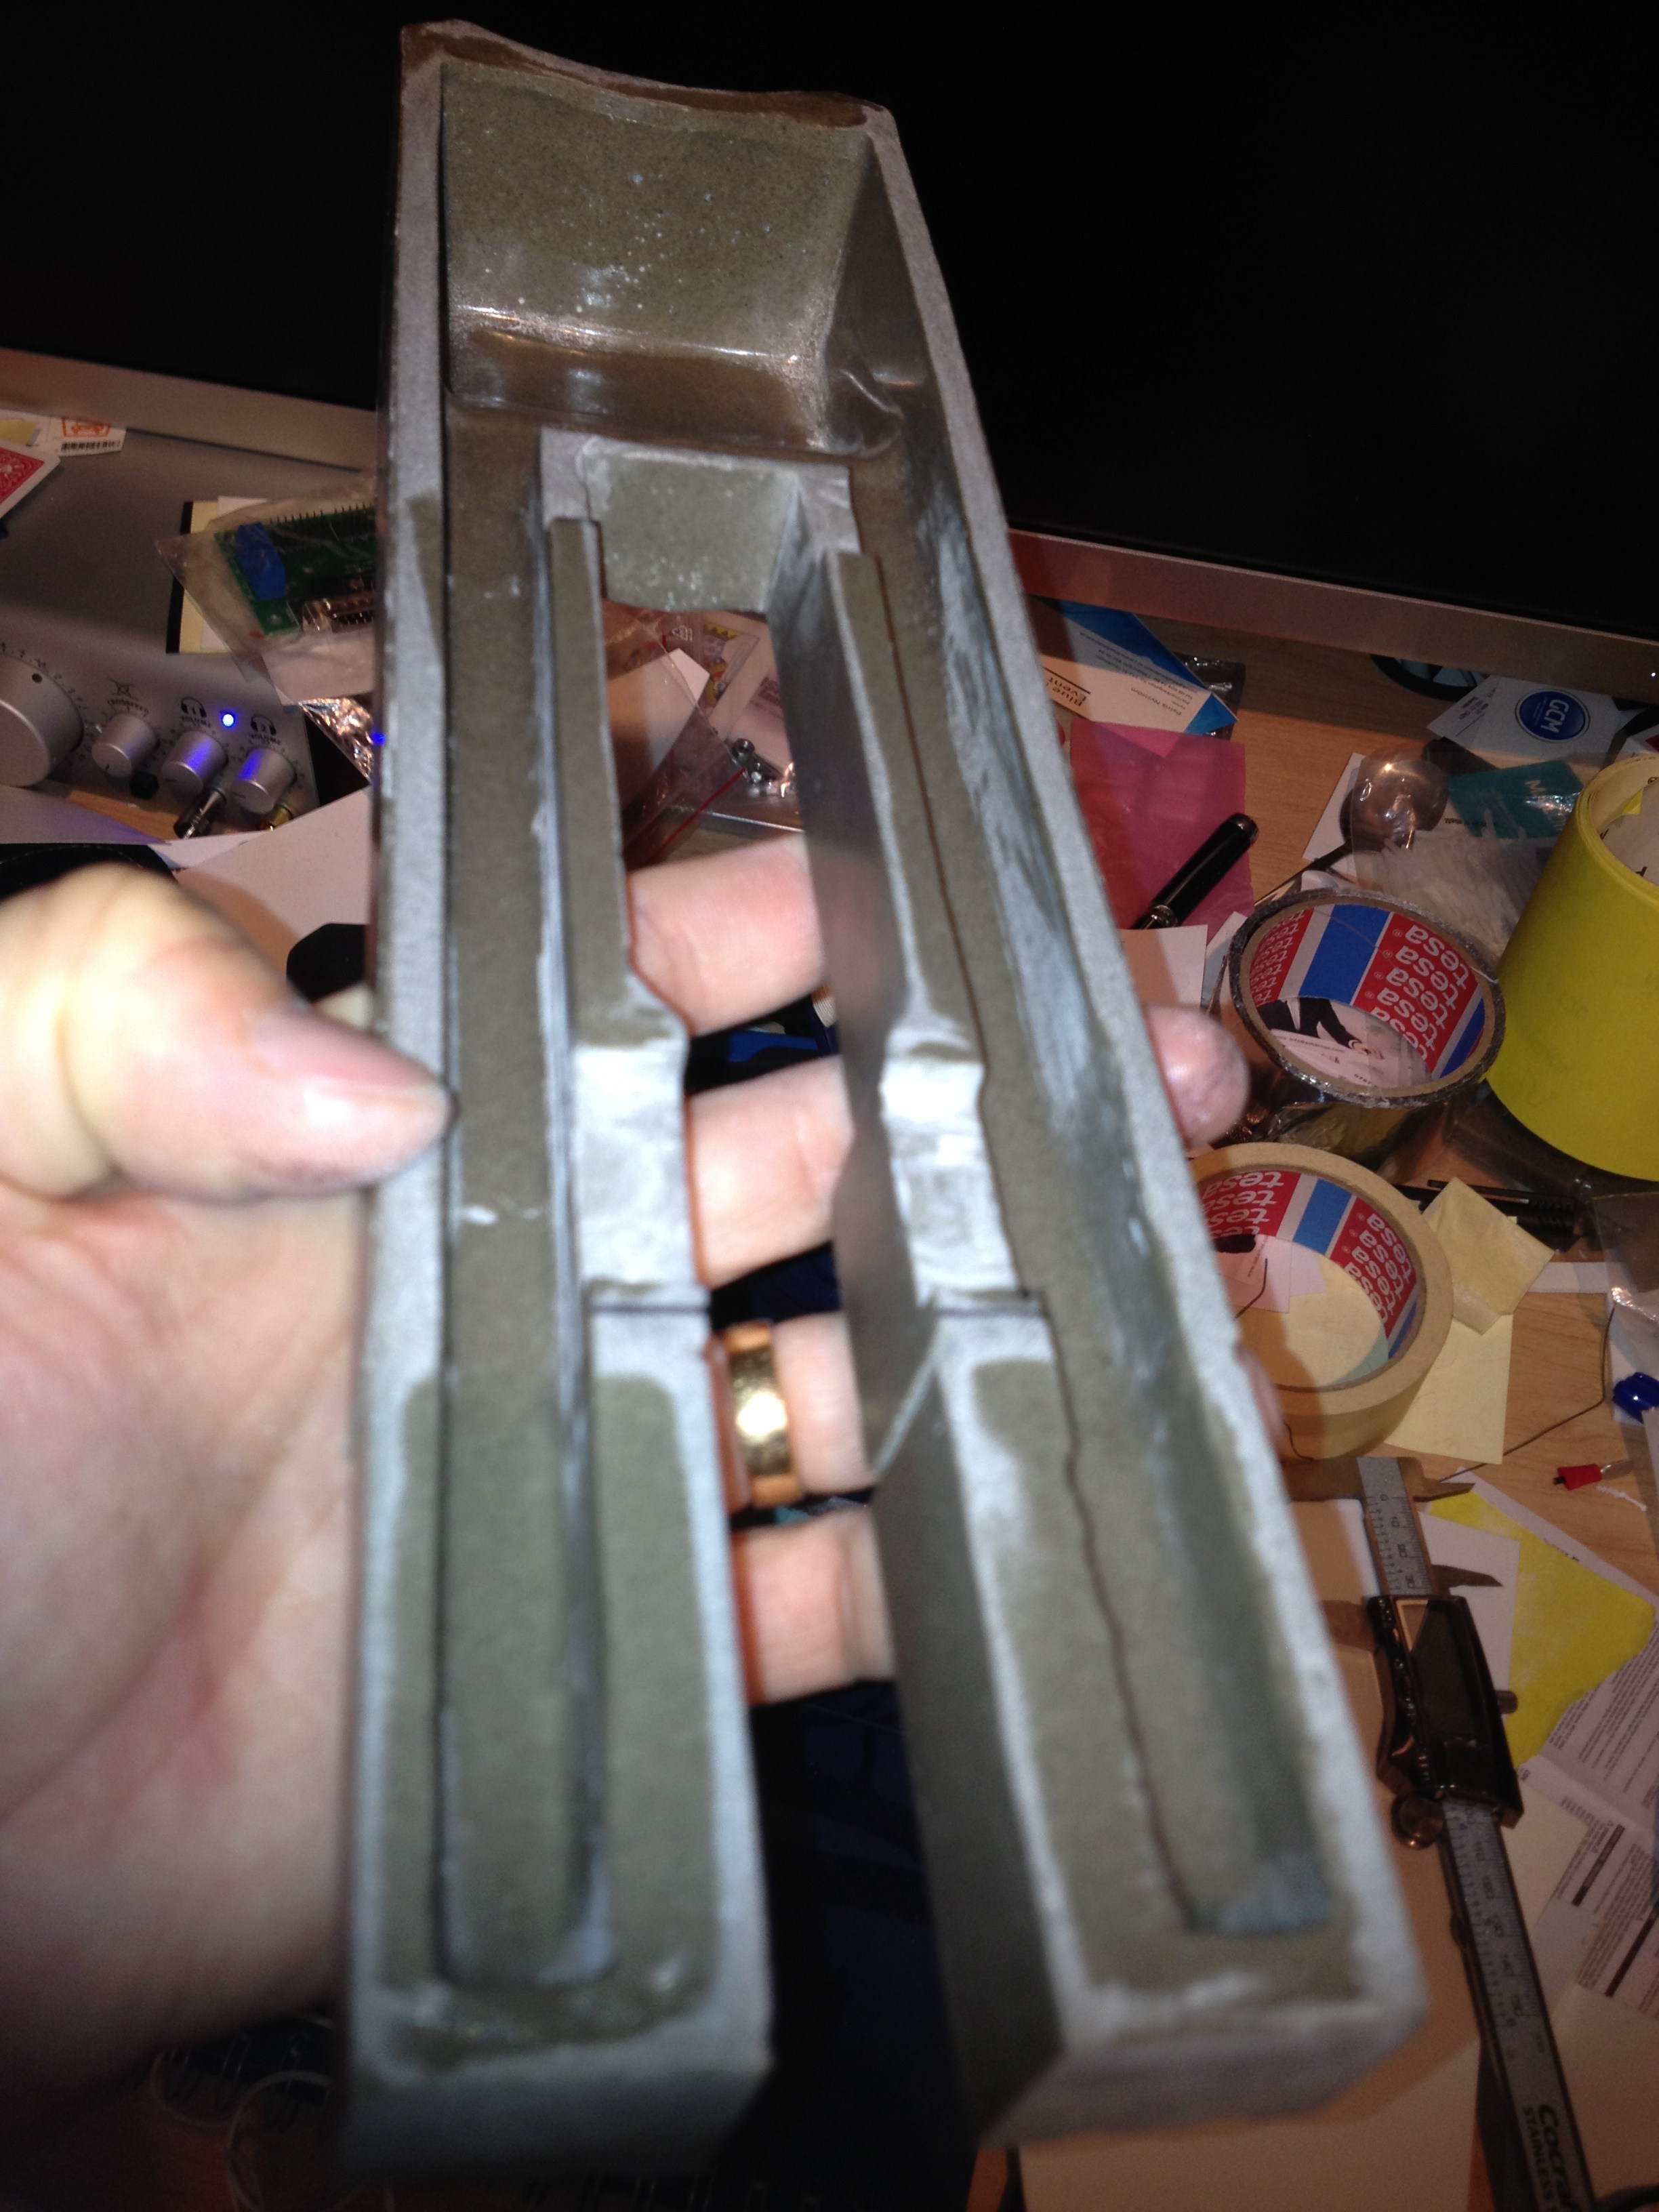
styrene

Scratch building ankle cylinders!

Down by his feet, R2, has a strange cylinder that sticks out. Actually on the middle foot he has two, but I have two of them from resin already, but I need two more!

After looking around, I found a 32mm PVC pipe for plumbing that is sold by the meter and went to the store to pick one up!
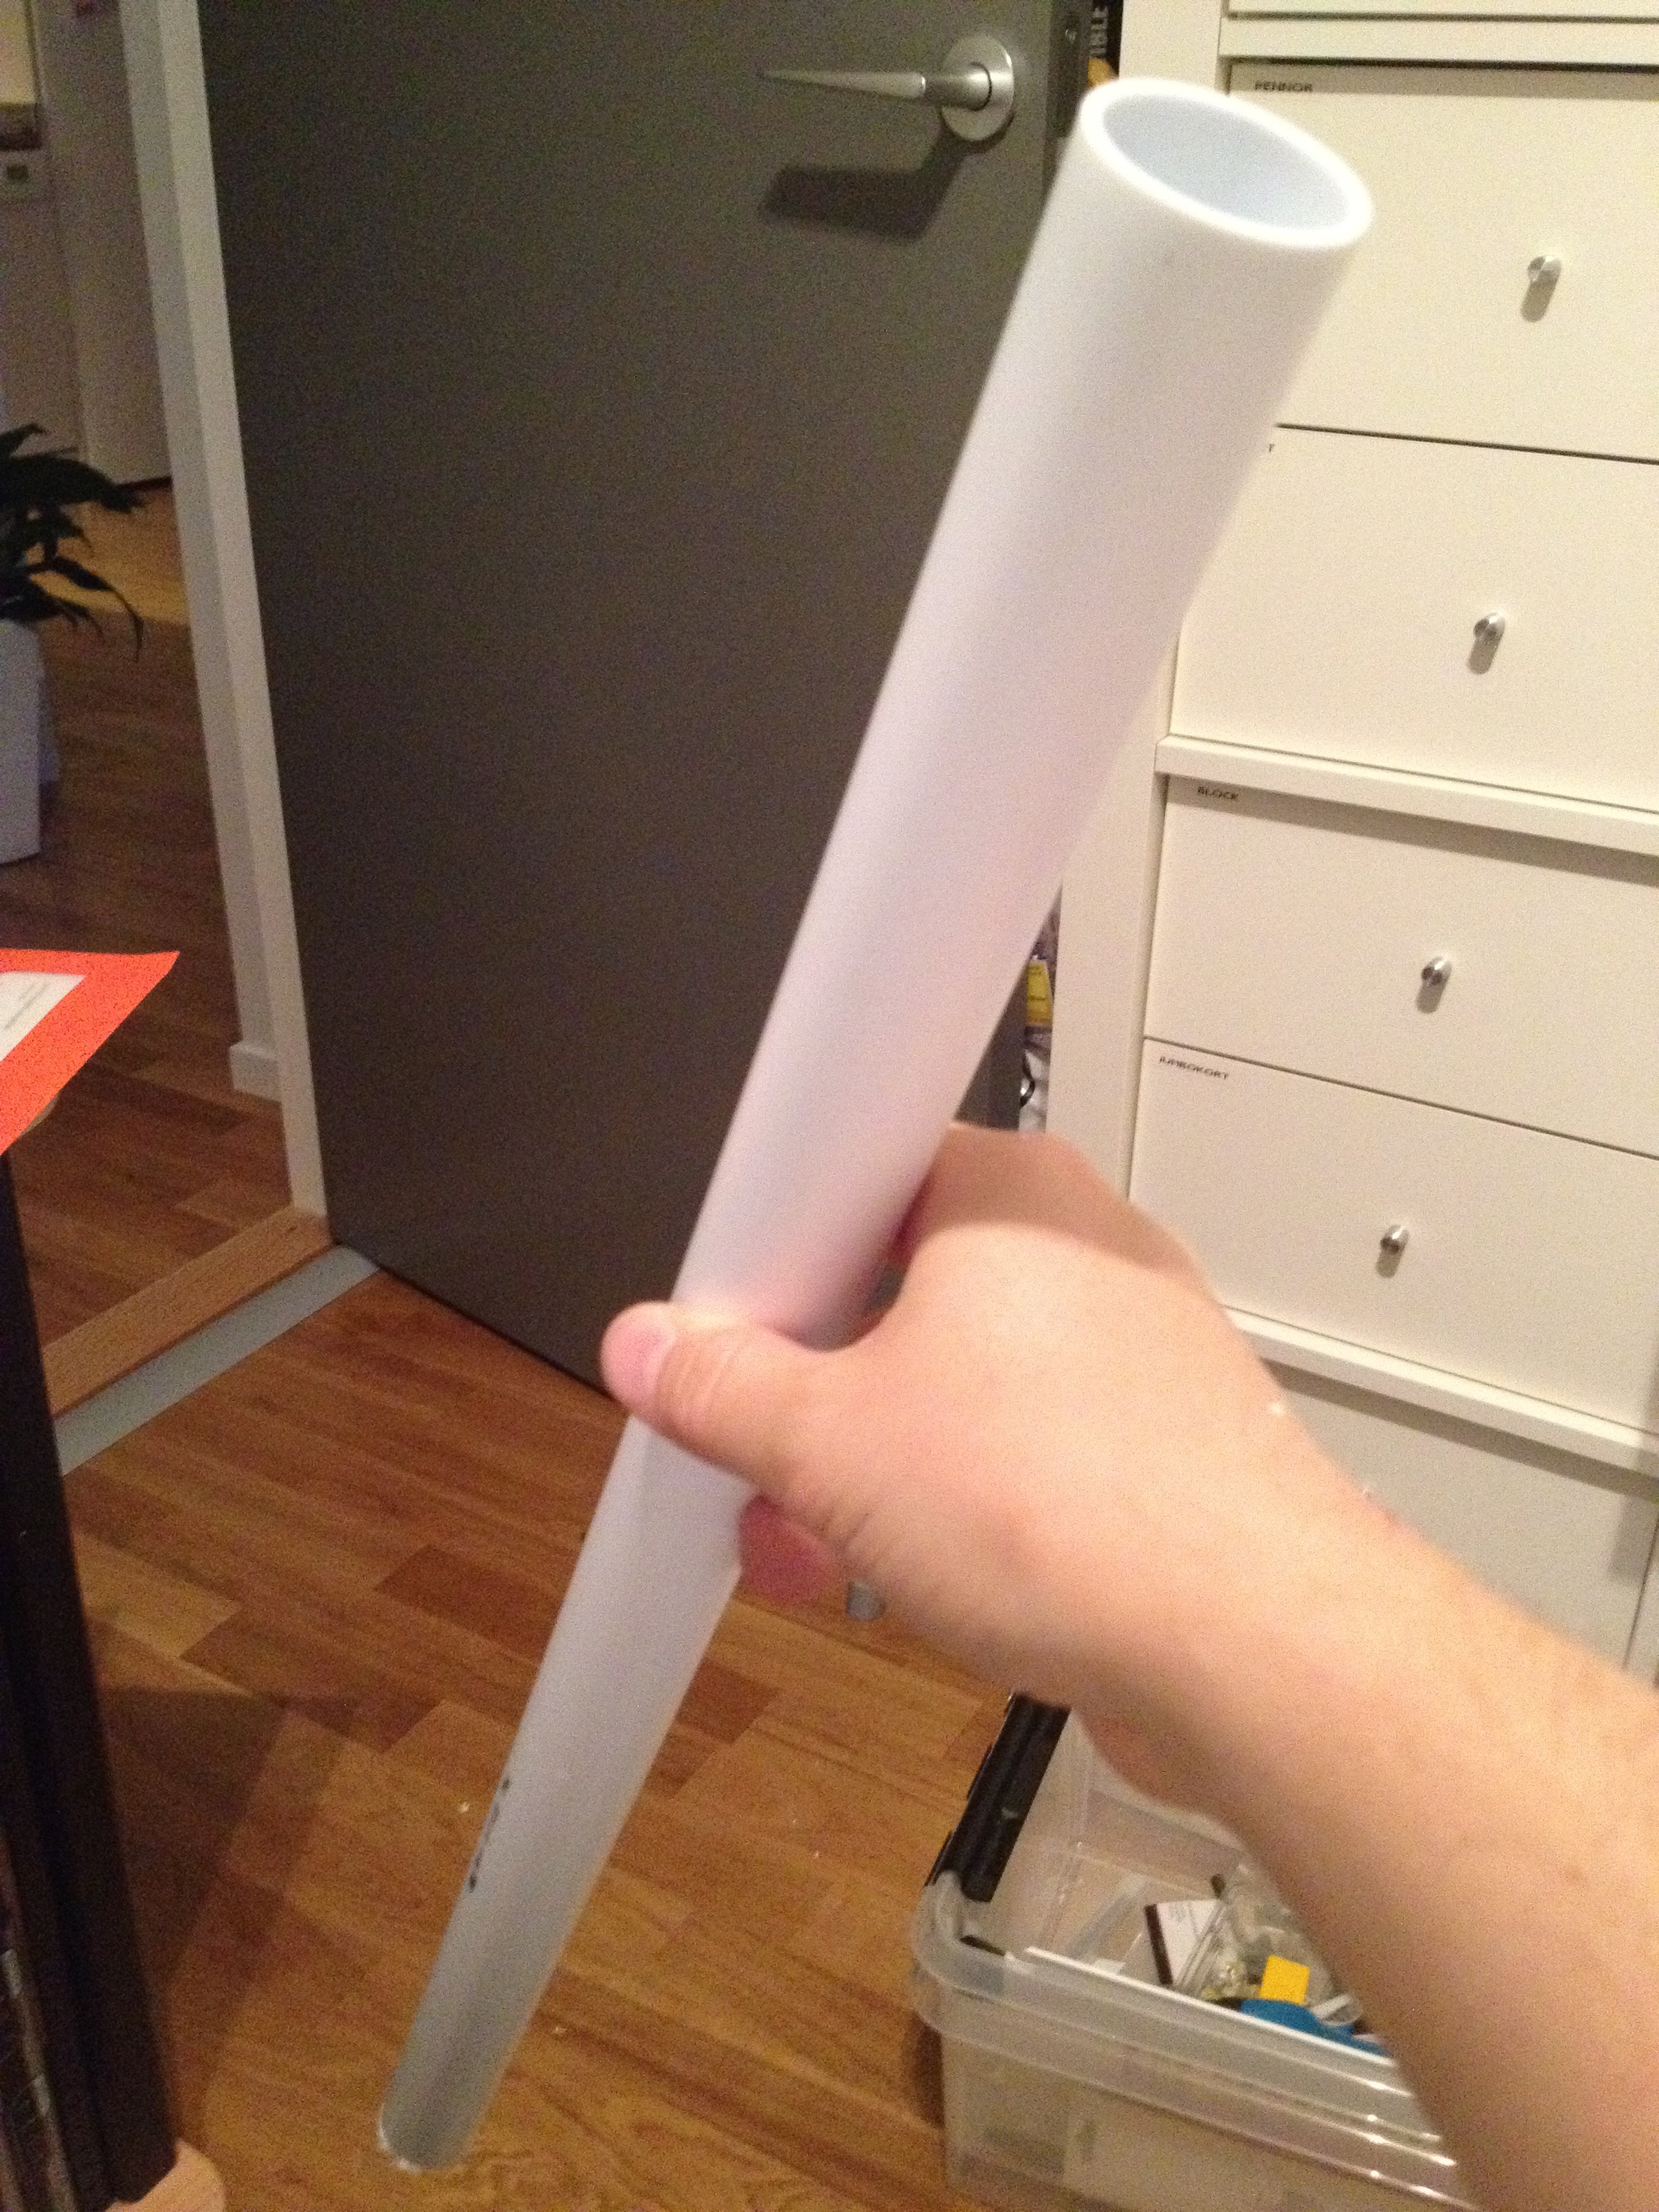
Looks good, but what I didn’t know is that CA glue does not work with PVC. First attempt down the drain.

Second attempt: styrene cement! Works much better, and after sanding the PVC it actually sticks!

Why glue in the first place? Well, the cylinders have certain grooves cut in to them, and it is slightly bigger, so I decided to cover the 32mm pipe in 1mm styrene, making it 34 mm in diameter, and cover it in sections, so I’ll get the groves around the cylinder!

First thing, is to sand the PVC properly to get the glue to stick. Second was just wrapping a piece of 1mm styrene carefully measured right around the middle, and tape it up good for a couple of hours!

Once that has set, I continue with the next “section”.

In order to eke the groove in-between sections the same size, I used a piece of electrical wire I had laying around, and essentially made a hoop for the next “section” to rest upon. I wish I had thought of that before I glued the first section in place on the first cylinder…

So, section by section, separated by electrical wire, I build up the new cylinder, and ape really well, until I get something like a small tape-mummy:
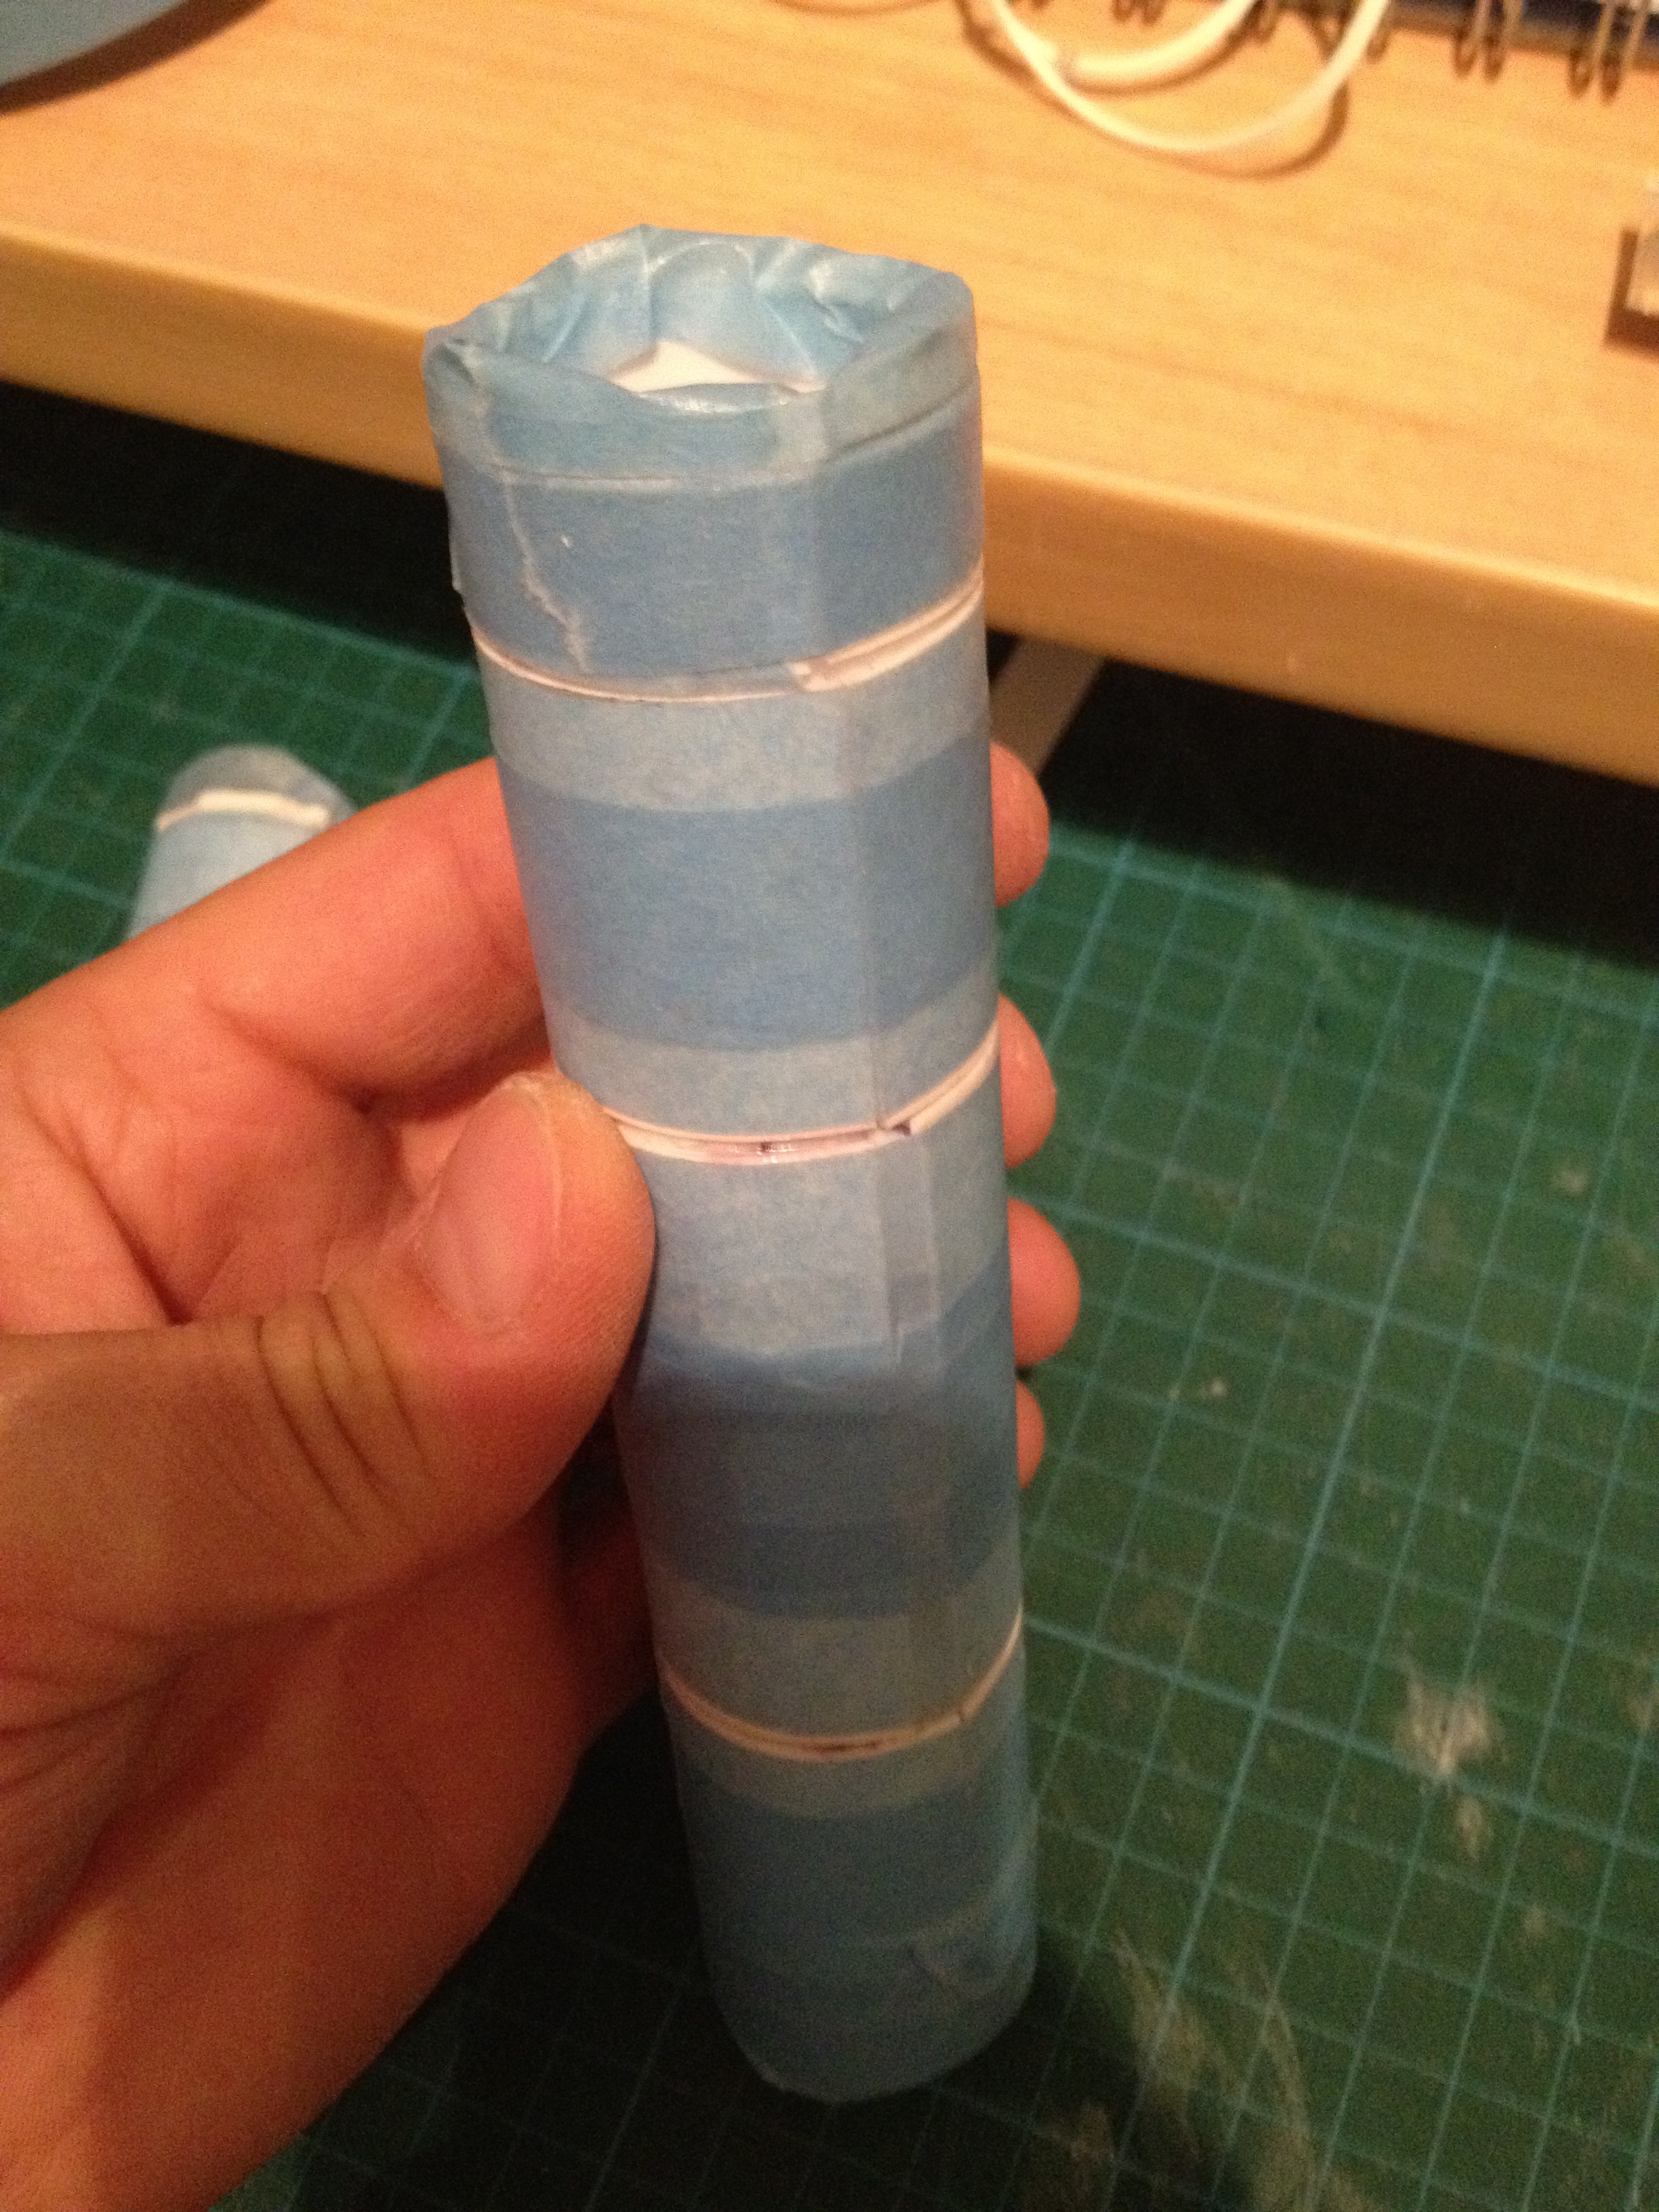
Once the first one was dry enough, I glued up my second one, and cut open the first with my dremel.

I needed to add a little extra glue, so I let it sit for a while. A quick test fitting on one of my legs told me I had the right dimensions!

Now the easy part is done. The cylinders also have end caps, that has some deal to it, and that was my next task.

I started just making simple end caps for the cylinders to have something to work with.
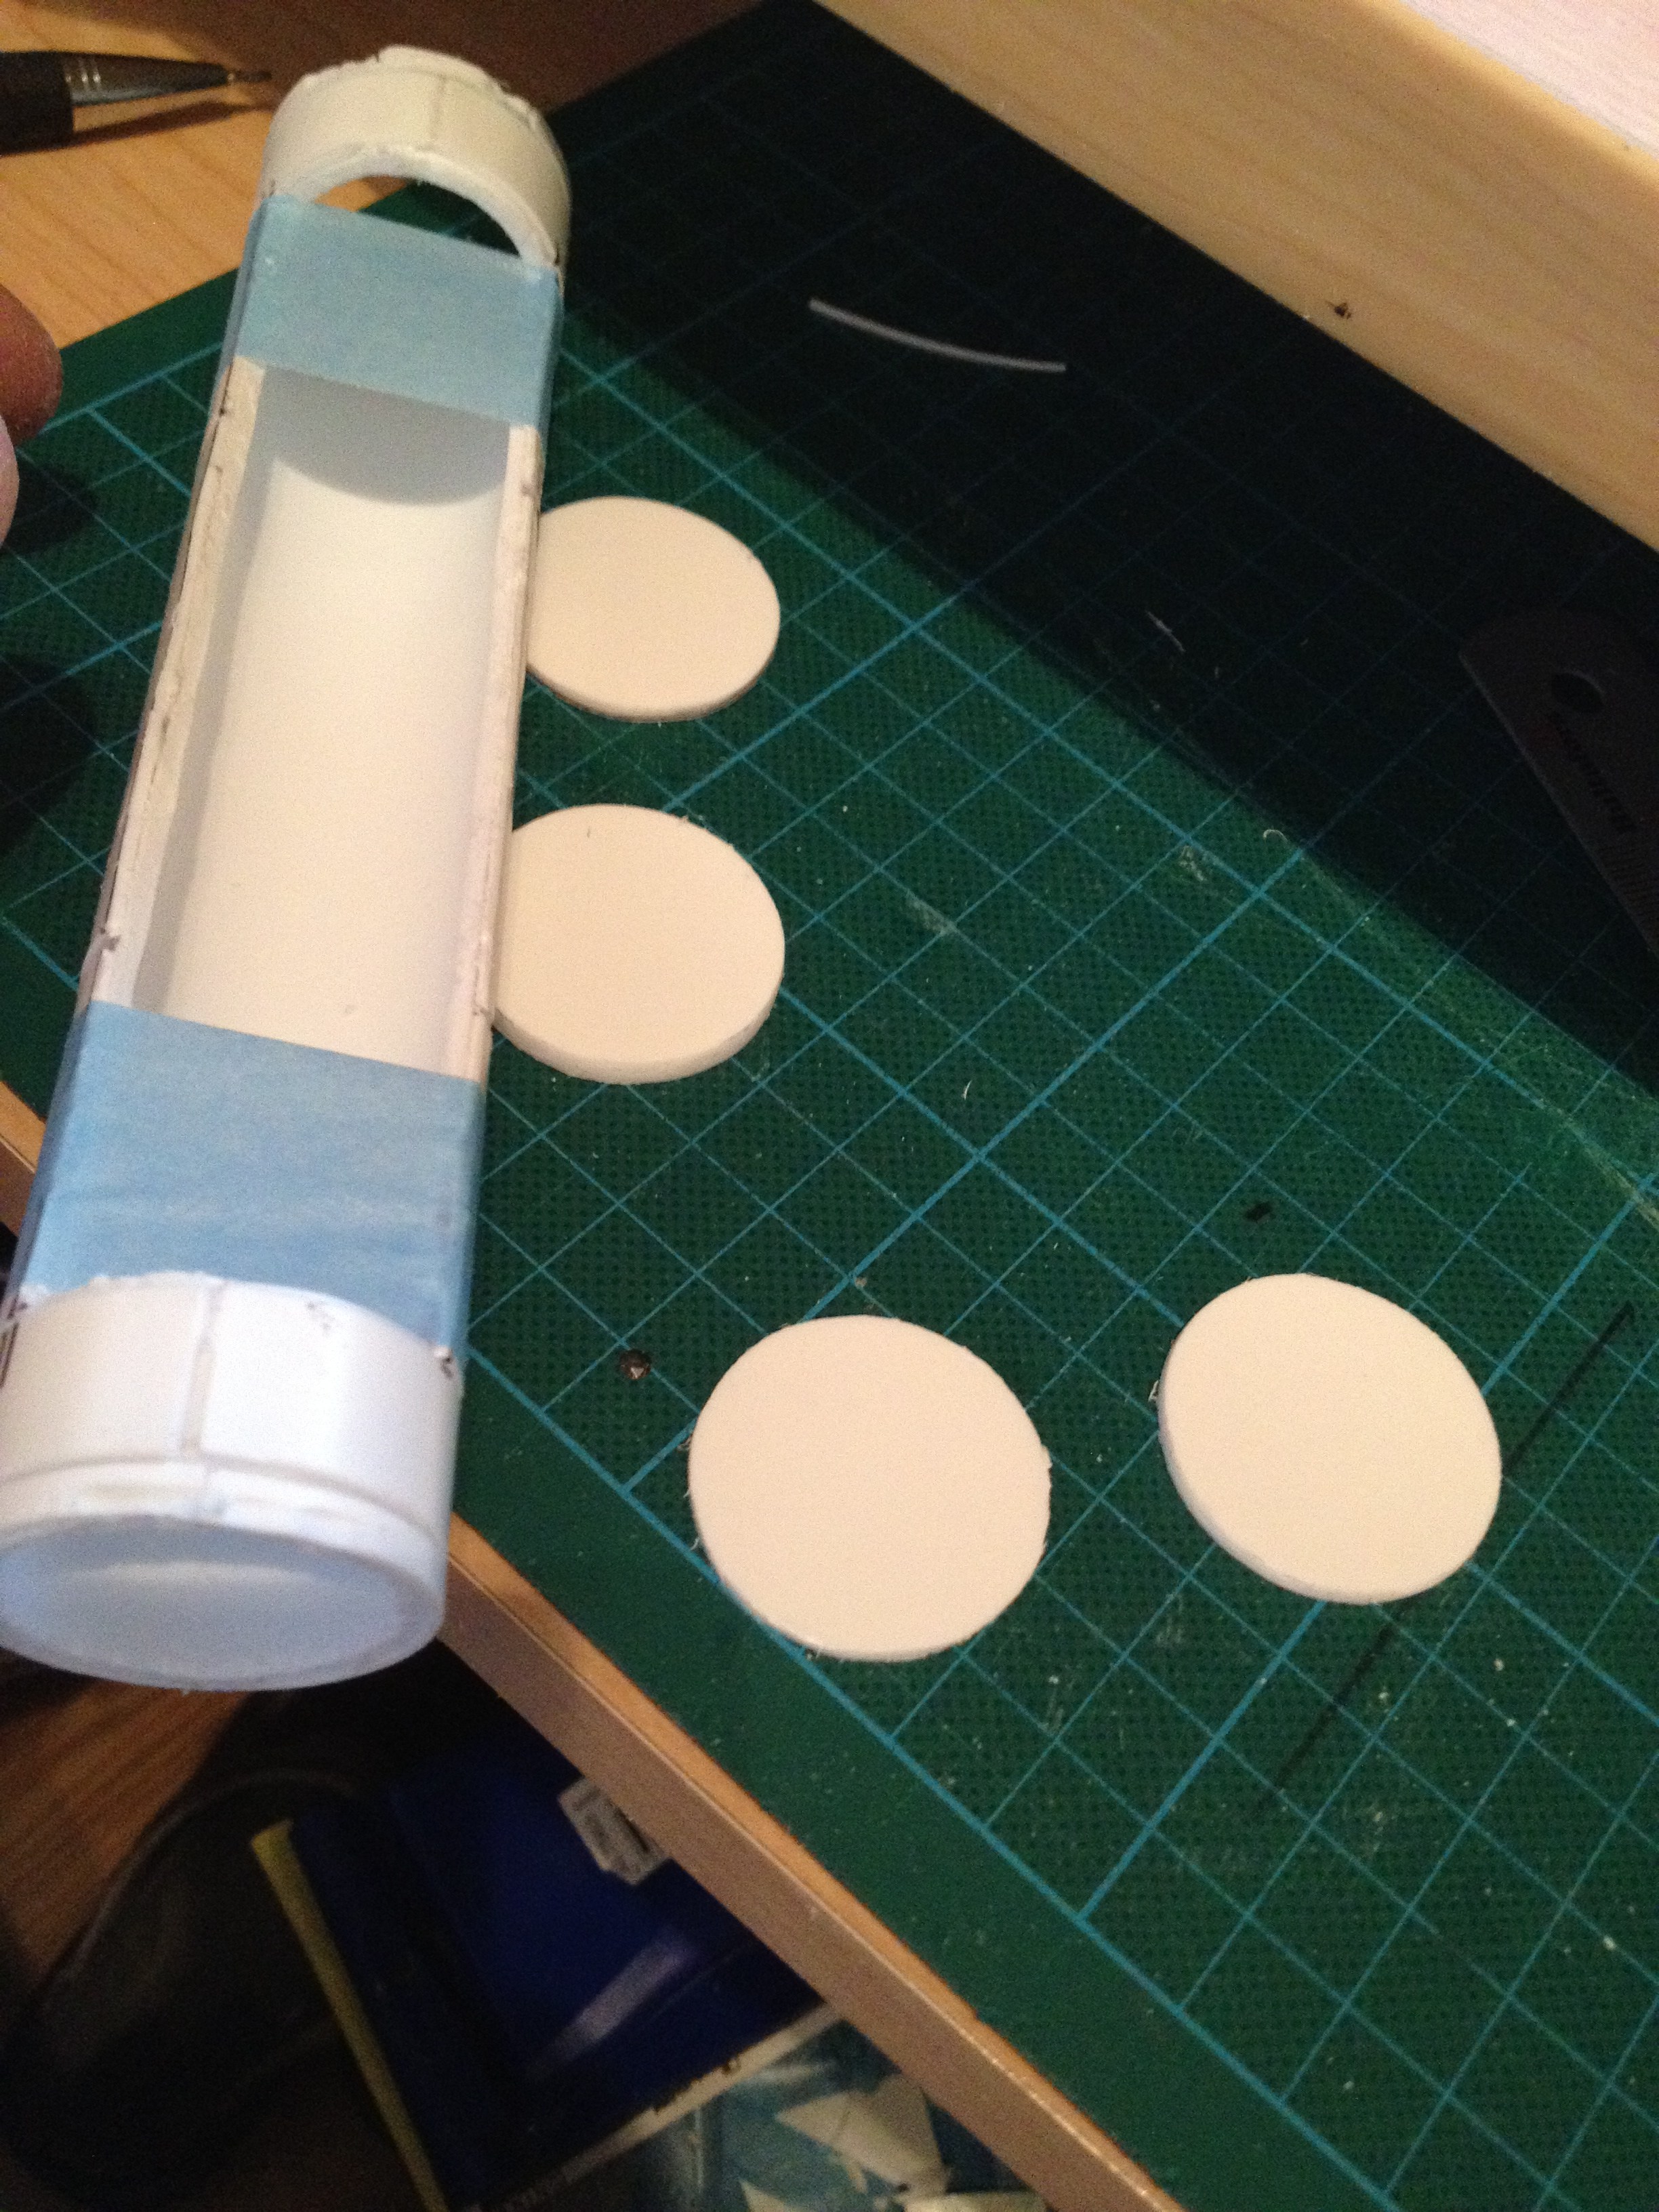
I don’t have a circle cutter, so these were cut by hand. I started with a square piece, draw the outline of the original tube on them, then cut closer and closer to the line until all that was left was easily removed and rounded with some sand paper.

Once these were done, I made a end cap base out of 1mm styrene. This will be glued on top of these end caps that will just close up the tubes and nothing else.
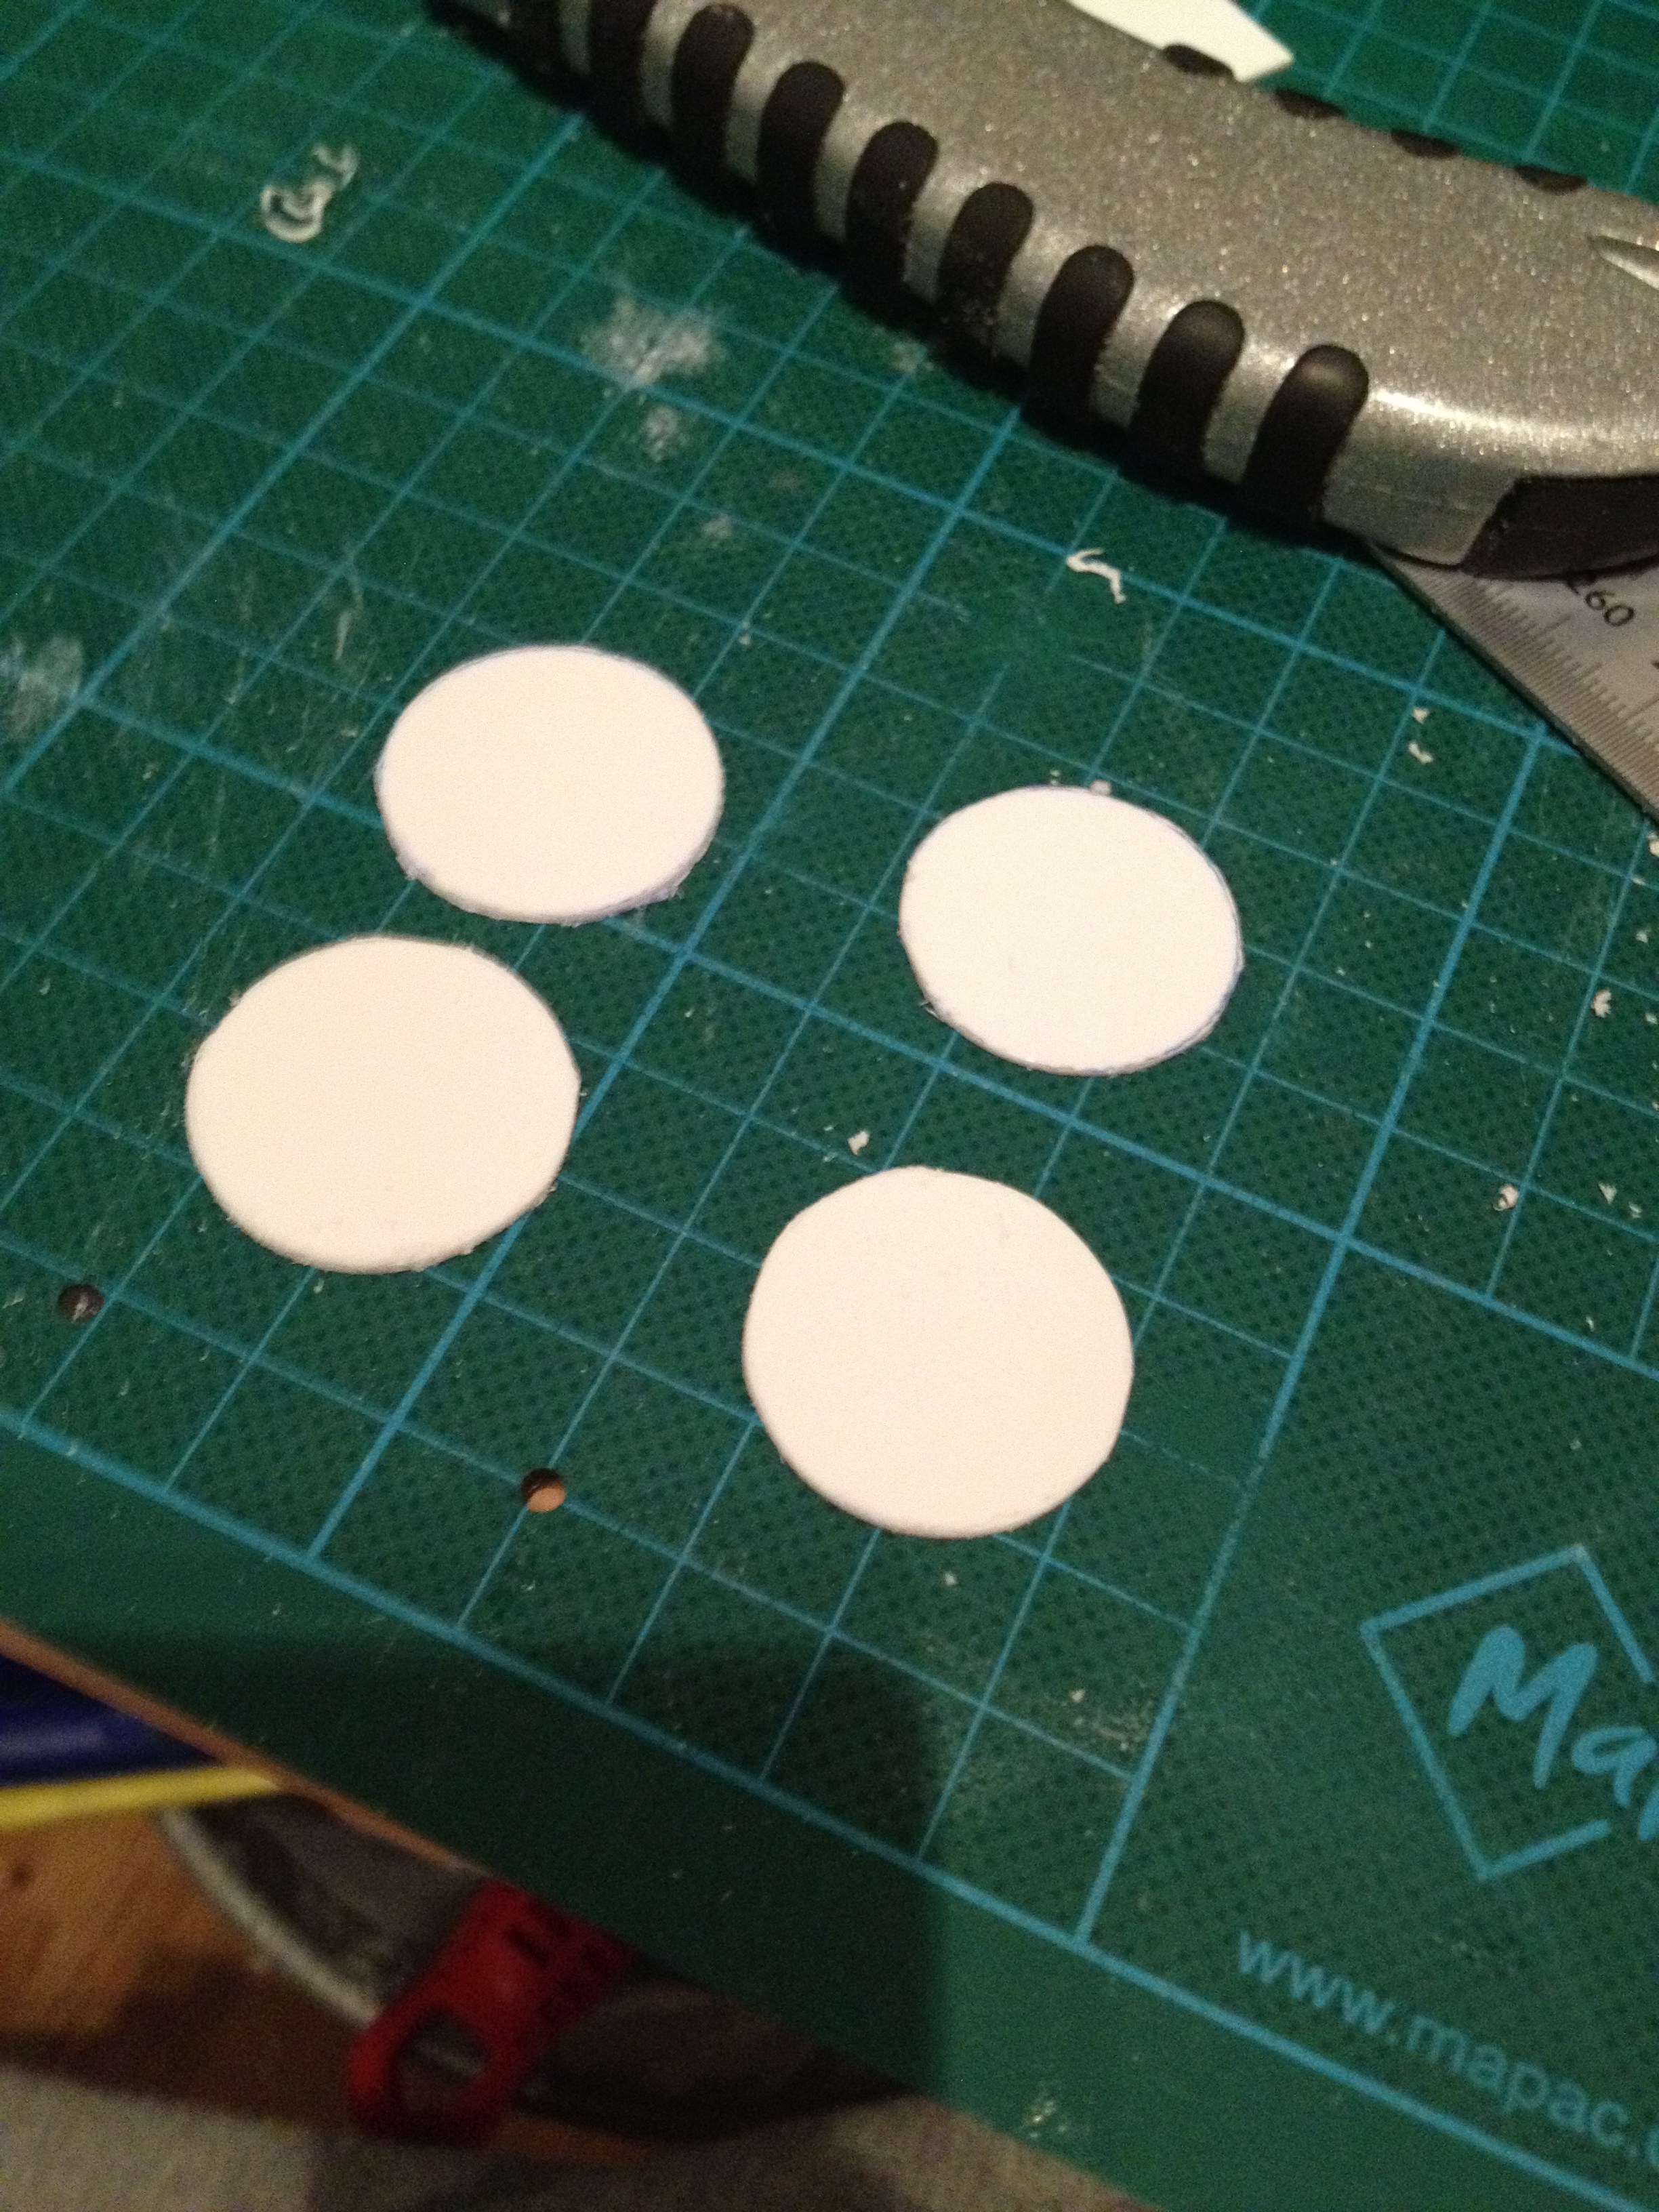
A 50 euro cent coin I had laying around had the perfect size for these. A Swedish 1 krona coin would do as well, but oddly enough the closest coin of the right size at hand was a 50 euro cent…

These are 6 mm (about 1/4 of an inch) smaller in diameter than the first plugs. It is these plates that will also get a sort of “handle” on them.

To make the handle, I started with 3mm styrene and glued 3 pieces together to get the proper thickness.
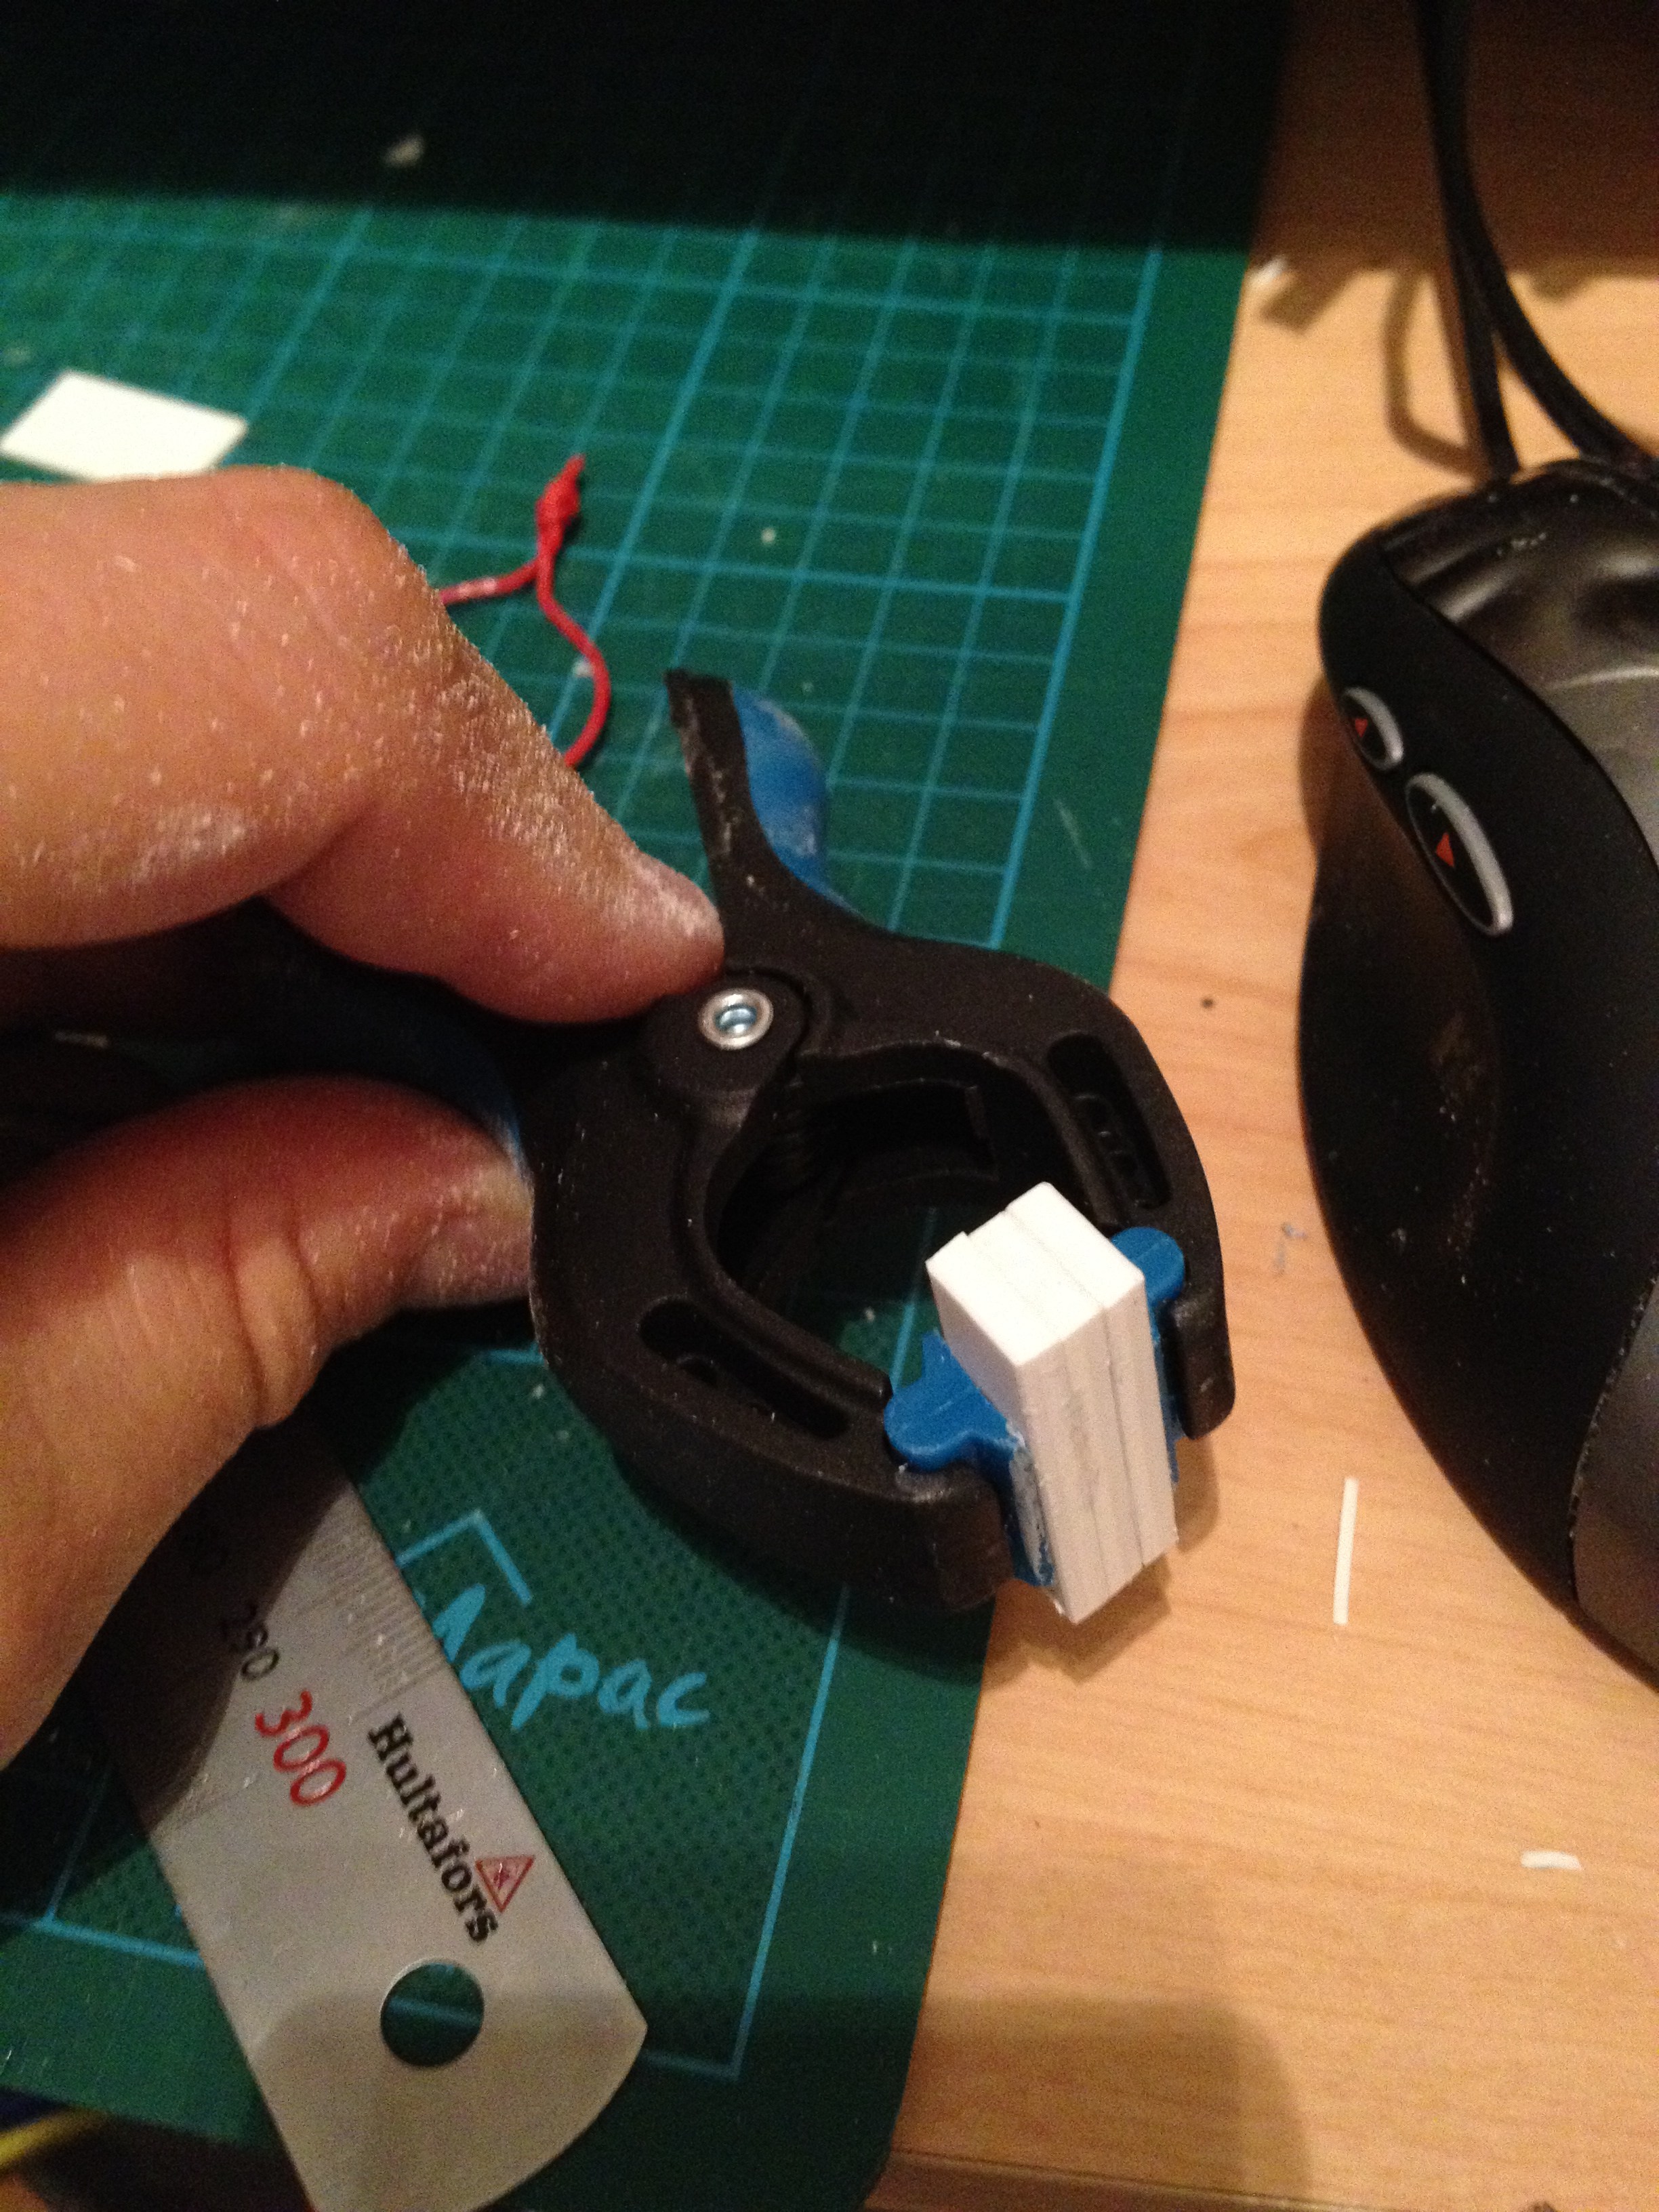
Once the glue had set enough, it was all about cutting and filing and sanding…
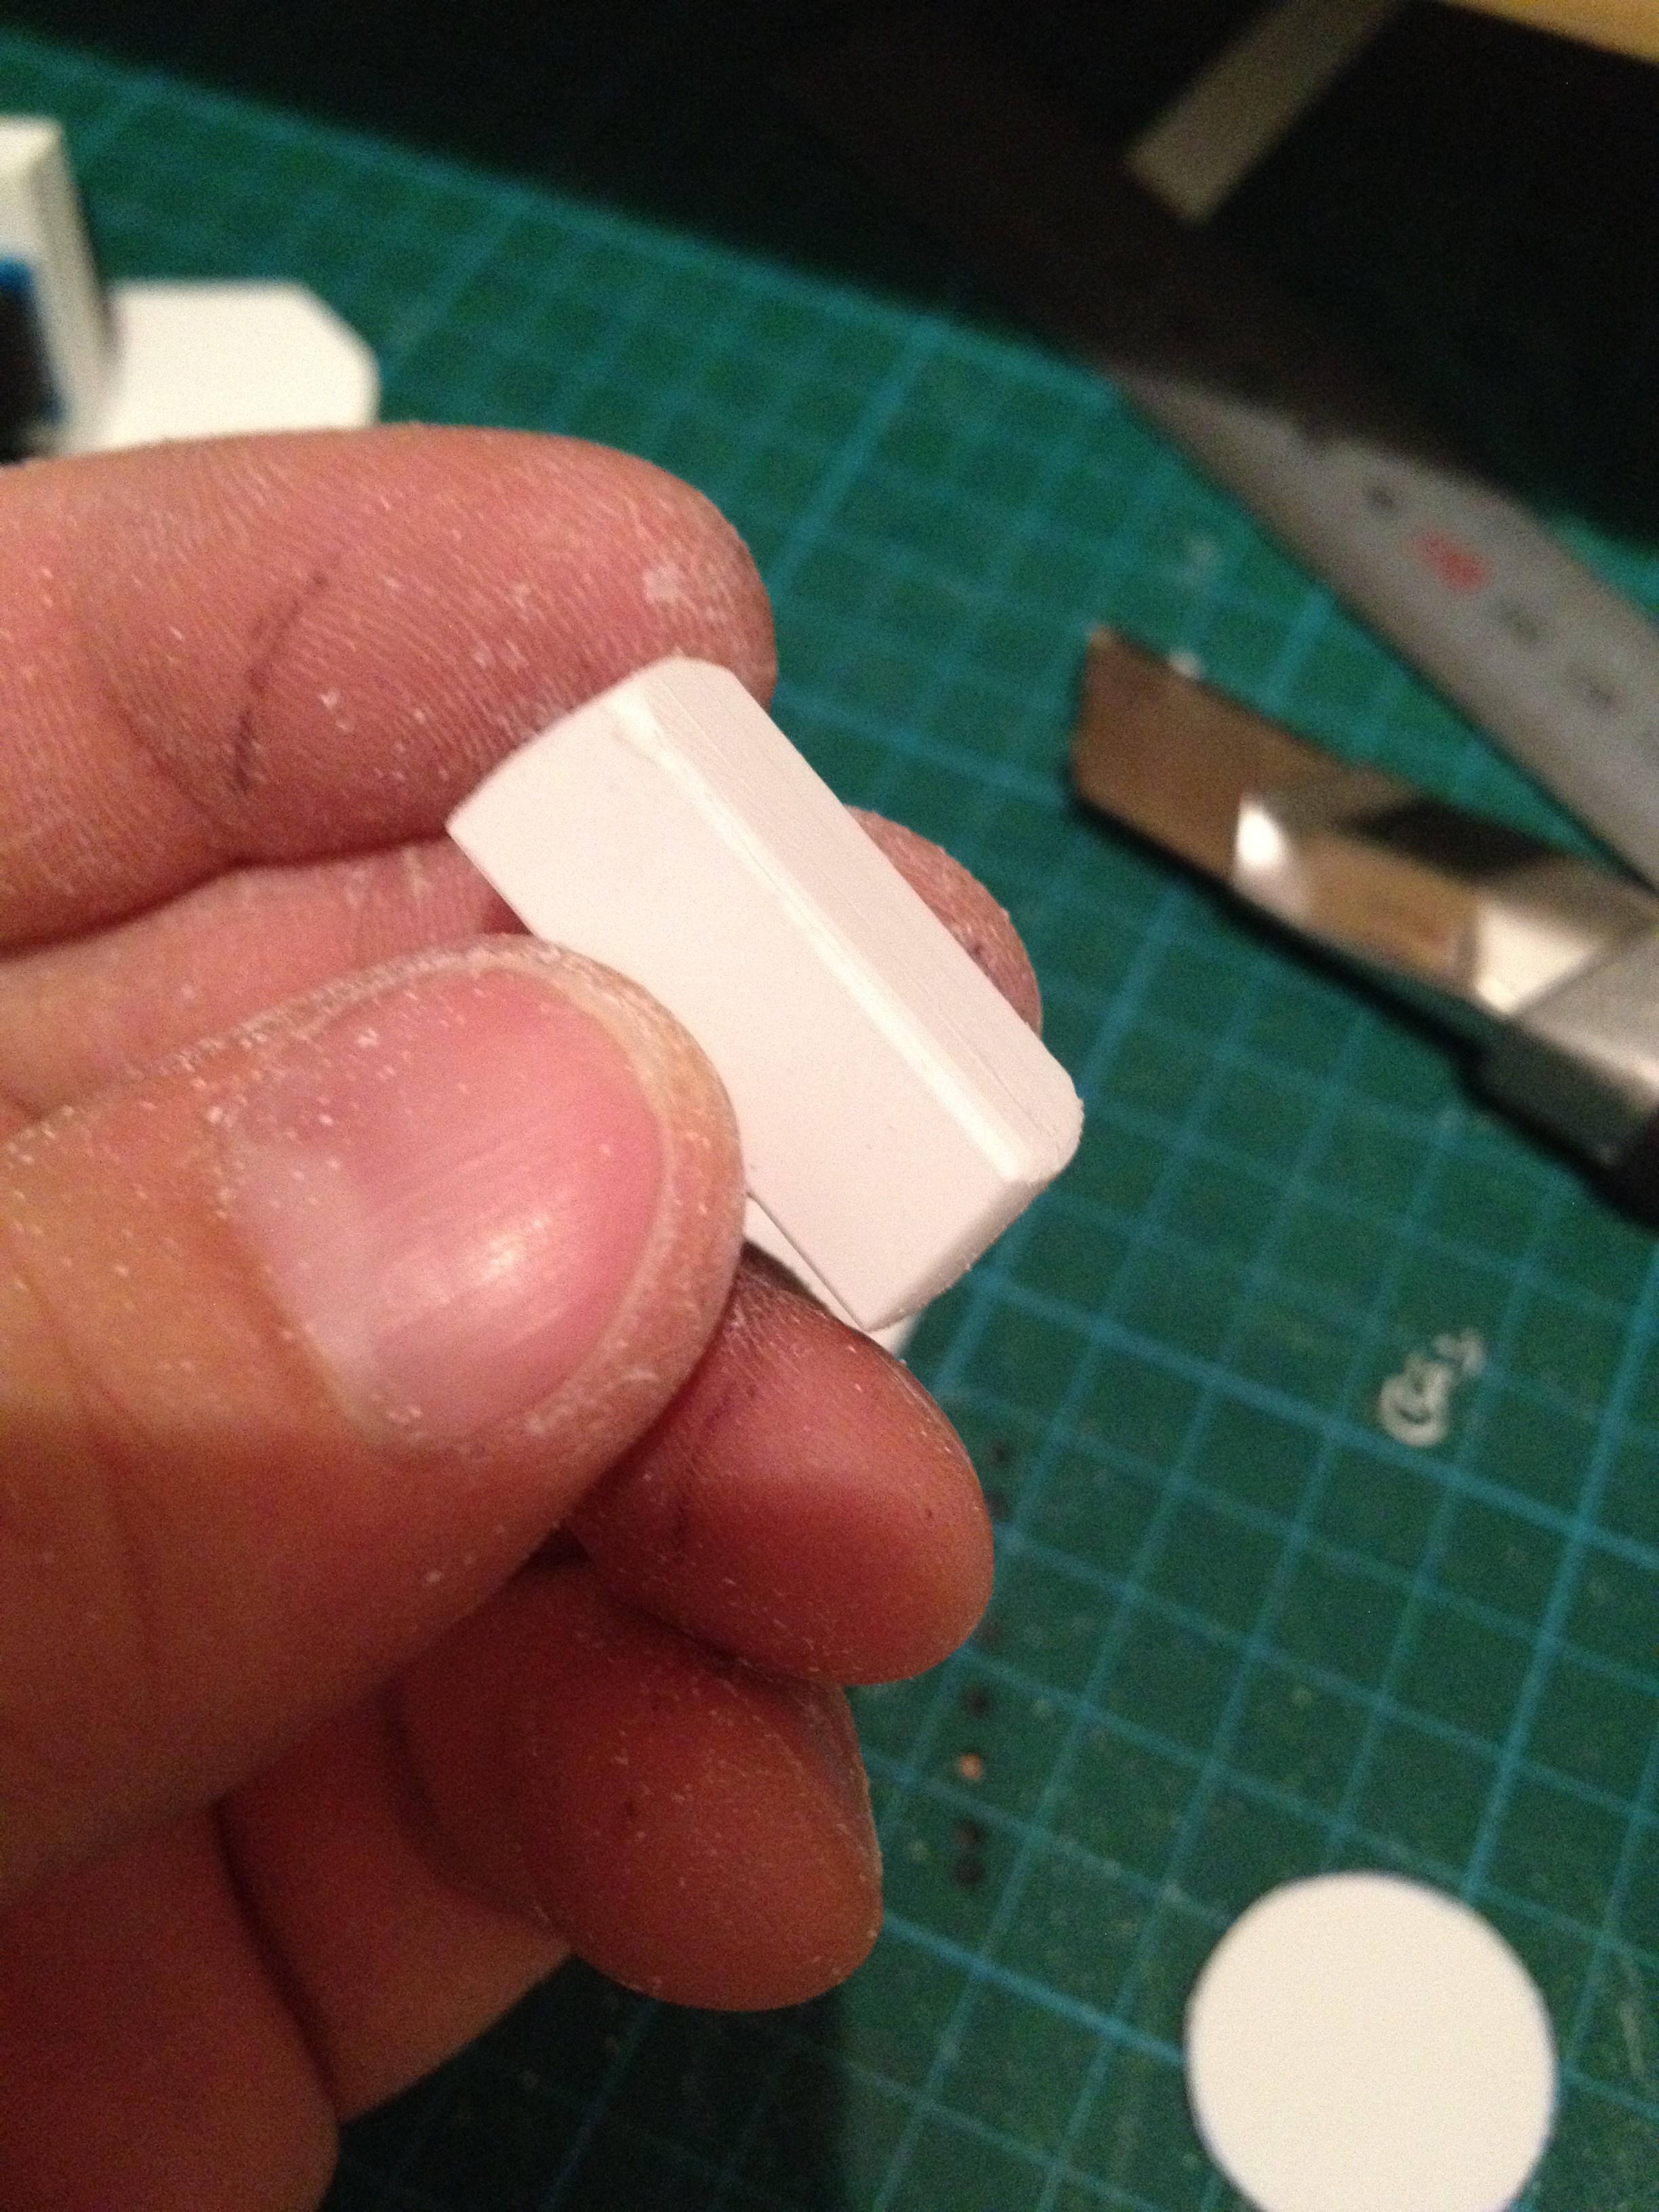
until the same pieces looks like this…

A quick test fit on the end base.. looks pretty ok. Will need a bit more sanding to be perfect…

But I had to do a test fit on the ankle cylinder, to see what it will look like.. Not too bad! =)
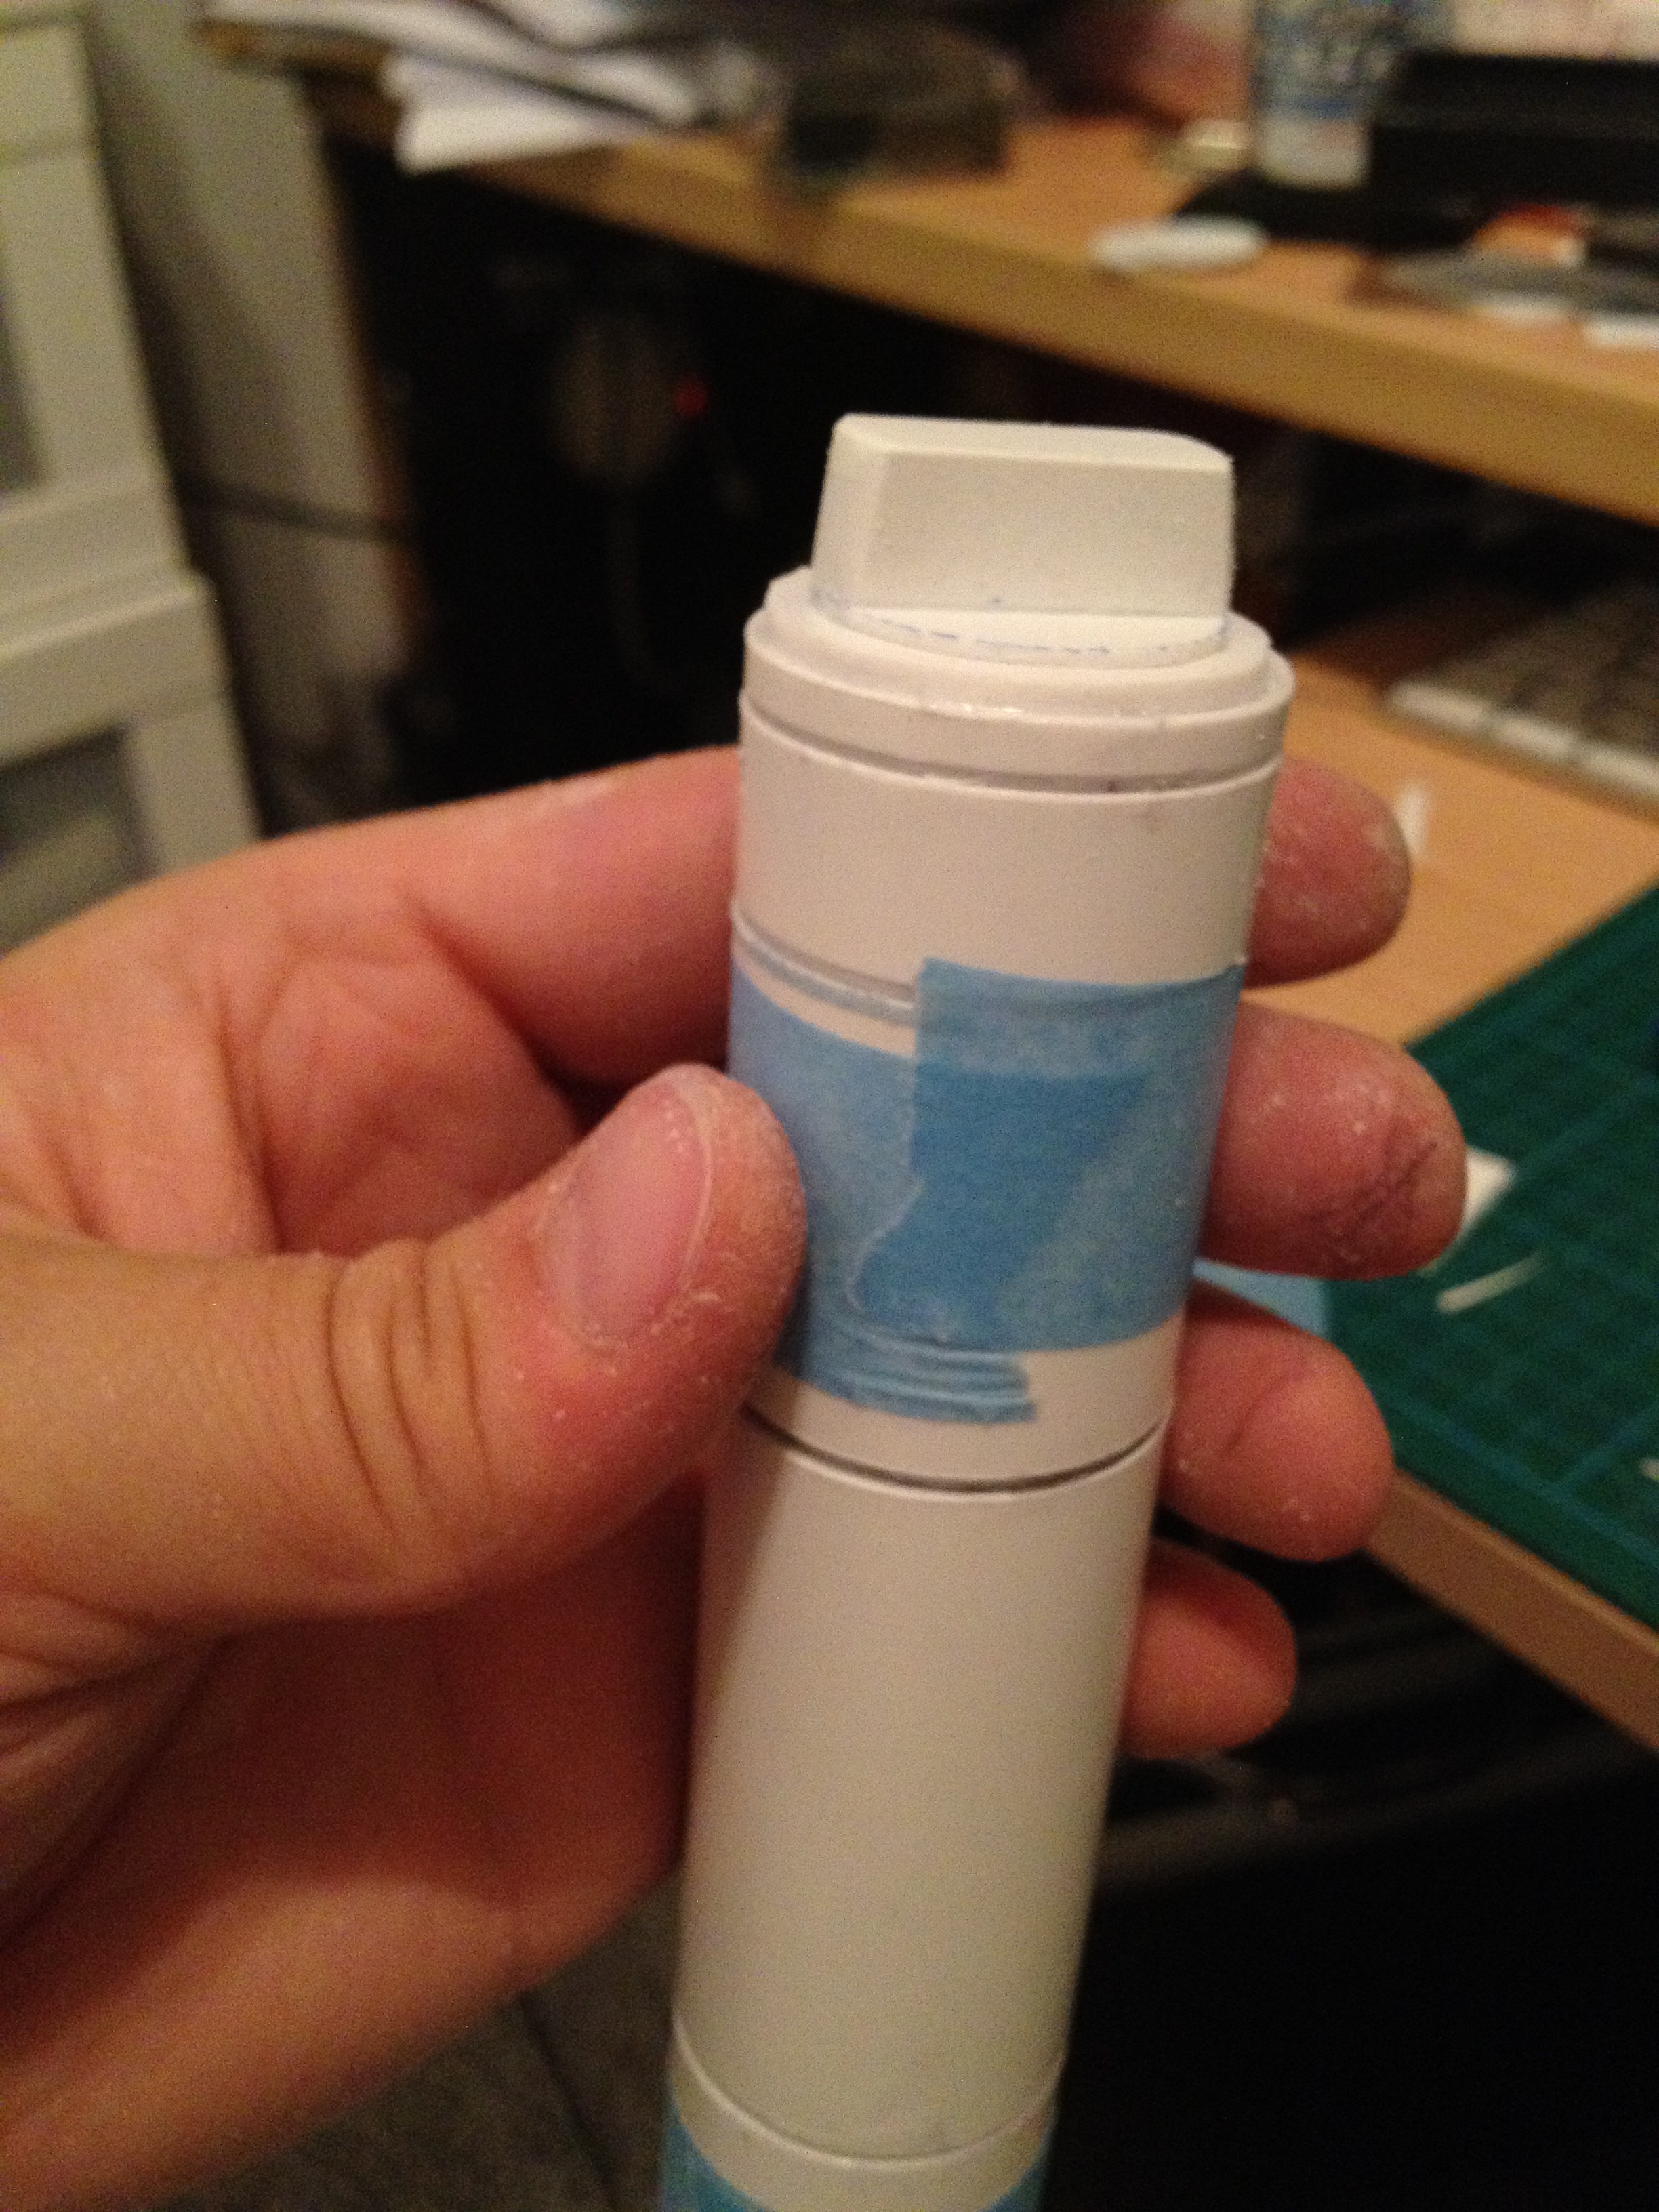
Now, time for some long overdue sleep, so I have enough strength to work on the droid tomorrow ! 😉

//Micke
By |2016-12-06T00:01:45+01:00March 2nd, 2012|R2-D2|Comments Off on Scratch building ankle cylinders!

More horseshoes and dome measuring.. and some booster covers!

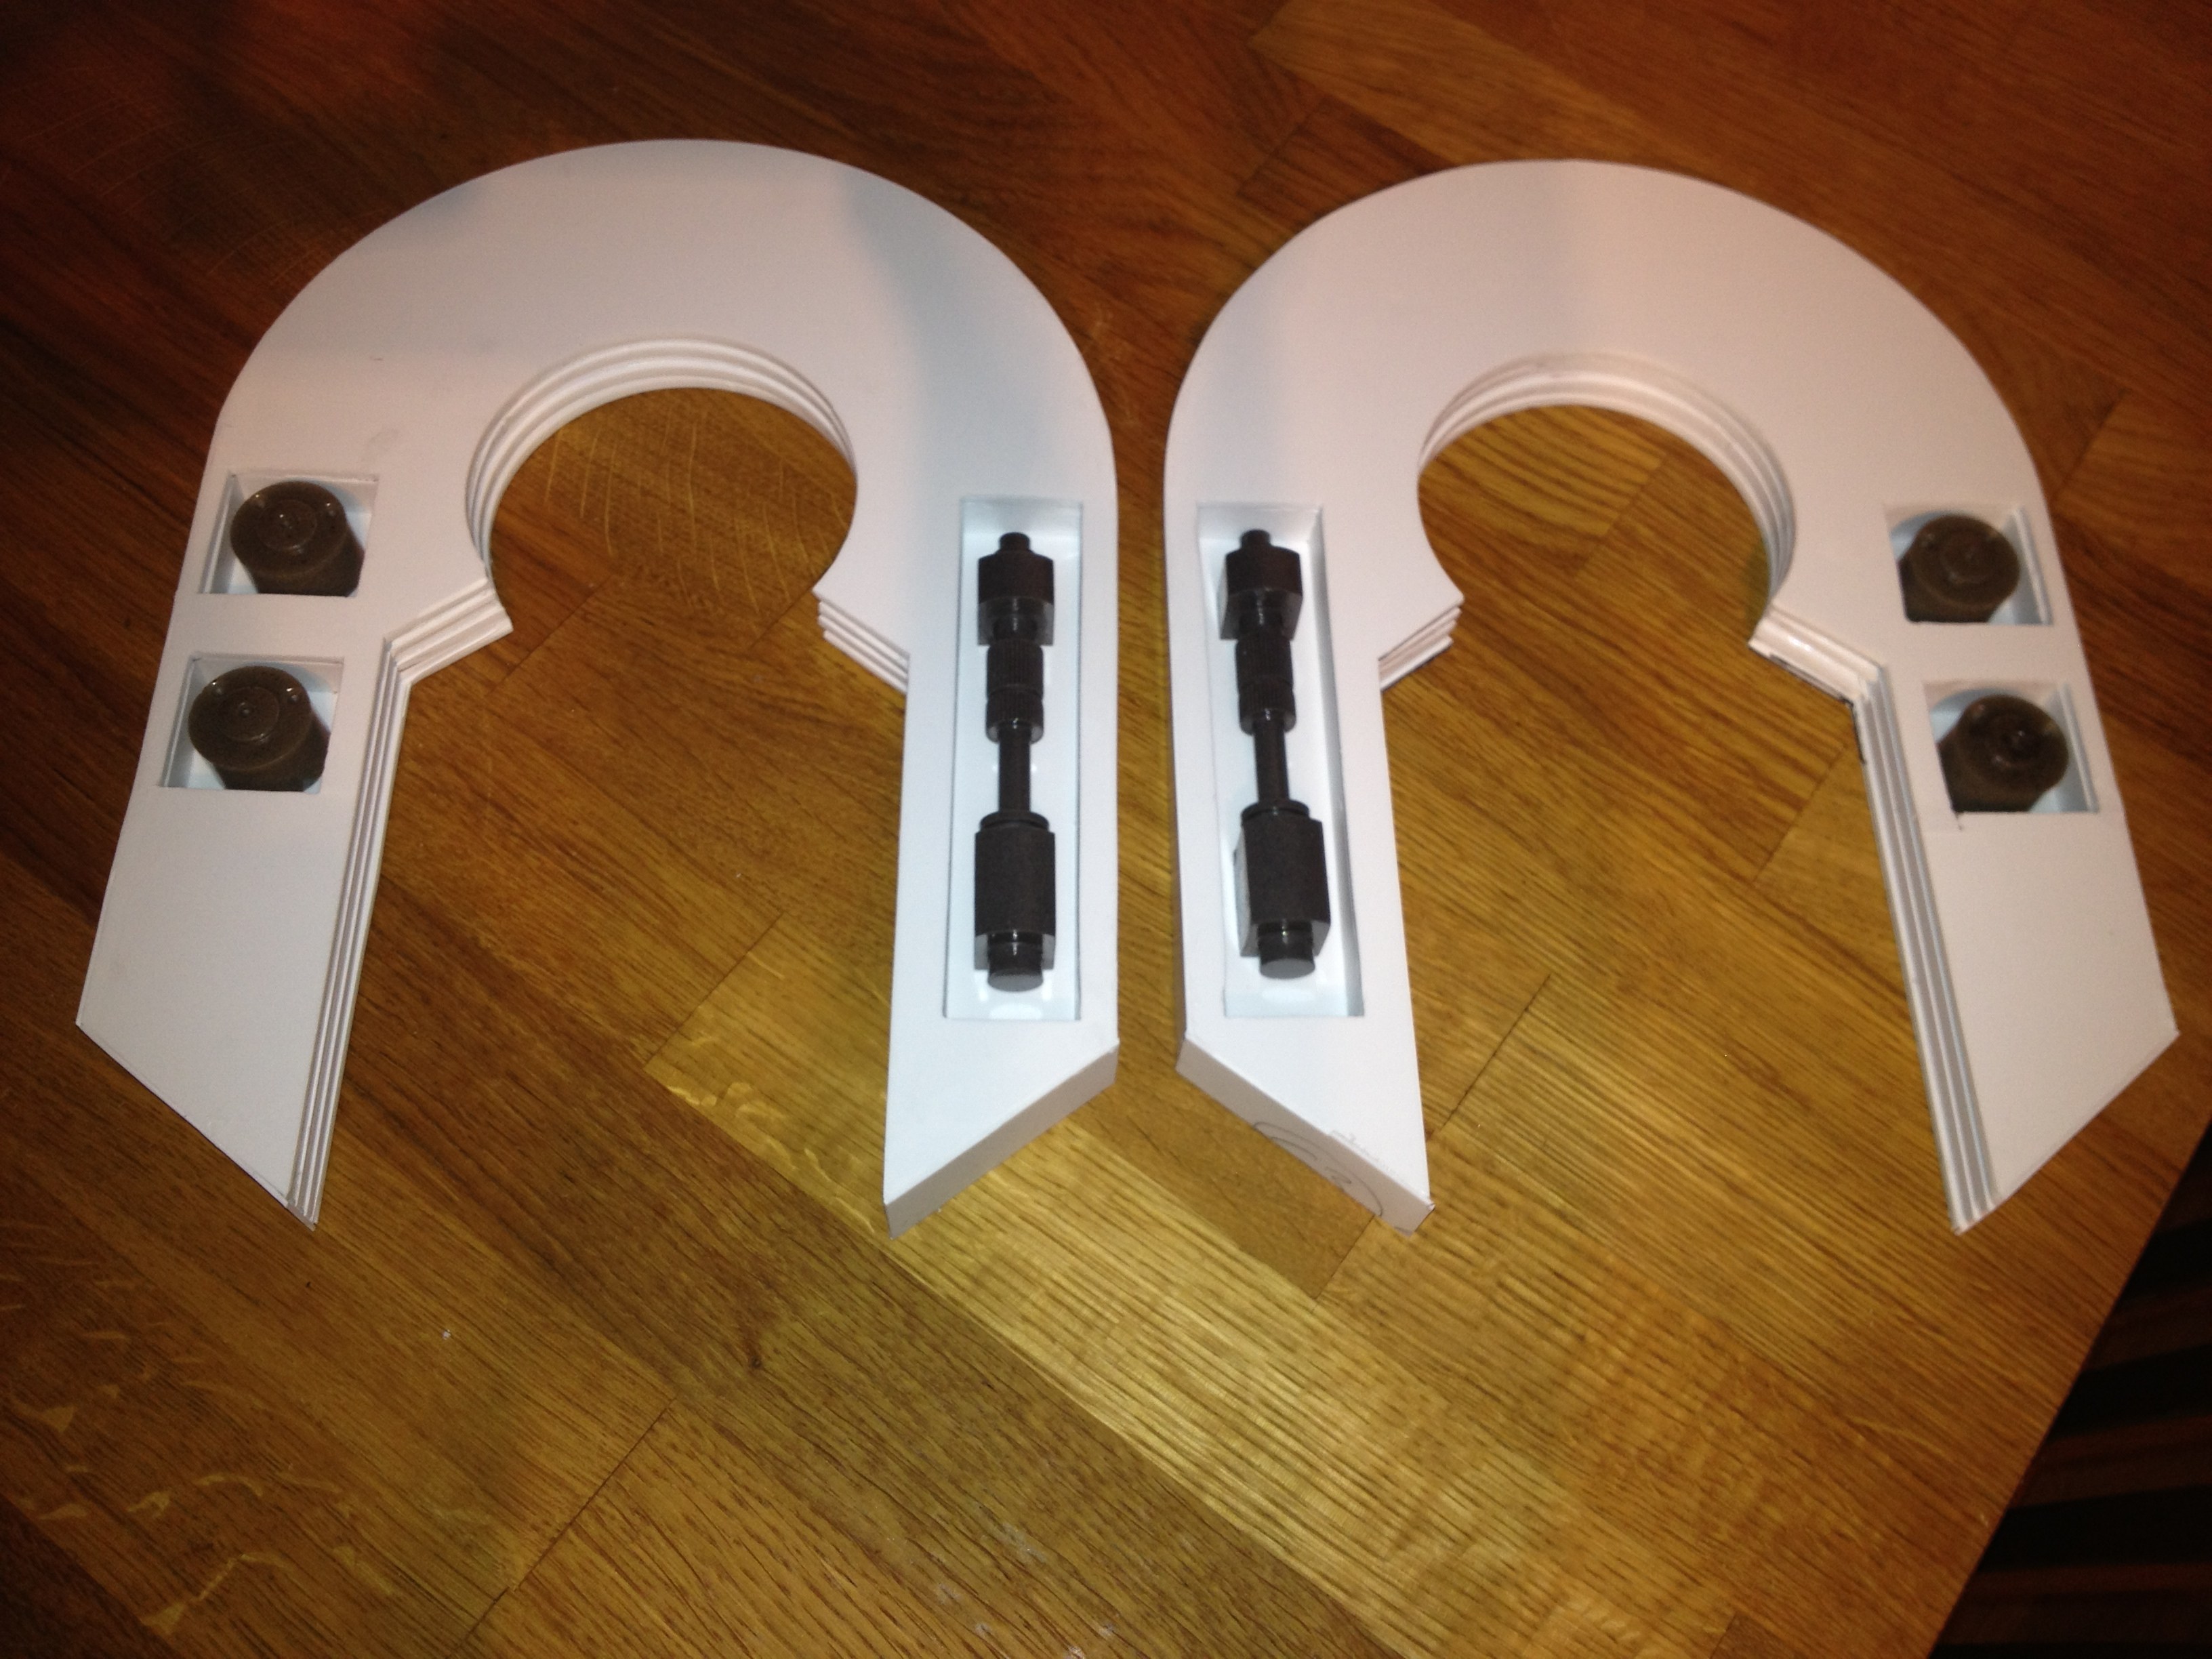
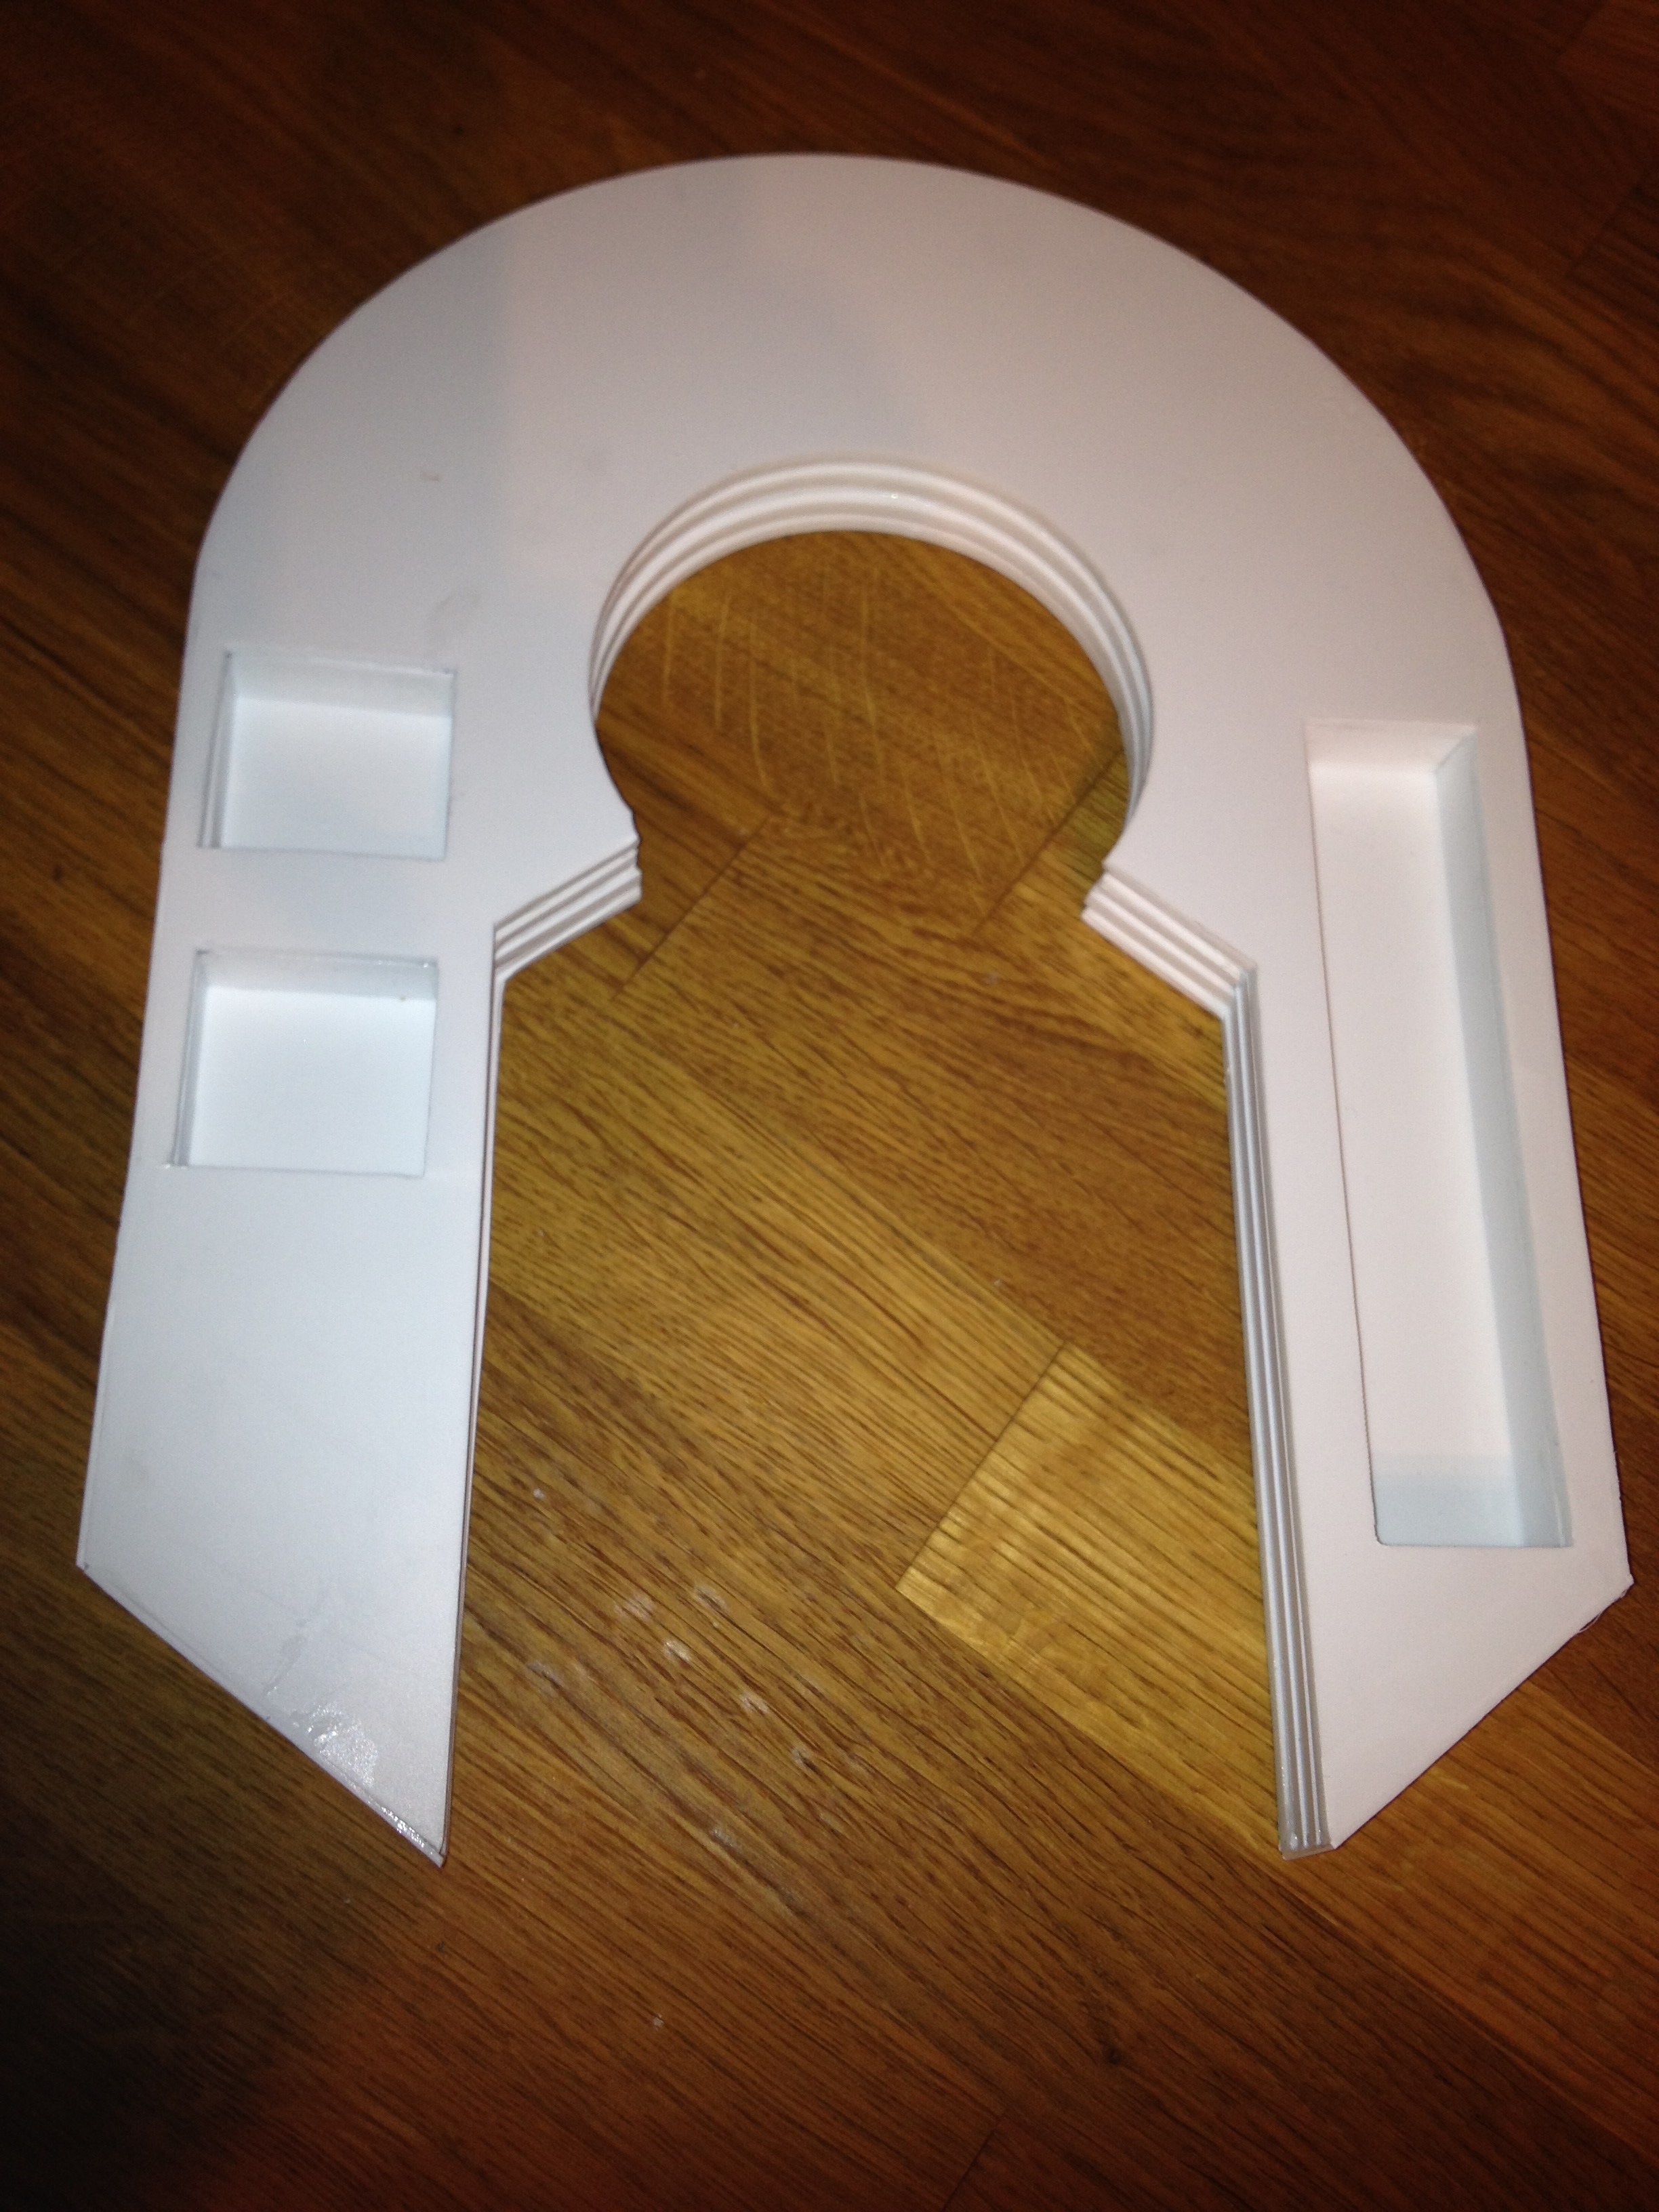
After my horseshoes had spent a day or so setting properly, it was finally time to de-mummify them from the blue tape!

Looks pretty ok, I must say. I need to see it properly with the buttons and hydraulics in though..

Much better! They still need a bit of tlc and a slap of bondo here and there to be totally complete, but they work well so far.

I will need to prime them first before deciding if I should keep the smaller/larger inner circles that i’ve made, or if I should sand it all flat and then simply make strips of styrene even in the inner circle. Only time will tell 😉

Well, not wanting to work too much with small, fiddly bits, I changed focus to my dome.

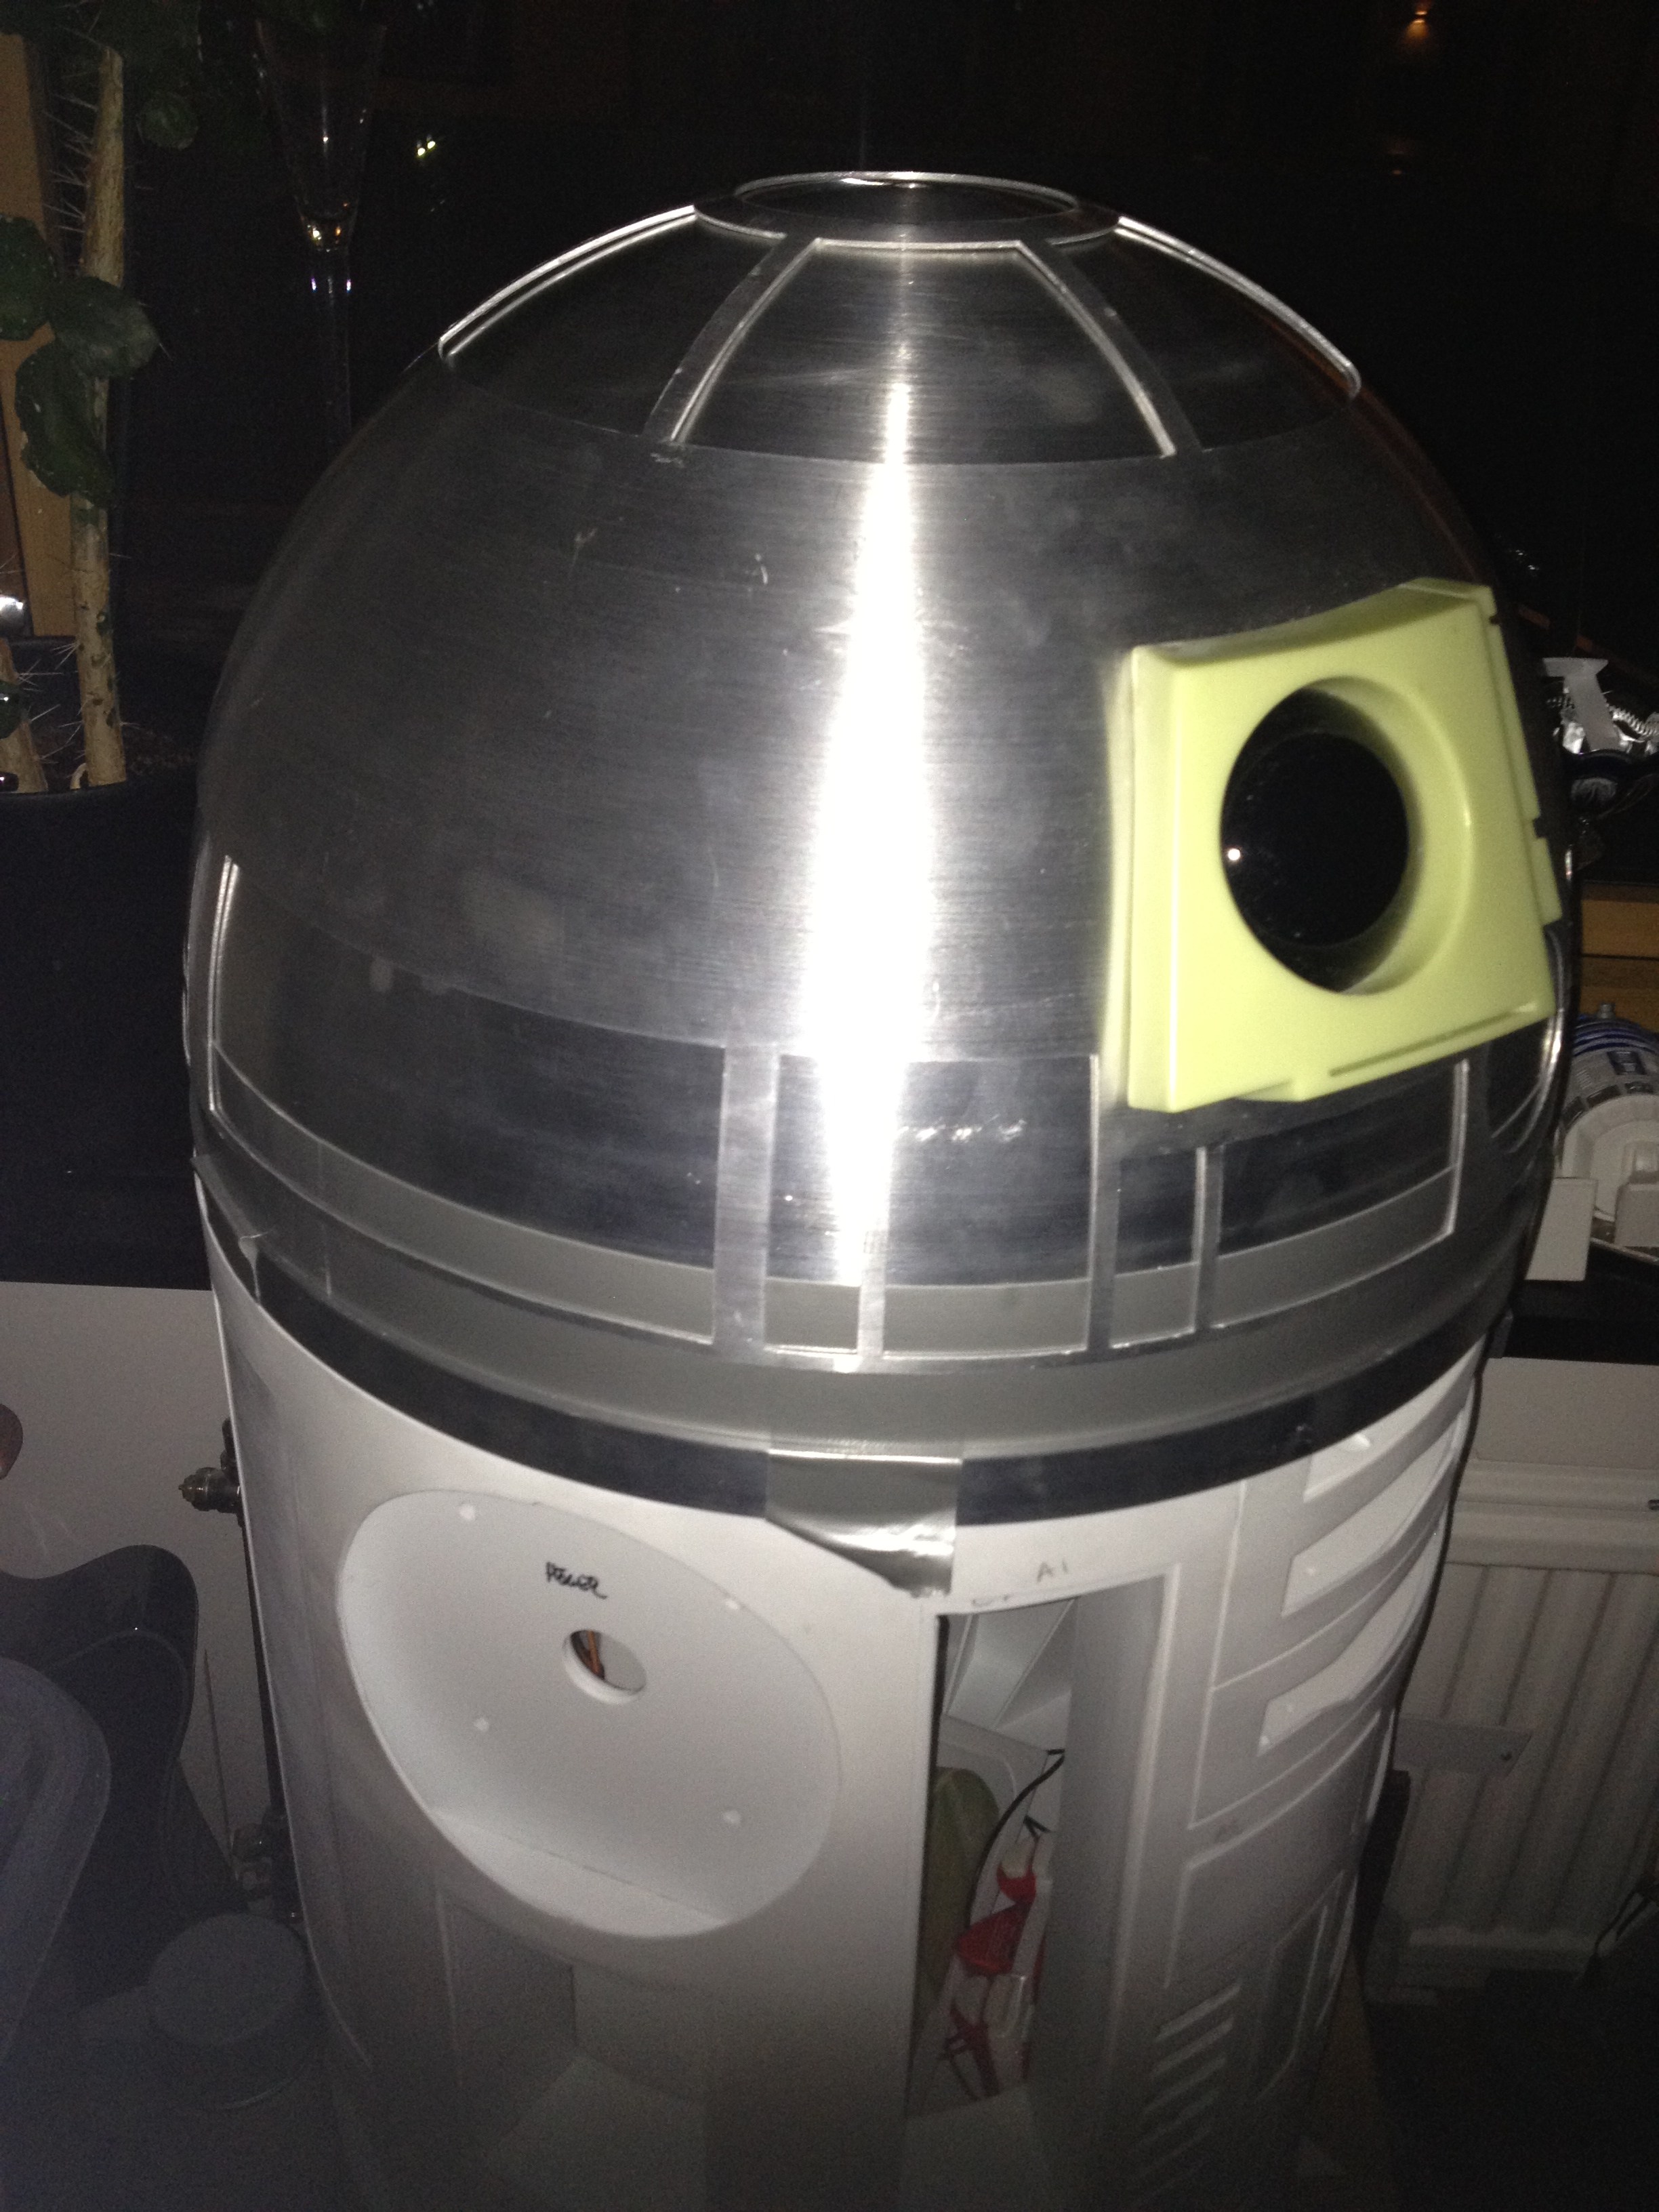
The dome is actually two domes, one inner and one outer, and it seems that my inner dome is slightly too small. Three layers of duct tape around the inner dome and it is really nice and snug, so I’ve started preparing for expanding my inner dome…

My armless R2 is peering at me sadly, while tiny R2 is taking a nap in the background..

After putting the inner plastic ring out on the balcony to shrink from the (relative( cold, I decided to mill out my second boozer cover, to get my second leg finished:

I’m doing the same thing for the mounting on this one, but I didn’t actually take any pictures are the milling out was done, so to complete the documentation…

(Yes, I do bite my nails. Thank you for asking.)

Next thing to do with my booster covers is to have a friend run them through his bandsaw, to shorten the “legs” by 3 mm in order to make them work with the ankle bracelet that I’m having made.

Rest of progress has been made in the ankle cylinder area, but I’ll devote a whole post to that! =)


//Micke

By |2016-12-06T00:01:45+01:00March 1st, 2012|R2-D2|Comments Off on More horseshoes and dome measuring.. and some booster covers!

Not much done over the weekend..

.. but I had to do something, at least =)

Yesterday, I spent on becoming an EFR instructor and then head off to the Magic Bar to do a gig, and that went just great.

Today, I just played things lazy, and finished measuring for the design of the Ankle Bracelet.

I did do some constructive work, though. First off, I need to show you the incredible aluminum Leg Struts that (finally) arrived after the Post Office had lost my package:

So, since I wanted to finish off the legs, I decided to get to work on the Resin Booster Covers, and fix a way to mount them and sand them off and all.

i also sanded off and glued the top of the leg strut holder to the booster cover.

I routed out part of the booster cover on the backside with my dremel, and glued 2 pieces of 3mm styrene in place.

I then positioned these on the main leg, and drilled and tapped through both the styrene pieces and the leg for M4 bolts. I had a few lying around (with too large head, but it works temporarily)

I also put in a temporary “holder” behind the leg strut. I should really see if I can fix some sort of sprint to place inside the leg strut, so it will be held in place by its own power.

I dare anyone to find the styrene pieces. They are invisible unless you know exactly what to look for 😉

The leg looks almost complete now. I’ve added the shoulder hub, which is held in place by magnets, and the left leg now only needs a shoulder cylinder and a horseshoe for me to mount the last things on it!

Yep, I’ve also mounted my foot shell. Starting to look good!

By |2016-12-06T00:01:47+01:00February 26th, 2012|R2-D2|Comments Off on Not much done over the weekend..
Go to Top