styrene

Battery POWER!

Since I’m suffering from inflamed thumb-muscles (no, not from spending too much time in front of my PS3, but rather from over-exhausting my hands at the gym), building (and pretty much anything else that requires .. well .. thumbs) has been quite slow.

I have, however been out and got myself a proper motorcycle battery for my droid. This heavy-duty baby weighs 6.2 kg (13.7 lbs), packs 12 Volts and has a massive 20 Ah, something that should keep my droid rolling for some time, I hope.

It fits like a glove inside the droid too!

I placed the battery in the front of the robot, since otherwise, it will be a bit back-heavy due to the aluminum dome and all. This may need repositioning, but I think I need to take it out for a few test drives first. I don’t want my droid to go face-planting on me!

I build (and glued in) a holder for the battery as well. With an added buckle on top, this battery will not go anywhere! Note the dramatic close-up…

I still need to add a fuse box into the robot, and especially now, with so much power in it, I don’t dare switching it on until I have it properly fused!

As if adding a battery wasn’t enough, I also started on building the battery boxes. Contrary to the name, these will not contain any batteries, even though they could, technically. These boxes was used in the original 2-legged version of R2-D2 for Kenny Baker to have his feet in. That and the foot shells.

Since my droid will be void of short people inside, it will however be a great place for my motors to extend into, and the cabling that goes up into the legs to have a place to hook up and be alone.

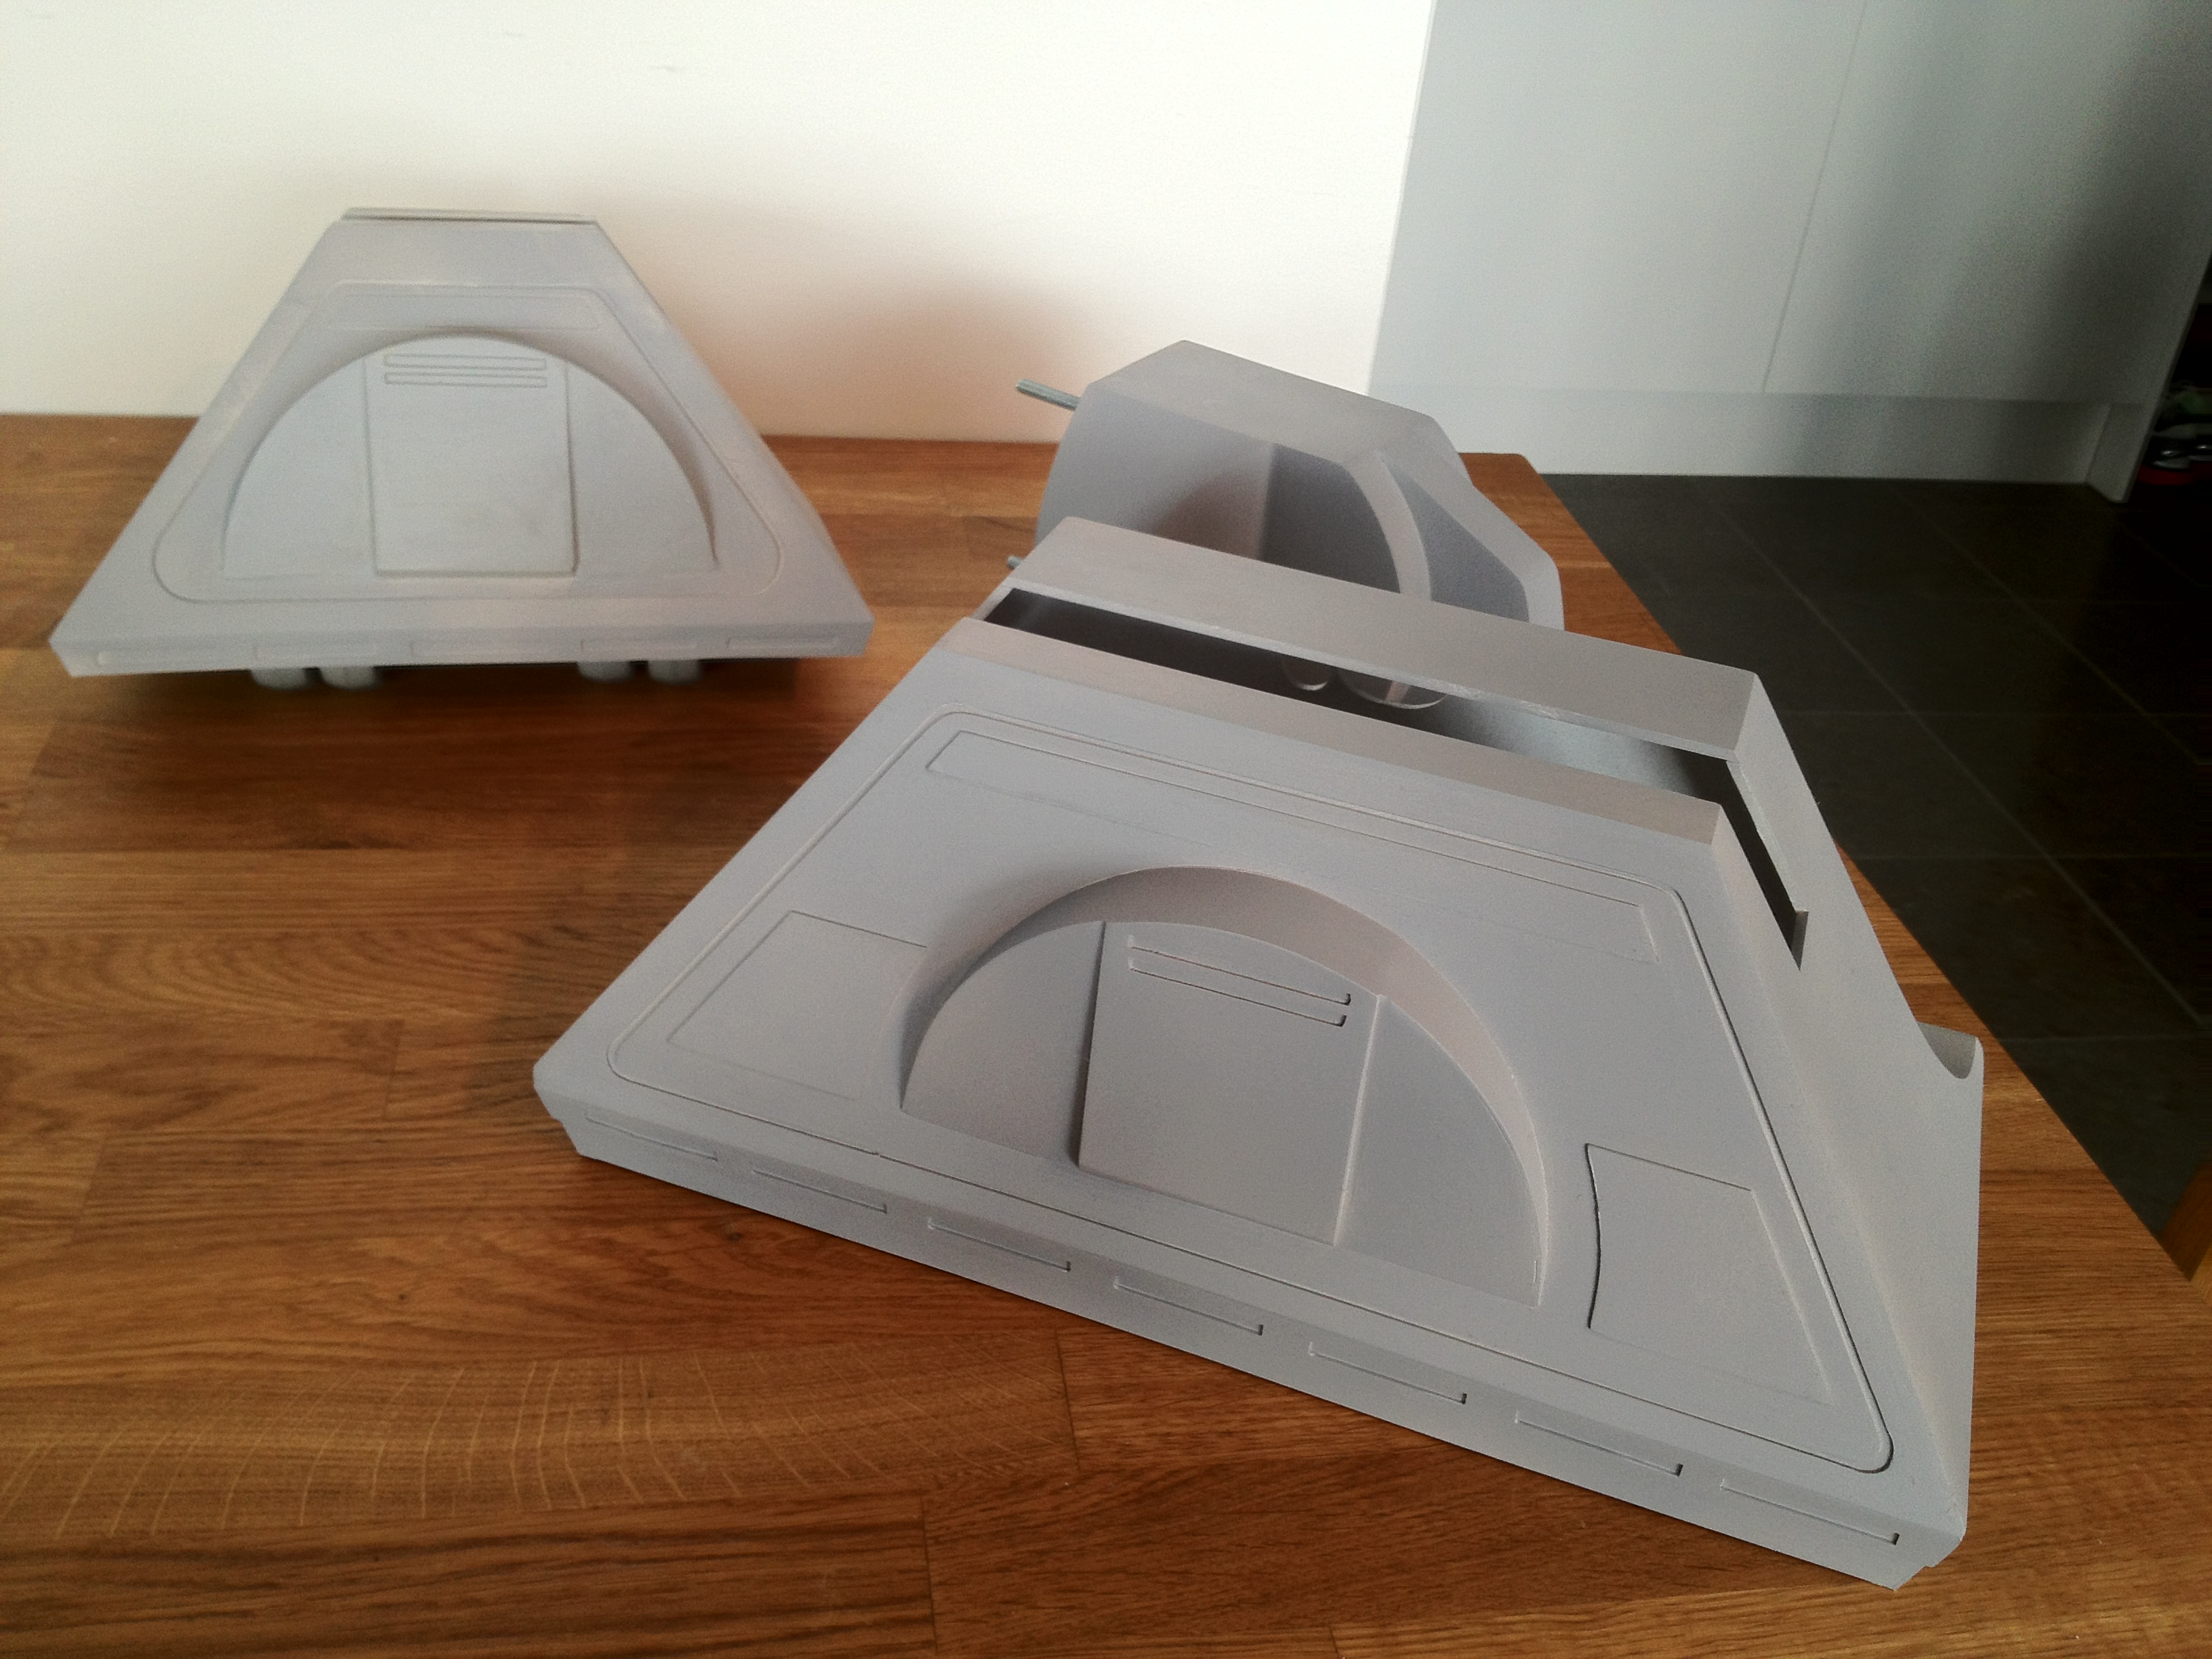
The battery boxes, consists basically of a box, with some added half-pipes on the ends.

First we build the box…

The cut-out is for easy access in the future. The holes in the back will be lined up with the cable channel and main leg mounting bolt.

Add some sides and half-circles to build up the strength… cut out some materials for the motor…

A little bit of sanding, skinning and a few more details, and this baby is ready to be installed. The holes are so the hoses leading in to the battery boxes will have a little extra room behind the knurled hose fittings, which will be placed in the extensions in the ends of the battery box.

This one has been measured and cut-out to match my foot shell already, and it really fits like a glove, eh?

This leaves the droid in the state that I really NEED to start working on the second foot shell, since I cannot complete the second battery box until this is done.

Once both foot shells and battery boxes are complete, it is just a matter of detailing on the body. And painting. And sanding the dome. And paint the dome panels. And drill holes in the dome. And find a way to mount the resin parts inside the body .. and .. and .. and .

Anyways, seems like the basic shape of the droid is nearing completion! 😀
By |2016-12-06T00:01:41+01:00March 12th, 2012|R2-D2|Comments Off on Battery POWER!

Slicing up the head!

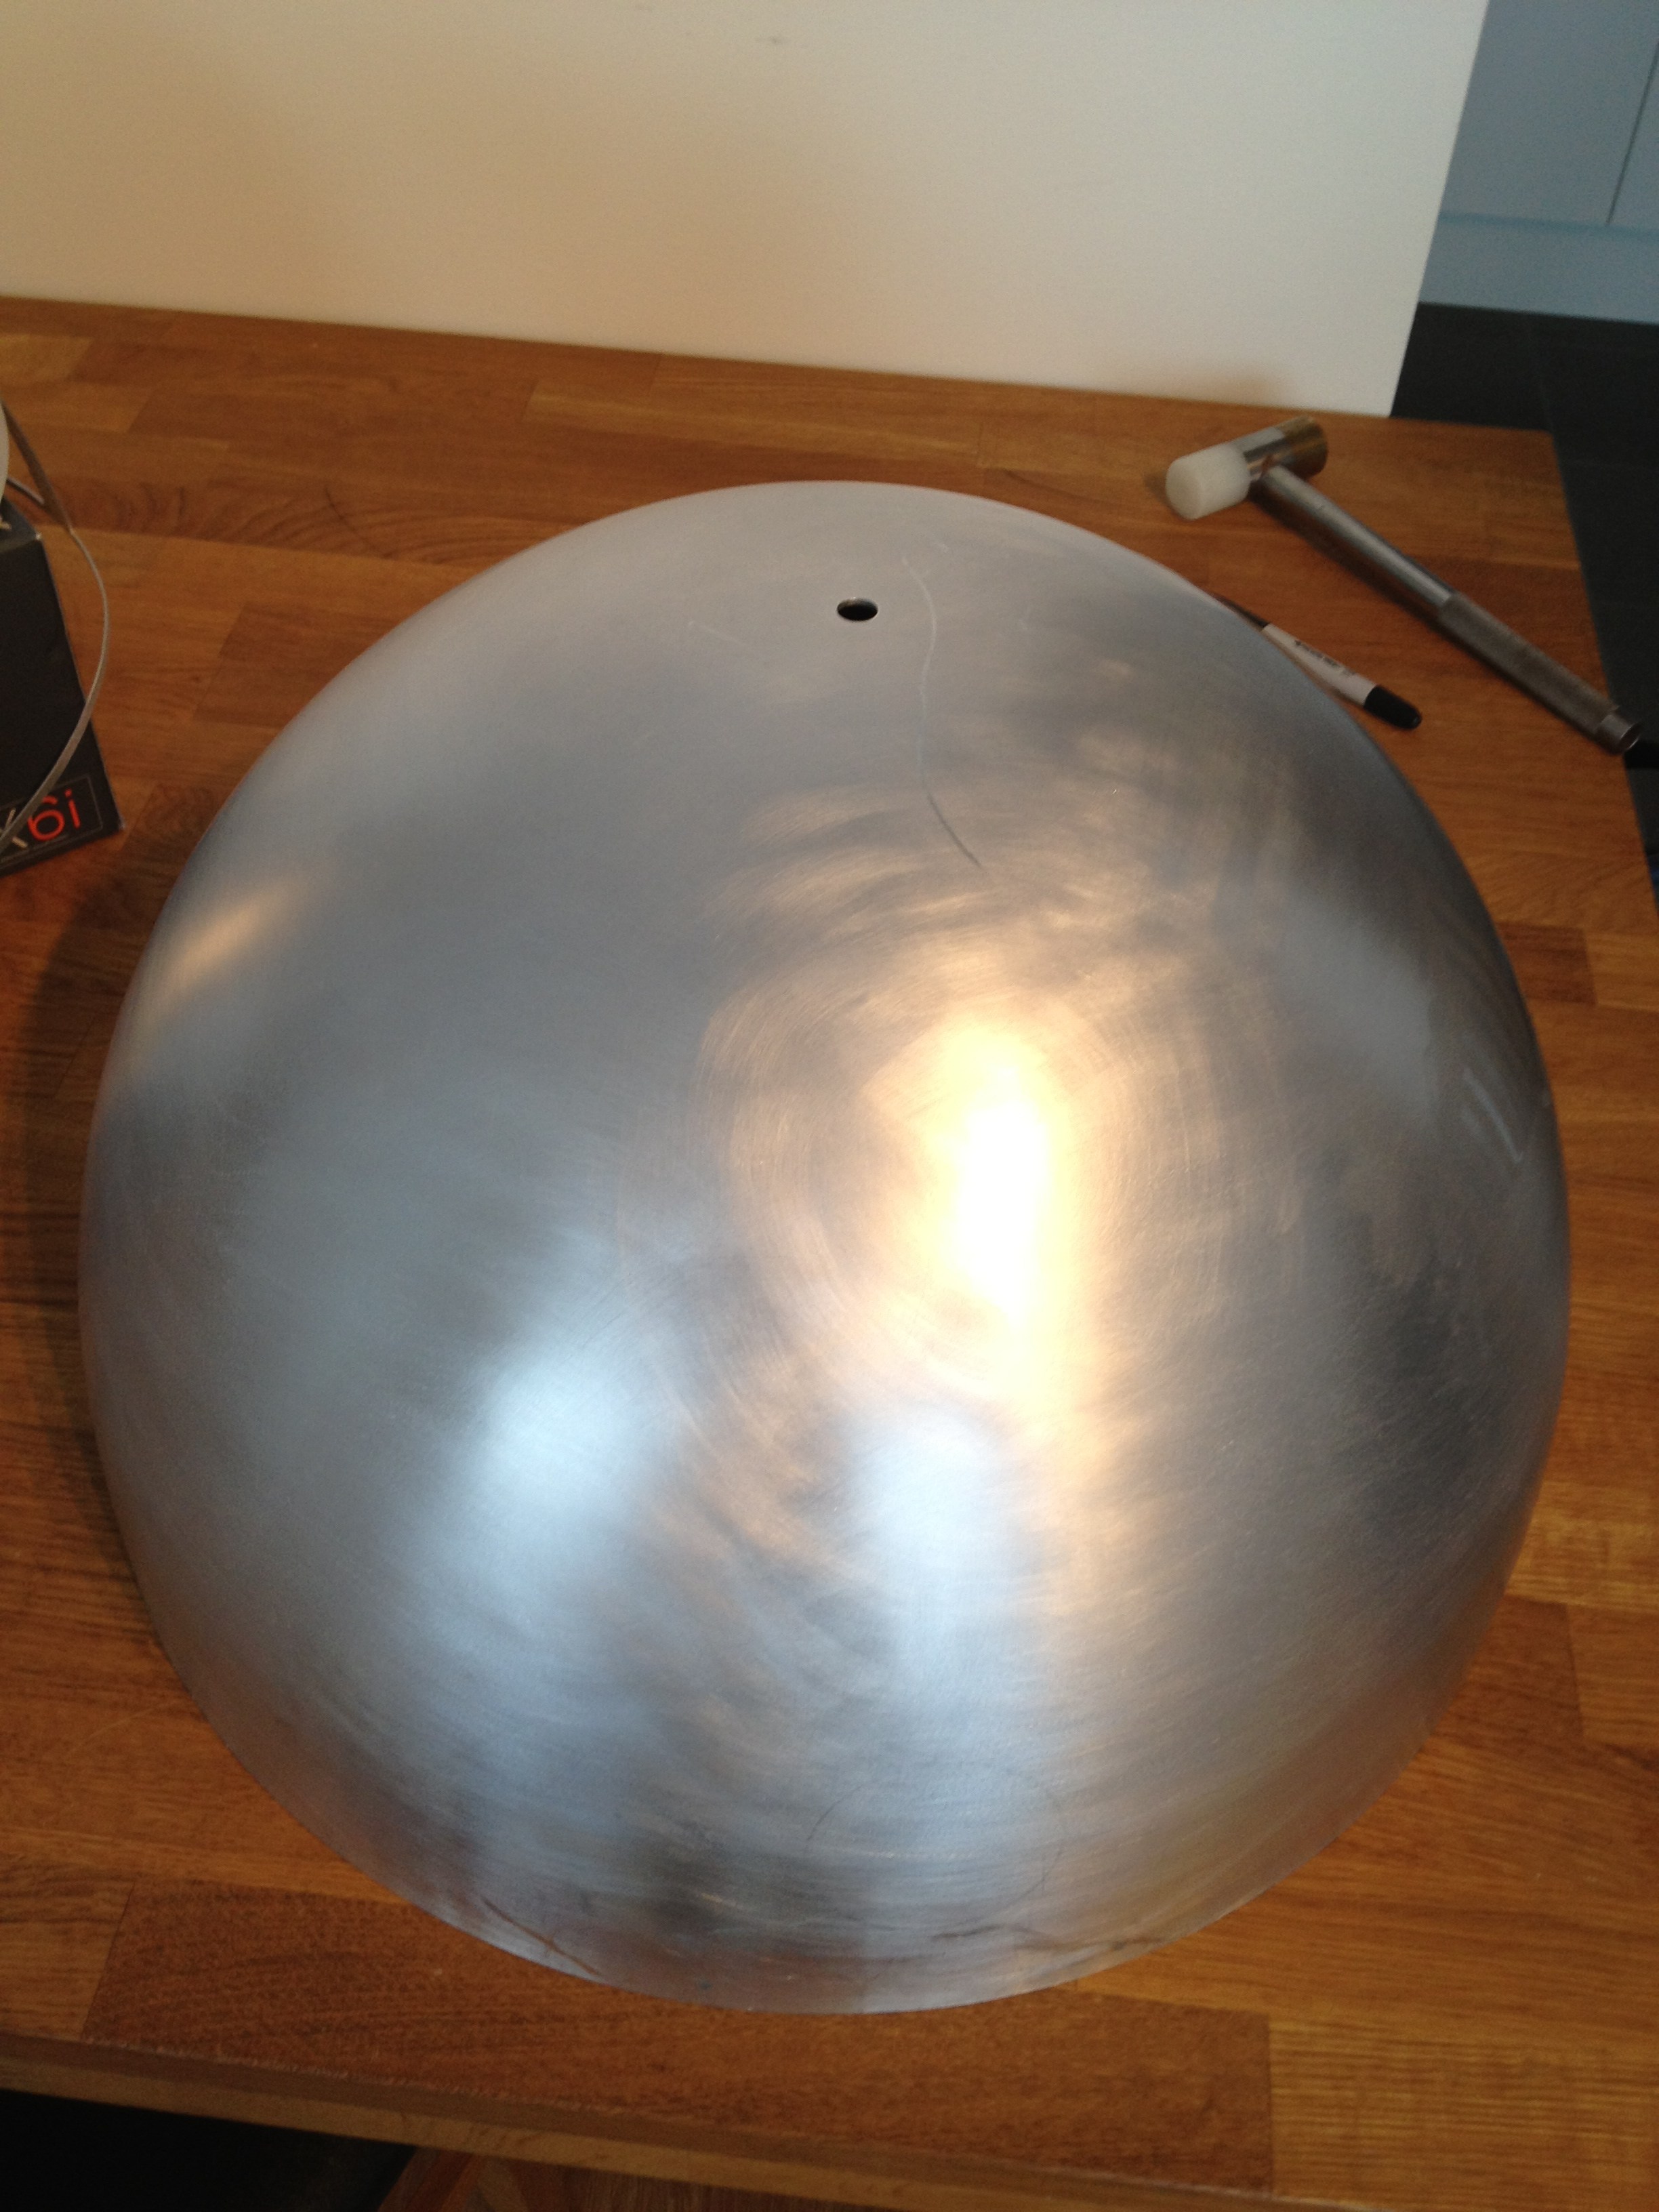
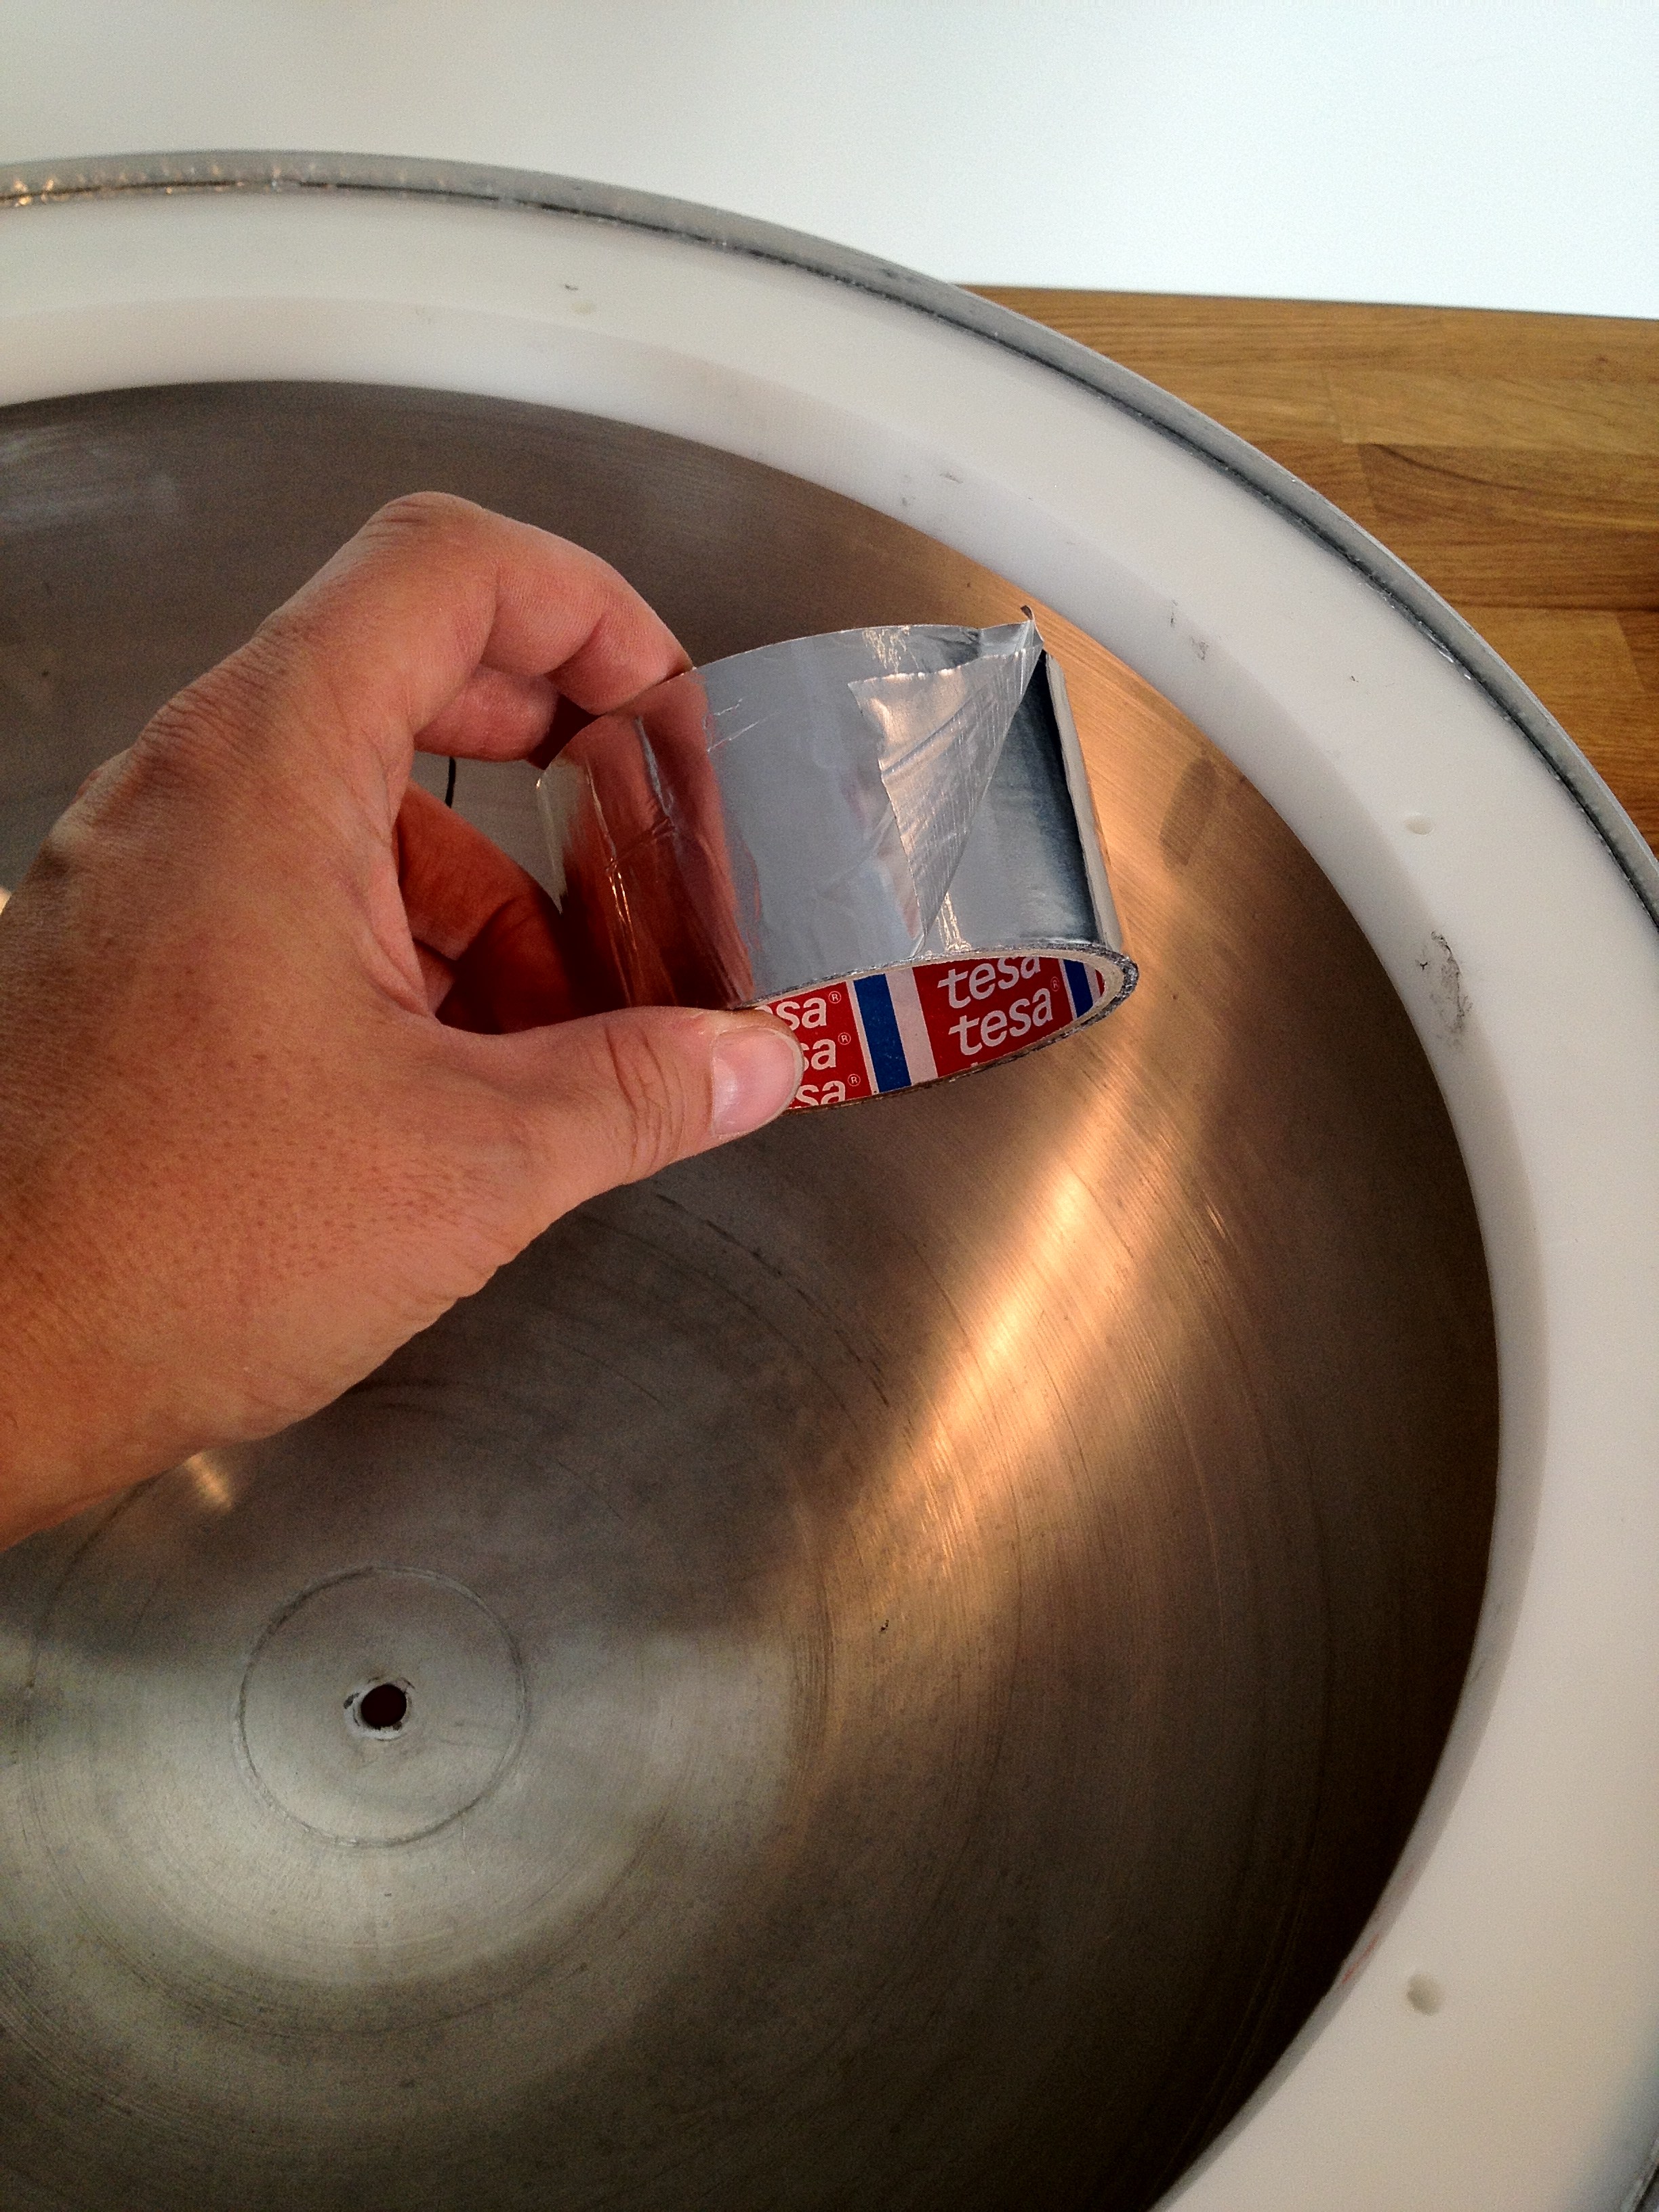
After several attempts at growing my dome (actually I think I managed slightly), and getting my inner dome to fit properly, I decided to go the easy route and split my inner dome in two. Attempt three and four at growing the dome, with proper aluminum tape did not give the desired results.

After sanding the inner dome down to make it slightly less pointy and fit better, I still had a gap at the bottom of the dome, something I did not like!

A Sanded inner dome, ready to be sliced open..

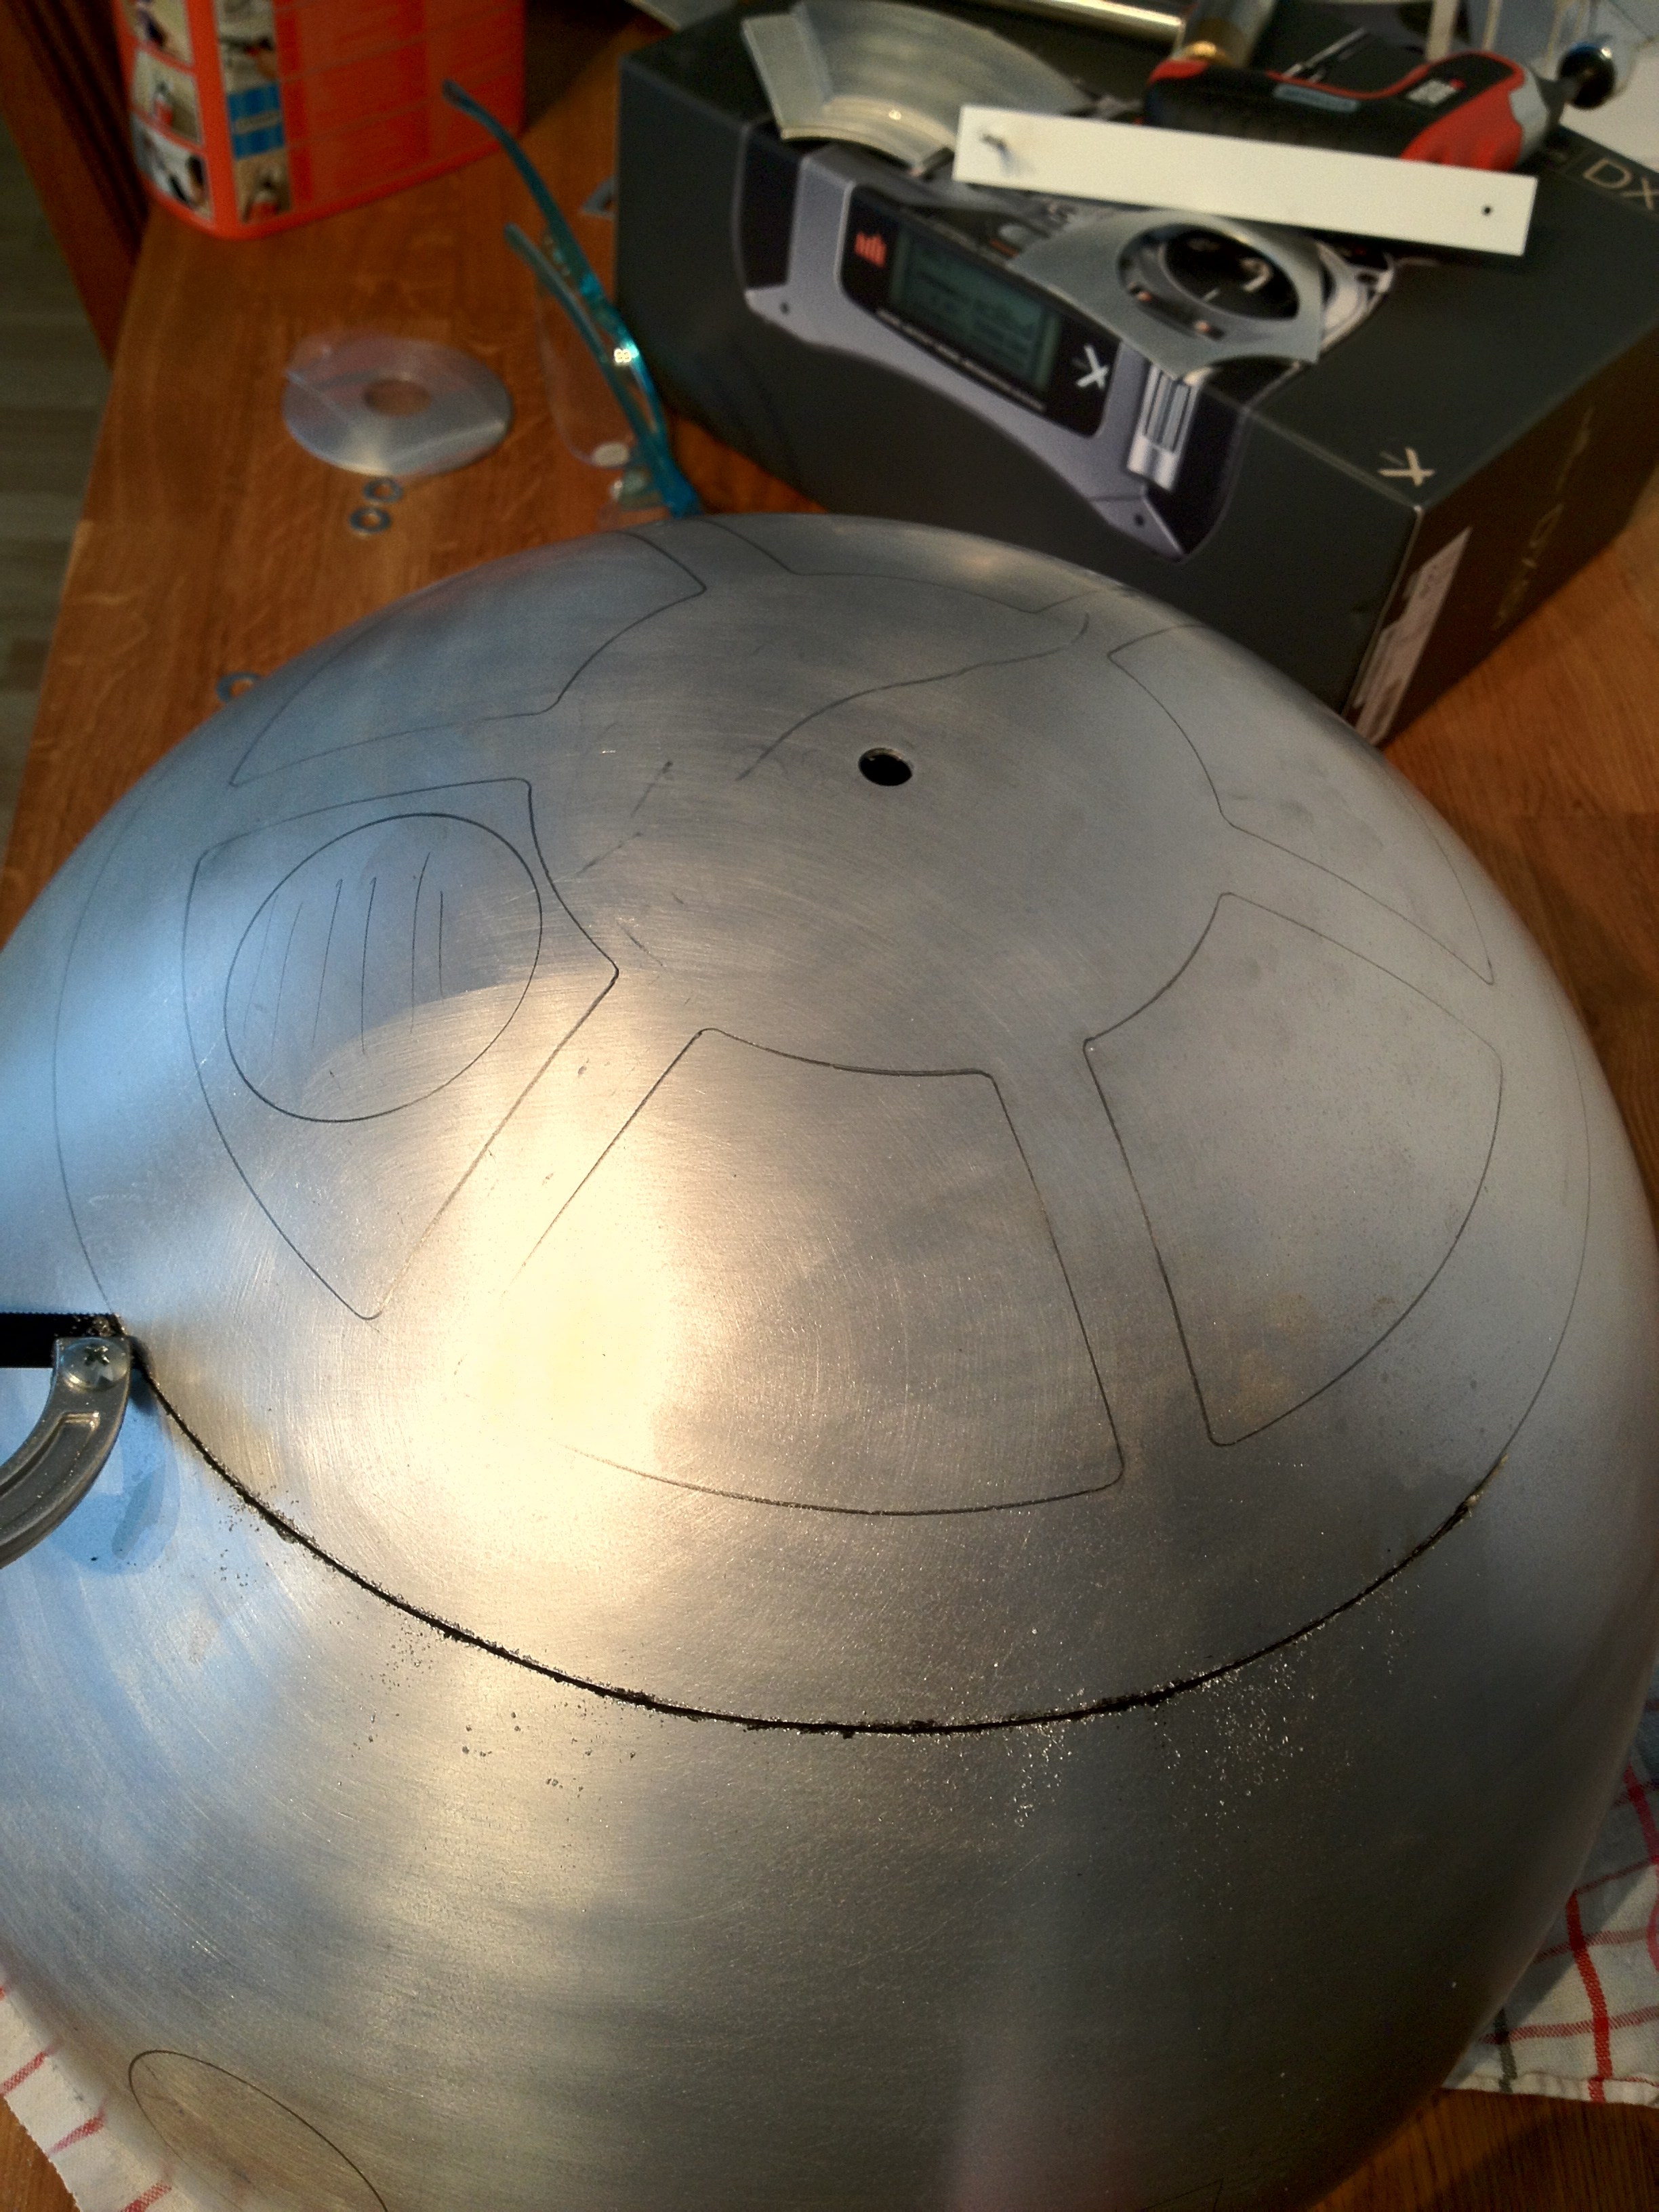
So, I marked a line that would be nice and well below the upper panels, and took out my now almost destroyed dremel knockoff and cut a slit in the dome.

Once that was done, out came the blade:

It was hard work, but was easier than I thought it would be! Plenty of silicone lubricant standing by to get the blade to run as smoothly as possible. Once the cut was made, I sanded off the edges, and my R2 now had a rather odd look..

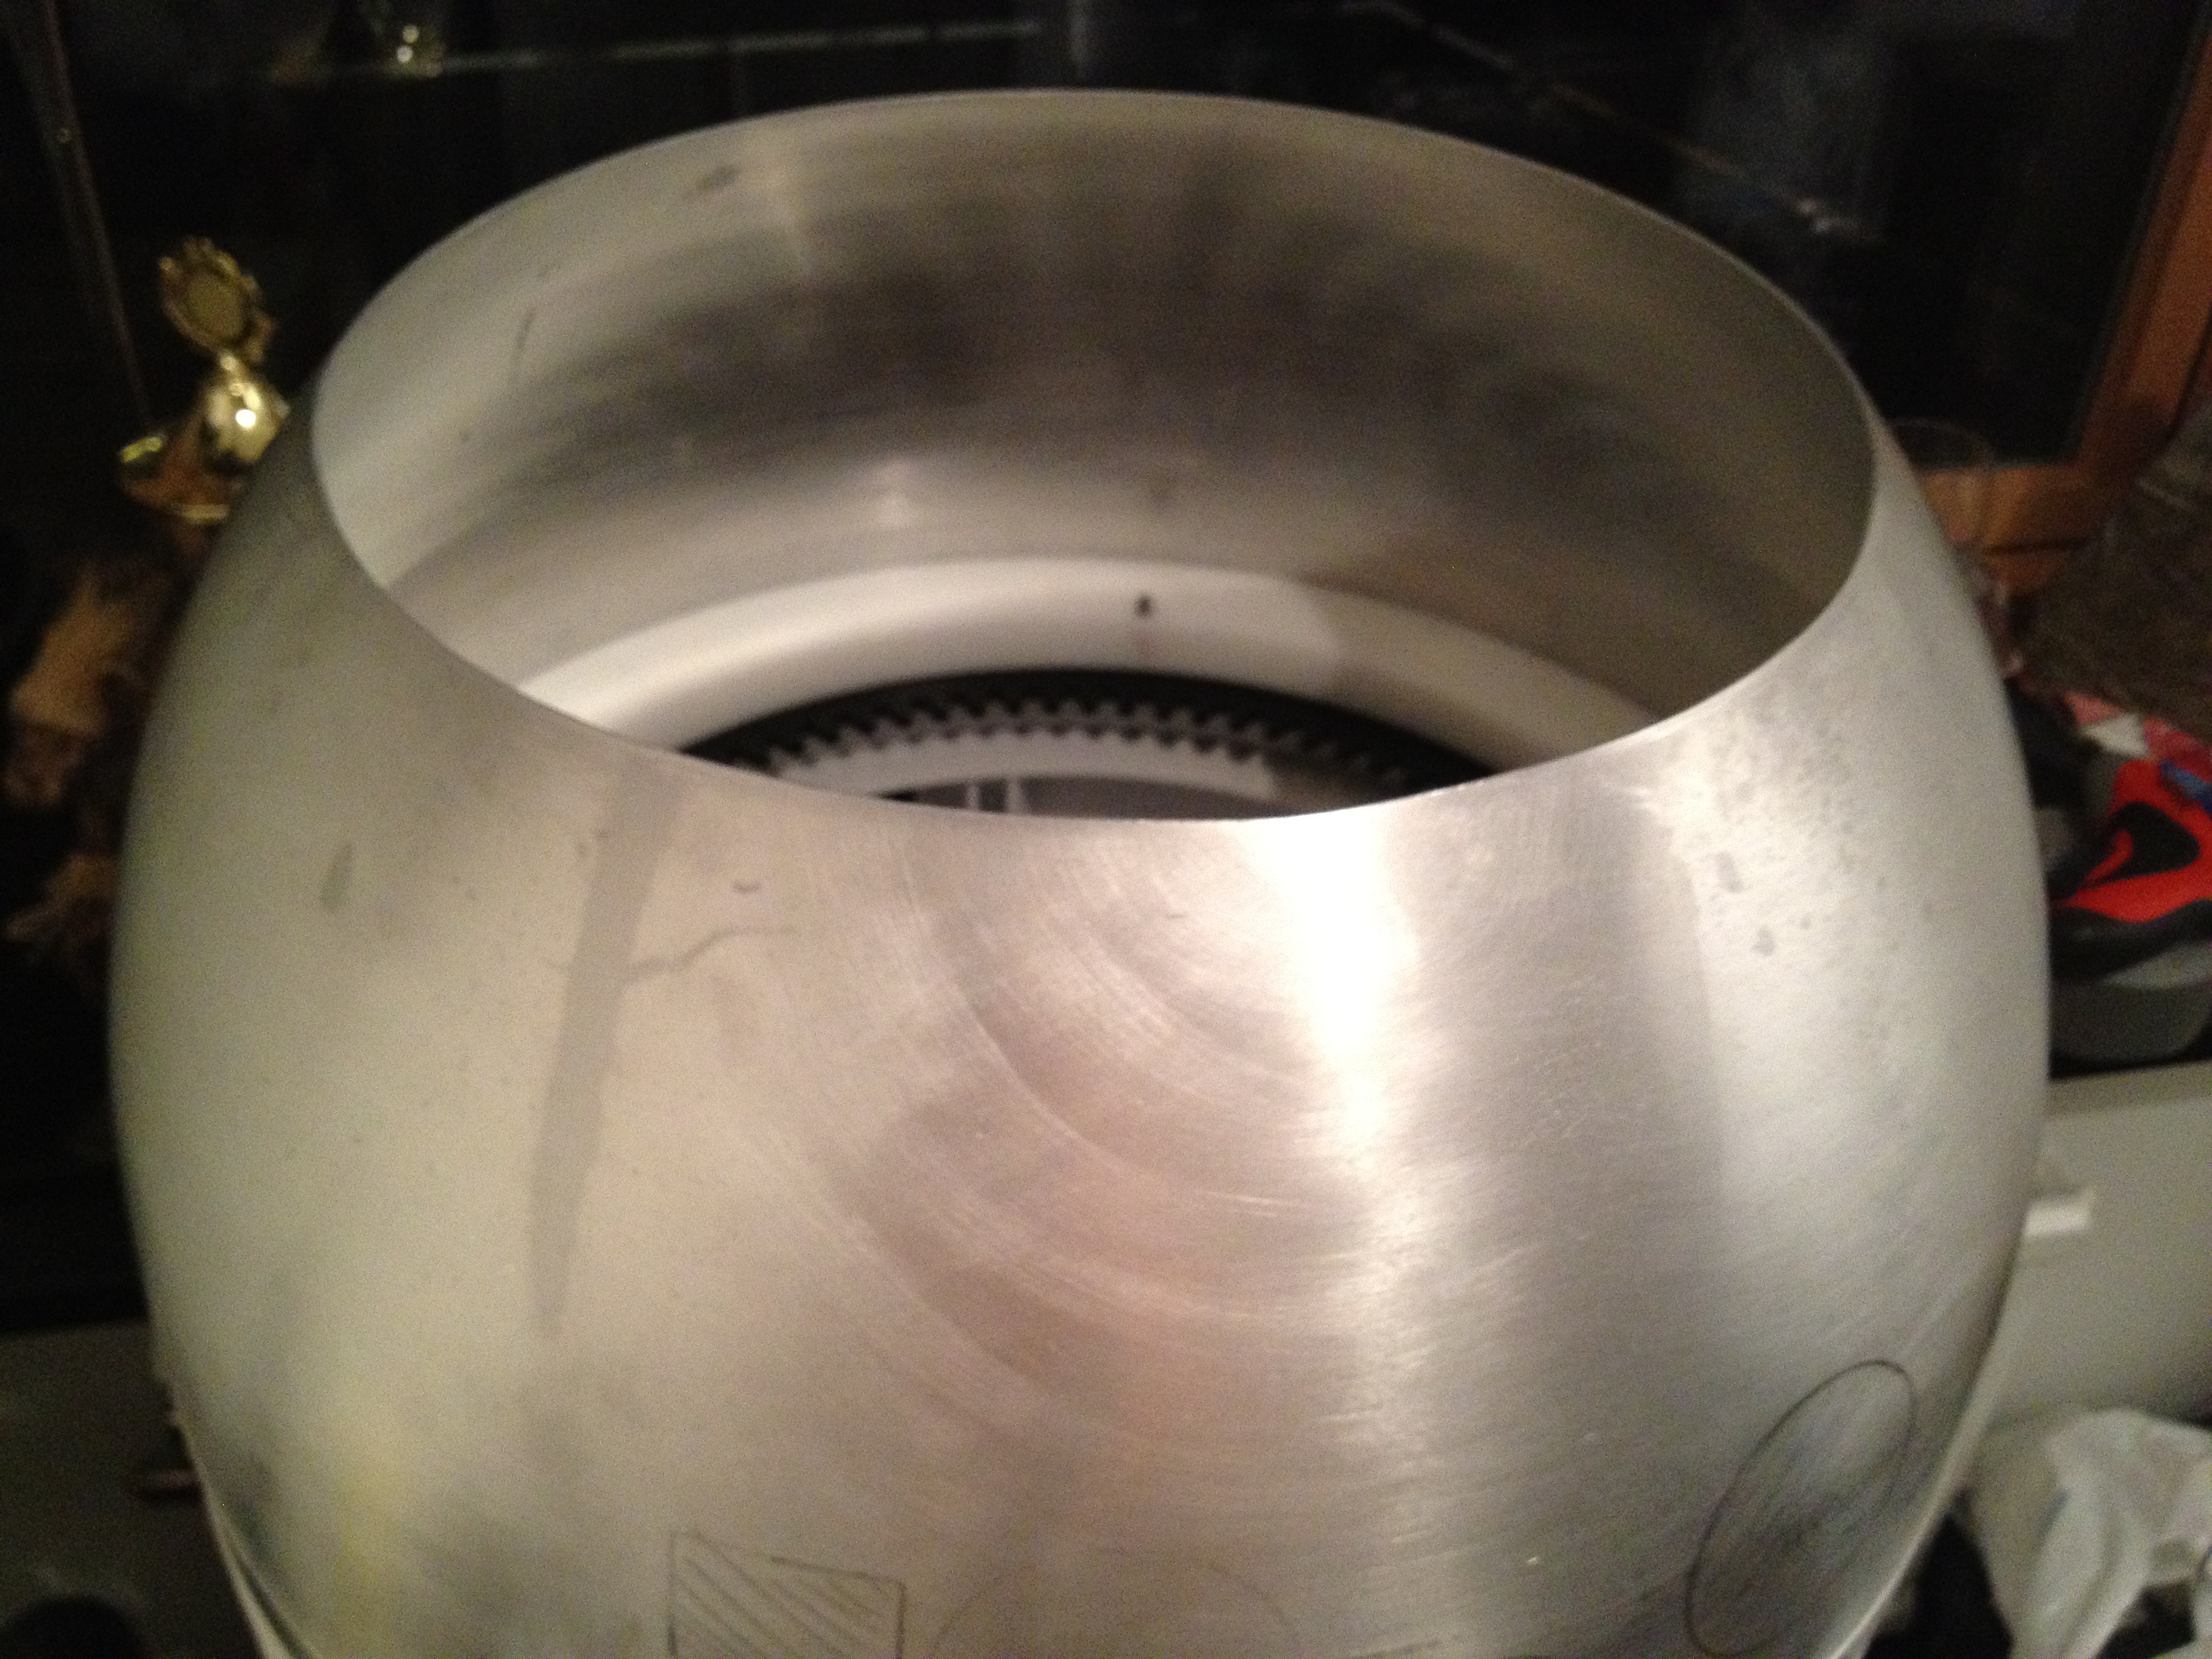
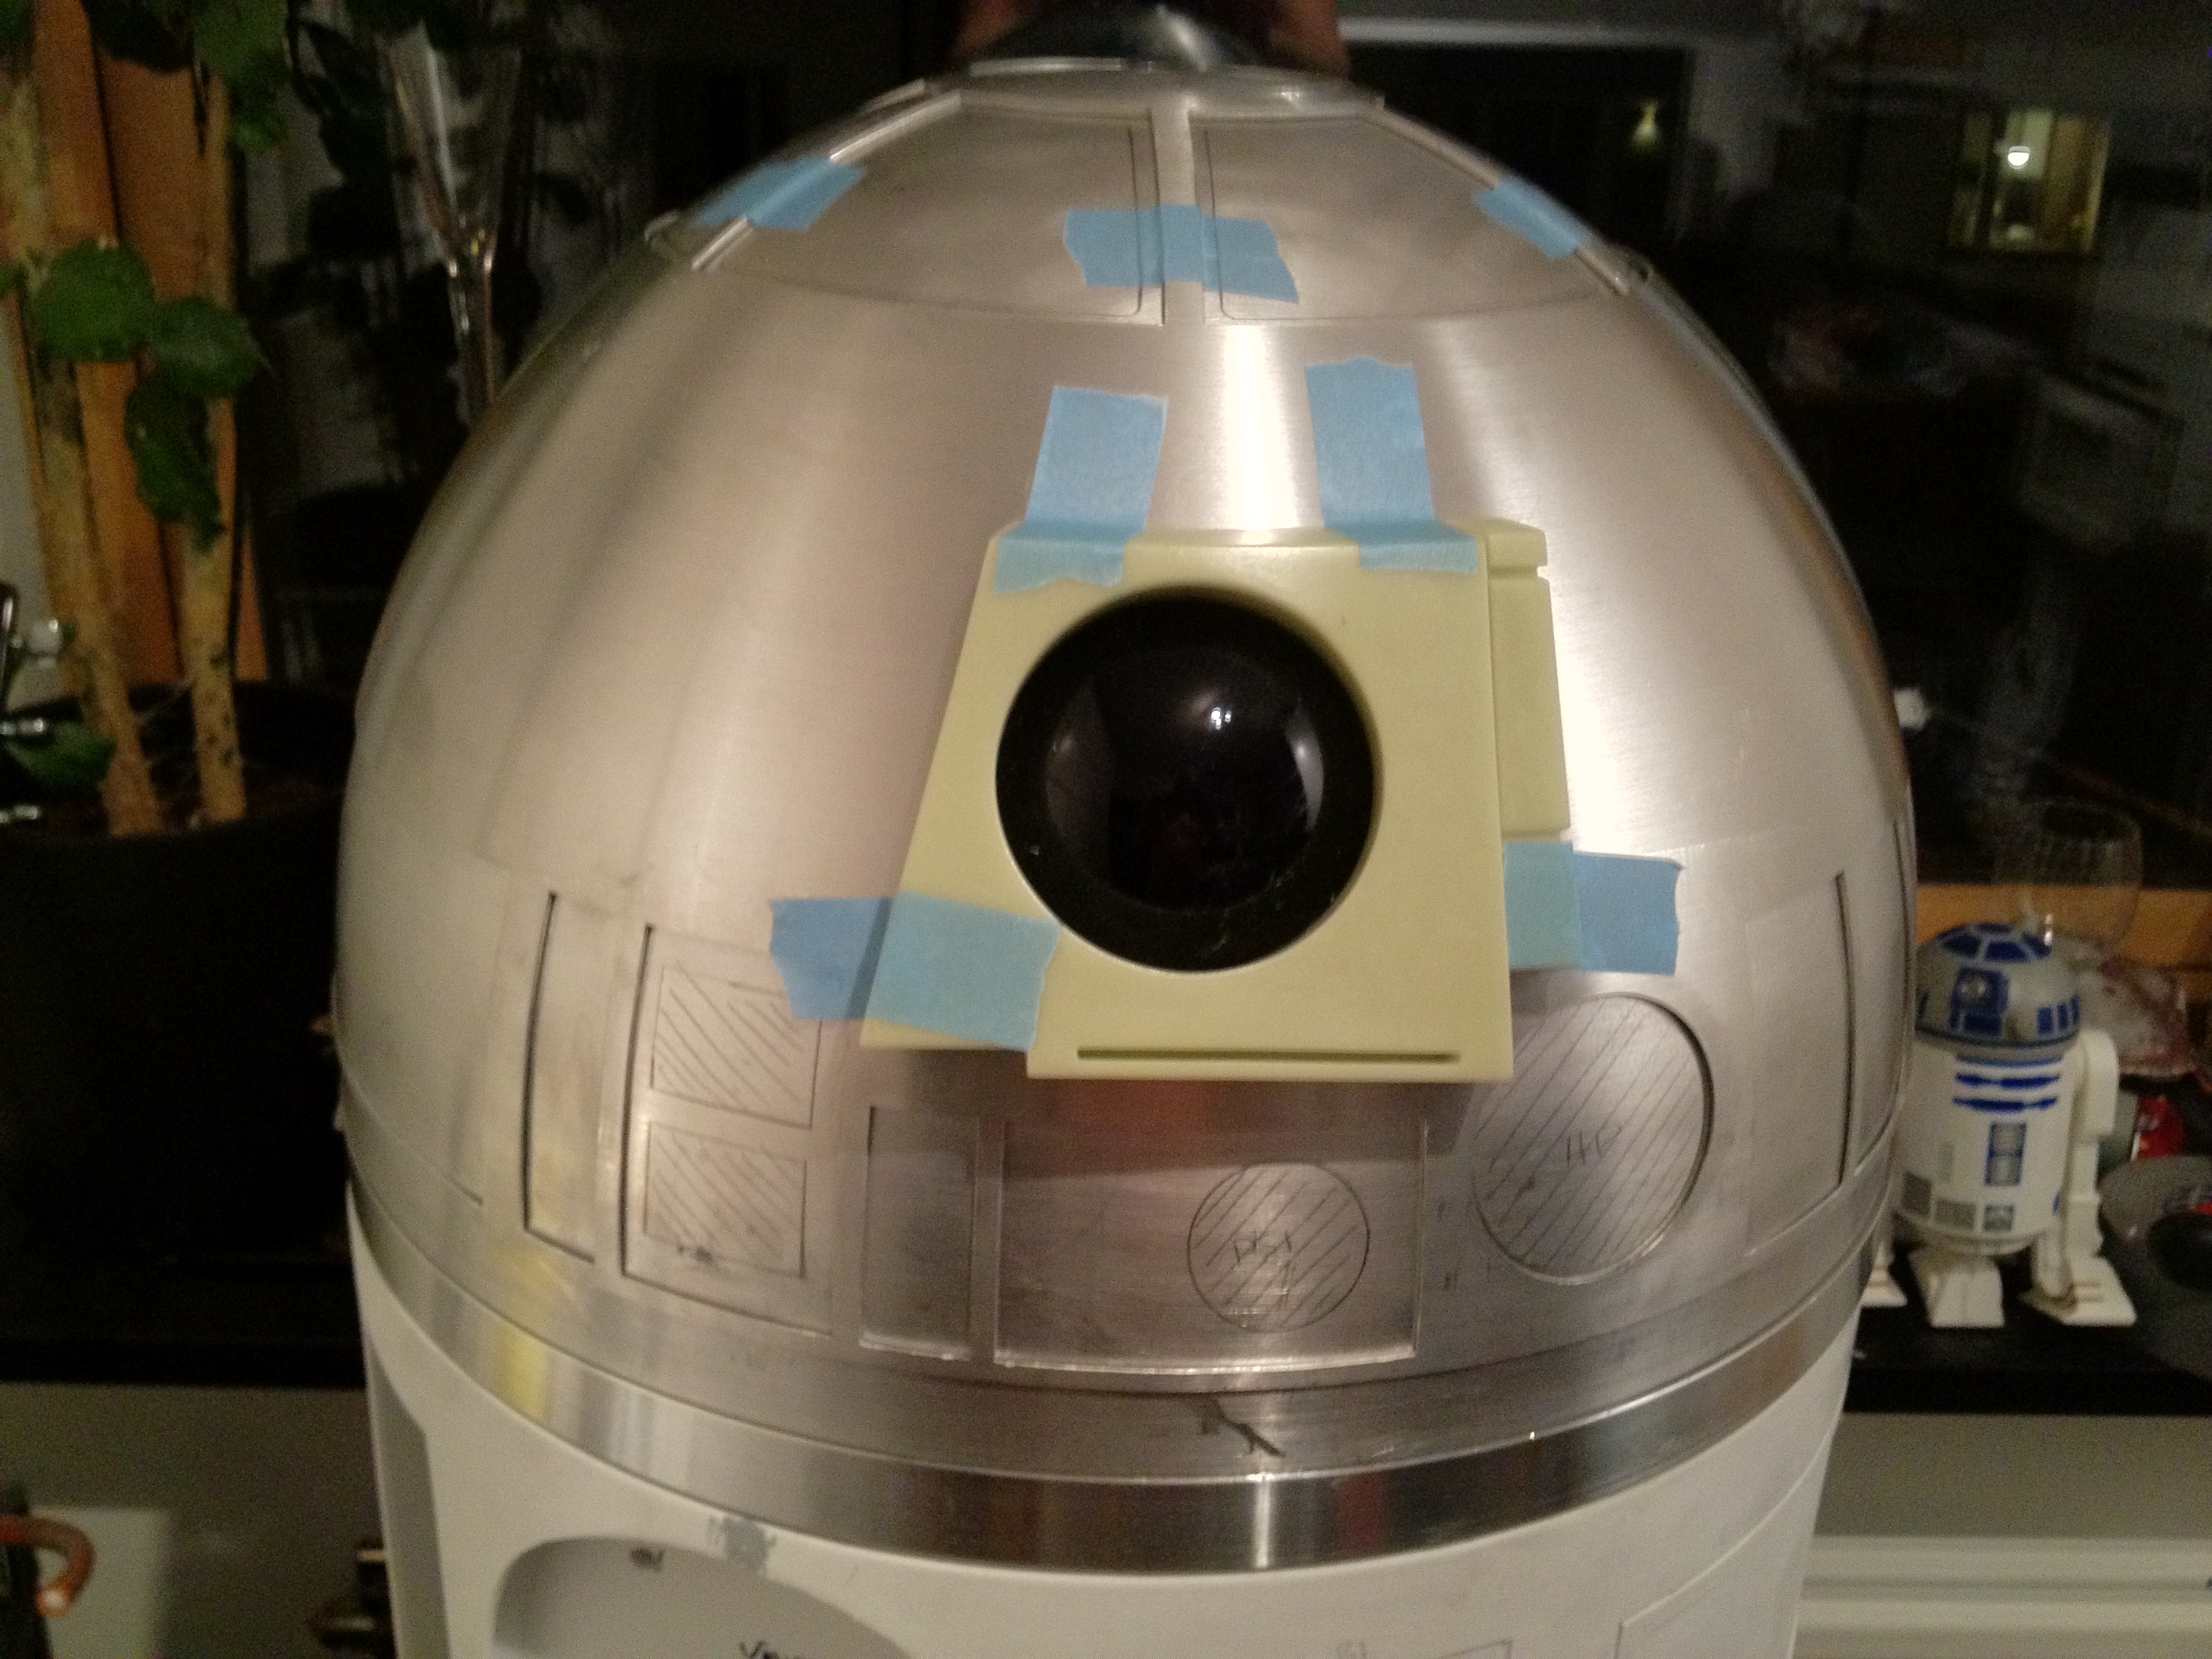
I taped the upper part of the dome to the inside of the outer dome.

I’m lucky enough this is the only large cut I need to make. The inner dome is within acceptable sizes so I do not need to actually cut a few millimeters off it at the bottom, something that would have been really tough, no doubt.

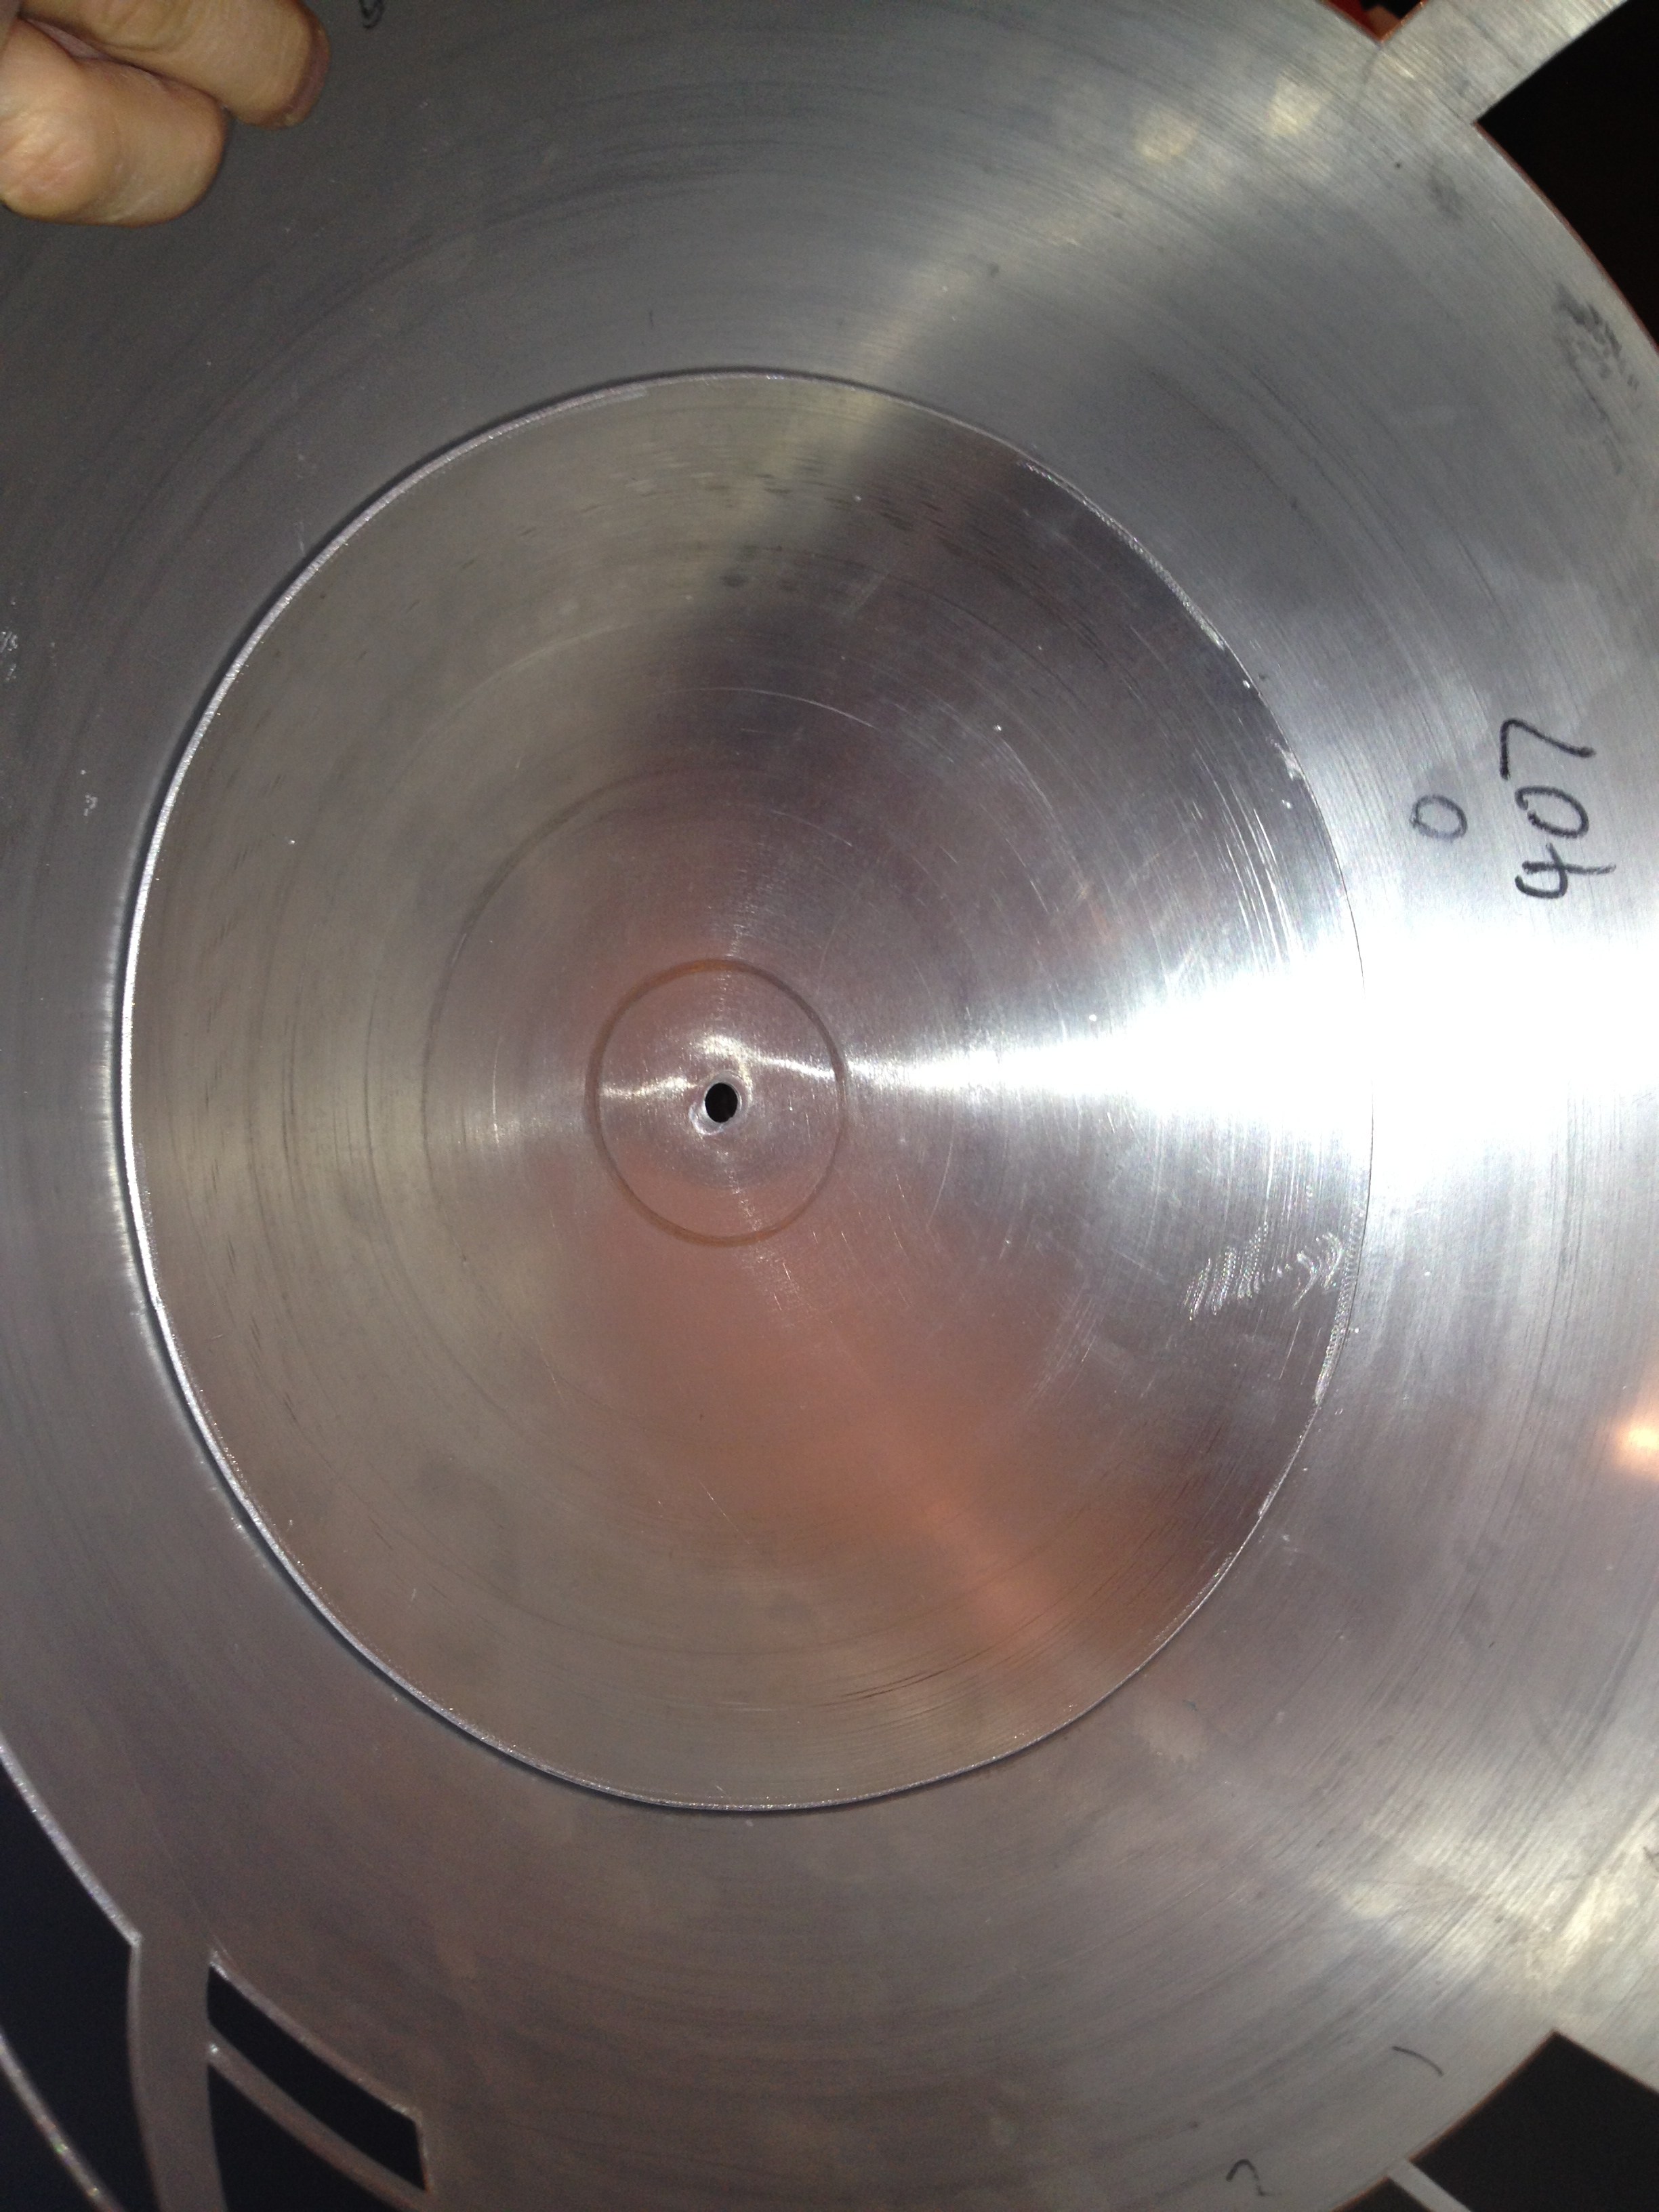
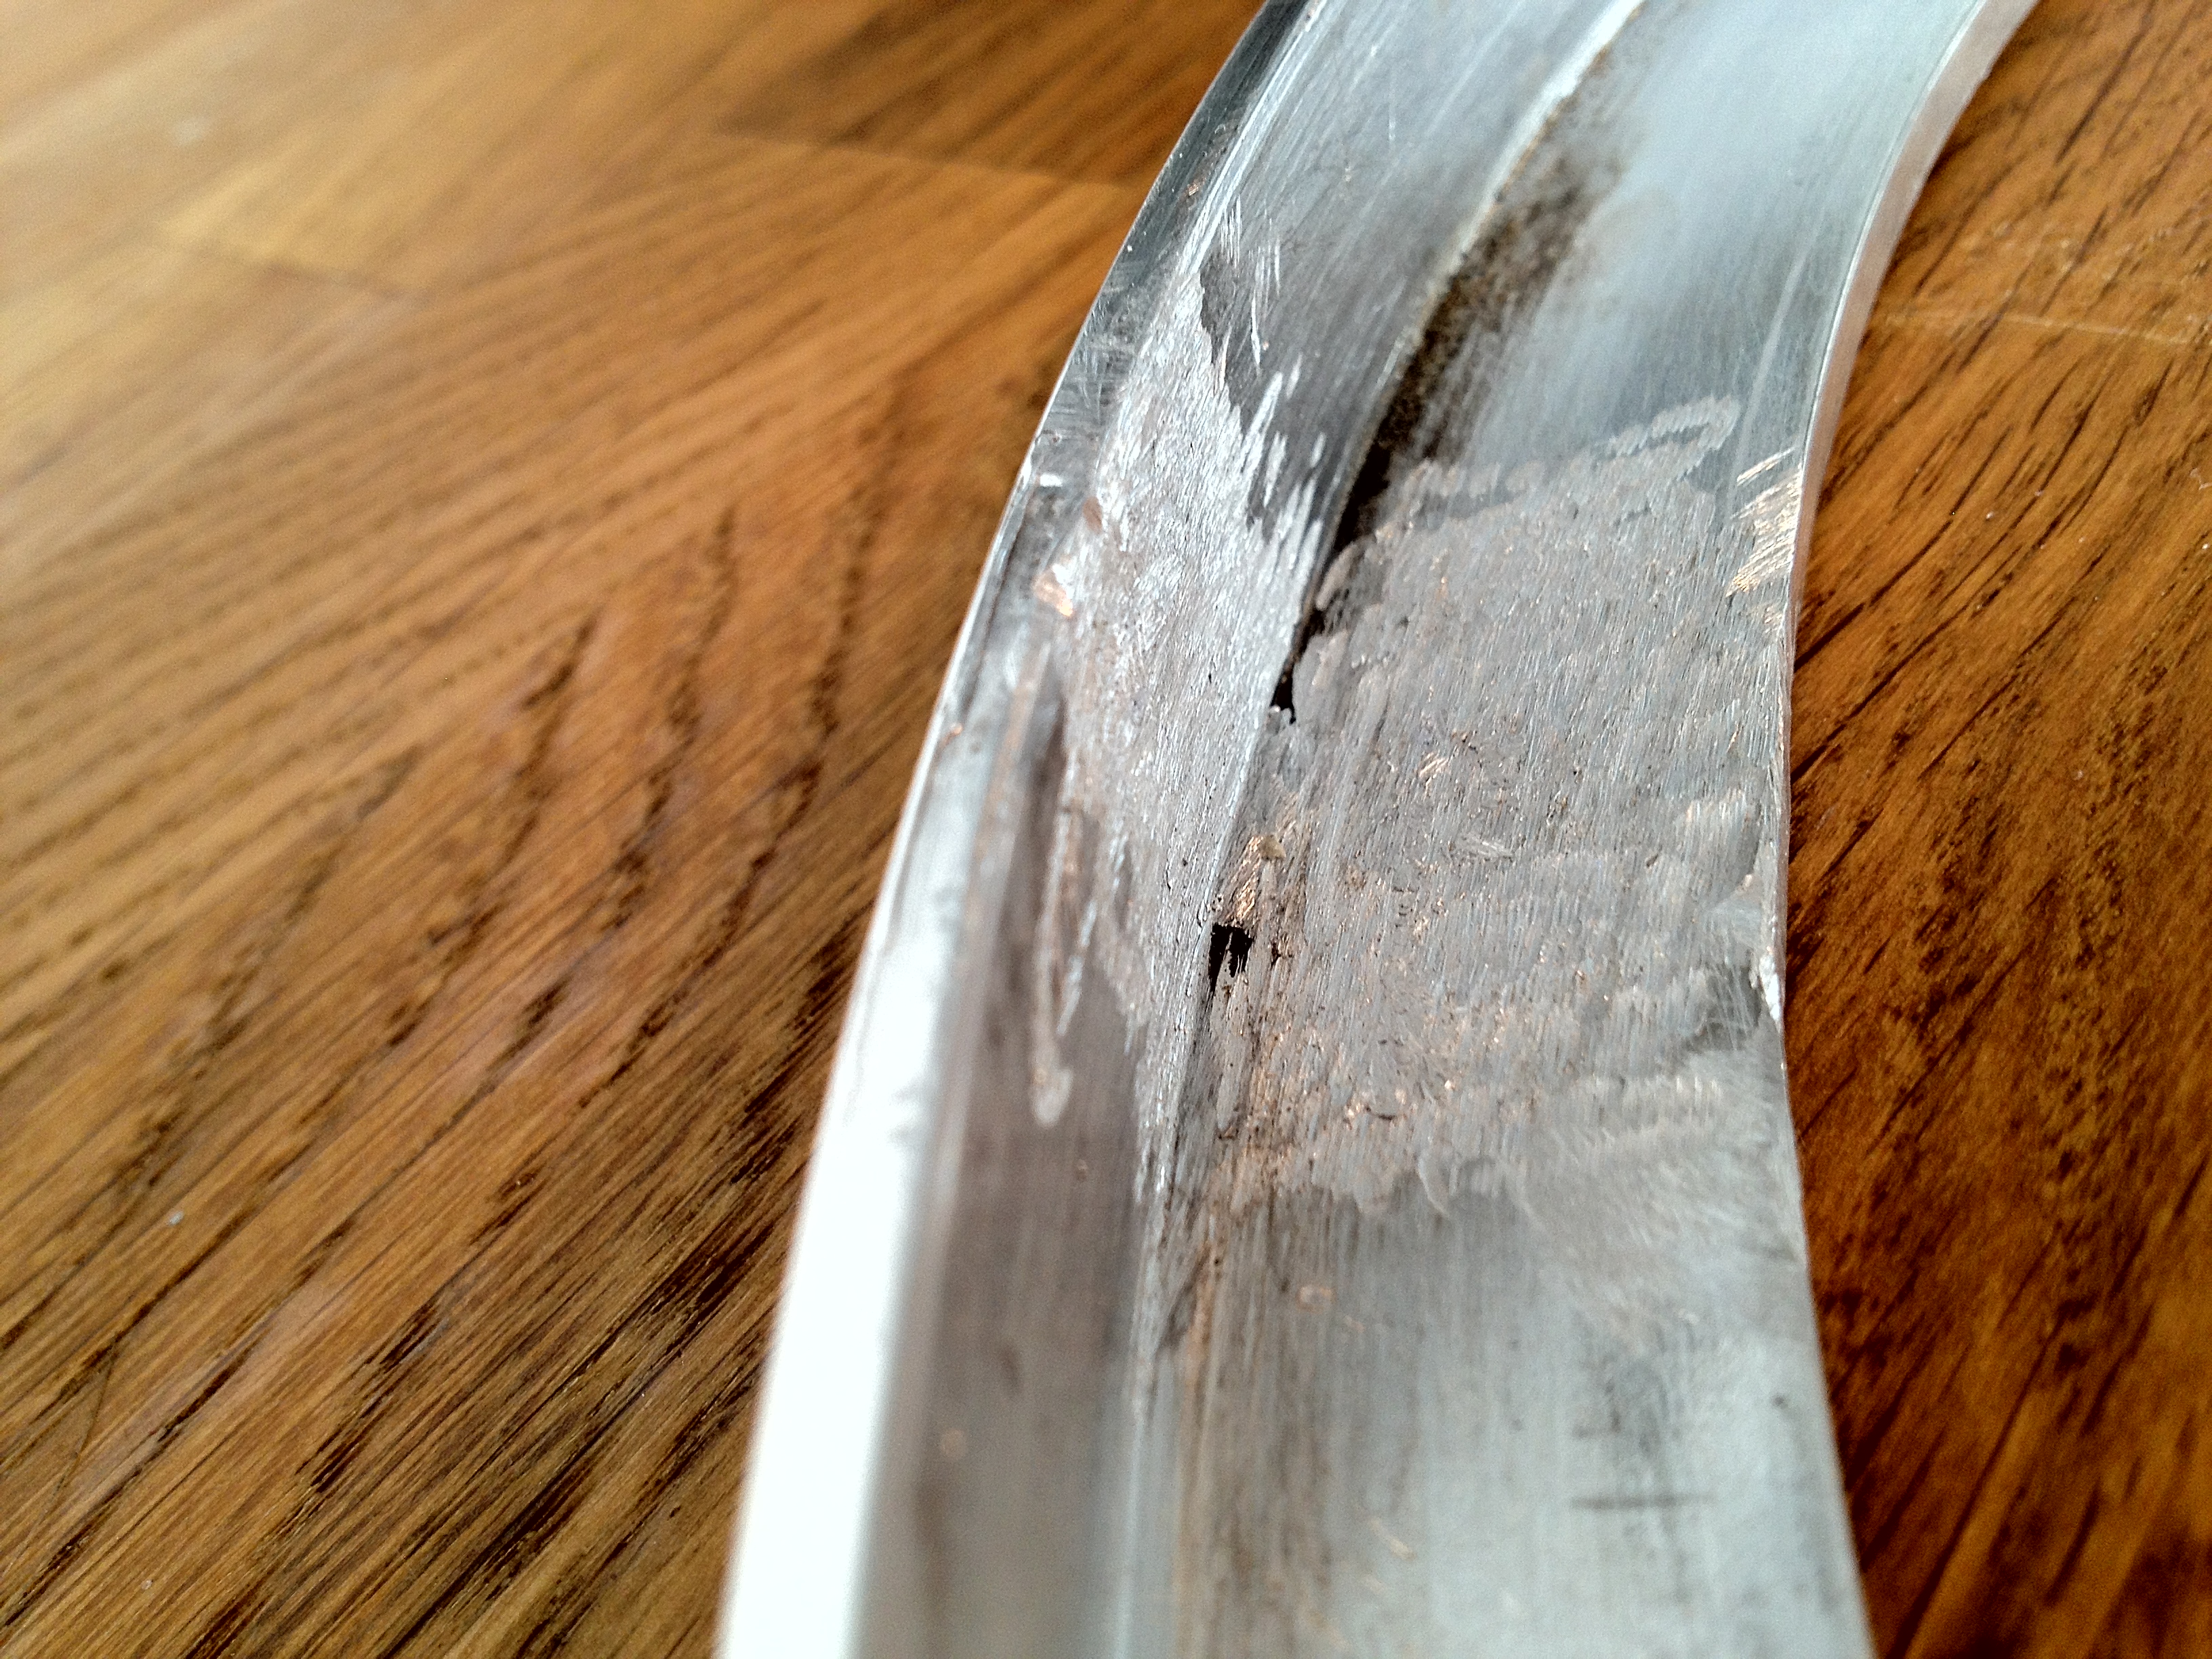
I also got around to remove the rather large remains of when the aluminum ring was welded together. This was almost a centimeter thick of weld residue on the inside of the weld. This prevented the metal ring from spin properly on the body of my R2.

I missed out on a “before” pic, but not too bad for a guy with only a dremel knockoff, eh? =)

Anyway, even though I’ve cut up R2’s head, he doesn’t mind and shows no side effects after the operation…

This really marks the first day of working with the dome. I have not yet decided if I should try and sand off the spin lines from the dome or not. I tried sanding the inner dome to a dull coat, just to get an idea what it would be like, and there are many, many hours of work, should I go down that route.

Since I’m planning on having everything removable (yes, everything) it is something that can be done further down the line, should I chose to do so.

Anyway: I mentioned that I had primed a few parts recently!

They are mostly ok, but since I’m not used to spray painting, I need to sand and paint again. That’s the idea anyway to get a smooth finish on the droid!

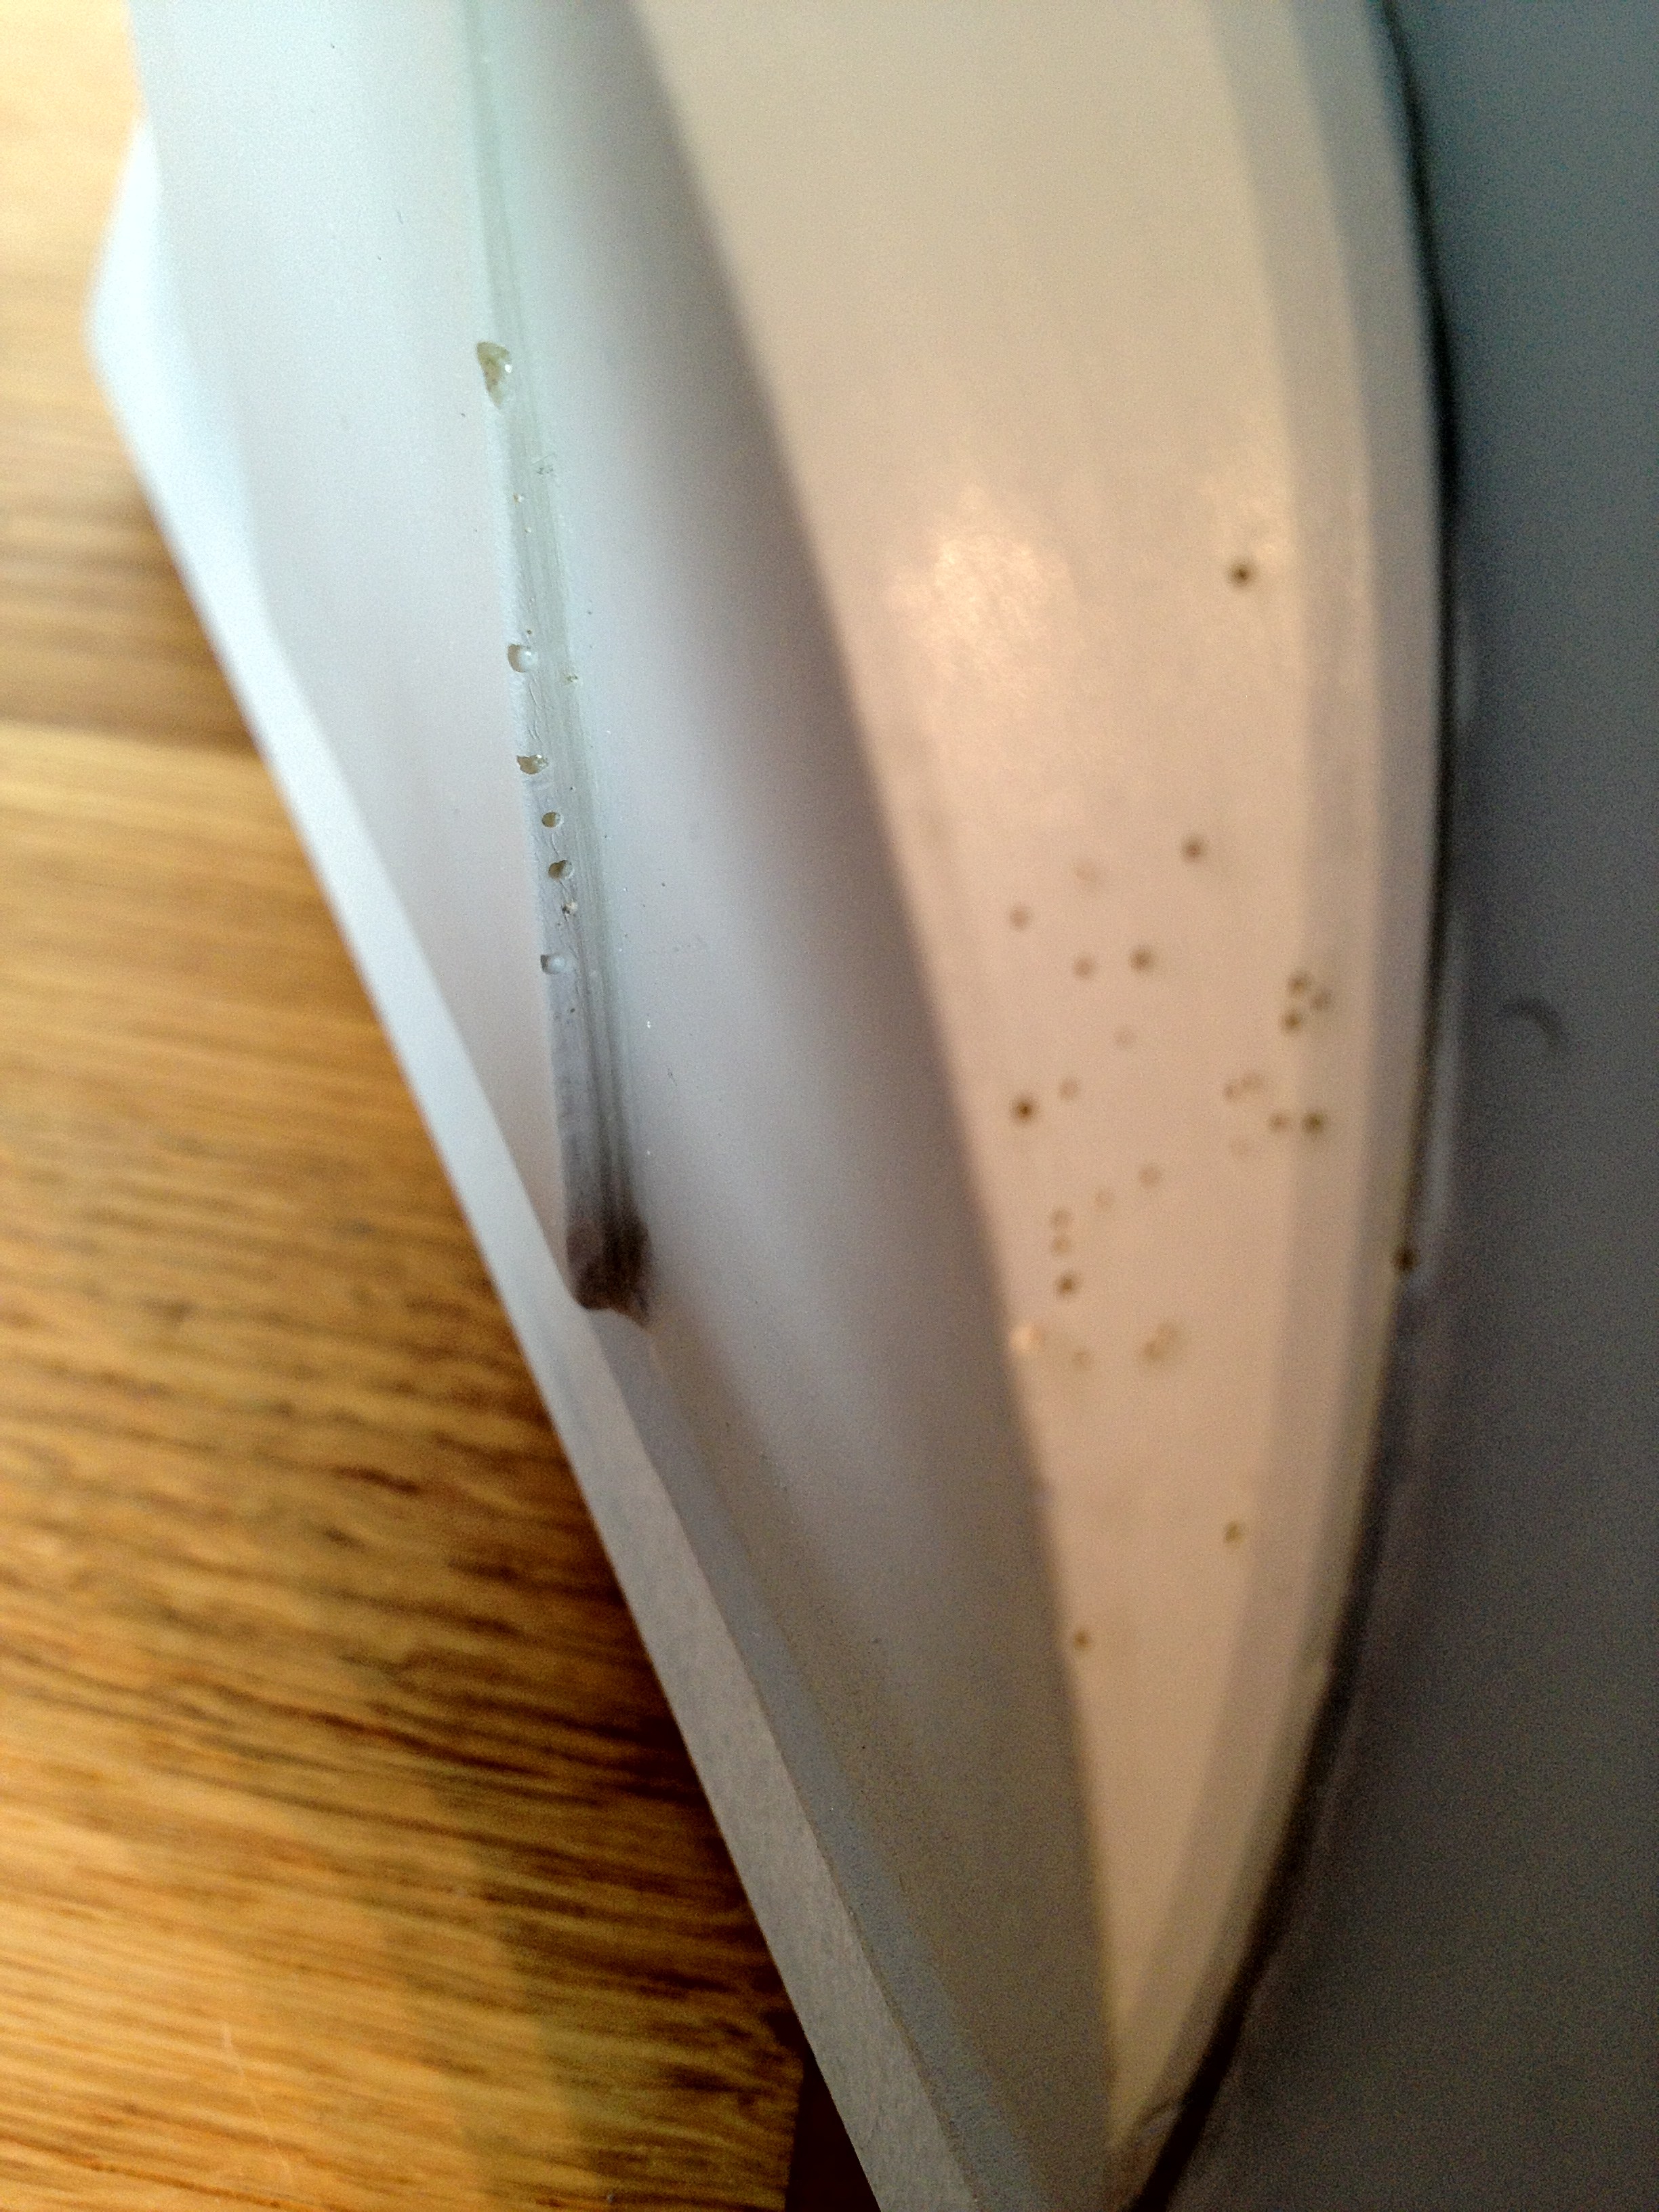
I did notice, however that there are some bubbles in the resin parts and some styrene joints that I need to attend to before continuing the paint job:

Those bubbles will not do! Also, I realized that I need to apply some more putty on the joins between the styrene and resin half-moons that I have on the center foot, since they have not bonded properly!

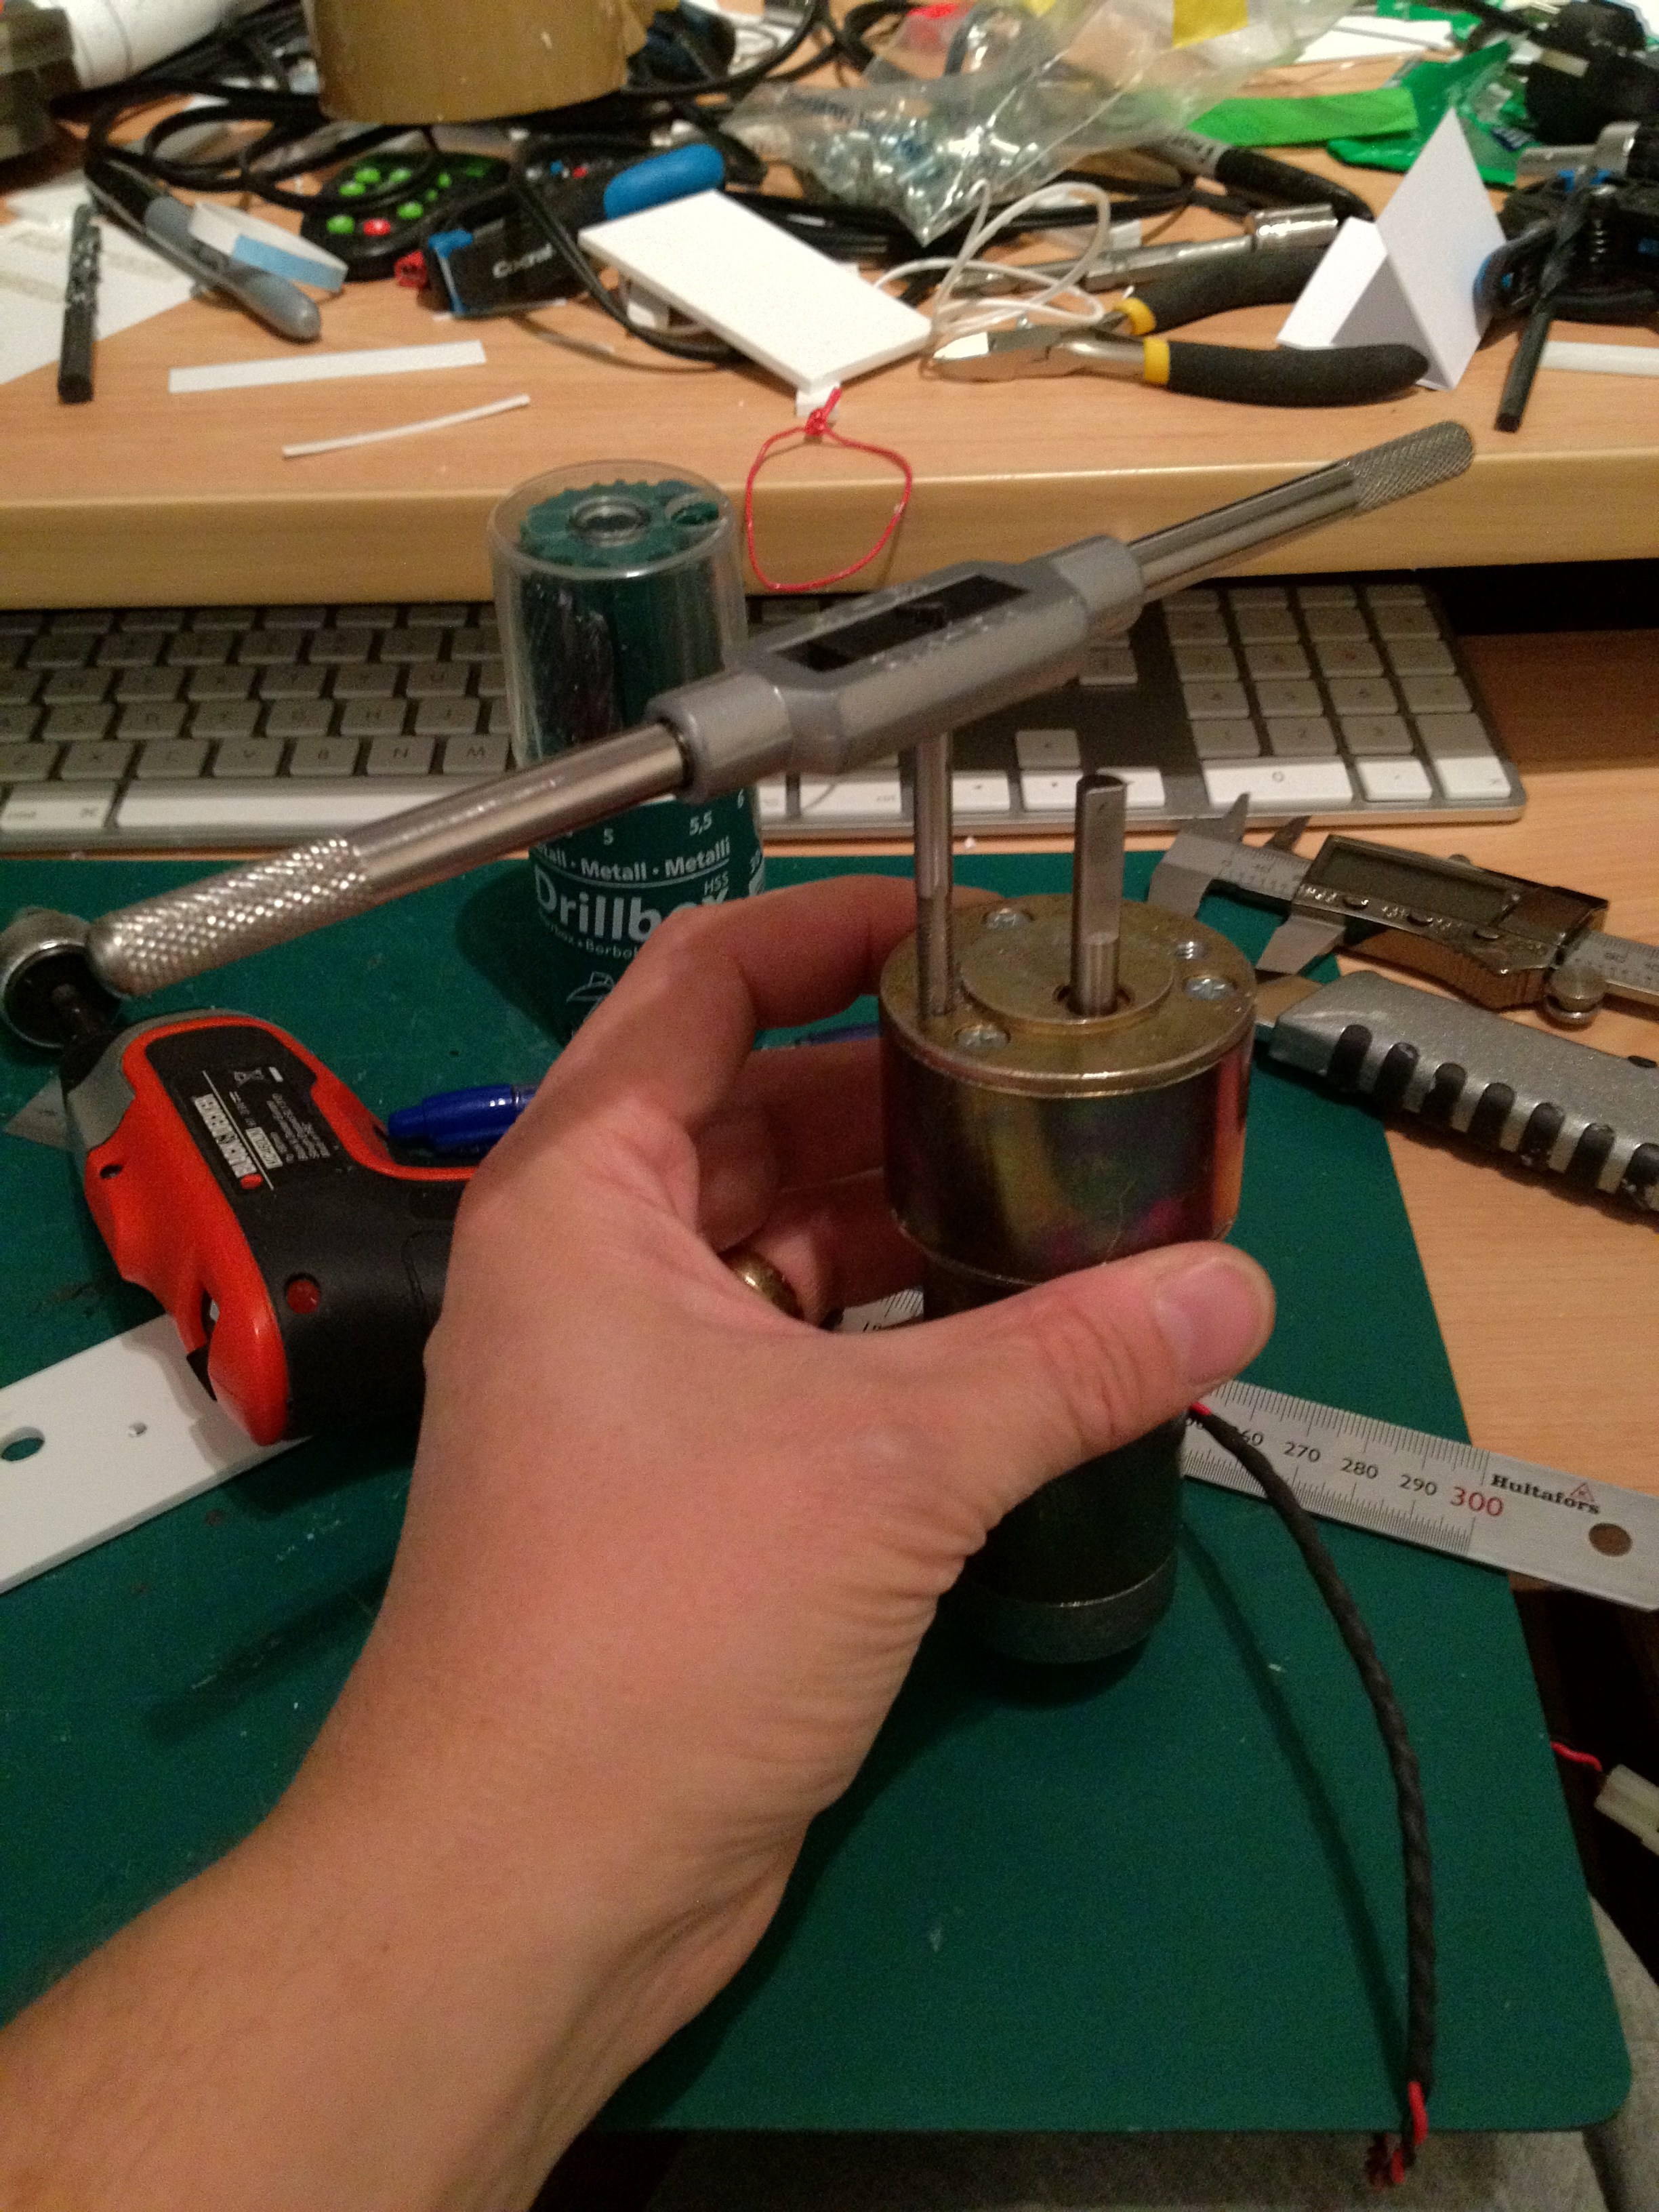
Last thing done today was making a motor mount for my Pittman motor, that will take care of the dome movement. Since this is imported from the US, first step on the agenda was to tap the mounting holes in the motor for european standards. Tapping to M5 here below:

Yes, my desk is suitable messy during this build.

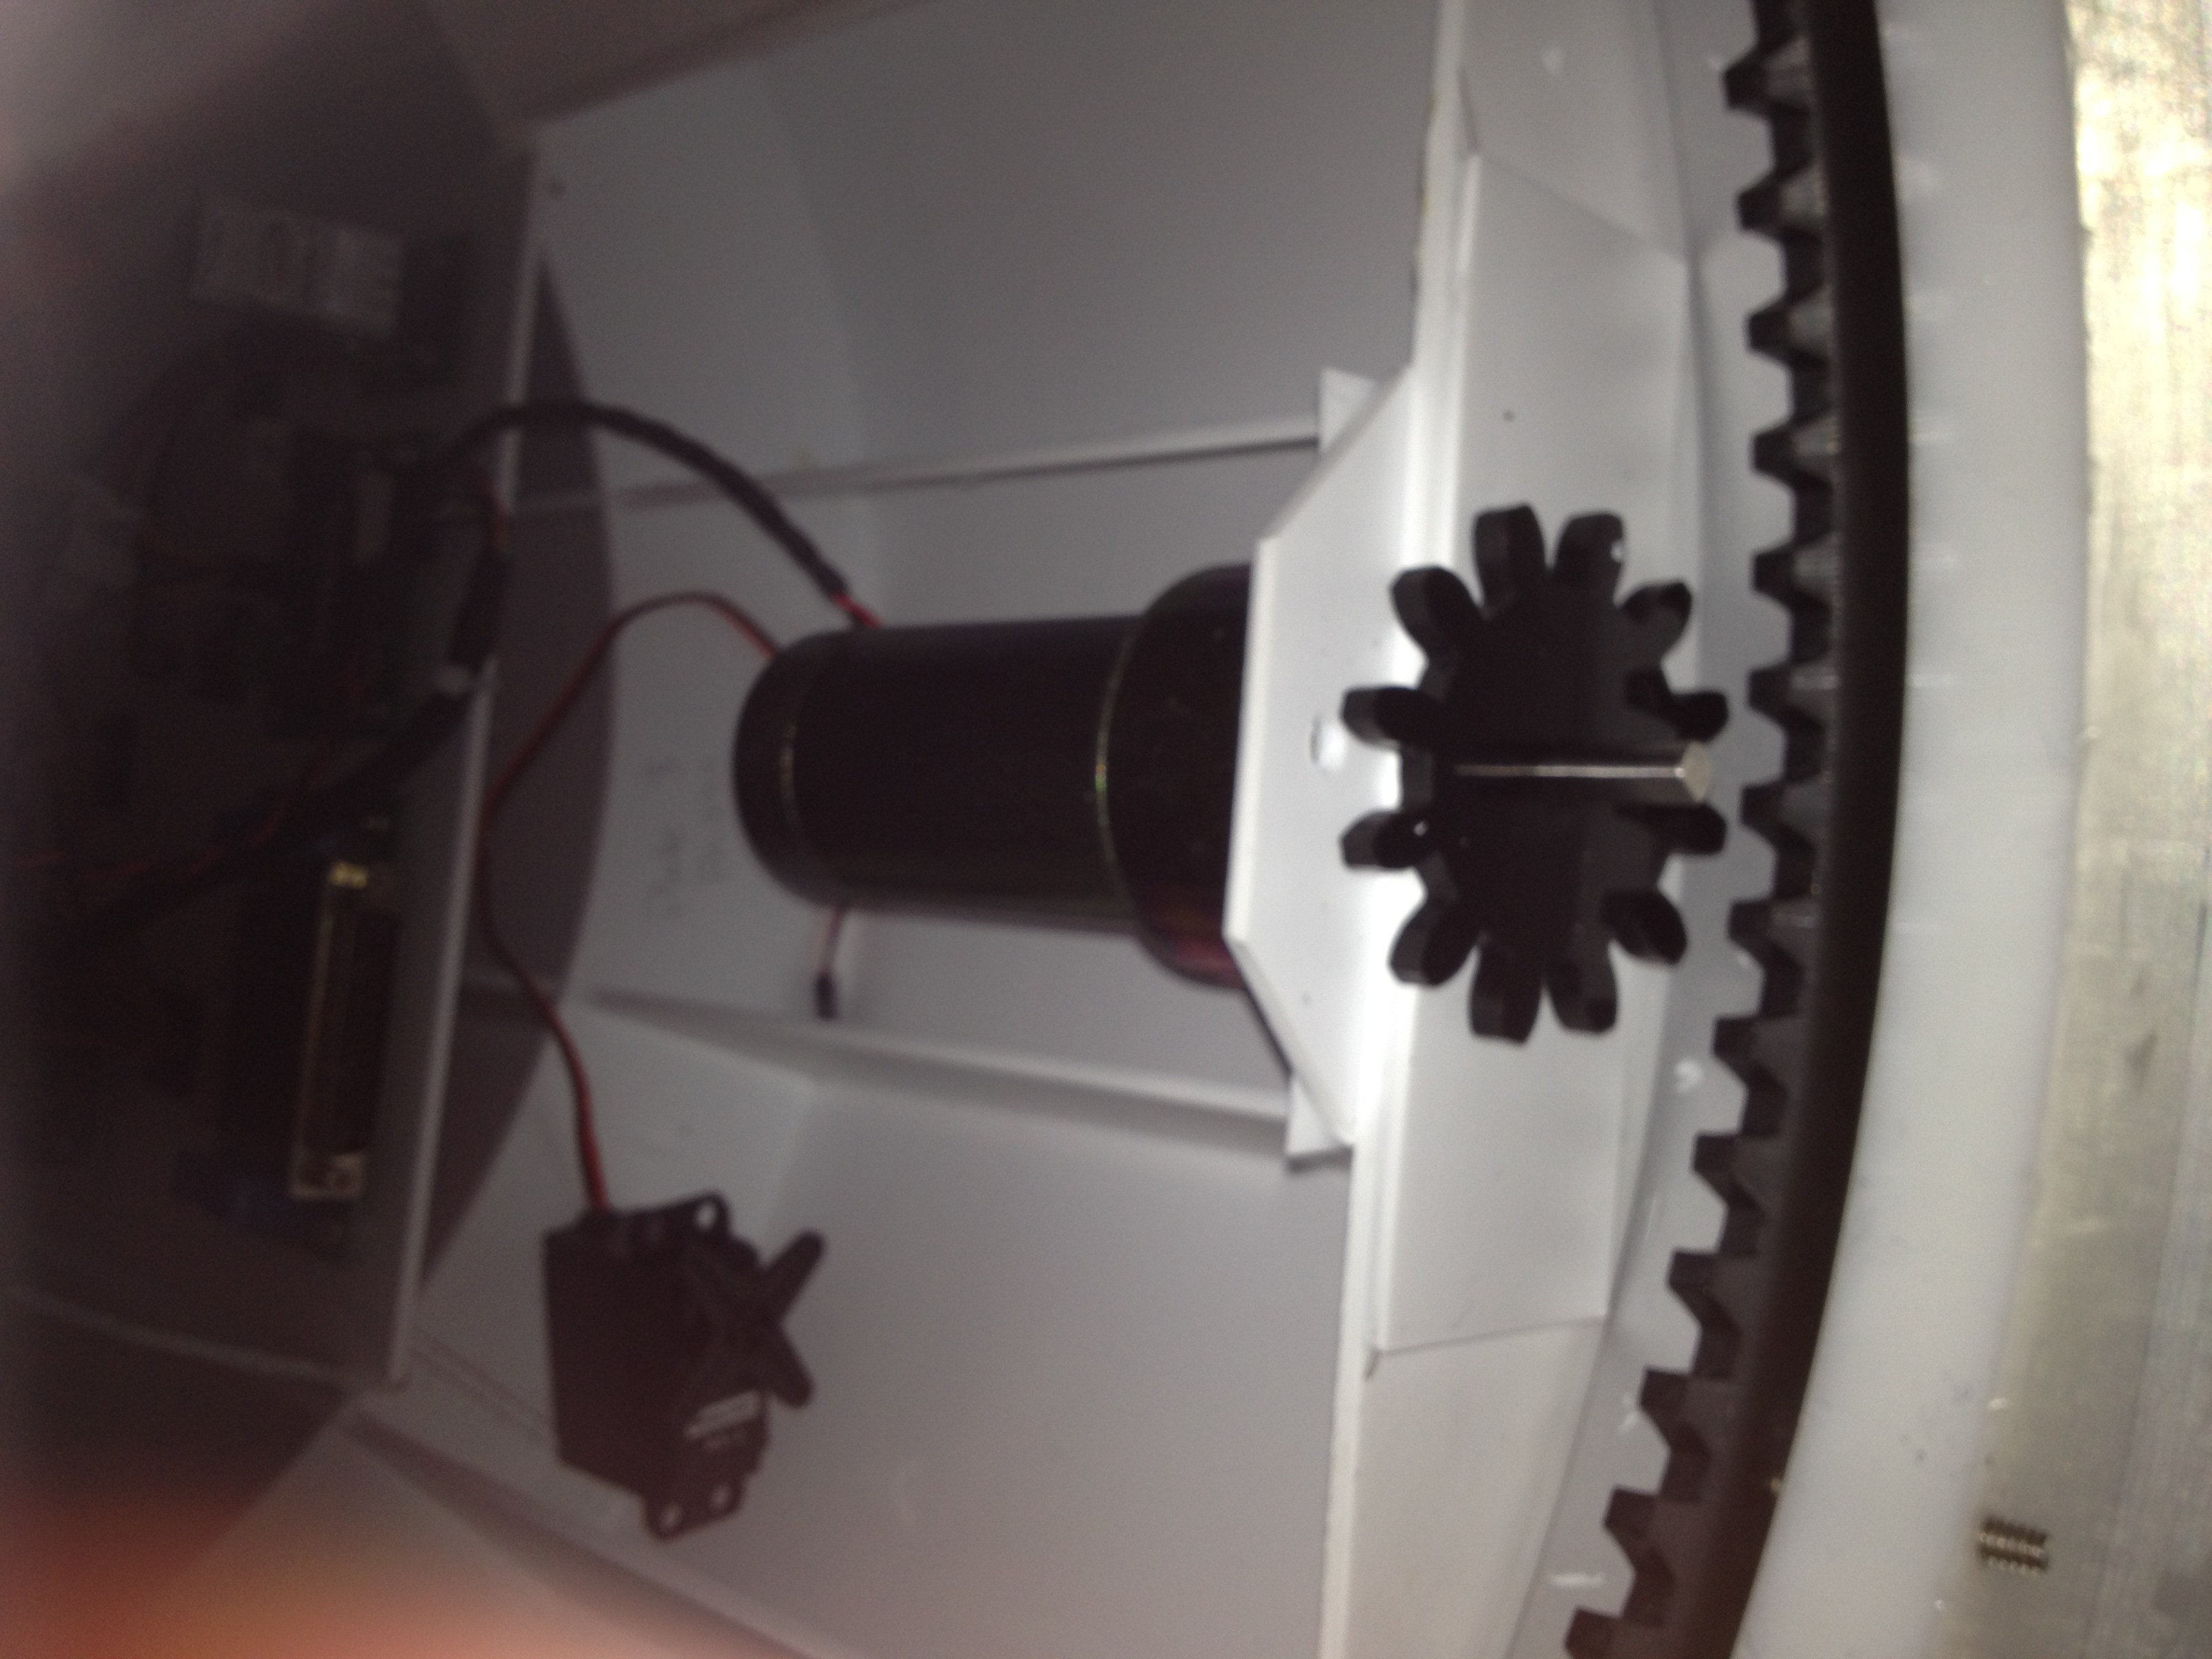
I strengthened the back portion of the upper ring of my droid with 7 more millimeters of styrene, and drilled mounting holes to mount my pittman motor.

I have no idea (yet) how to actually fasten the gear to the motor, so right now it is just lying around the axle, to test the distance, and I’m sure this will provide great traction for my dome movements!

Tomorrow, I’ll see if I can mount the gear properly, and see if I can’t hook up my Syren 10 motor controller as well, to get a first test of the moving head!

Can’t wait!

By |2016-12-06T00:01:43+01:00March 7th, 2012|R2-D2|Comments Off on Slicing up the head!

Dome Wrestling and sanding and bonding and priming…

So, Even though my build has been a bit slow this week, I haven’t really constructed anything else but the horseshoes.. 😮

I have been wrestling with my dome, followed Daren’s most excellent advice of growing the inner dome. I froze my inner ring, put two layers of duct tape around it, placed it inside my inner dome.

When i say “wrestling”, I really mean it. It was hard work trying to get the inner ring inside it, until I managed to get it cold enough so it would shrink as much as it had to.

Once it was back to room temperature, I put my dome outside so I could (finally) get my inner ring out.

The very next day I could not fit my inner ring inside my inner dome anymore.

Besides, I figured I needed another layer of tape to begin with.. I started conservative..

So, at the moment, my inner ring is locked inside my inner dome with 3 layers of duct tape around the inner ring.

A big thermos of boiling water will (hopefully) help me get the inner ring loose, and this may be the end of my inner dome problems!

Apart from that, I’ve also gone over ALL my seams of all the loose styrene parts (legs, feet, horseshoes, LDP etc..) with Tamaiya Putty, and sanded most of it off.

The result?

A spotty, but smoother result.

Once done, I also started priming some of my parts. My center foot and ankle and my for shell was really all I had time for.

I think I was a little impatient and I got the paint on a little too thick on a few places, but hey.. it’s primer and I will sand it anyway.

It also helped me identify more uneven places that is in need of Tamaiya putty!. Got a few bubbles in the resin on my center foot half moons (the ones I didn’t build myself) that I hadn’t seen before.

Lastly, I had to redo one entire foot cylinder. Seems I needed to sand the PVC more to get the glue to bond properly! =)

No pictures for now, but really, not that interesting progress-wise anyway… 😉

By |2016-12-06T00:01:44+01:00March 6th, 2012|R2-D2|Comments Off on Dome Wrestling and sanding and bonding and priming…
Go to Top