styrene

Center vent speaker holder

For a while I had this idea of making the bluetooth speakers I’ve got behind my center vents more accessible.

I came up with this idea that I would make a magnet-locked box that contained the center vents and the speakers that I could just pull out when I wanted to turn the speakers on or off.

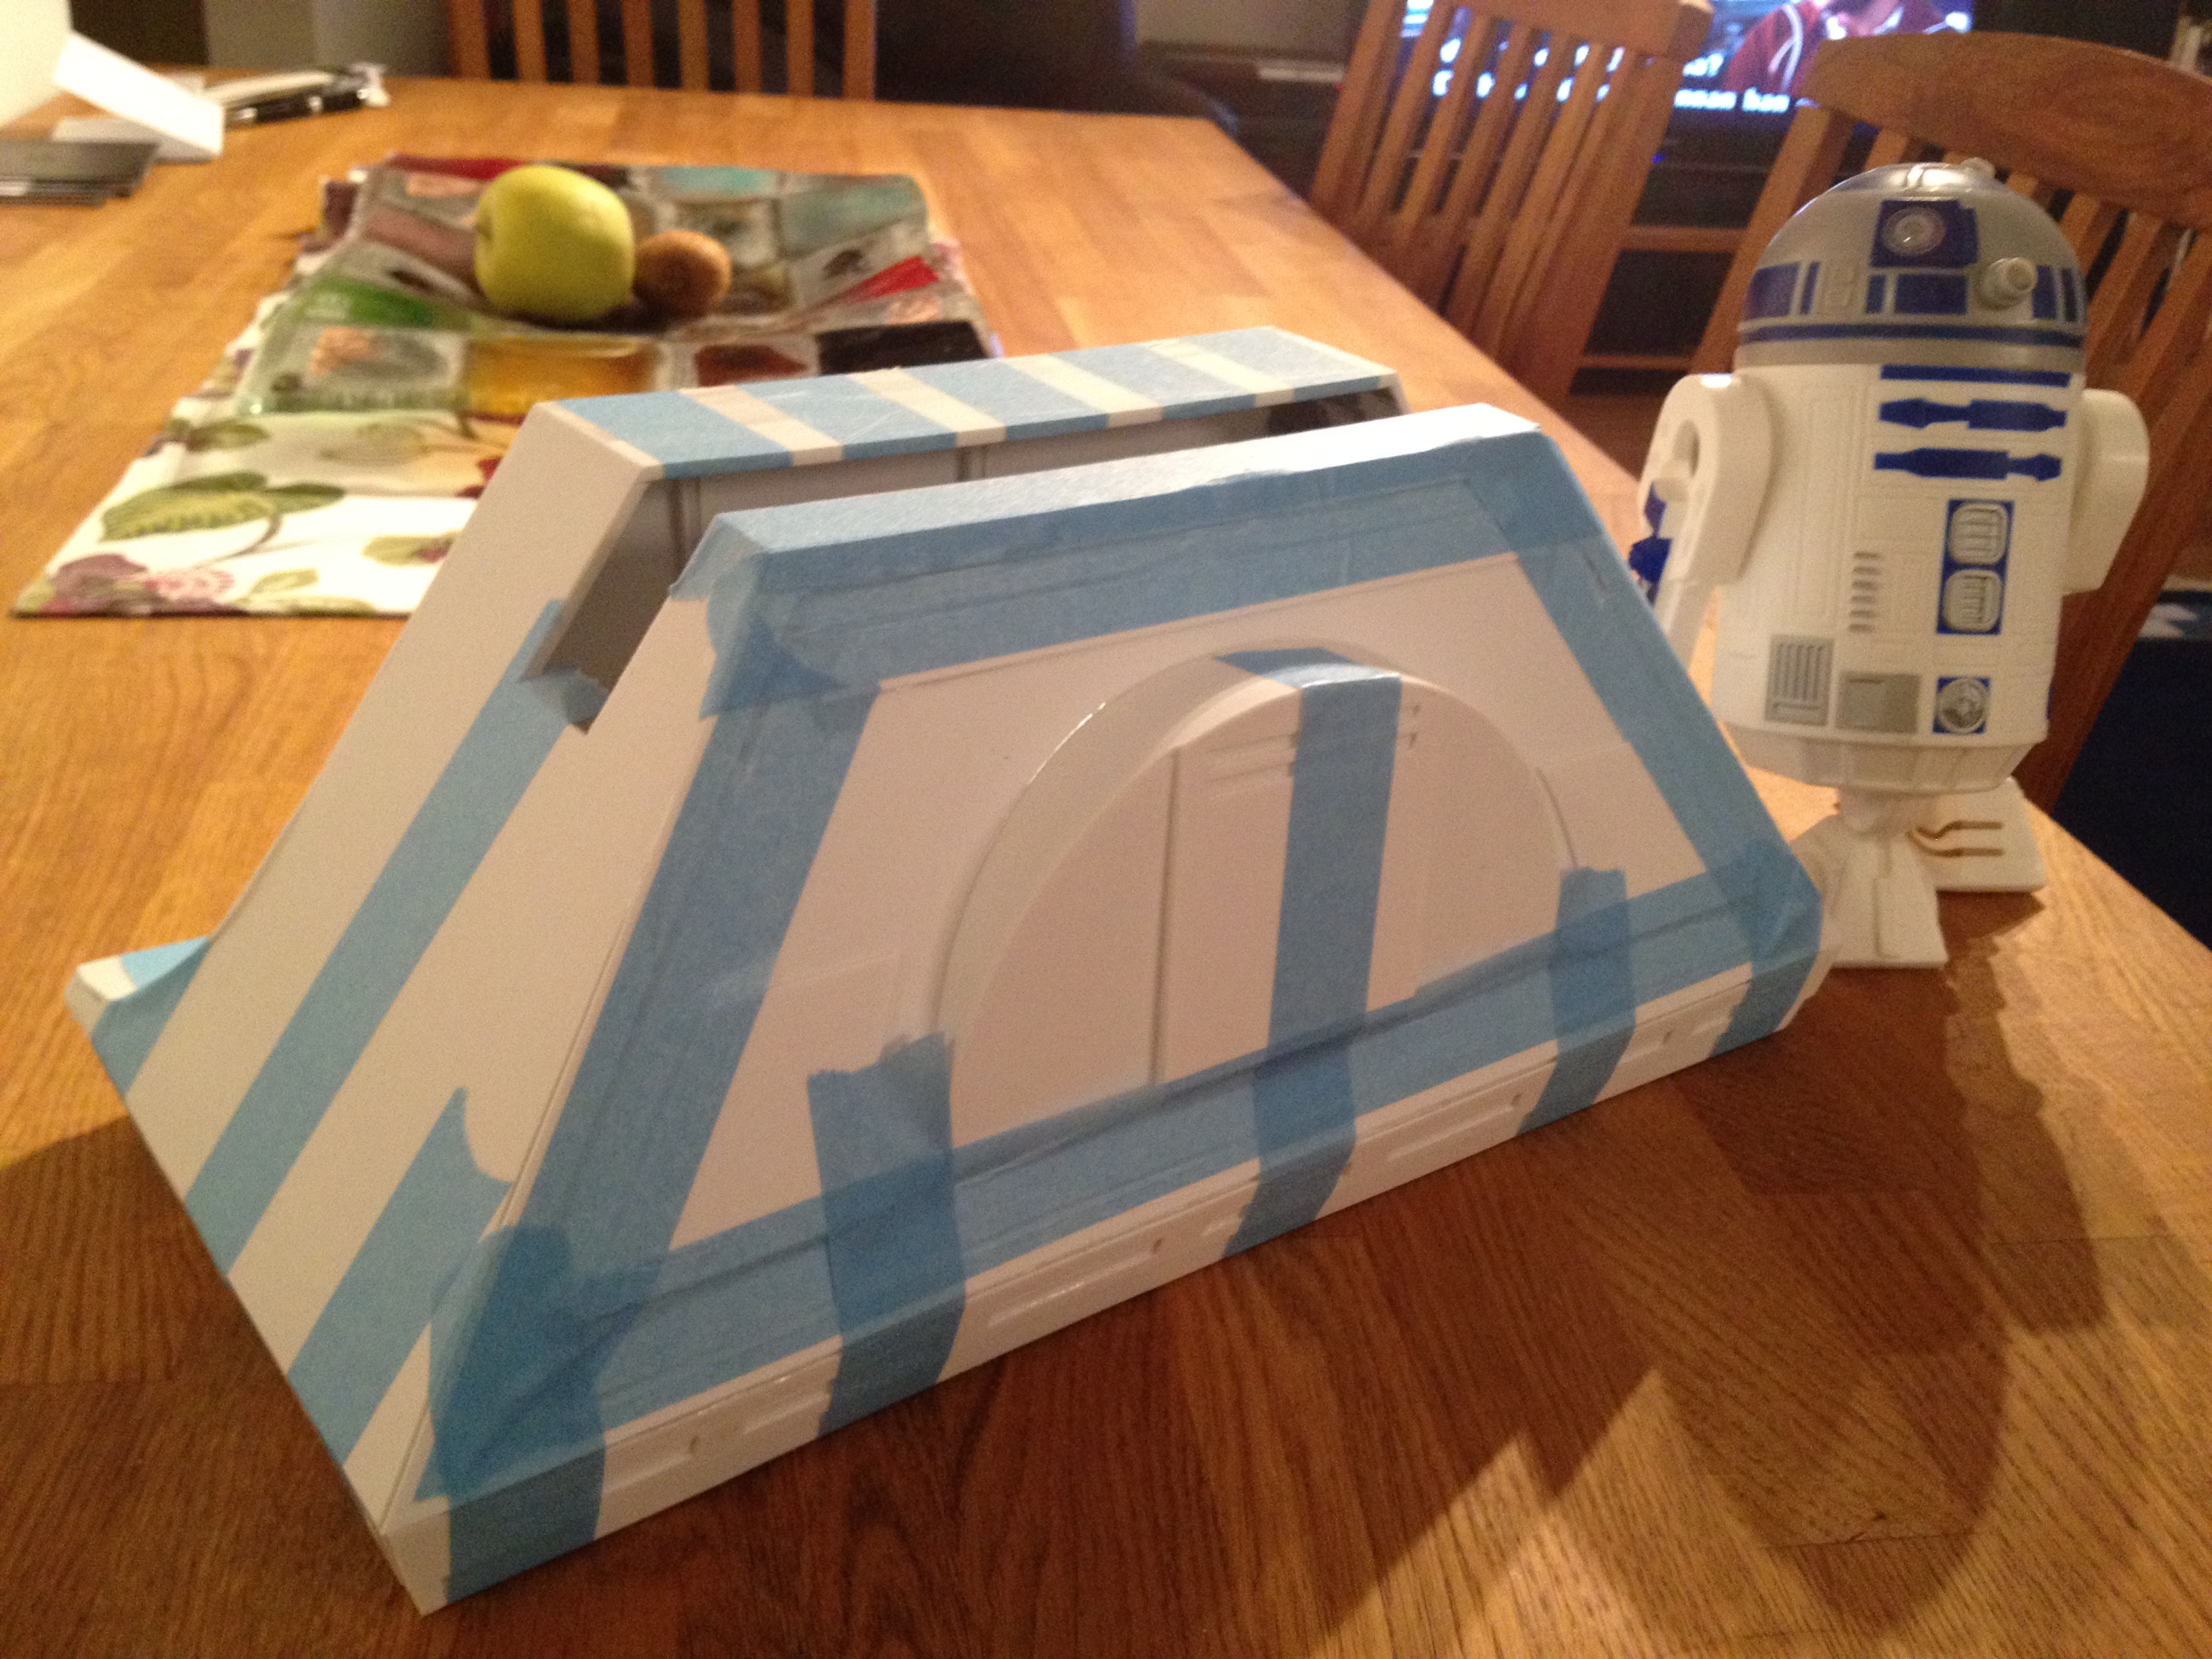
A few nights ago I couldn’t sleep, and got up in the middle of the night and drew some makeshift blueprints. I needed a box with curved front, where I’d glue a 1mm piece of styrene that holds the center vents, and another outer skin piece, that would overlap on the area where I pull the box out.

I started with building the actual box that will contain the center vents and speakers.

This fits the speakers quite well, and at the moment I’ve got some styrene holding the speakers in place, but that will be replaced by pieces of velcro that will keep the speakers in place.

Plenty of room for the speakers and power cable through USB and the connection between the speakers.

It even looks good from the front with the center vents in place. The center vents are only placed there for now as I’m waiting for BobC’s aluminum center vents. Once they have arrived in a few weeks, they will be screwed in place from the sides with countersunk screws.

Only thing this needs at the moment is the front skin piece, the blue piece. It is cut out but I will not cut out the center vent holes until I get the actual vents that will be in place, so for now, it will not hide the small gaps on the sides when this has been slid into place.

So, after finishing the box, I decided to tear open the skin and remove the center vents and the supports. Scary stuff!

After cleaning out the center vent area, I glued some support pieces in place that will guide the box so it will sit still in place.

Sliding in the box… looking good…

… and finally in place!

Apart from this, which I’m quite happy with, I’ve also managed to sand and paint the dome panels one more time… They are now primed and ready for proper painting!

Woohoo!

By |2016-12-06T00:01:31+01:00June 13th, 2012|R2-D2|Comments Off on Center vent speaker holder

Second foot shell..

One of the first things I did in my R2 build was one of the foot shells. It was with that I learned how to work with styrene, and also what not to do.

That is one reason why I decided to build one foot shell at the time, and the second foot shell has eluded me for almost the entire build.

Now, no longer.

I started the build on the second foot shell a few days ago, and so far, it has gone quite well!

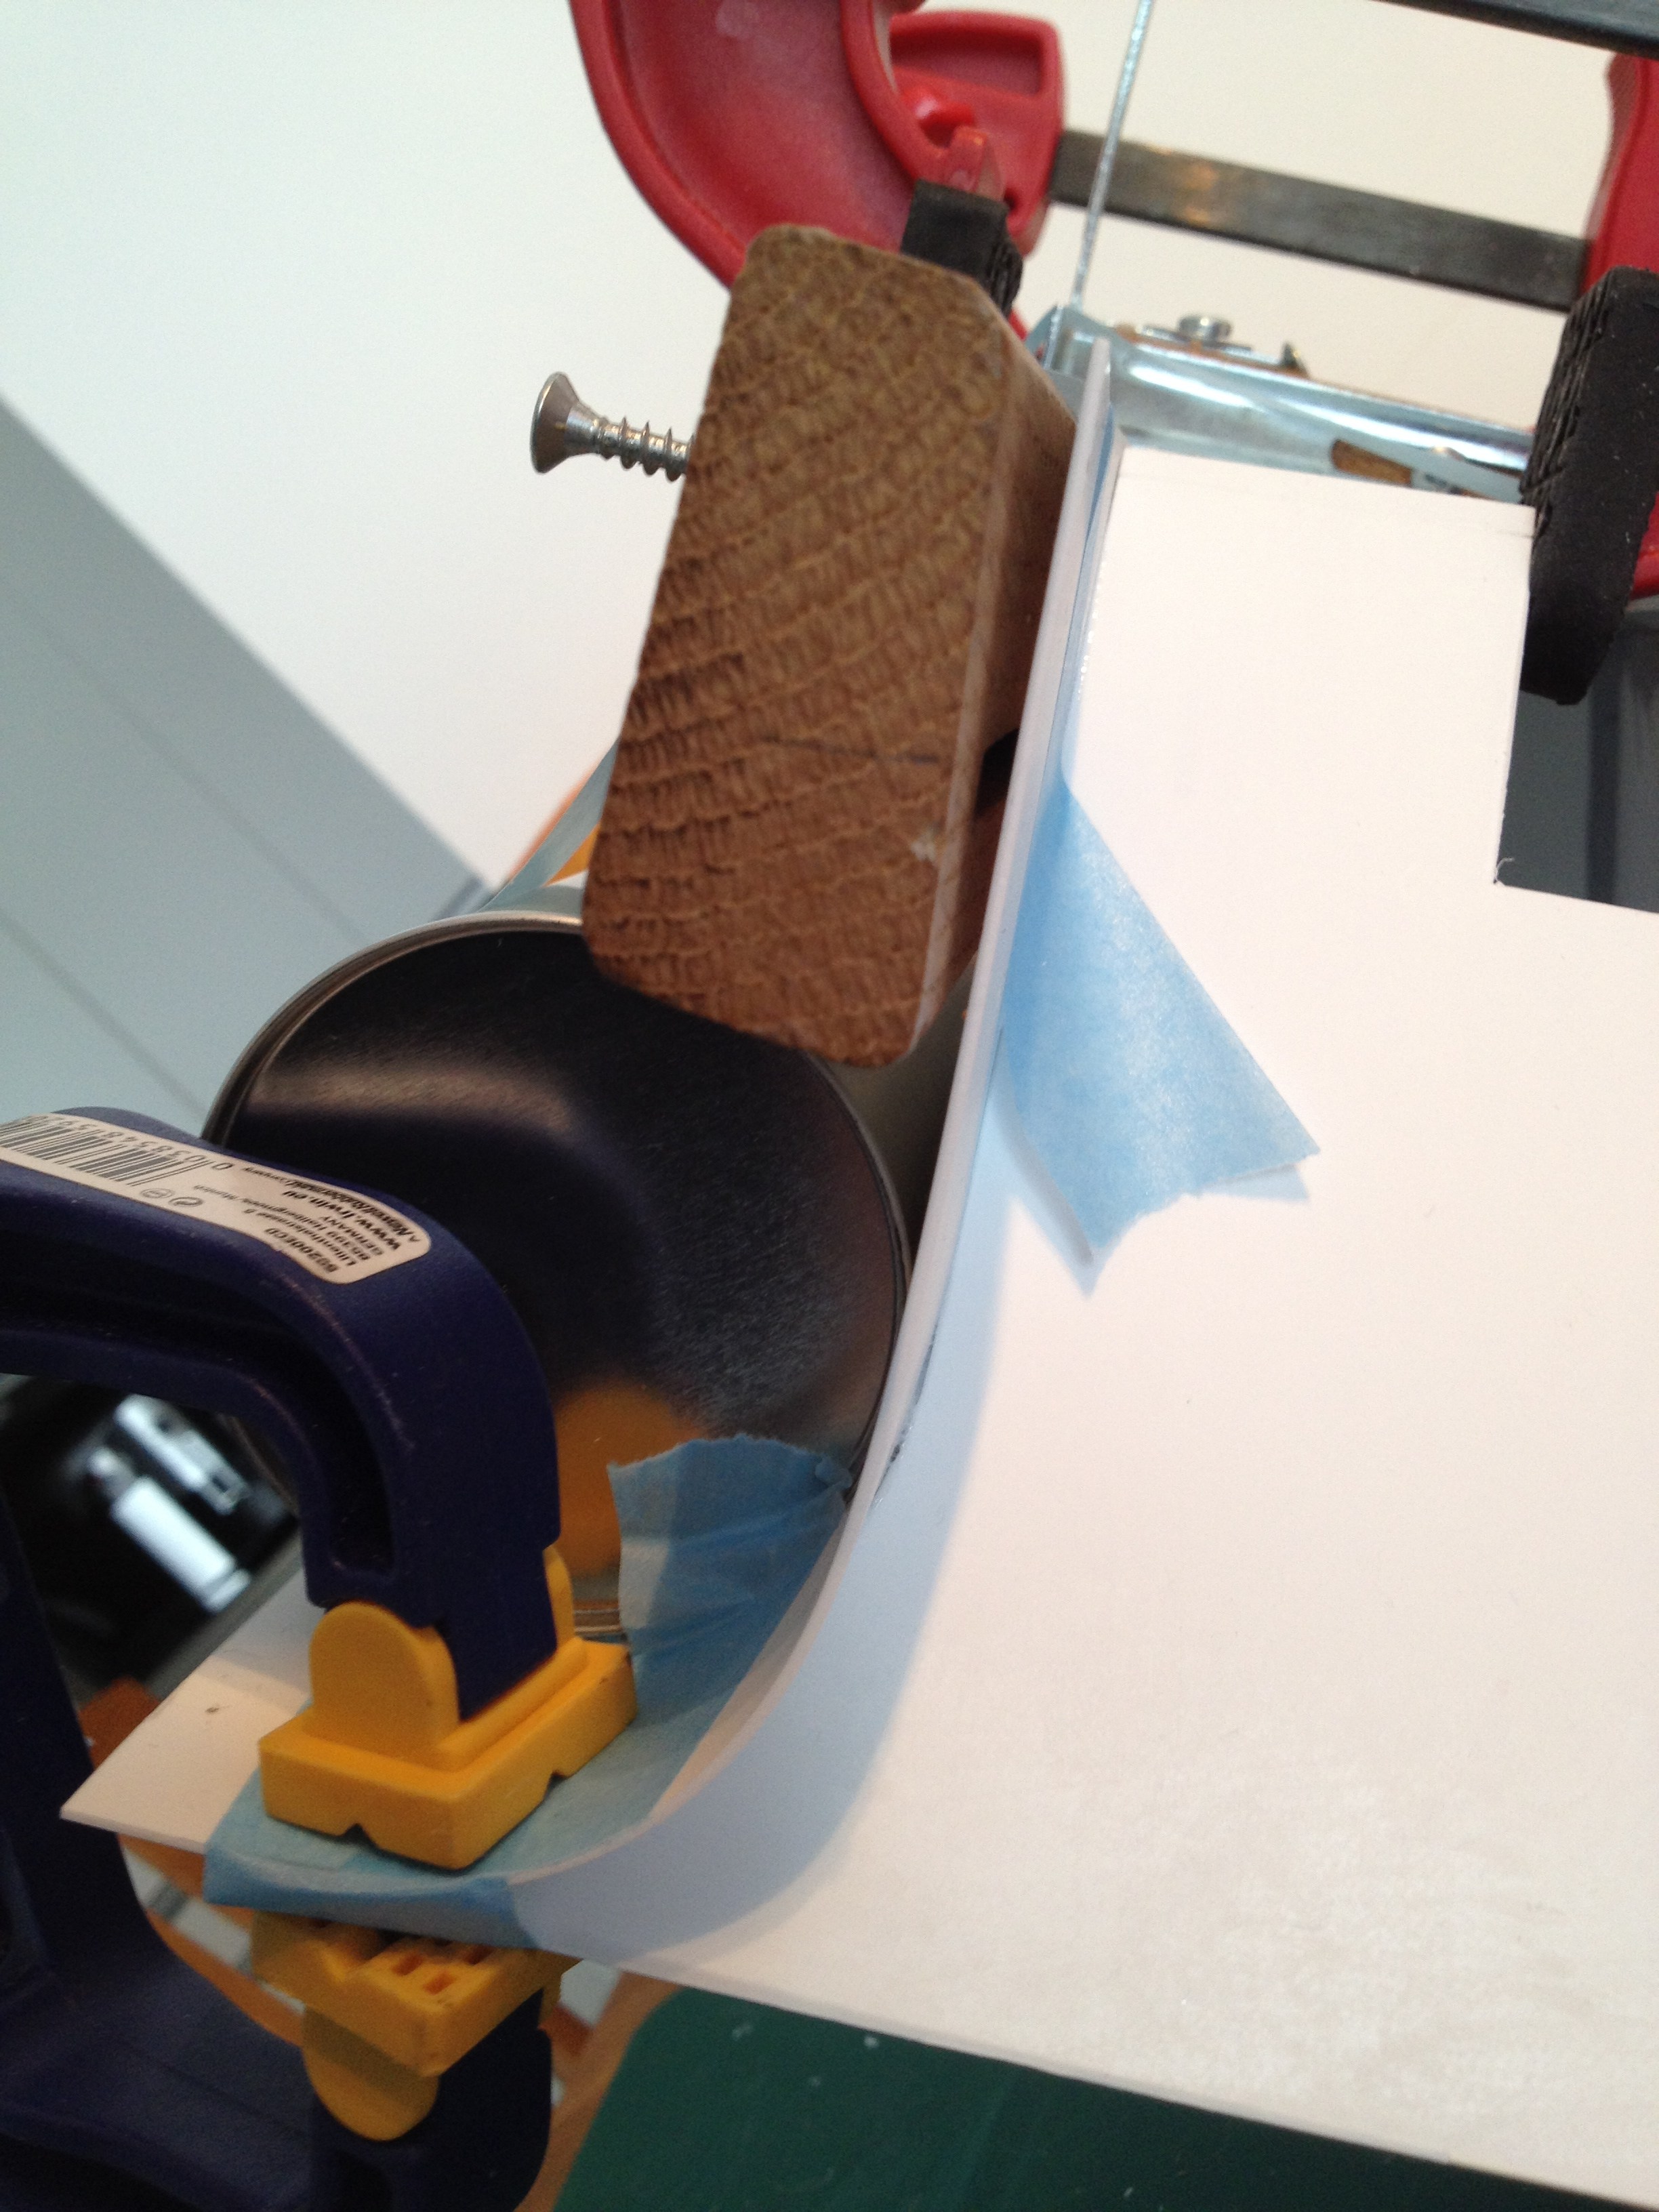
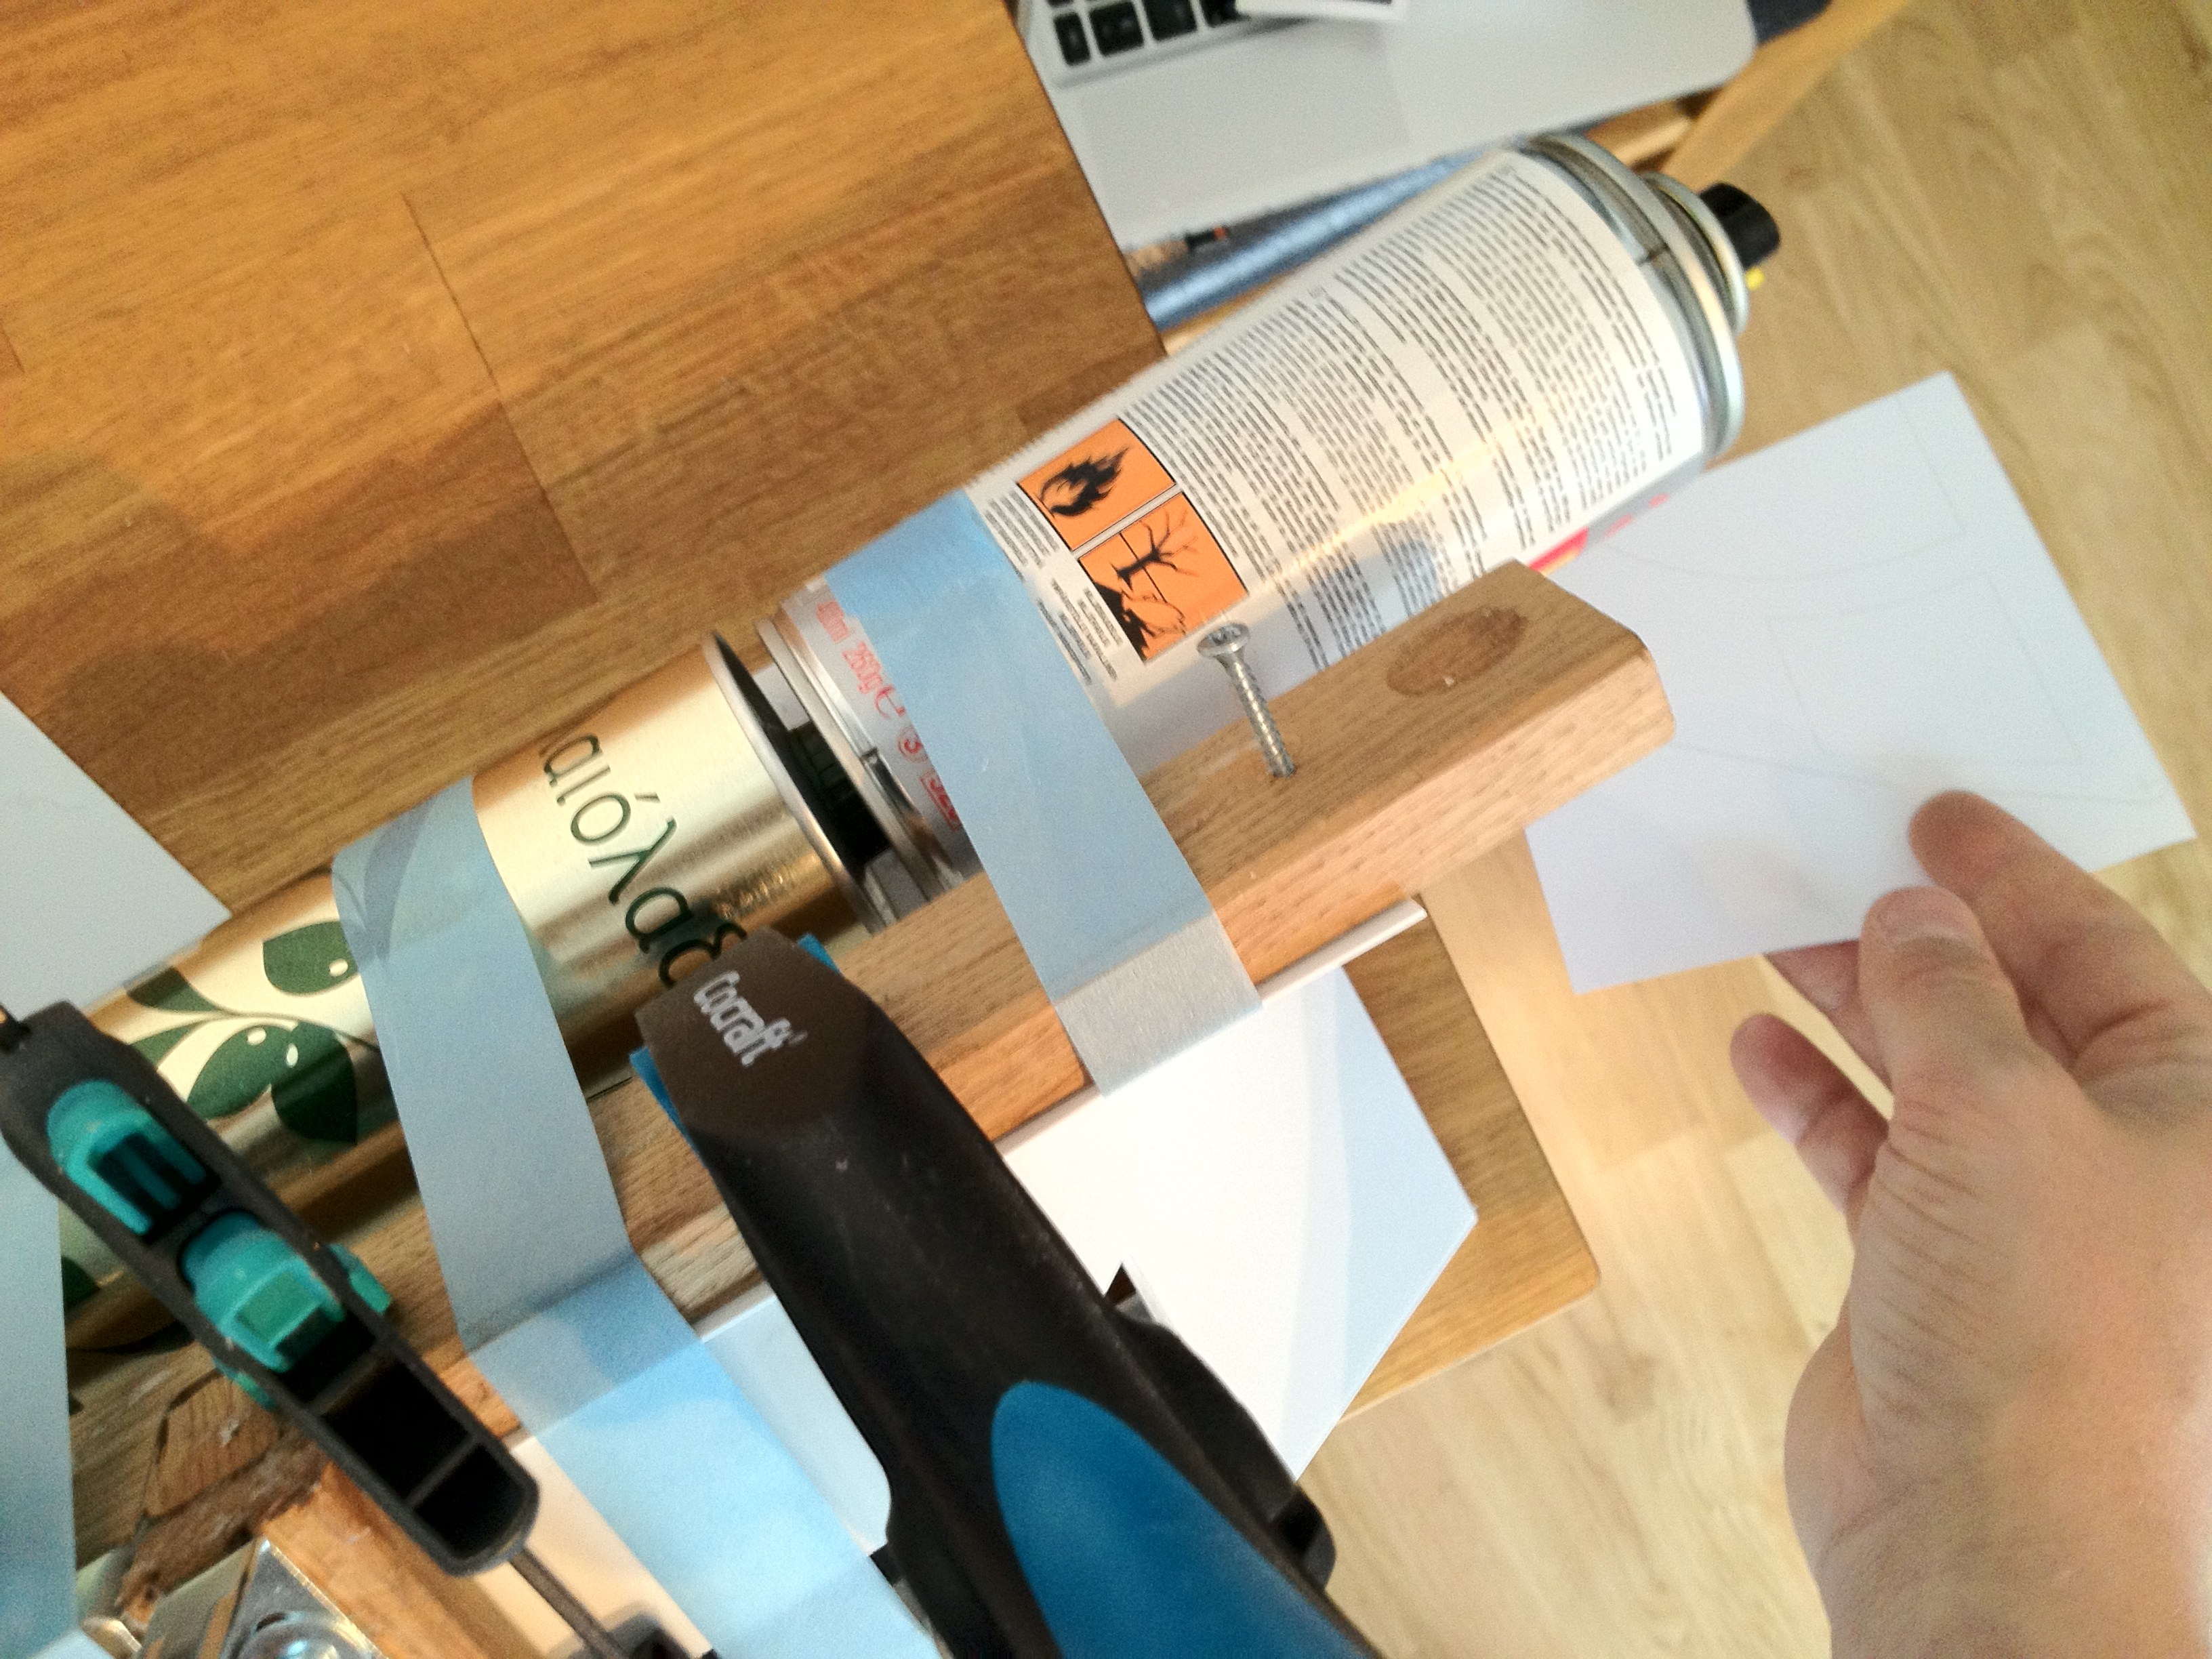
Yes, a can of spray glue and a bottle of greek olive oil was used to skin the foot shell, to get the proper curved face. Last time, I simply did this freehand, and using these can made my life a LOT easier!

It did however cause a new, interesting problem. In order of fasten the printouts on my other styrene pieces, I had to improvise, as I had taped the can of spray glue to my foot shell already..

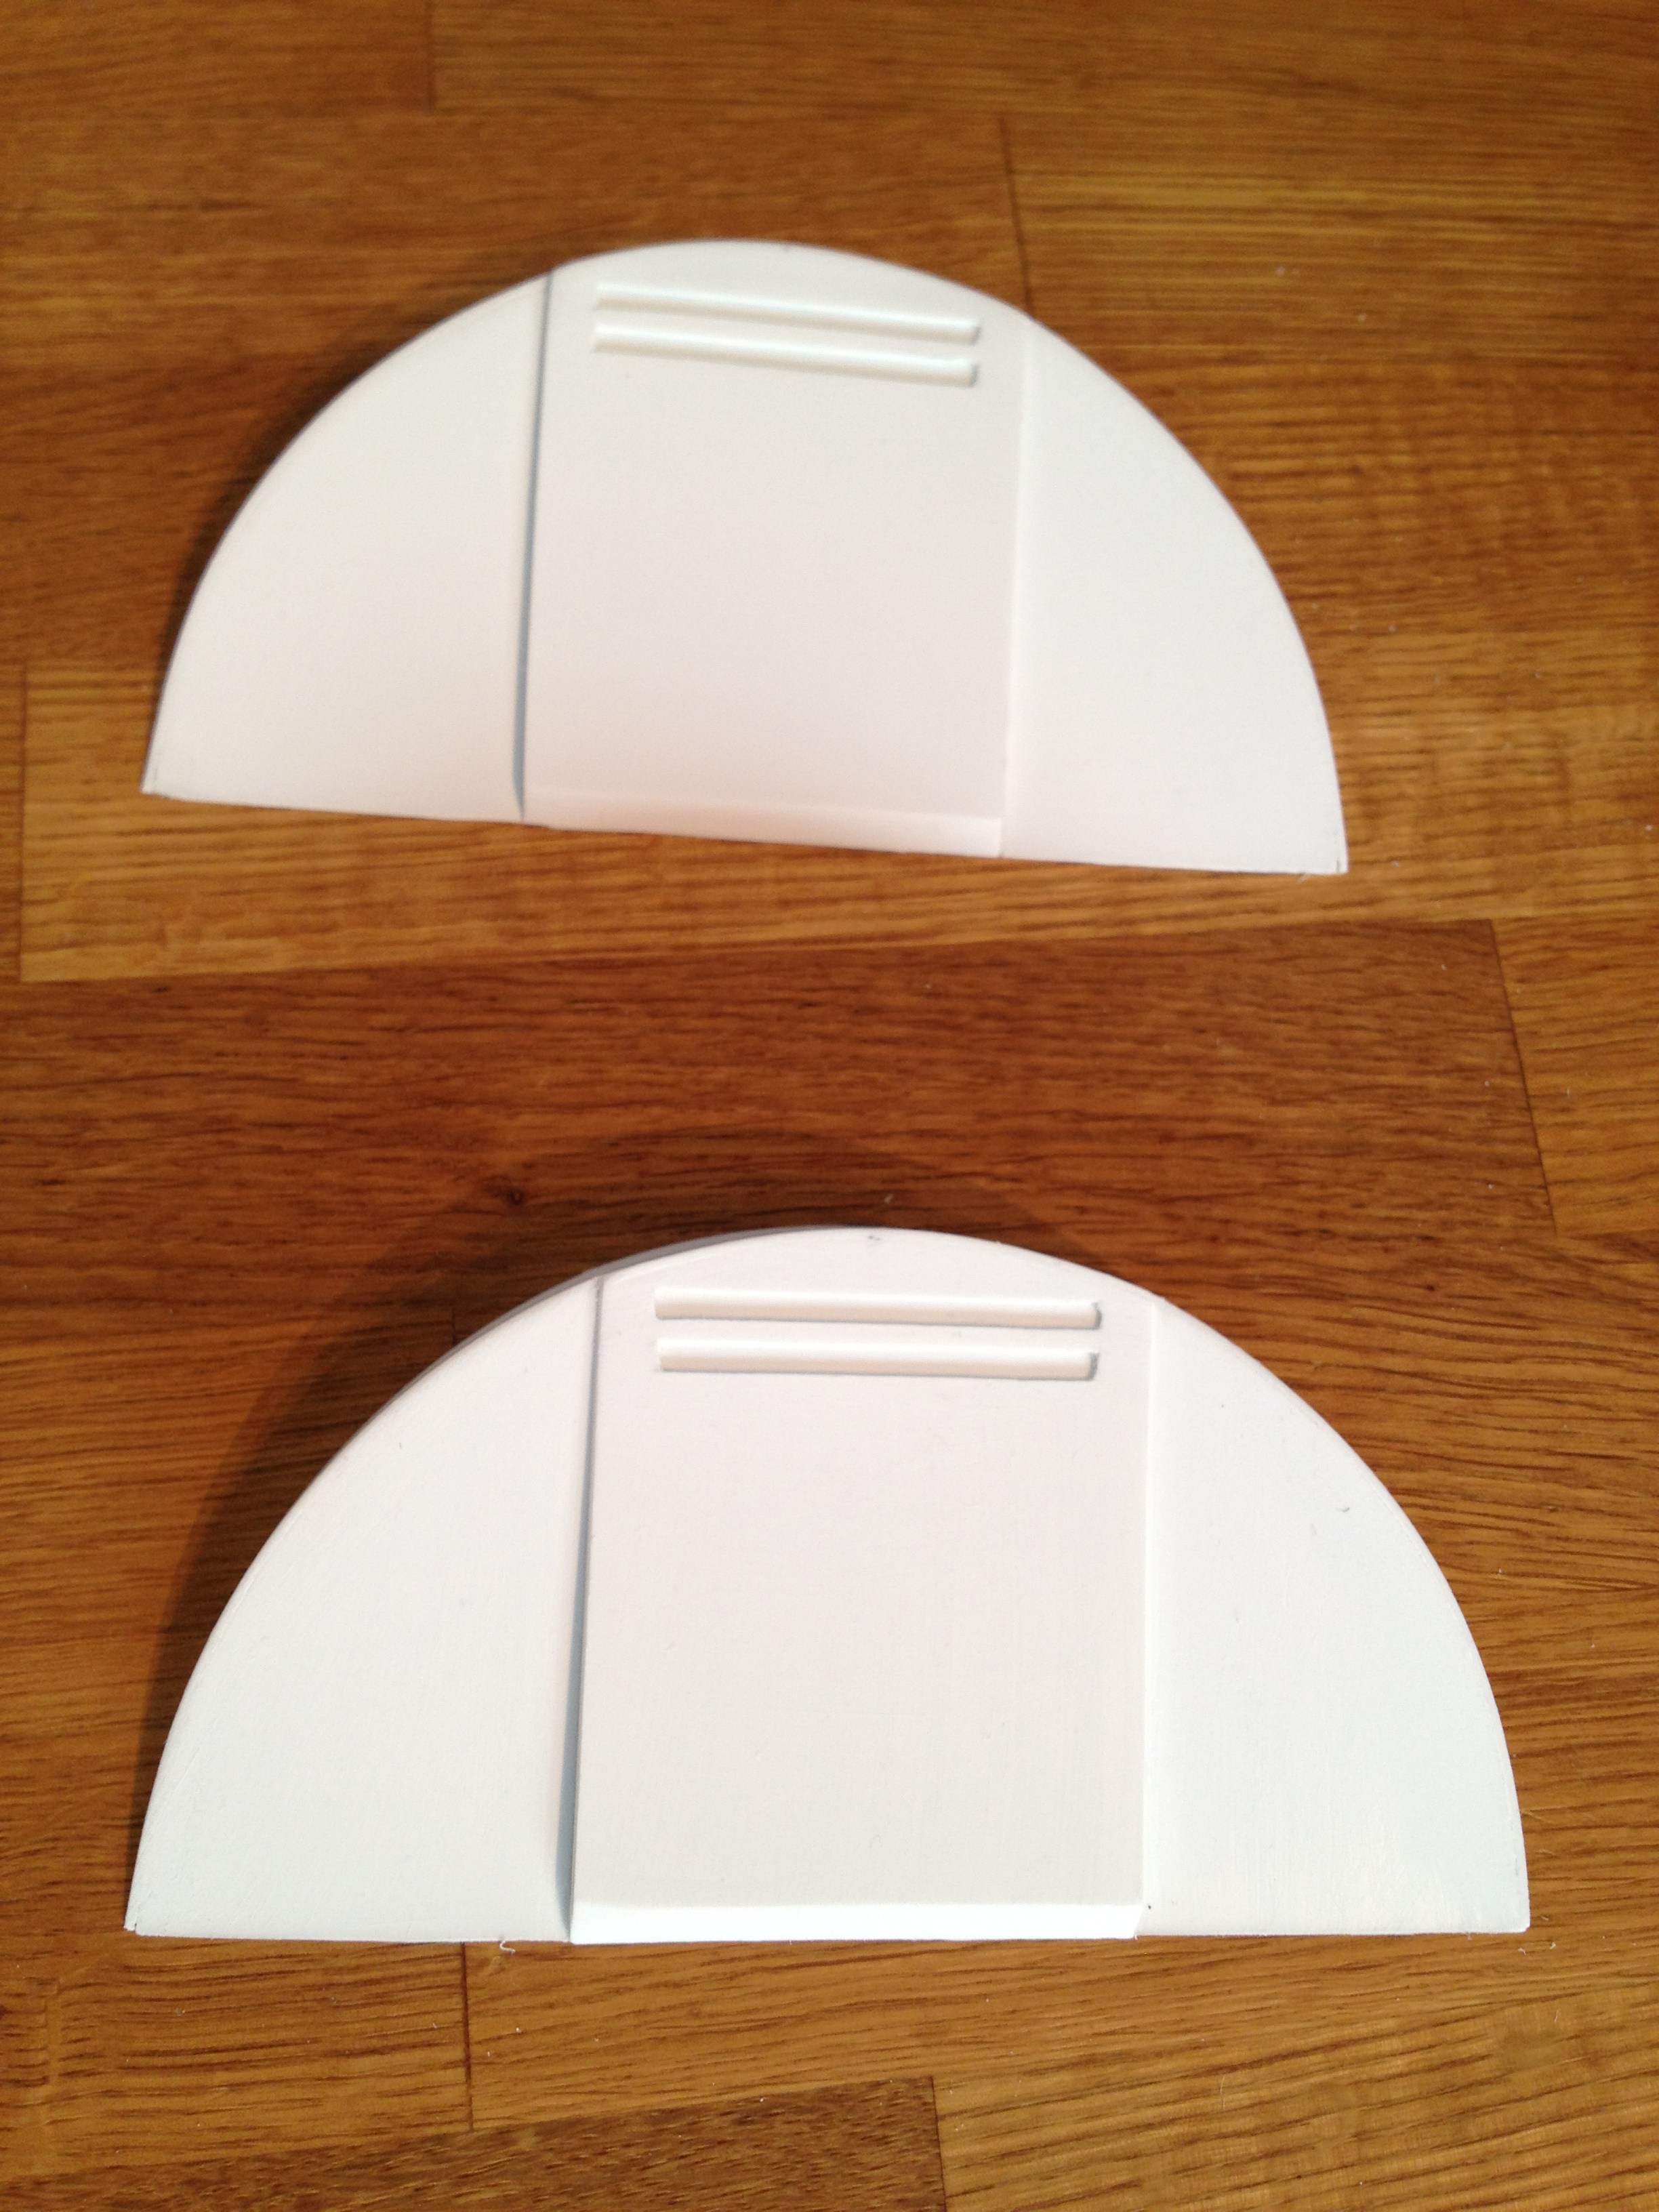
Here below are the detail pieces of the bottom of the foot shell.


Assembled and ready. Now on to the final pieces for the detail plate of the foot shell.

As the faithful reader you are, you may remember that I’ve already finished the half-moons a while back…

This means that it was a simple task of cutting the detail plate and the parts that goes on it –A fairly simple job!

Glued and ready…

Nice and clean when ready! =)

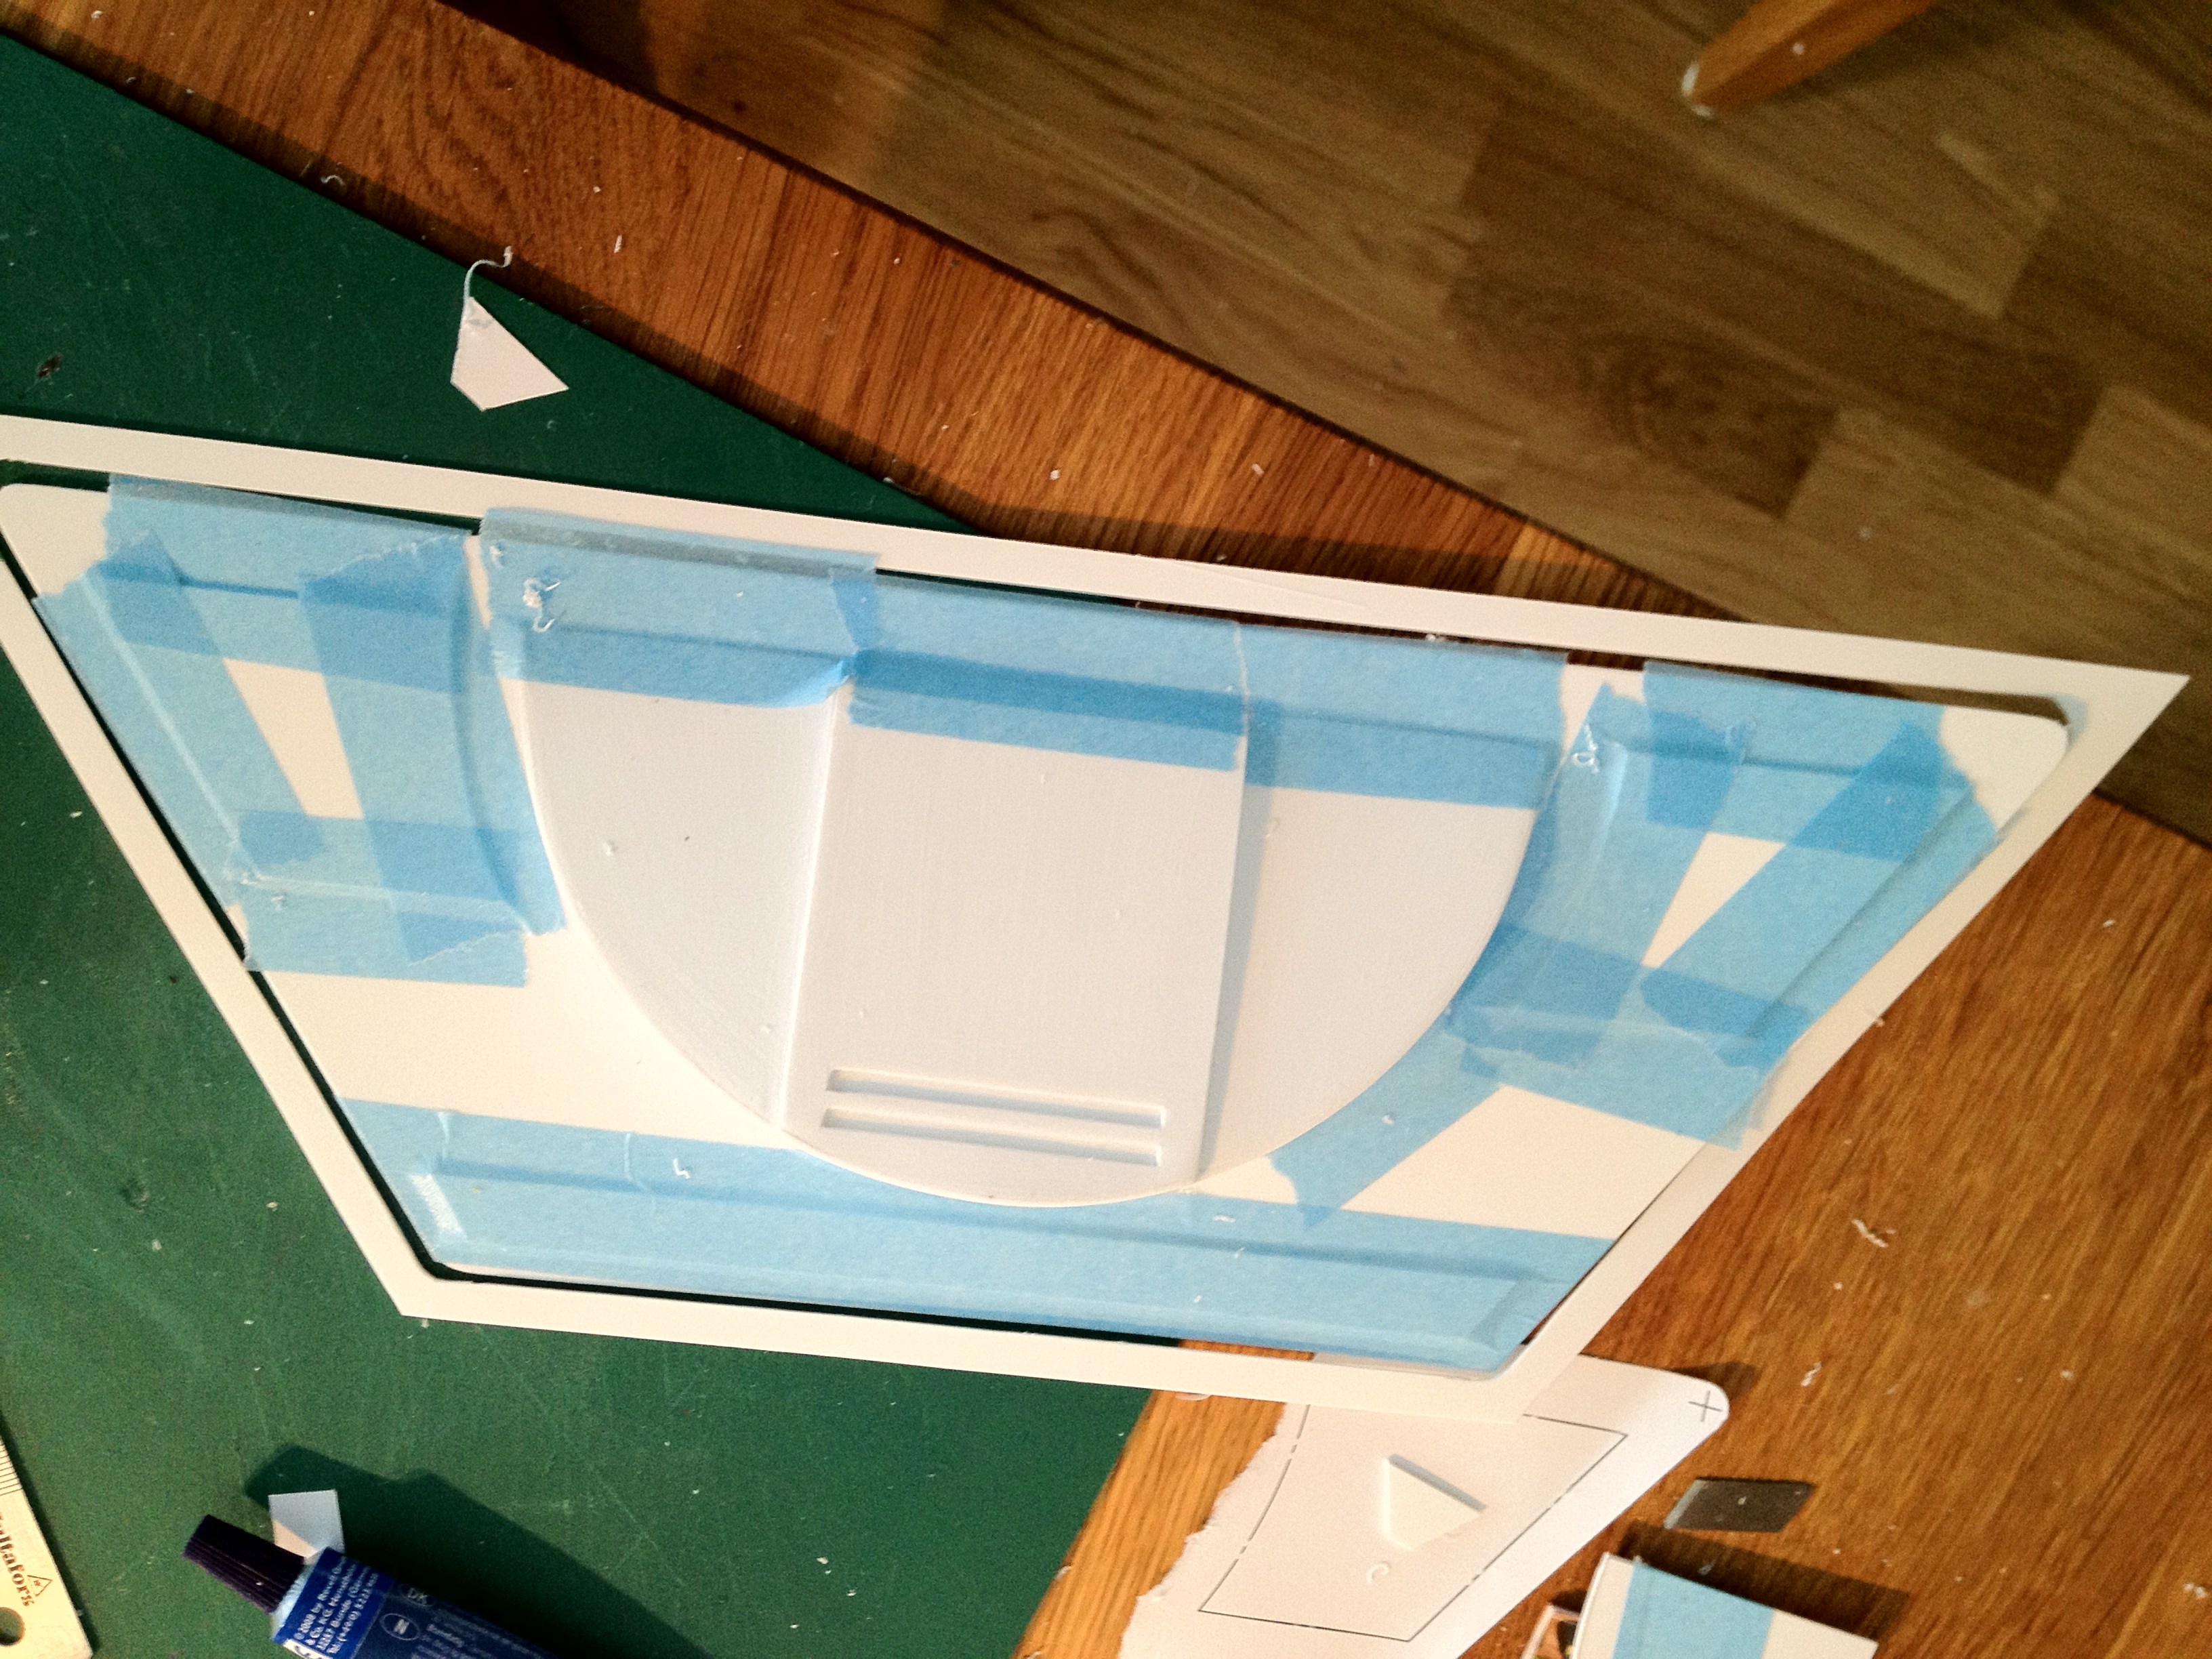
Next step is to glue the detail frame and plate onto the otherwise ready foot shell…

Looks pretty ok, even the curved piece looks pretty decent!

Last thing done for the day was to remove the tape and fill in the joints with Tamaiya Putty. This is done, and the foot shell is setting until tomorrow when it is time to sand most of it off, and get nice and clean seams!

Once this is sanded, only big construction thing left, is to finish off the second battery box, which in reality only means skinning it, and that’s done fairly quickly!

Then time to work on the dome for the next week and a half to get the dome presentable for the sci-fi convention in two weeks!


By |2016-12-06T00:01:38+01:00March 18th, 2012|R2-D2|Comments Off on Second foot shell..

Boxing Day!

After more bloodshed, I’ve continued my work on the battery boxes.

Firstly, I skinned the first one:

It took a little while, as I had to do it in stages. Once the styrene was wrapped around and fixed, I could cut open the openings and finalize the Battery Box:

Here’s the battery box screwed in to the main foot shell and also the motor holder. It will hold the foot shell and the box in place. The battery box will not contain any batteries, but merely serve as an extension for the motor to extend into, and also for the cables to have a bit of slack.

Note the large rim around the opening…

I dressed the lid of the battery box in 1mm styrene, and made the lid slightly larger, in order to get the box opening as smooth as possible.

Closing in the cables… The hole is tapped for M3 at the moment, and I think I will superglue a nut on the back of the inside holder in order for this to have better longevity, as styrene and M3-M4 tapping really exhausts itself quite easily.

Still needs a little bondo and sanding, but it closes pretty tight

Naturally, the screws will be countersunk as well, but I had no M3 screws with the right head for it at home!

Here’s a full view on the mounted battery box…

… and another one.

As you can see, the ribs inside the box are visible on the outside. Sanding + bondo will take that right out, and that’s a project for then it’s time to prep the box for painting!

I’ve also adjusted the position of the screws into the legs, as I realized that the legs were a tad shorter than the official measurements. They had simply slid too far into the ankle, and I placed a few styrene shims on the bottom of the ankle to fix this.

This means the legs are even! =)

As I cannot make the second battery box ready until I have the second foot shell, well .. there’s only one thing to do!

Get down to business!

While making this second foot shell, I’ve tried to avoid the mistakes I made on the first ones. So far, so good. I’ve made a whole new set of mistakes again!

Fortunately, I’ll be the only one who can spot them!

I’ve constructed this foot shell after the same model as the first one, but in a slightly different order, and it seems a lot more stable this time around.

I’ve also sealed up all seams in the foot shell with Tamaiya Putty, for stability. I’ve used a full tube of putty for this foot shell alone!

Here’s a half messy pic of the putty applied to the seams inside the foot.

Tomorrow is the job of adding the bottom details on the foot, and skin the sides. With any lucy, this foot is complete before the weekend!

However, I did spend a few hours on the dome as well.

Drilling, dremeling (and almost burning out my dremel copy, gotta get myself a proper one), sawing, bending and filing. First hole for the HP is done. It took a while!

At this moment, I cannot really say that I’m looking forward to cutting up the pie panels, the other two HP holes, the two PSI holes and the three Logic Displays.

Aluminum is a whole new material to work with, and a whole new array of mistakes to be made.

More blood has been shed…

//Micke

By |2016-12-06T00:01:40+01:00March 14th, 2012|R2-D2|Comments Off on Boxing Day!
Go to Top