aluminium

I’m so close to the finish, I can smell it!

So, these last days of core building is nearing its end.

More and more small fixes are taken care of, and the droid is getting more and more finished!

Construction wise, all that is left is filing 3 pieces of metal for the foot strips, building two end caps for my ankle cylinder, and dress those in aluminium tape!

After that’s done.. well . I need to file down my battery box harnesses a bit, glue them in place, and also glue in the under shoulder details at my left leg!

Once those small things are done.. construction of “phase 1” as Valisk_61 put it… is finished!

Naturally, I’ll need to weather the legs and skirt..

So: What has happened since last time then?
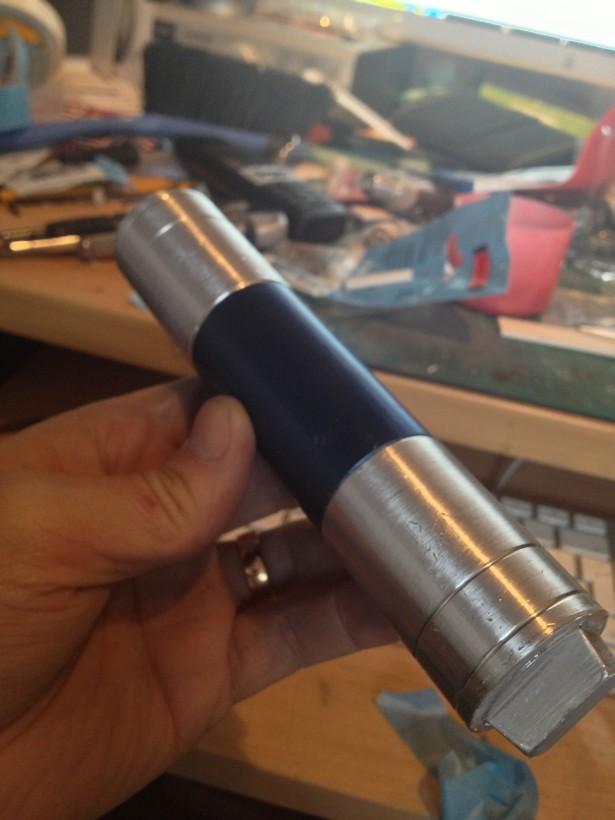
[box type=”info”] I can’t believe it’s not aluminium![/box]

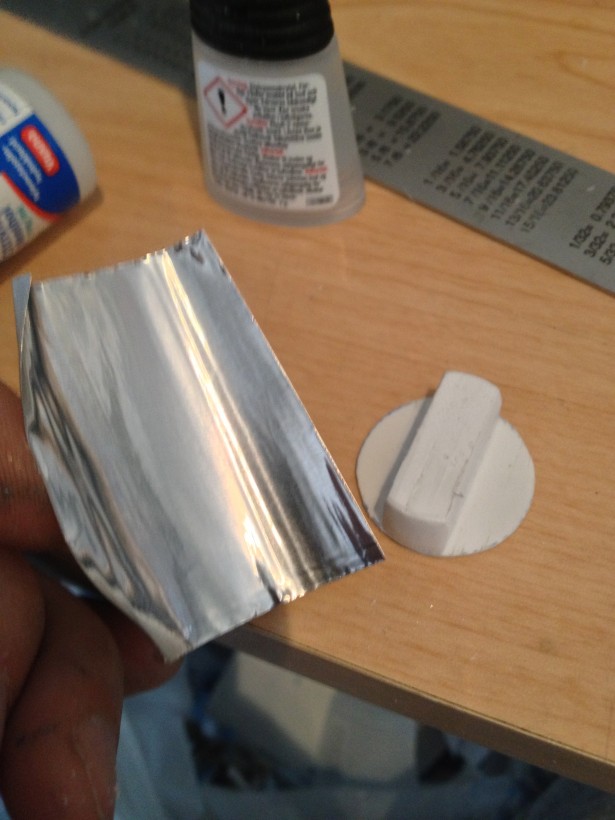
Wrapping aluminium tape around something, working hard with a glove (or you’ll cut yourself, I know) to smoothen it out, then finally sanding with 400 grit sand paper, gets you a pretty good looking solid aluminium look!

This is actually one of two resin ankle cylinders that I had, and these were used for my center foot, where they are so close that any minor discrepancy is a lot easier to notice! =)

Center foot construction is 100% complete!

I just need to add a bit of weathering to the cylinders and the wedges and it is a done deal!

The wedges are scratch built from styrene, if you wonder.

Here’s an example of one of my PVC/styrene ankle cylinders in action:

Looks fairly decent as well, I think!

My, after weathering the droid’s body and the center foot, the main foot and leg looks so plastic and fake without any grime! This cannot do!

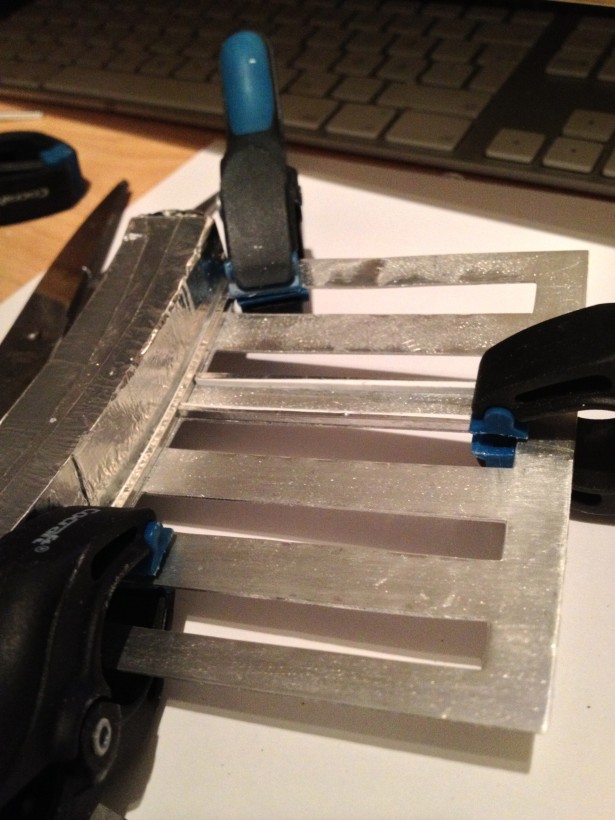
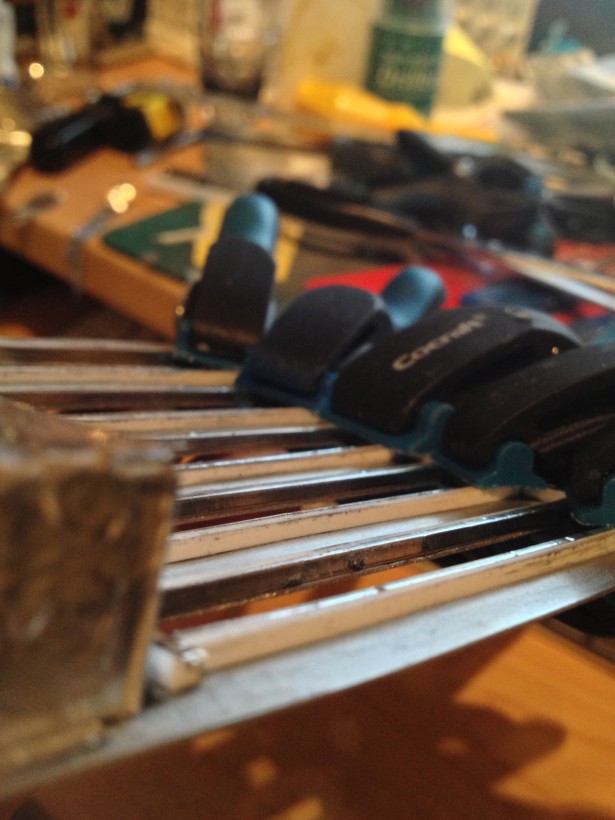
Foot strips are also on the way.. I got pre-cut 3mm aluminium strips from the Mighty Sigge
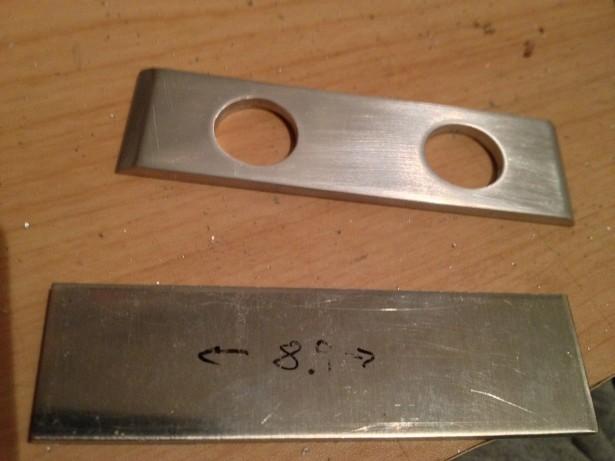
[tm] (Thank you, much obliged!) and started to drill and file and all. Once done, it looks like quite an improvement from what I started with, or what do you think?

It takes a little while, but end results are really good! =)

Once this was done, it was time to reattach the hoses..
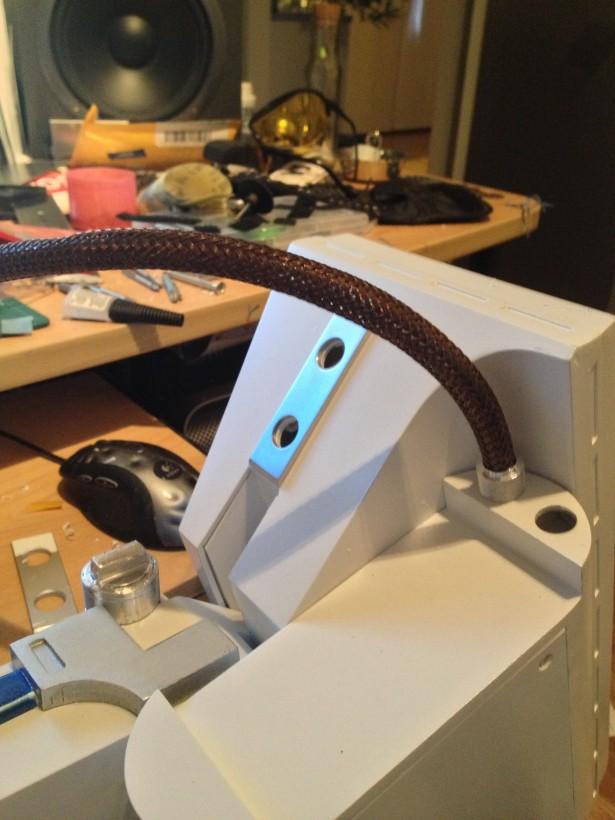
Now where do this one go? top or bottom hole, I can never remember..

There… All done!

There’s been more bits and pieces done today as well, small tidbits, painting of the second booster cover took place (Why don’t I paint them both at the same time to begin with?), built and painted the rest of the ankle wedges, mounted the ankle cylinders, the holders, well .. in fact, most things!

I did glue then ankle details in with E-6000. First I planned to use double stick tape for them, as it really seems to hold up well, but… why not. They’re not going to be removed anytime soon anyway =)

Stuff to do:

  • file 3 foot strips
  • attach foot strips
  • attach hoses on second foot
  • glue under shoulder details on second leg
  • weather both main legs
  • weather skirt
  • weather cylinders in main leg
  • double check wiring
  • charge battery
  • have fun!

So close.

SO close!
By |2016-12-06T00:00:47+01:00November 8th, 2012|R2-D2|Comments Off on I’m so close to the finish, I can smell it!

Last minute construction work

I was not all happy with my home made keyhole lock for my shims with my horseshoes. They never really kept them fully in place, and I had a hard time getting the shoulder hubs out!

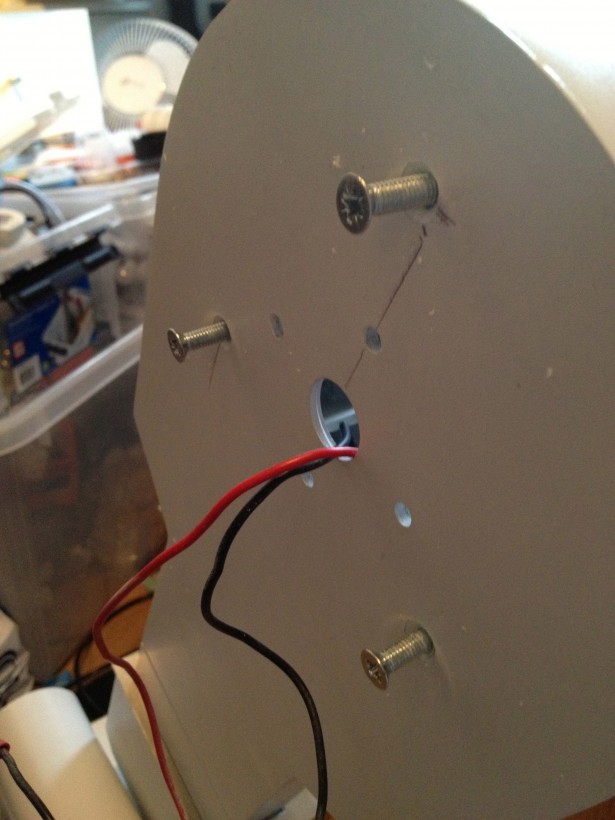
So, I decided to make use of the leg to body hub, which basically hides most of the back of the leg around the top, and drilled and tapped for M6.

Three bolts going all the way through the leg and in to the horseshoe on the other side should be enough!

The bottom screws go straight into the thickest part of my horseshows, so they are really held in place firmly!

When screwed in place, it firmly holds the horseshoes in place and makes it even possible to use them while carrying the droid!

Second Pocket Vent:

Another thing I had that needed to be done, was my last pocket vent.

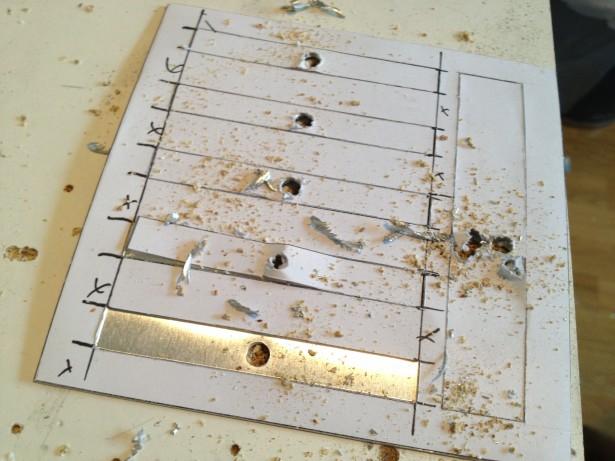
Again, I used my “can opener” technique described earlier when making this one.

Scoring the lines, then drilling holes in them

then using a pair of pliers and wiggling slightly before rotating the pliers and stripping the pieces off…

It makes the vent looking rather disastrous at first.. Oh my, can this really be saved?

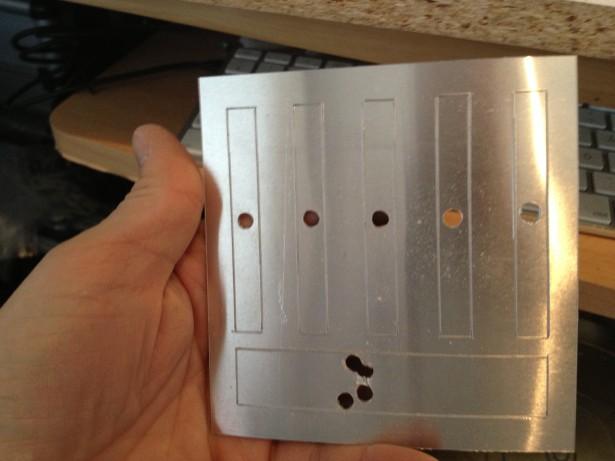
Next step is to flatten this, and I made it with placing my metal ruler on top of the vent, and banging with a plastic hammer. This takes care of most of the dents, but the secret lies really in the sanding!

After sanding with my detail sander, first with 40 grit, then 240 grit, it is a bit gritty still..

Still pretty rough. Fortunately, wet sanding is my friend! After spending a couple of minutes with 400 and 800 grit, this is the result. Please note that I still haven’t even picked up a file to remove any irregularities after the “can-opener” procedure..

A little bit of filing, and then time to add the ribs and the pocket area.

The first few ribs go on…

After all the ribs were in place, last thing left was to glue the painted back-end to the pocket vent, and glue it in place in the body! Last piece to go into the body! Woohoo!

Ankle Cylinder Endcaps:

After the pocket vent was done, I started working on a small detail piece. My ankle cylinders are lacking the end pieces, as I’ve made the cylinders from scratch, and detail work is always fun and never ends, so I decided to fix up two end pieces.

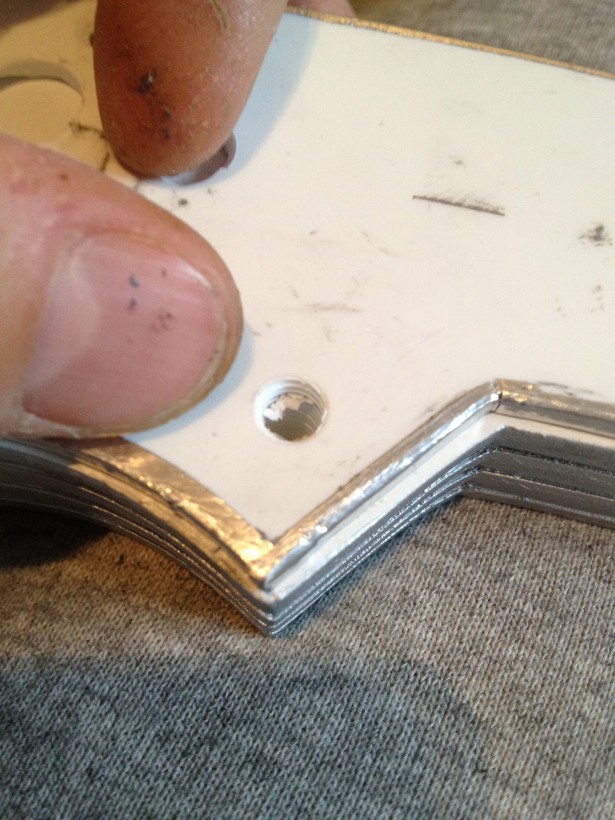
This end piece is made from three layers of 3mm styrene to make up the big piece. This is sanded down and glued on top of a 1mm styrene round piece that I cut around a bottle cap and sanded down earlier.

A quick test fit…

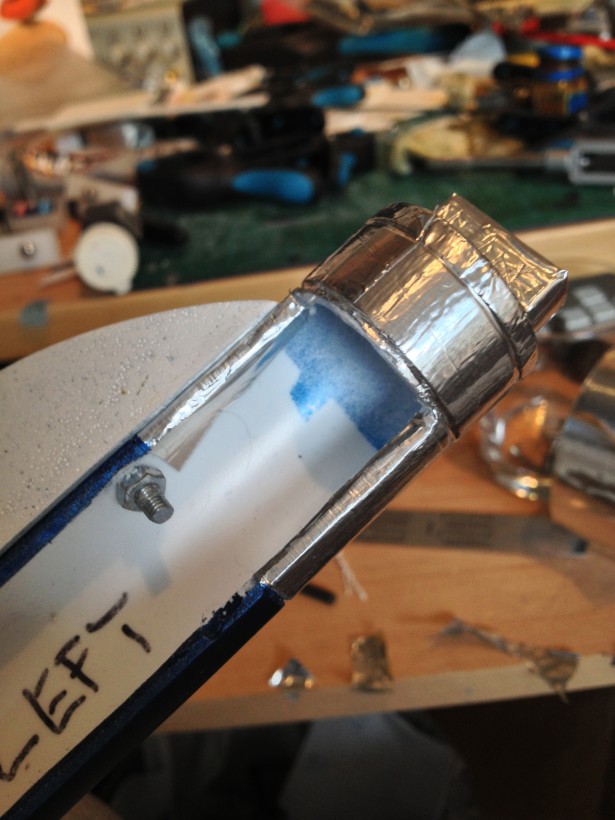
Two of these babies, and then time for the secret weapon: Aluminium tape!

Wrapping these is not all that easy, but the results are not too bad!

And in case you’re not sure I made them myself, check the back of the cylinder..

Last thing on the construction front was gluing the fina pocket vent and side vent in place, as well as securing the doors on the front. Once that was done, I masked up the front center vent and painted…

Enough for one post, stand by for the exciting sequel!


By |2016-12-06T00:00:51+01:00November 5th, 2012|R2-D2|Comments Off on Last minute construction work

Another quickie..

I realized that a post without pictures is not as fun as it may seem…

Following last night’s update, I have glued and screwed the metal housing to my shoulder hub in to place

The aluminium sheet has been stuck in place with E-6000 glue and screwed down in the ends. This should definitely hold! The seam is also on the least visible part of R2. You’d have to look straight up into R2’s arm pit to see the joint, and you’d only see two of the screws anyway.

Once this has set, I will need to adjust the right arm opening slightly to allow for the slightly larger hub to fit into the socket.

And I’ve also glued the skin almost all around the Battery Box.

See? Looks MUCH smoother and better than the first time around! I know where I went wrong. I was in a building frenzy and didn’t have the patience enough to take things slow, one small step at the time. I wanted to finish everything NOW NOW NOW!

So.. In the end that has caused me a lot of extra work, fixing up small things that I was not 100% happy with. Tis was one of them. Now, I’m starting to feel much happier about the battery box!

There are a few other small bits and pieces I may go back and look over one more time, but on the whole, this is really starting to look good!

My paint plan is as follows:

  • prime right leg
  • prime right foot shell
  • prime right horseshoe
  • prime right battery box
  • paint right leg
  • paint right foot shell
  • paint right horseshoe
  • paint right battery box
  • paint groove in right foot motor holder
  • paint ankle locks
  • touch up center foot detail plates
  • touch up center ankle
  • touch up back side of left leg
  • paint inside of long door
  • clear coat body
  • clear coat left foot shell
  • clear coat left battery box
  • clear coat left leg
  • clear coat center ankle
  • clear coat center foot
  • clear coat center foot detail plates
  • clear coat doors for body (4 of them)
  • clear coat ankle locks
  • clear coat ankle cylinder holders
  • clear coat right leg
  • clear coat right foot shell
  • clear coat right horseshoe
  • clear coat right battery box

This may look like much, but really, the clear coating is relatively quick, and the touch ups is just that.. A few sprays and it’s done!

Really, it is only one more leg to prime, sand, prime, bondo, paint white, let dry, sand, paint white again and finally wet sand!

That is the time consuming procedure when it comes to the paint job! It’s worth it, though!


By |2016-12-06T00:00:59+01:00November 1st, 2012|R2-D2|Comments Off on Another quickie..
Go to Top