aluminium

Fixing up the power couplers

For a while, I have been searching for a pair of aluminium power couplers to replace my old, resin ones!

After looking around for months and months, I bought a second had pair from Daren Murer, who made my lovely dome for my droid!

These were used and painted already, and used a different type of mounting that I had in mind, so I had a bit of work to do!

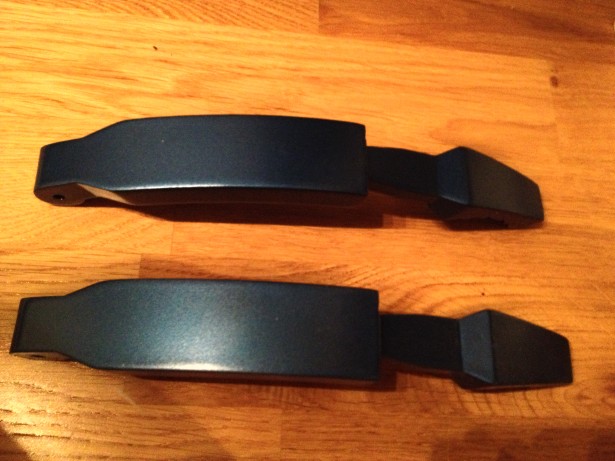
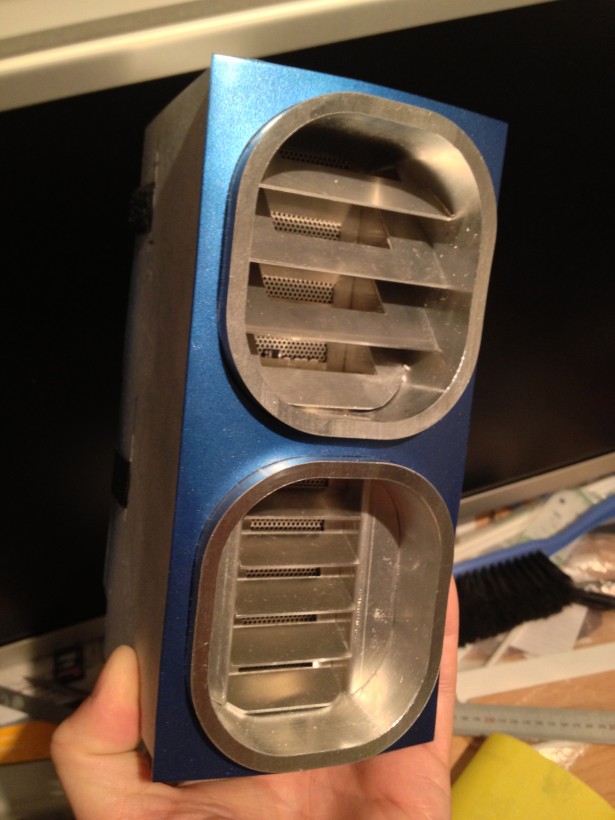
First off, This is what they looked like when I received them:

The paint is a bit thick for my taste, and the finishing on them is a bit scruffy looking, no doubt as a result of the weathering of the droid the were on before arriving at my place!

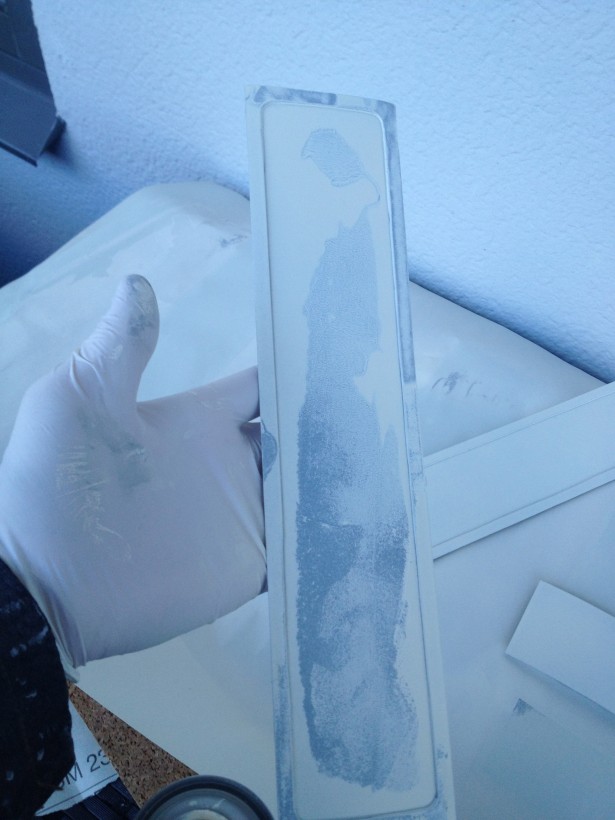
After cleaning it up a bit, it looks like this:

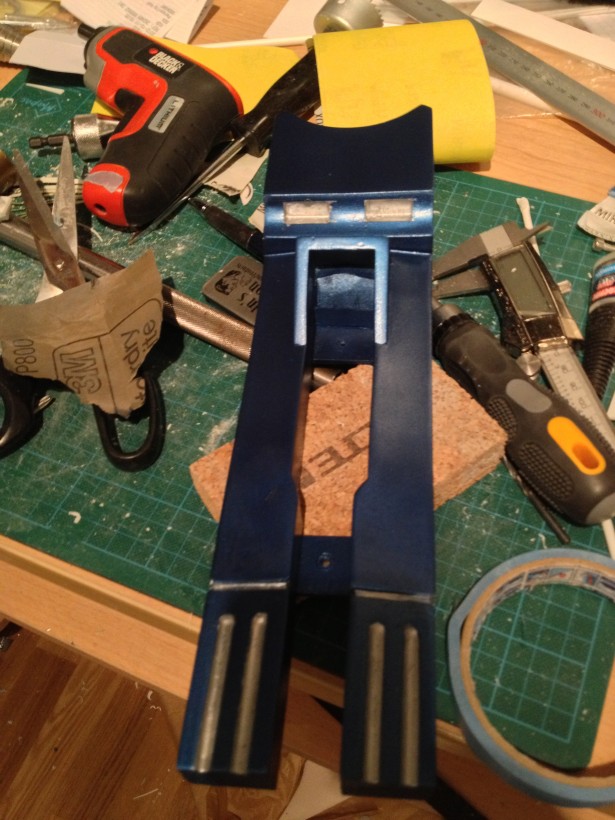
Next up is masking off the areas that should not be painted…

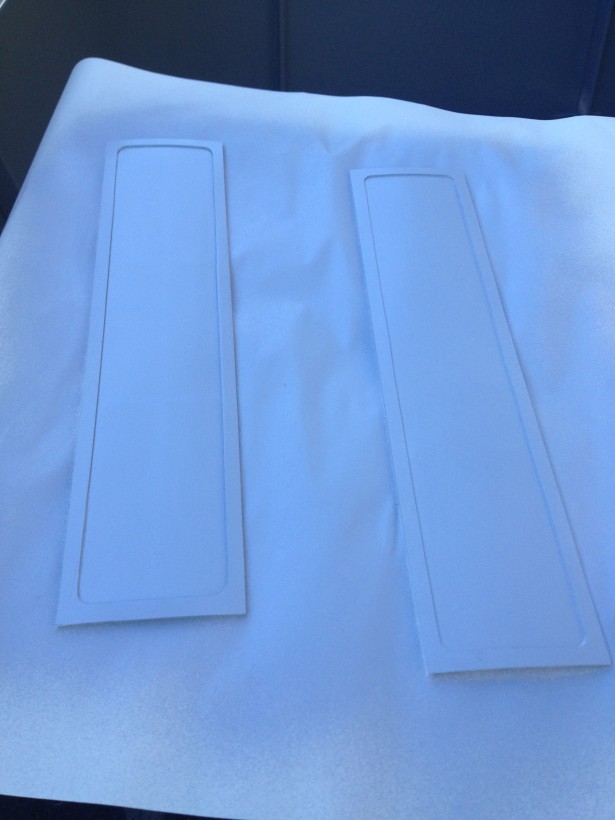
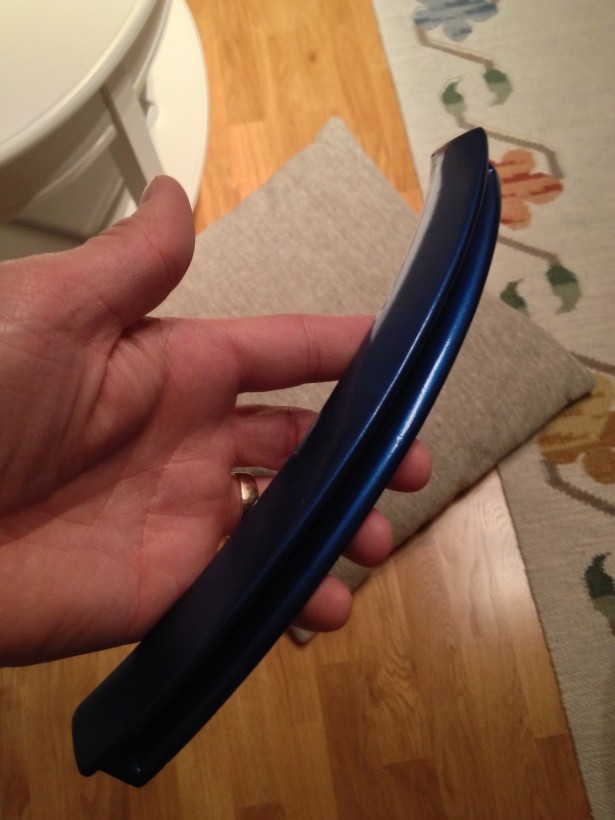
After painting the pieces, this is what it looks like!

Old one on the left, and the freshened up version with my own blue colour on the right

Now I’ve only got to fix up the second one. Mounting inside the frame is already fixed and tested! =)
By |2016-12-06T00:01:00+01:00October 28th, 2012|R2-D2|Comments Off on Fixing up the power couplers

A little bit of paint…

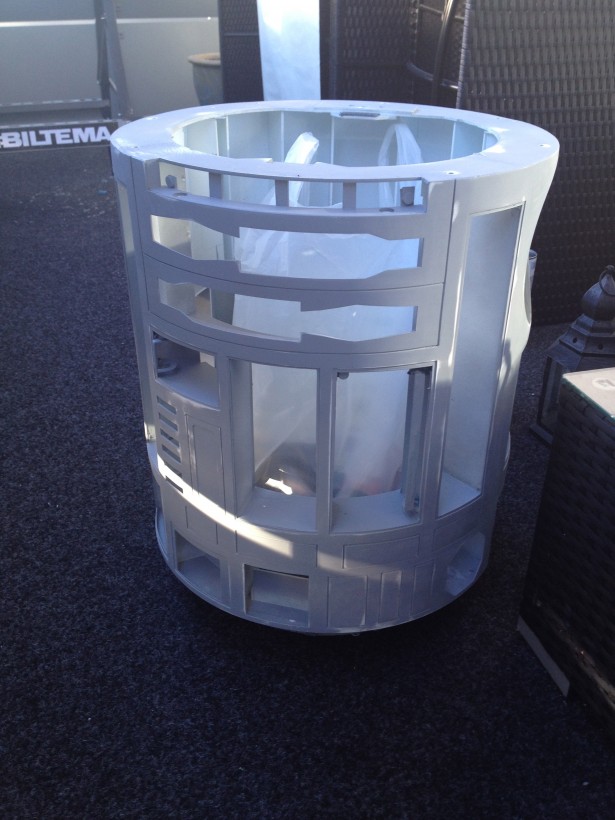
Over the weekend, in addition to flying all over the country and performing, I’ve been busy trying to get as much of my droid painted as possible!

I’ve learned a great deal, a lot of do’s and don’ts, and fallen into a number of pitfalls along the way!

But let’s start from the beginning!

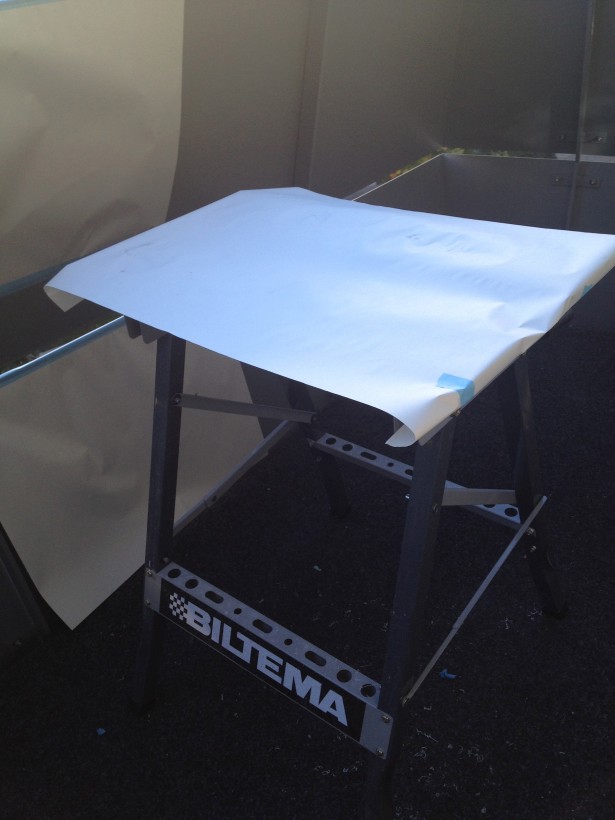
After finally realizing that I would need to paint the droid all myself, and most likely on my balcony, I trodded away to the store, got a cheap, foldable workbench and ordered some paint online!

This will do nicely to ge things off the floor and work comfortably!

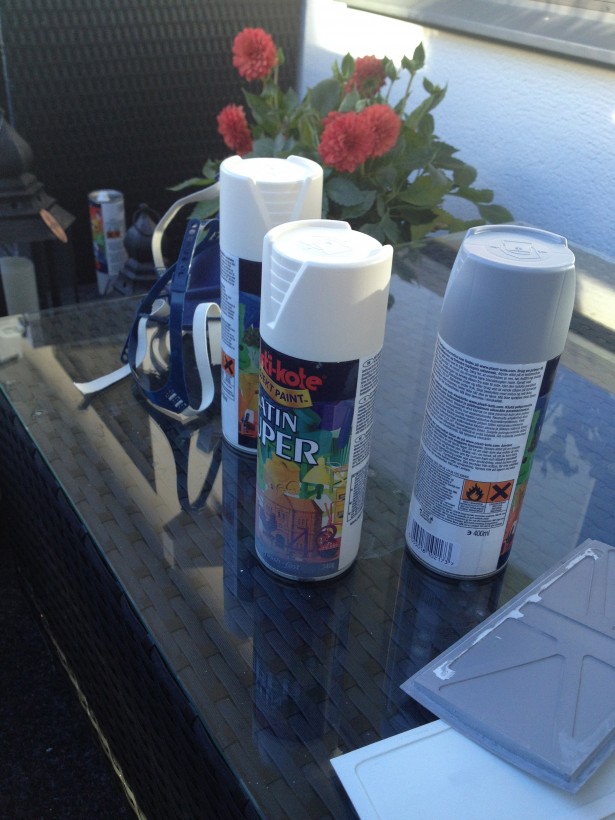
Part of the paints used. Also note the breathing mask. Definitely a must when working spray paint, even if you are outside!

I started off by sanding off the body with a 400 grit sand paper to get it nice and smooth. Then time to prime with my grey primer, and set off to dry over night. Next step is to sand the primer down to get it nice and smooth, I noticed a few places where I needed to add a bit of bondo, added that, then sanded off some more.

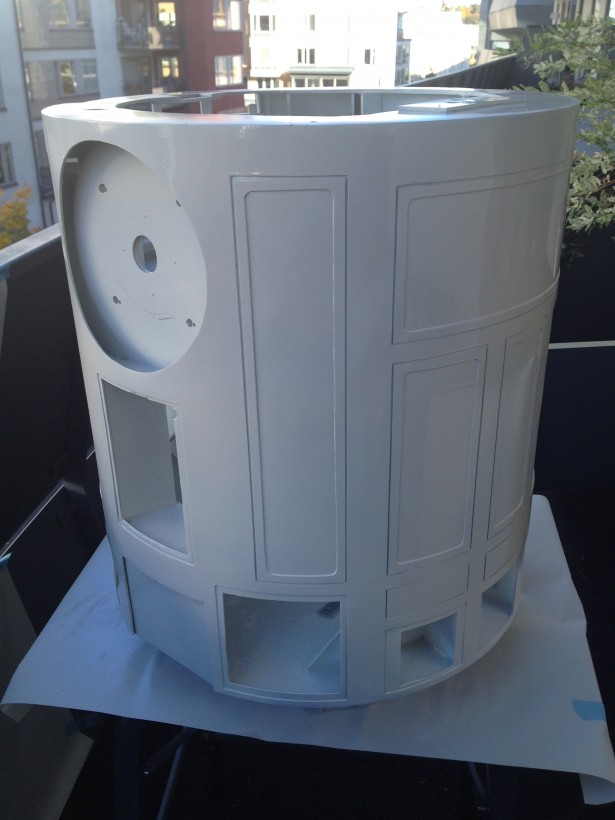
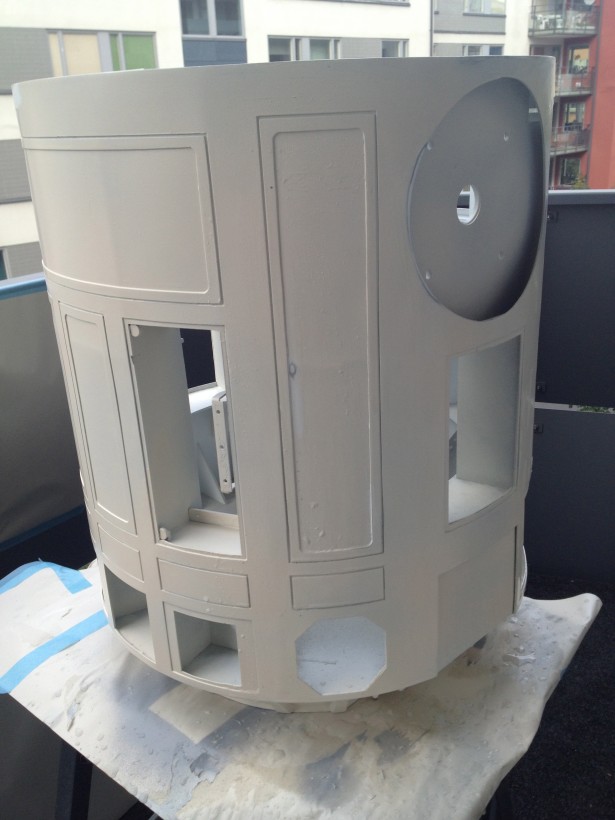
Once I was happy with the surface job, it was time to bring out the white cans. Not being very experienced in spray painting, Obviously I made a lot of mistakes along the way.

I think one thing was that I wanted the results to be done, so I didn’t spray in thin layers enough. One lesson learned was that if I apply thicker layers than just fine mists, not only can it (and did in some places) cause the paint to run, and you need to wait for that to dry and sand and paint all over again, but thicker layers takes exponentially longer to dry than thin layers!

Once the first layer was put on, the body was put aside to dry and I started working on the doors. Same thing there. Prime first, then dry before applying the white paint.

After the white paint was applied, I put the entire sheet with the doors to the side for drying… Another mistake. I used thin papers as “trays” when painting, which was good in itself, but I forgot to think about things like wind.. which resulted in flapping the paper over on to my freshly painted door, and … well .. this:

*ouch* More work. I needed to strip almost all that paint off, then start over. That takes time!

Day two started with wet sanding the body. I removed a few places where the paint had run, and generally scrubbed that droid nice and smooth, ready for just one more layer…

Once dried, disaster struck!

I added one more layer, but it seems that was a bit premature! I got crinkly paint… the orange peel, or cracking paint or whatever you want to call it!

My guess is that the aint was not dry enough after being outside over night (where it was probably a bit moist), and that caused the paint to crack up and peel.

After the sun had been on the balcony for a while, I’ve sanded off most of it, but I’m keeping it inside for tonight and won’t touch it until tomorrow night (earliest) where I need to do a little bit more of sanding, and finally one thin coat of paint on top of this.

Time for a break, as I had to fly down to Malmö to do a gig on saturday evening!

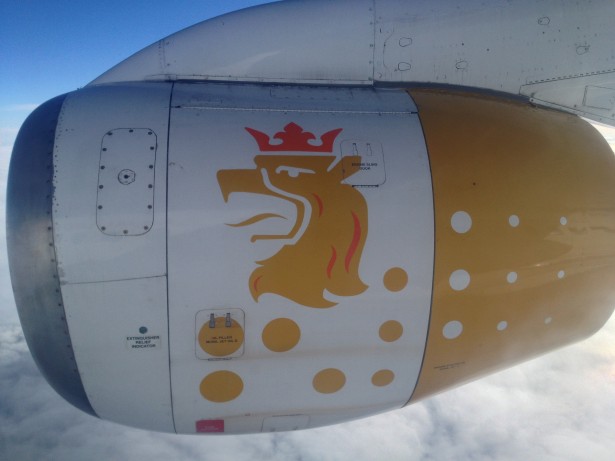
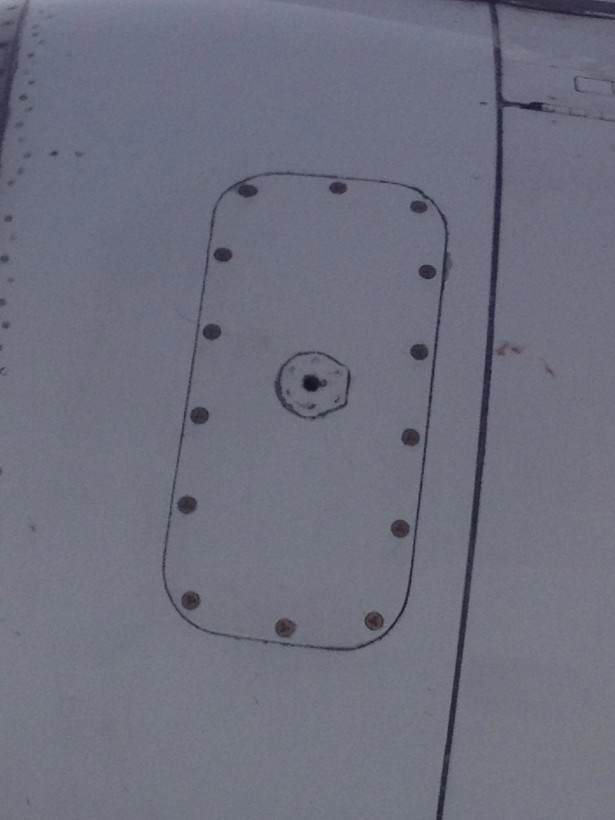
Coming back, I took a few pictures out the window to the white engine, to get some reference photos of real life weathering..

Fueled with this, I’ve continued my paint job with these additional items:

One of my styrene foot shells has been painted.. as well as

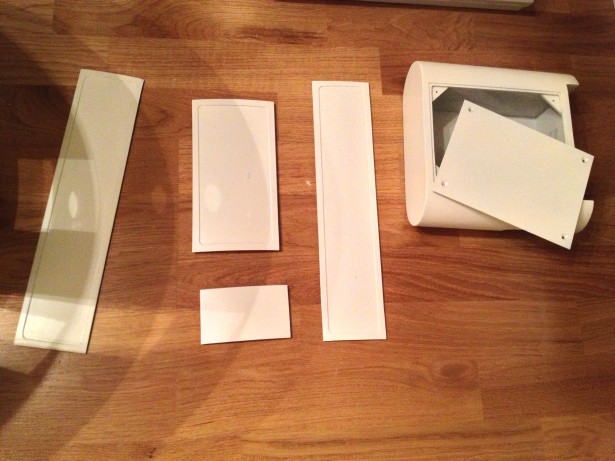
The doors for the body and one of the battery boxes… I need to redo one of the doors though. There is a spot right in the middle of the big one where one of the other doors had been accidentally fel on top of, and chipped the paint.. More sanding and repainting tomorrow.. *yay*

I did also paint my utility arms..

.. did a crappy job of doing one of my booster covers, will most likely redo this one tomorrow as I’m not happy with it at all.

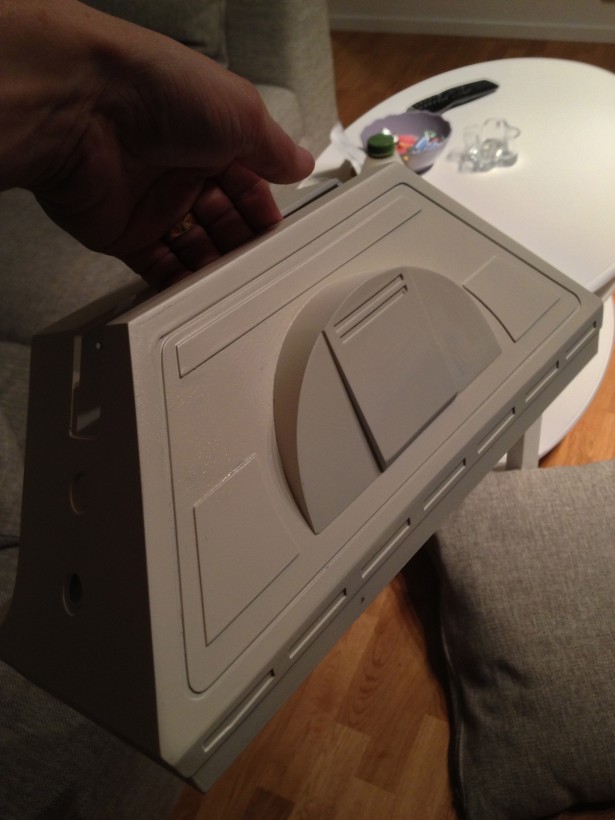
My new and improved LDP also happened to pass by under the can…

.. as well as my center vent holder…

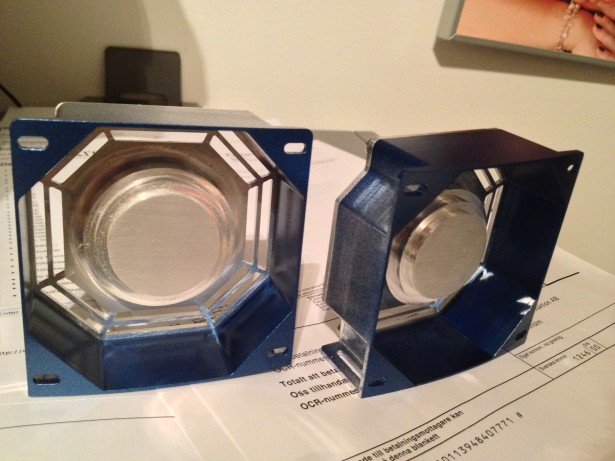
… my octagon ports…

.. and my coin slots and arm boxes!

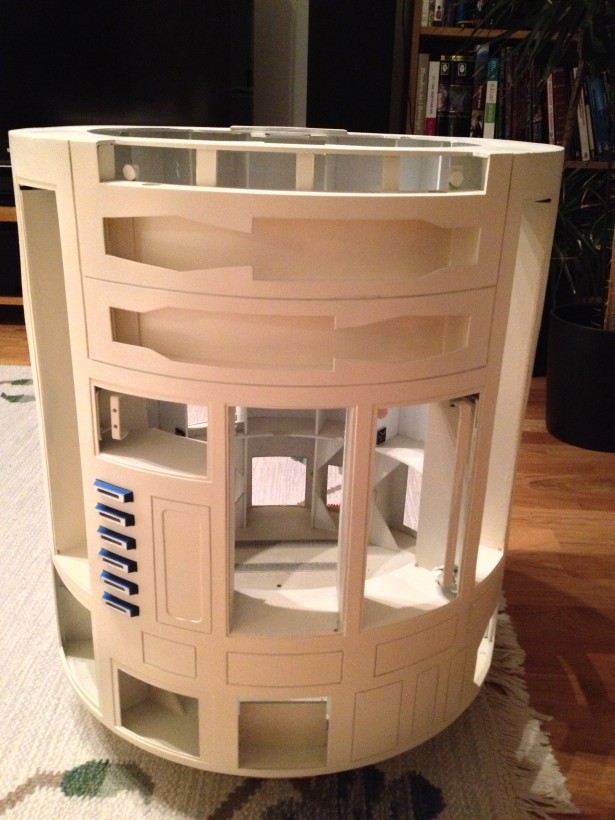
I had to test fit them, and I must say that it feels good seeing this. My R2 has been the colour of plastic for a long time now, and seeing it with the first coat of white on it, made the whole thing look so much more real! Now, I’ll just wait for the paint to dry properly before I do a little bit more sanding, touching up where it needs be, doing a gentle wet sand with 800 grit and finally adding some clear coat on the body!

I must say that I really like how the blue metallic colour that I’m using is looking when applied directly to the metal! Looks like I’ll be stripping away all paint on my aluminium panels before painting them with the current R2 blue of my choice!

I’ve gotten a lot done this weekend, and more to come! I’ve still got a little bit of styrene work to do on my other battery box, and I need to enlarge the leg hole for my power coupler on the right leg. I’ve got a few other small tweaks and ideas that I’m working on as well, but more on that later on!

Right now, it’s time to sleep! =)

By |2016-12-06T00:01:06+01:00October 14th, 2012|R2-D2|Comments Off on A little bit of paint…

Second side vent

First off:

Woohoo! I can has superglue!

The first side vent is therefor complete!

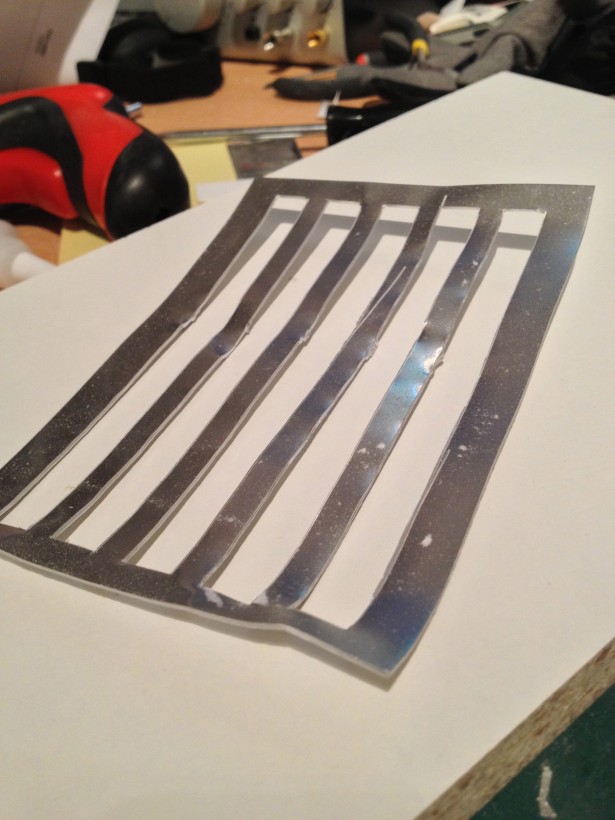
After trying out the “can opener” method on parts of the first vent, I decided to try this out fully on this second vent.

I drilled a large hole (10mm) in the middle of the parts that should be cut out from the second side vent. Just one hole per cutaway rib.

After that was done, I scored fairly deep with my breakblade knife, inserted my pliers in the big hole in the middle, and started rolling the pieces away, and they rolled off nicely!

Fairly good result after I’ve removed the pieces, too!

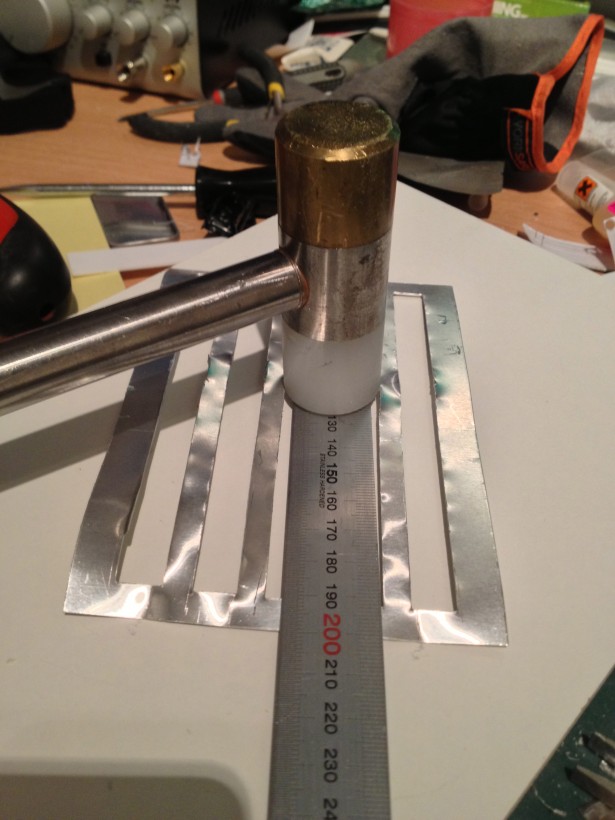
Since I didn’t drill in the edges, but merely score the short ends, these broke off nice and easily. Don’t worry about it being a bit crooked, I’ve got a solution for that!

My trusty stel ruler laid on top of the vent, and then bang onto the ruler with my plastic hammer, and that seems to work well.

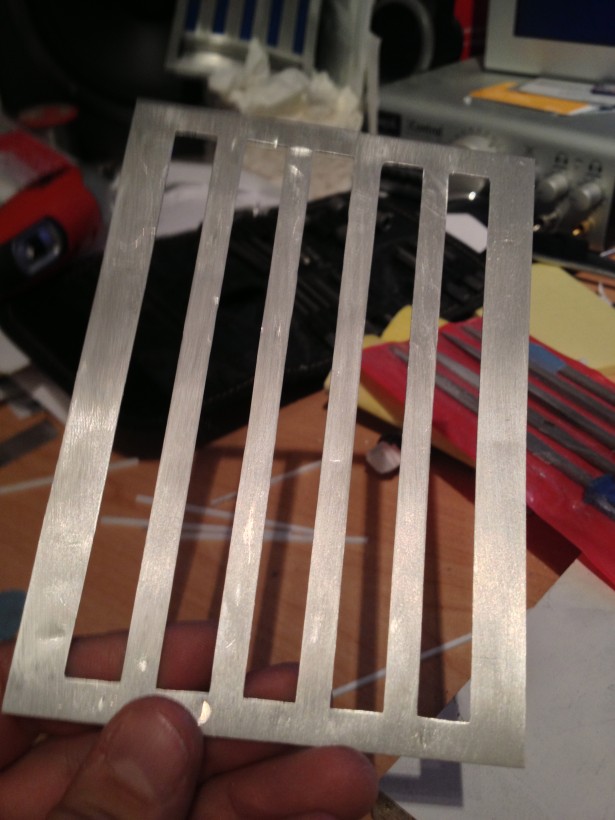
The last few dents was just taken out with my sander.

Not a bad result, and this was done with a minimum of filing, and the corners came out great!

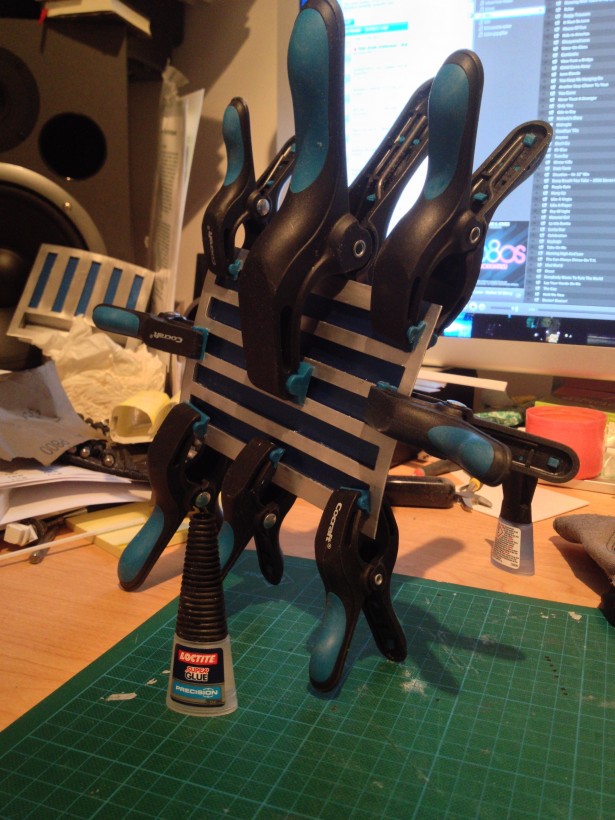
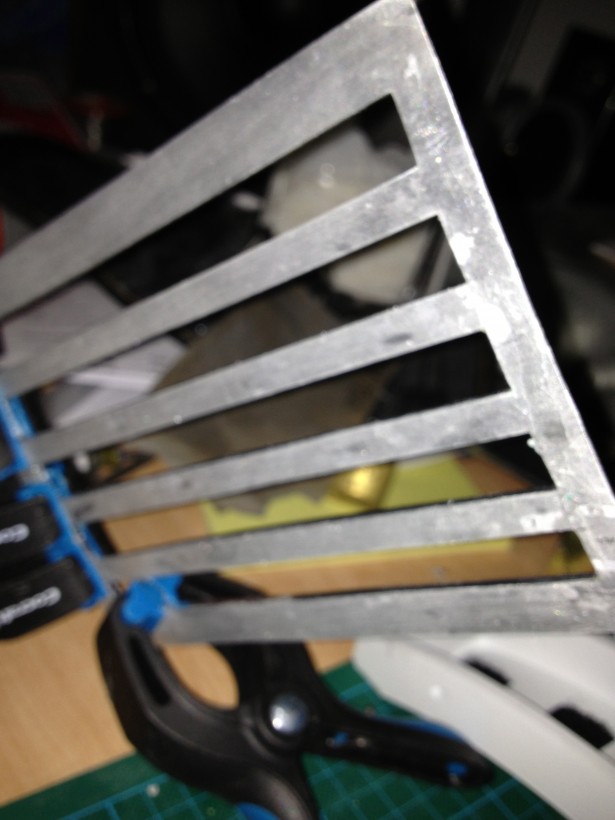
Now, it’s late at night, and I’ve finished glueing my 2mm aluminum clad styrene strips to the back. It’s left to set over night, and tomorrow I’ll paint and add the backing to this second side vent.

Three down, one to go.

Why was I worried about these aluminium vents to begin with? Once I found a method that I liked, it was really a breeze! =)


By |2016-12-06T00:01:10+01:00October 8th, 2012|R2-D2|Comments Off on Second side vent
Go to Top