Paintjob

Ghostbusters Project: Finalising the Booster

To continue where I left off yesterday, I continued the work on the Booster on my Ghostbusters Proton pack.

I took the raw 3d print, sanded off the biggest irregularities and then covered it heavily in spray filler. Once cured, it was time to sand it off again…

Two rounds of spray filler and sanding off until it was smooth, then time to start painting. The key to paint with spray colours is to build it up in thin layers and let them dry in between.

Once the paint was dry enough (it also dries a LOT faster when you apply it in small layers), it was time to clear coat the booster.

Once dry, it was time to mount on the proton pack. The mounting was done fairly easily and quickly. In reality, I should do a weld line around the booster, but as I am planning to replace this (possibly) with an aluminium tube at some point, I have opted to not do this just yet. We’ll see. If so I have the weld line to build up with epoxy resin, and also to do the “ugly weld” between the booster and the Ion arm.

So far, so good.

One of my pet peeves when it comes to 3d printing is that many people unfortunately do not put in the effort of making their prints smooth. Some people wishes to keep the 3d print lines as a statement, which is fine, but many prop makers don’t use the tool to its full potential: which in my world means to use the 3d printer to save time when building the core item, and the time saved in construction can be put into finishing instead. If used like this, and you use smart methods when doing the finish, you will save time overall and still have a prop that looks great!

Last piece to do on the outside of the pack: paint the motherboard, do the ugly weld and (possibly) the weld around the booster tube, then time for the dressing of the pack, adding labels, routing all the little cables and stuff that makes it look great.

There is still a LOT to be done on the inside of the pack, not to mention the thrower that I’ve barely started with. My plan for the thrower is to 3d print mounting panels to be placed on the inside of the thrower to hold the electronics in place.

By |2017-06-09T16:12:23+02:00June 9th, 2017|Building, Ghostbusters, Ghostbusters Proton Pack|Comments Off on Ghostbusters Project: Finalising the Booster

Ghostbusters Project: Building a Booster

One of the few items I have left on my pack is the booster tube.
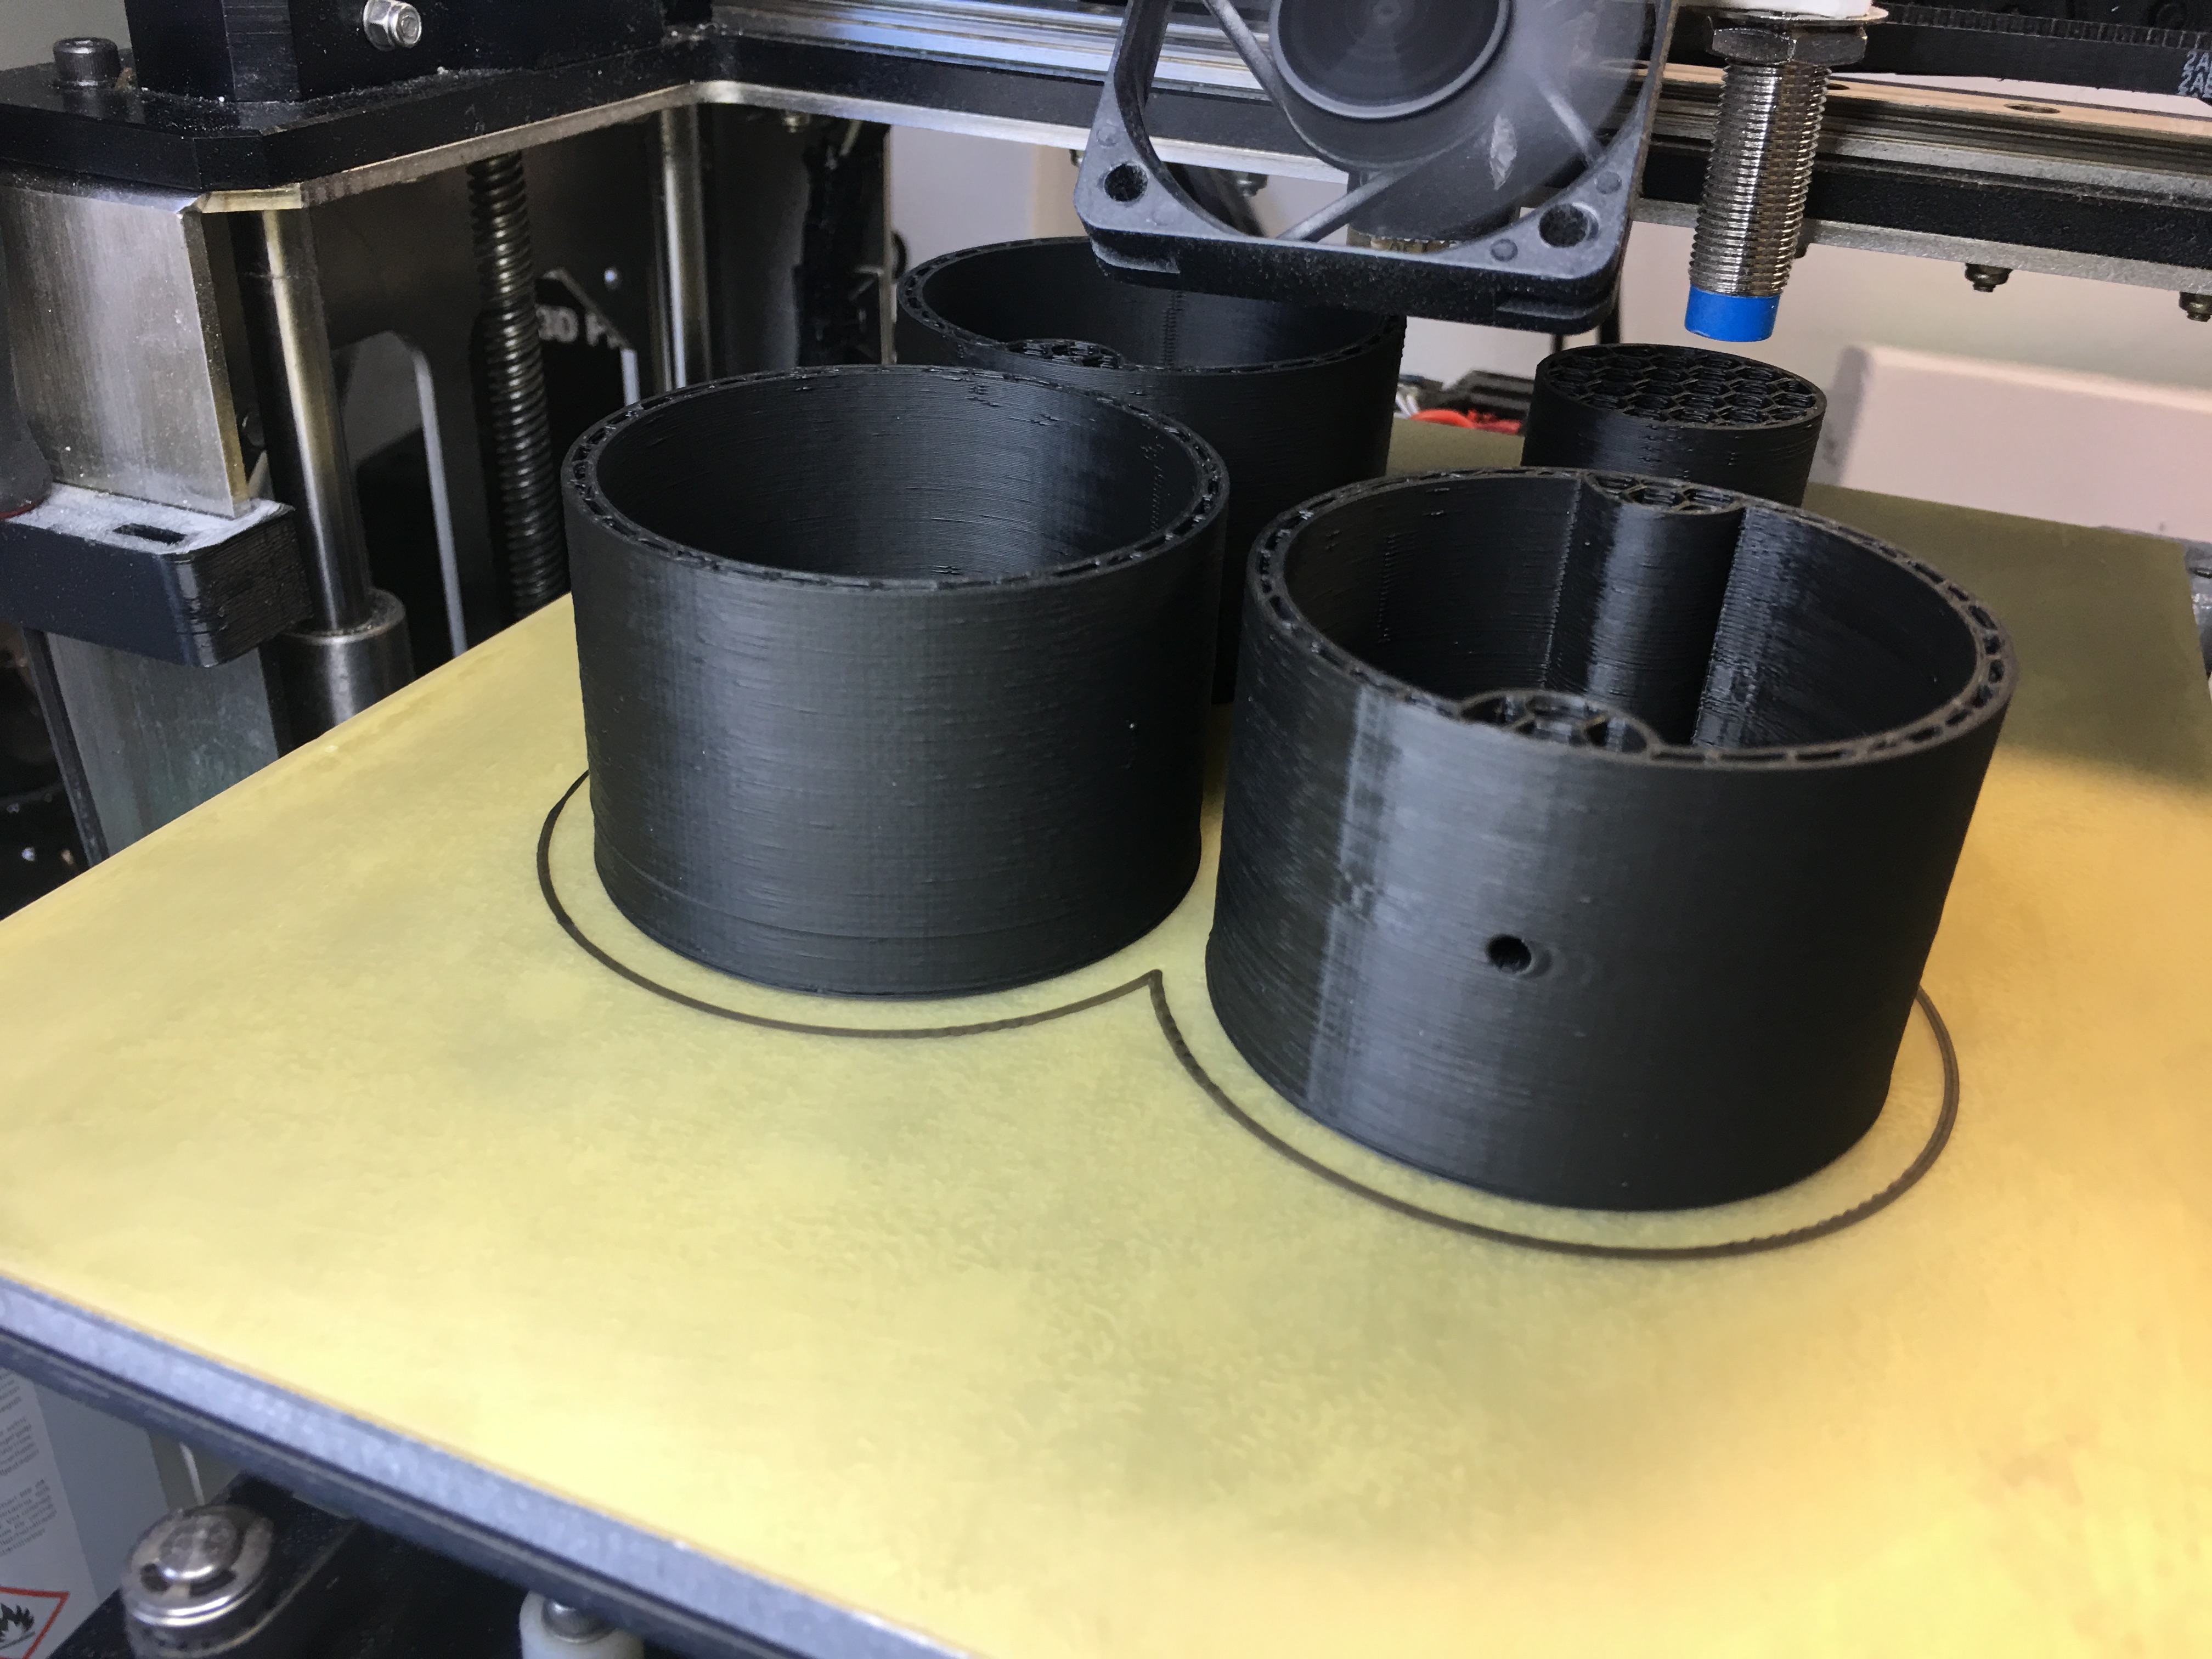
I sourced a few nearby stores for fitting tubes in PVC, but found none that were even near the proper diameter, so I decided to make my own. Let’s get that 3D printer to work!

Now, the print went over night and when I started it last night, I was tired and used the wrong settings, so it is all spotty and blobby, but the new one above is straight off the printer with no sanding using the correct settings!.

Here are all the parts:

The booster plug just fits inside the outermost part of the booster tube, and is fastened from the inside with an m3 bolt.

All parts of the tube are designed to be screwed together to help when gluing them. I use these brass inserts that I just head press into the plastic and i just love them!

They are simply pressed into the plastic with my soldering iron, so they are melted in place.

All three parts fit together, and all holes are already made into the design.

Apart from the annoying spots, this looks pretty ok!

Here is the new booster tube, printing as I write this, and will keep on printing for another 10 hours or so. It looks much better when printed with the correct settings!

Finally a few shots of the pack with all now painted and fastened parts, apart from the booster tube and frame, which are the last parts to be mounted on the pack.

By |2017-06-08T23:23:56+02:00June 8th, 2017|Building, Ghostbusters, Ghostbusters Proton Pack|Comments Off on Ghostbusters Project: Building a Booster

Ghostbusters Project: Attaching the N-filter

There comes a time in a build project where you just have to commit. To me, that day was today.

I had previously cut up the aluminium N-filter to match the curvature of the shell (fairly well), and today was the day when I decided to really fix it in to place.

I had decided, however, to add a smoke machine and some lightning inside this part, so I needed to make it accessible. The only way of doing this, would be to either have it bolted on somehow, or cut open the shell. I opted for the second option.

I marked the outline of the n-filter with a marker (on to painters tape, as I had already painted the bulk of the shell, I then went on with drawing a line offset 5-6 mm inside the outline, and used this as an outline for the hole I was going to cut up.
I didn’t want to just start cutting with my dremel as I have had “accidents” with the cutting wheel before, so I opted for something more safe. Drilling holes. A lot of them

Once I had drilled holes all around, and in some places, used my power drill as a mill, this is what I was left with. A big gaping ugly hole. It did however proved ample access from the inside:

In comes the rotary tool with a sanding extension to clean the jagged edges up nicely. I did touch up some of the cutouts on my N-filter as well, as I had moved it slightly from the originally planed position.

In order to fasten the metal N-filter to the fibre glass shell, I used a two-component epoxy putty. The drawback of this, is that it is fairly fast curing, so I didn’t have time to pause for pictures while doing this.

I first rolled a long snake of the putty once I’ve worked the hardener into the material, and pushed right inside the outline of where the N-filter would go, and then pushed the N-filter (hard) in to place, squishing the putty down. I then removed excess material, and worked up a new bunch of epoxy putty, making snakes again, and this time pushed in the material in the joint between the fibre glass shell and the aluminium filter. Using the wooden end of a fine paintbrush, rubber gloves and pure isopropanol, I smoothed the edges out and cleaned off excess material.

The isopropanol I have in my workspace is fairly strong, 99.5%, so in addition to the gently rubbing to smooth the putty out, I removed some paint at the same time.

After I was happy with the putty (it took me 3 rounds of adding and smoothing), I let it sit for 10 minutes (I did say it was fast curing) and then gently painted over the joint with normal black paint.

I figured that if the filter was attached to the cyclotron, which was texturized, and welded in place, the paint which was added would not have been texturized. It turned out just great.

Here’s a picture from the inside:

I have since reinforced the joint slightly from the inside, and removed excess putty with an exacto knife. Next session, I will grind the opening inside to perfectly match the N-filter, then reinforce some more, and start working on the drop-in insert that I am building for the light and smoke machine.

As a final teaser, here are some of the things that dropped in the past week:

The crank knob is the real thing. Just the wrong colour. Will need to trade or paint it. We’ll see.

By |2017-05-02T09:01:03+02:00May 2nd, 2017|Building, Costuming, Ghostbusters, Ghostbusters Proton Pack|Comments Off on Ghostbusters Project: Attaching the N-filter
Go to Top