Building one item at the time...

BB-8 Progress

Last time I left you hanging right after I’ve sanded and added Tamaiya Putty to my dome.

After I got back from a bit of well deserved vacation, it was time to (in very little time) try and get this as finished as I could in just a day to exhibit on the upcoming Science Fiction convention in Uppsala here in Sweden.

While being away on vacation, I got a nice package from my friend Michael Erwin in the US, who sent me a custom made lens for the holo projector for BB-8.

This.. looks MUCH better!

IMG_8514


A little bit of sanding and just a touch of glue to keep it in place for now, and this part is done! I still need to find a good dark grey paint and change the main colour, but the part itself is done!

Next up was the dome. I knew I still had a few small blemishes here and there, and the joint between the dome thirds is not 100%, but I wanted to show something BB-8-ish at the convention, so off to the back yard and start painting!

IMG_8518

A bit of filler primer, and it looks a lot smoother all of a sudden.

Normally this is where I would wait for this to cure properly and then sand it down to basically nothing, but no time to waste!

As soon as the surface was dry, It was time to hit it with my Satin White!

IMG_8519

Not having enough time to wait for the paint to cure properly, next up was clear coating. Naturally I ended up with a little too much and it got a little runny in one spot. Fortunately, I managed to fix this pretty well, but even so, I am still going to sand this dome after a bit of putty on a few places, and then repaint it.

Next up was the Radar Eye.

IMG_8522

It does have a bit of texture from the print still, and I could fix this with a bit of filler primer, but to be honest, I like the extra texture. It gives a bit of depth to the overall look.

Even though I printed the Radar Eye insert at 0.05 mm layer height, and no sanding was done, as it looked just perfect in black ABS, I did still cover it with a thin coat of black paint, and subsequent clear coat.

IMG_8520

It just looks better and better. Can’t wait to put this all together!

Waiting for the pieces to dry, it was time to focus on other tasks. Making a lens for the PSI is one of those things.

The PSI lens should be small and round and sort of see thru, but milky white. A bit of clear acrylic will have to do!

IMG_8525

Away with the covering plastic and start cutting out the circle.

IMG_8526

Basically I cut a basic circle with my cutters. This was neither round nor pretty, but some thick sand paper and some patience solved this nicely.

Once sanded, I brought out some 600 grit sand paper and sanded the fronts and backs of the lens as well to give it a nice, milky, see through look.

IMG_8524

Yes, it was really a rough sort of roundish piece that has been sanded by hand to this shape. Honestly!

Time to do the Radar Eye lens!

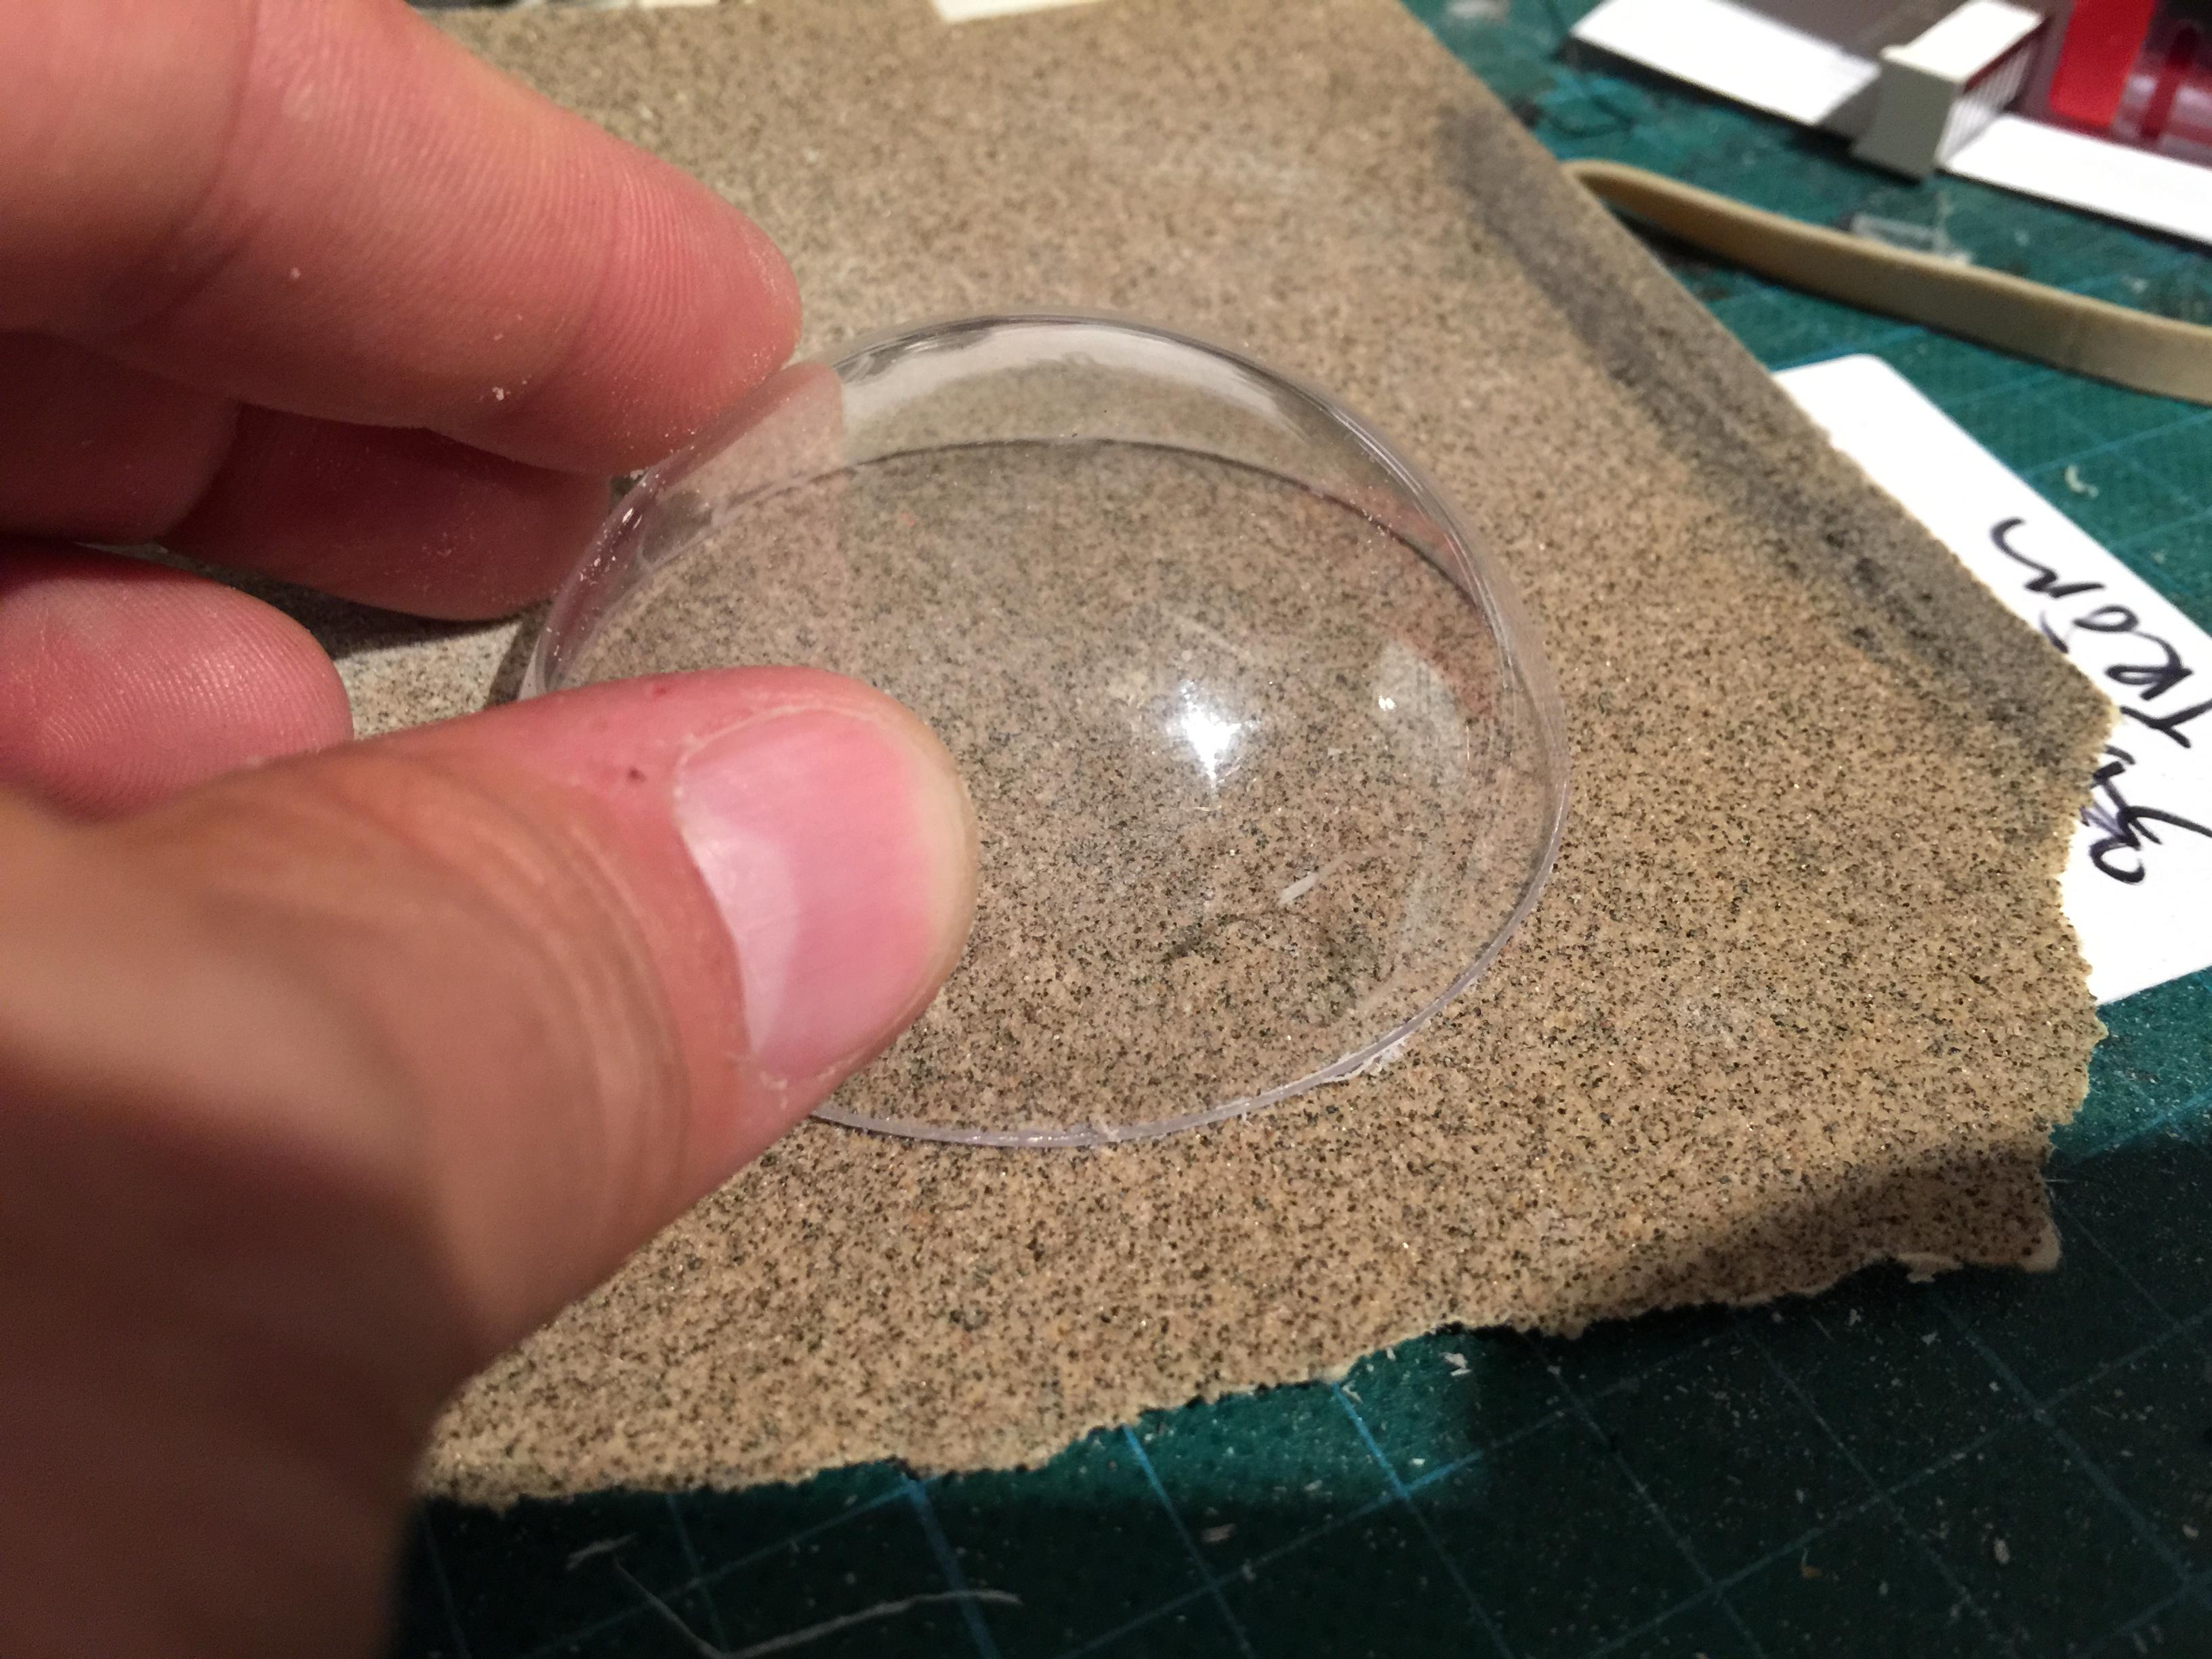
Having ordered a couple clear acrylic 70 mm hemispheres (to allow for failure), I set up a blade from a break blade knife on a small pad of paper and clamped it all down real good. I then pushed the hemisphere down and against the blade white rotating it as I went along.

After the first attempt I found the proper height from the pad, and did it all over again, a bit more careful this time as well.

IMG_8544

Once I had cut through, I sanded off any rough edges through sanding on a flat sandpaper that was on my desk.

IMG_8545

Next up: I had a couple of red LED’s lying at home, and I carefully pushed them into the small portion of the Radar Eye insert, and put shrink hose on the legs and routed the legs through the Radar Eye housing.

A small 3 volt battery hooked up (actually, taped) to the LED and it gives us … this!

IMG_8540

It really gives a 2001 vibe, doesn’t it ?

I’m sorry Dave. I can’t do that…

Time to put it all together…

PSI insert was treated with a bit of silver rub and buff (after looking at pictures since, I realize this was a mistake, but I will fix that when things calm down a bit..

The Radar Eye was pushed in to the opening, same with the holo projector.

I actually glued the housing of a LED flash light on the back, so all I need to do in order to get it to lit up, is solder a few cables and attach a battery!

No time to fix the dome ring or the dome skirt for now. They area bit crooked, but I will print them over again at a later point.

Anyway, this is the result. Starting to really look as it should!

IMG_8530IMG_8528

IMG_8538


By |2016-12-06T00:00:06+01:00September 13th, 2015|BB-8|Comments Off on BB-8 Progress

3D printing for charity

A little while ago, I became aware of an organization called Enabling the Future.

They focus on bringing 3D printed prosthetics to children in need of a prosthetic hand at a fraction of what this would normal cost.

The hands are simple, but allow for someone without fingers to grab something with the prosthetic hand by simply bending the wrist!

As soon as I found out about this, I immediately signed up and started printing a hand within a few days.


IMG_7659


This is what it looked like on the print plate.. granted not much at that point, but when the pieces were assembled together, you could really see the shape and how it was supposed to work.

Ingenious stuff, and since I’ve signed up, I am awaiting my first assignment to provide a hand for a specific kid, measured to fit on this kids hand….

IMG_7661

Amazing. It only takes a couple of hours, but can make a huge difference in someones life to print one of these.

If you have a 3D printer, I would suggest you sign up as well!

By |2016-12-06T00:00:08+01:00September 12th, 2015|3D Printing|Comments Off on 3D printing for charity

Fixing a cracked ABS print, part 1

The other day, I showed a pic of a print that had cracked quite late in the process.

The reason for ABS prints cracking is due to the temperature issues. Normally you get a lot of warping issues if you have poor print plate adhesion, but I am printing on BuildTak on a heated platform.

I also cheated and used helper disks on the print at the bottom, and I printed near one edge, so once the helper disks were completed, I put clamps around the heated print bed that clamped the helper disks to the bottom, so  even if they would let go, it would prevent the base from warping.

It can, however result in the tension traveling upwards in your print, and that can create a crack. As in my case, a quite sever one that went through 1/3 of my printed piece.

IMG_7936

The best way really to combat cracks and warping, is to put your 3D printer in an enclosure of some kind. My printer, the Makergear M2 that I’ve mentioned earlier in this blog, have a print bed that is moving on the Y-axis. This means that if you want to build an enclosure, it would have to be a rather large enclosure to allow the print bed to travel all the way back and forth.

I simply do not have that space at the moment.

So, I try and do what I can to combat the cracks in my print by tweaking numbers. Making thicker bottom layers to force the plastic into my build surface. Tweaking the extrusion multiplier to get enough plastic to create better layer adhesion. Working with different amount of perimeters on my print, and different types of infill patterns (and settings) to try and reduce these tensions.

I still have not come up with the perfect formula, but I do know that ABS plastic dissolves (quickly) in acetone!

So, I have in the past taken off parts that have shown the possibility of a crack and simply taken a paint brush and painted acetone on the surface. The surface will melt and blend together and create a chemical bond that is as strong as the material itself.

I have also taken filament remnants from an old roll, cut them in small pieces, placed it in a glass jar and added acetone to create a sticky goo that once it cures, it will once again be pure ABS.

THIS .. is my secret weapon for this.

I started by brushing the entire print with acetone. I made sure to get a little extra into that crack. I did not try and force the crack shut, that would only have create more tension in the model.

Instead, once the surface had started to set, I added some ABS goo to the model and tried and push as much inside the mode as I could in the crack, and then used a piece of a break blade knife to spread it out on the surface.

Now, this stuff melts the surface FAST, so there is no real time to do some fancy stuff here, as once it starts to dissolve the surface, you really need to stop working.

I went a little too far, but at the time it was really necessary. This is the result when I left it to cure.

IMG_7937

Tomorrow when it is all cured, I will add another layer of goo into what is left of the crevice and once cured fully, I will sand the ankle, and it should be as strong as ever, and ready for a paint job!

By |2016-12-06T00:00:08+01:00September 2nd, 2015|R2-D2|Comments Off on Fixing a cracked ABS print, part 1
Go to Top