#NOTBUILDINGBB8
I’m not building BB-8!
Nope!
I really didn’t like that droid when I first saw it.
Who’s Bb-8 you might ask?
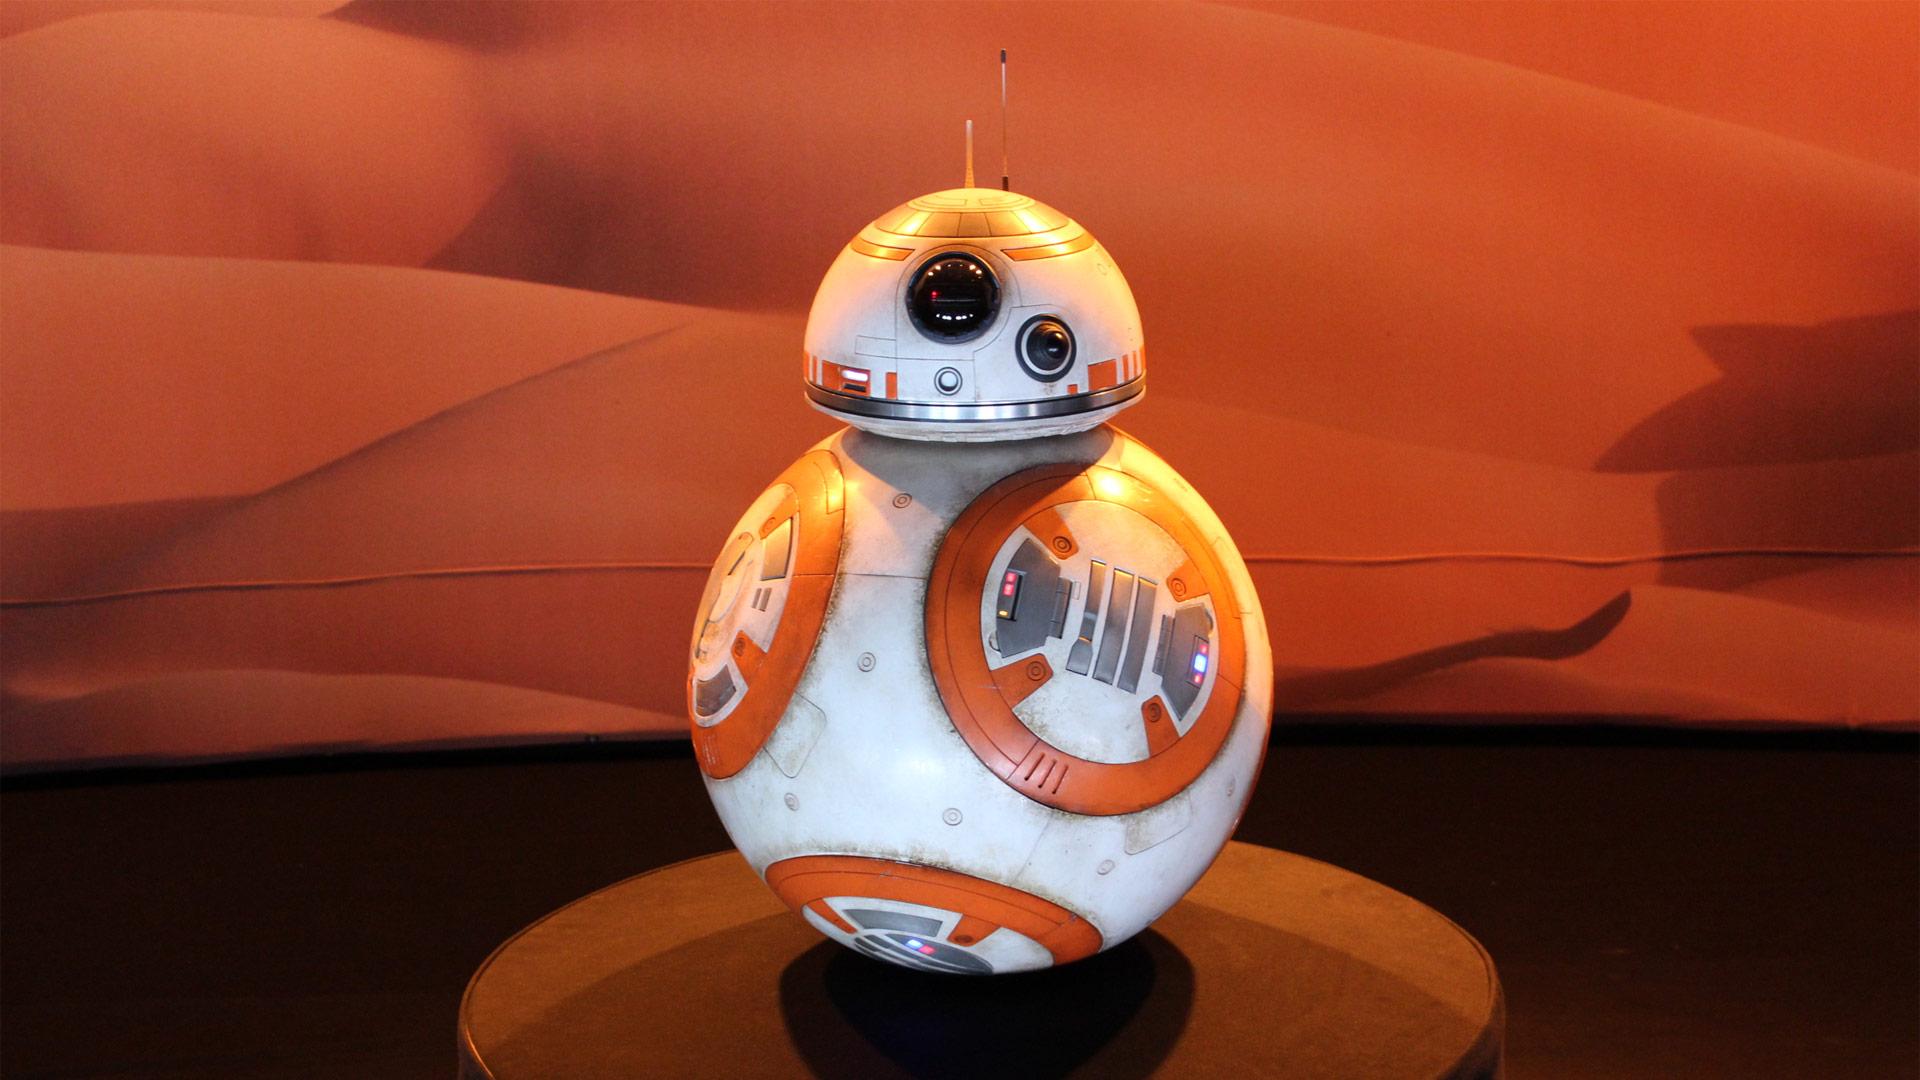
Well, he’s that little round fella from the Star Wars: The Force Awakens trailer.
The little round one.
Yes.
THIS one:
There’s only one small problem:
As soon as it rolled out on stage in Anaheim during Celebration VI my jaw dropped.
Up until then, I thought it was nothing but a CGI robot made for comic relief, but to SEE this on stage (even though it was on youtube) blew my mind!
But … still … #NOTMAKINGBB8!
At least not as far as my fiancée is concerned…
The story of BB-8 started back in 1974, when George Lucas still wanted to make “The Star Wars” as it was called back then. Having the Legendary (capital L deserved) Ralph McQuarrie on board to do his visuals, they started an epic journey that… well … I digress.
One of the early designs for R2-D2 by Ralph featured the droid balancing on one wheel.
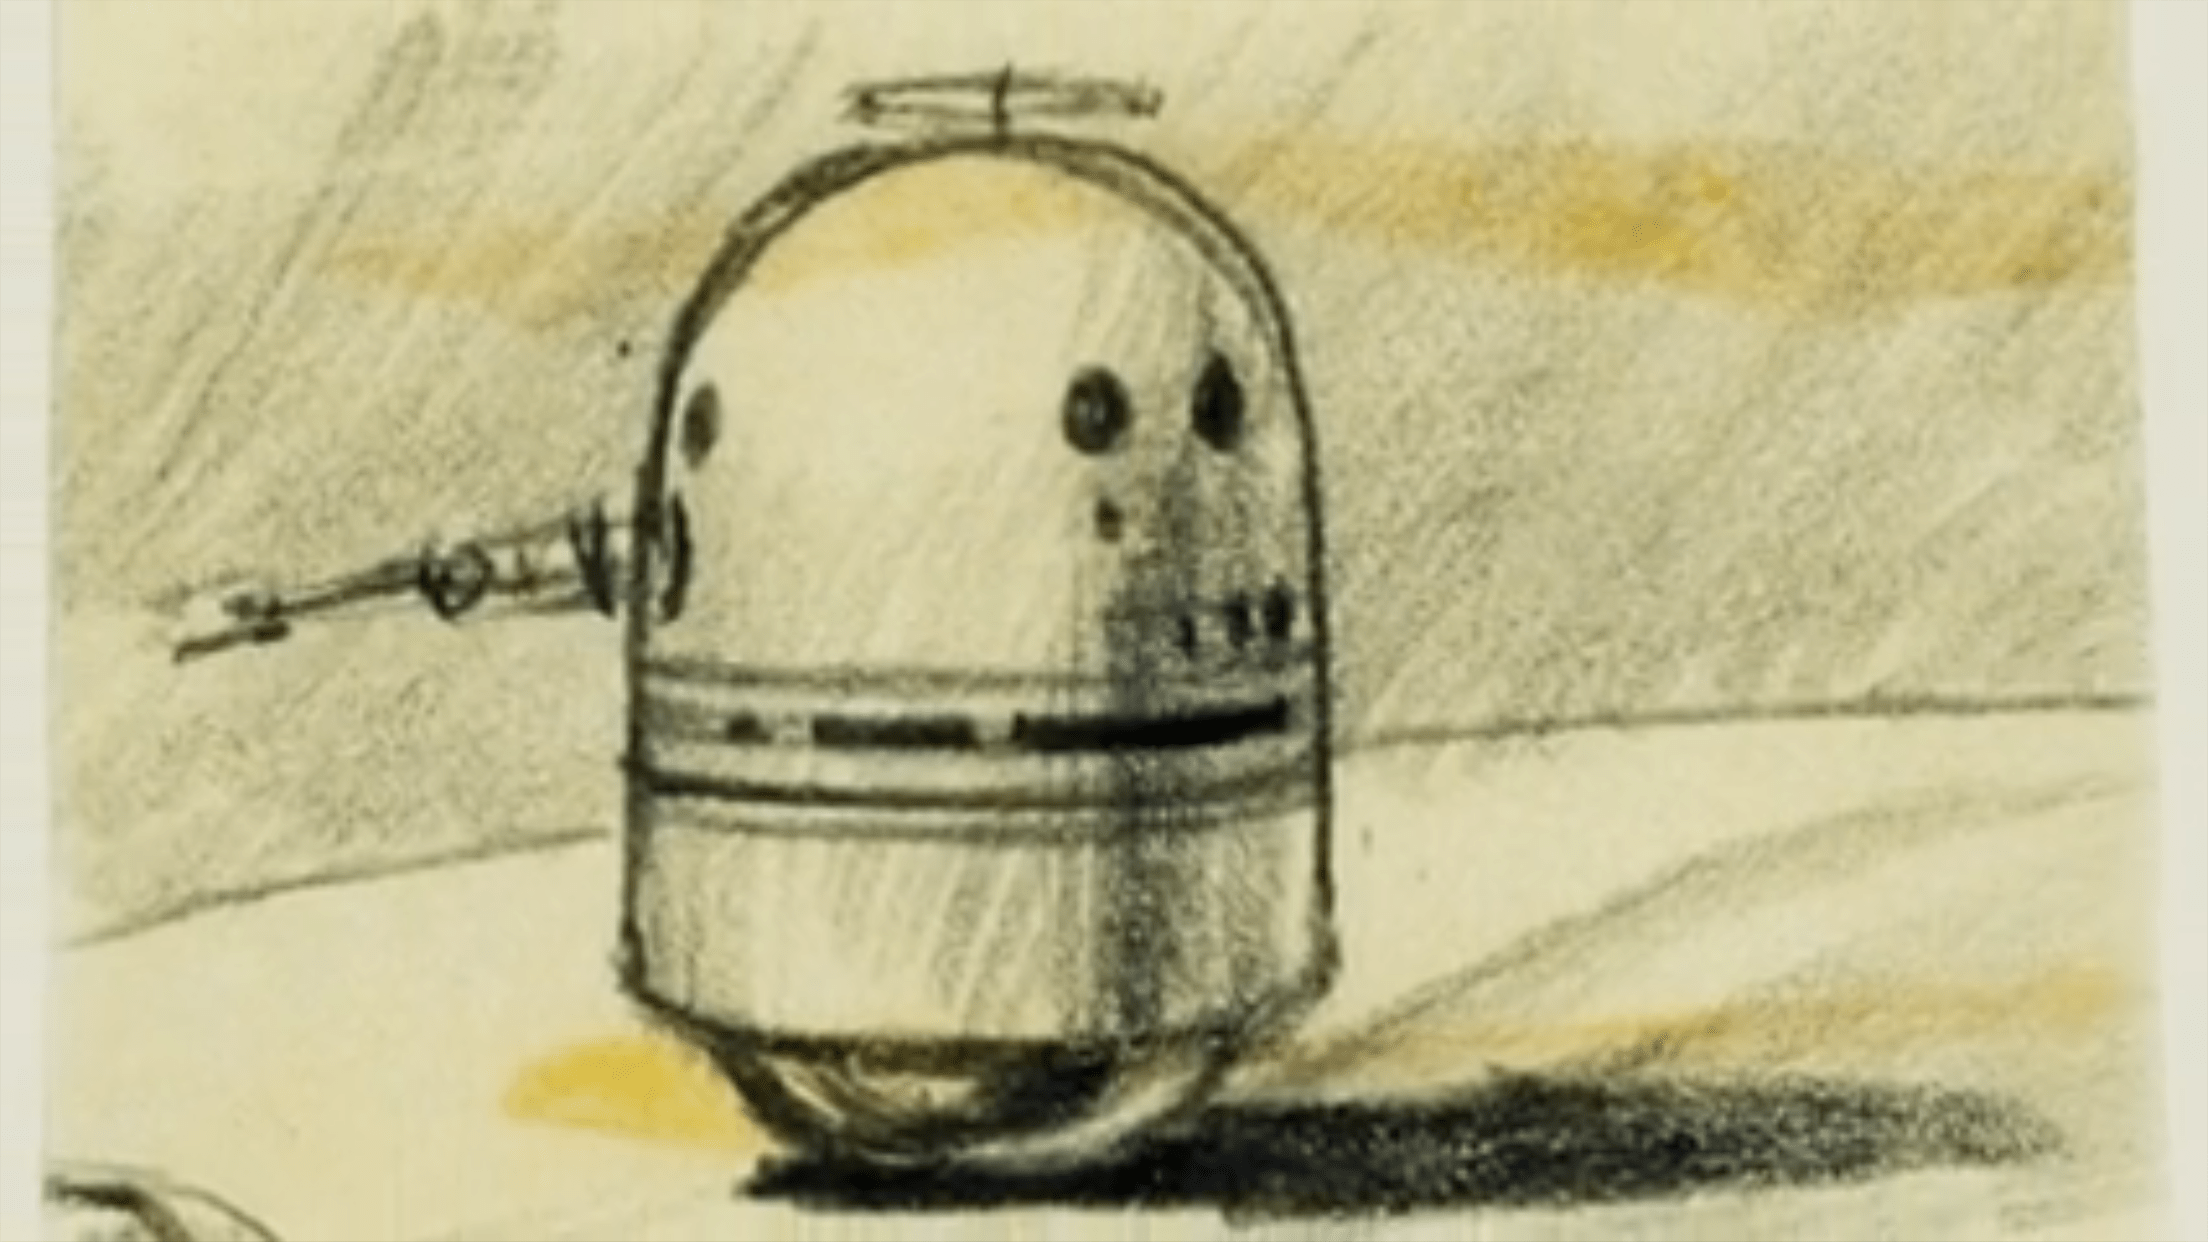
Something not possible at the time. Fortunately for us, J.J. Abrams took the AWESOME decision to stay true to much of Ralph McQuarries ideas and designs when designing the forthcoming Star Wars films, and so, BB-8 was born.
After seeing it on stage in Anaheim (unfortunately not in person, I watched it on youtube at home), my mind started thinking… how would I build a droid like that… and I soon came up with a blueprint that would explain it all:
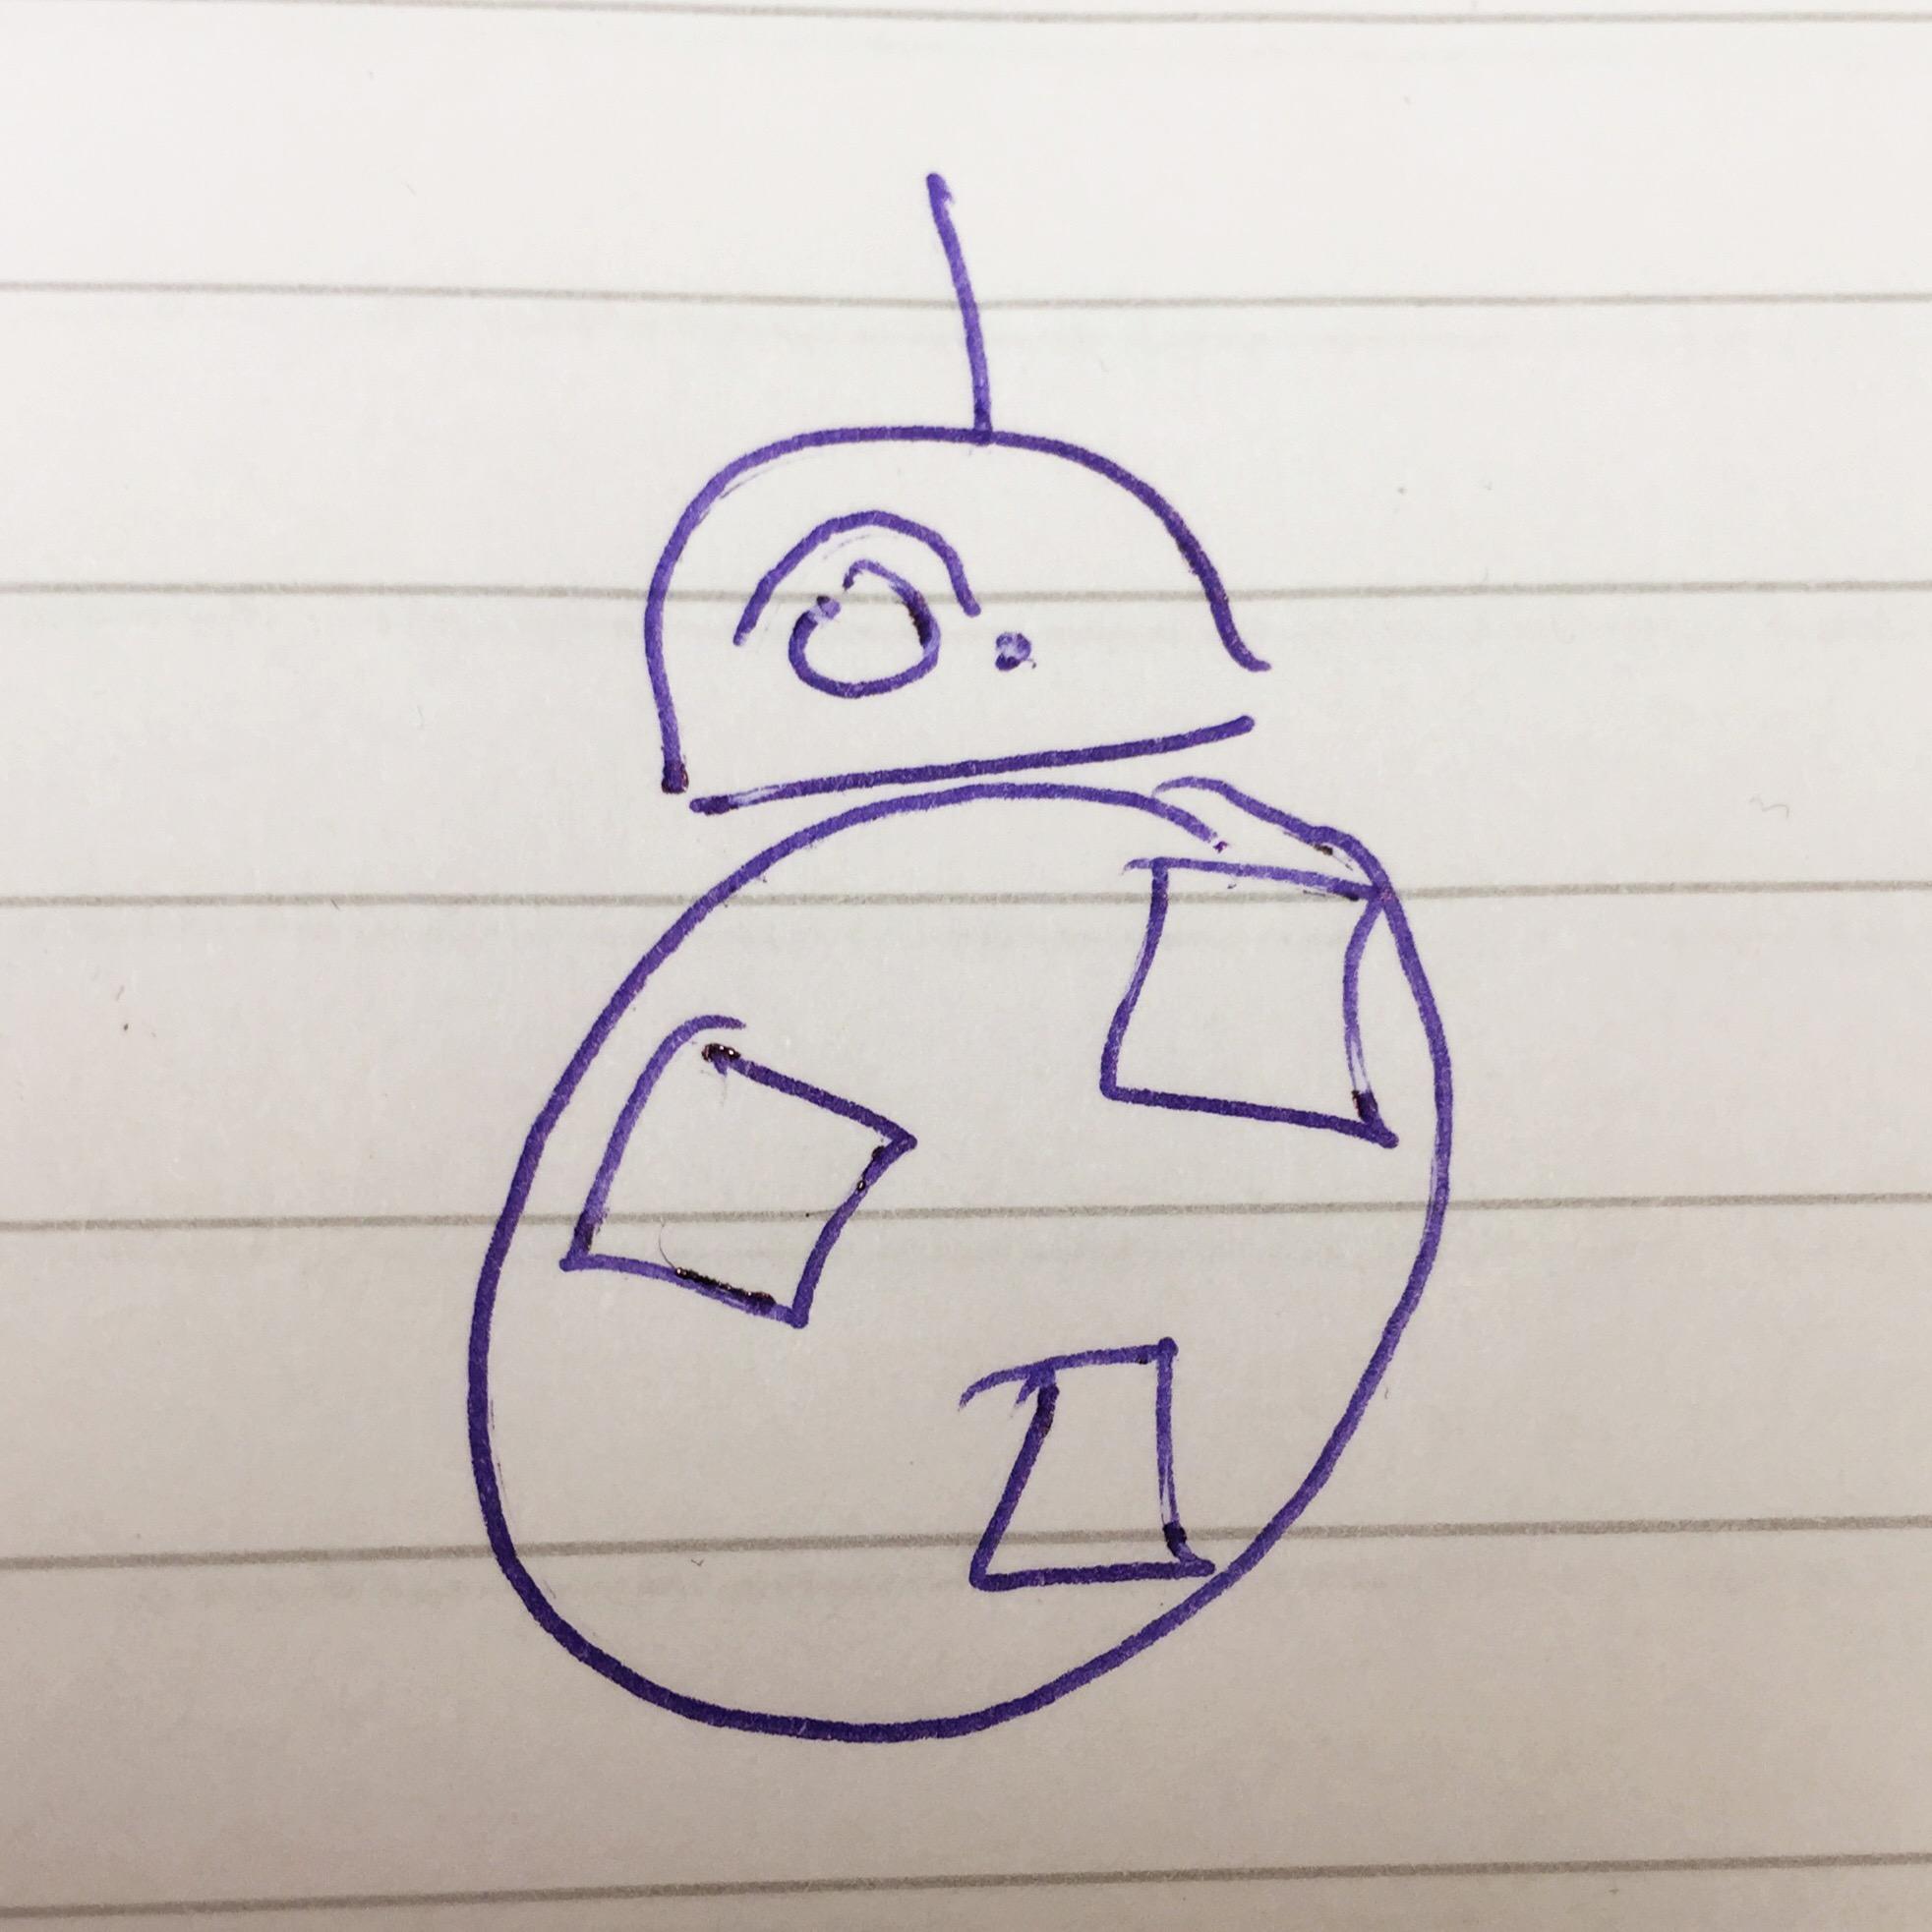
Or … well … maybe not. But a fan online had looked at BB-8 and like me (I guess) compared it to the size of R2-D2 and extrapolated and calculated and … guessed.. and came up with this:

Not completely accurate, it was still a very good start.
Thanks to a few very resourceful persons, M & T, you know who you are, I have started on a new journey with this little droid. At the moment, I am content with just doing the dome, but who knows… in the future maybe? I think I have a solution for how it actually works…
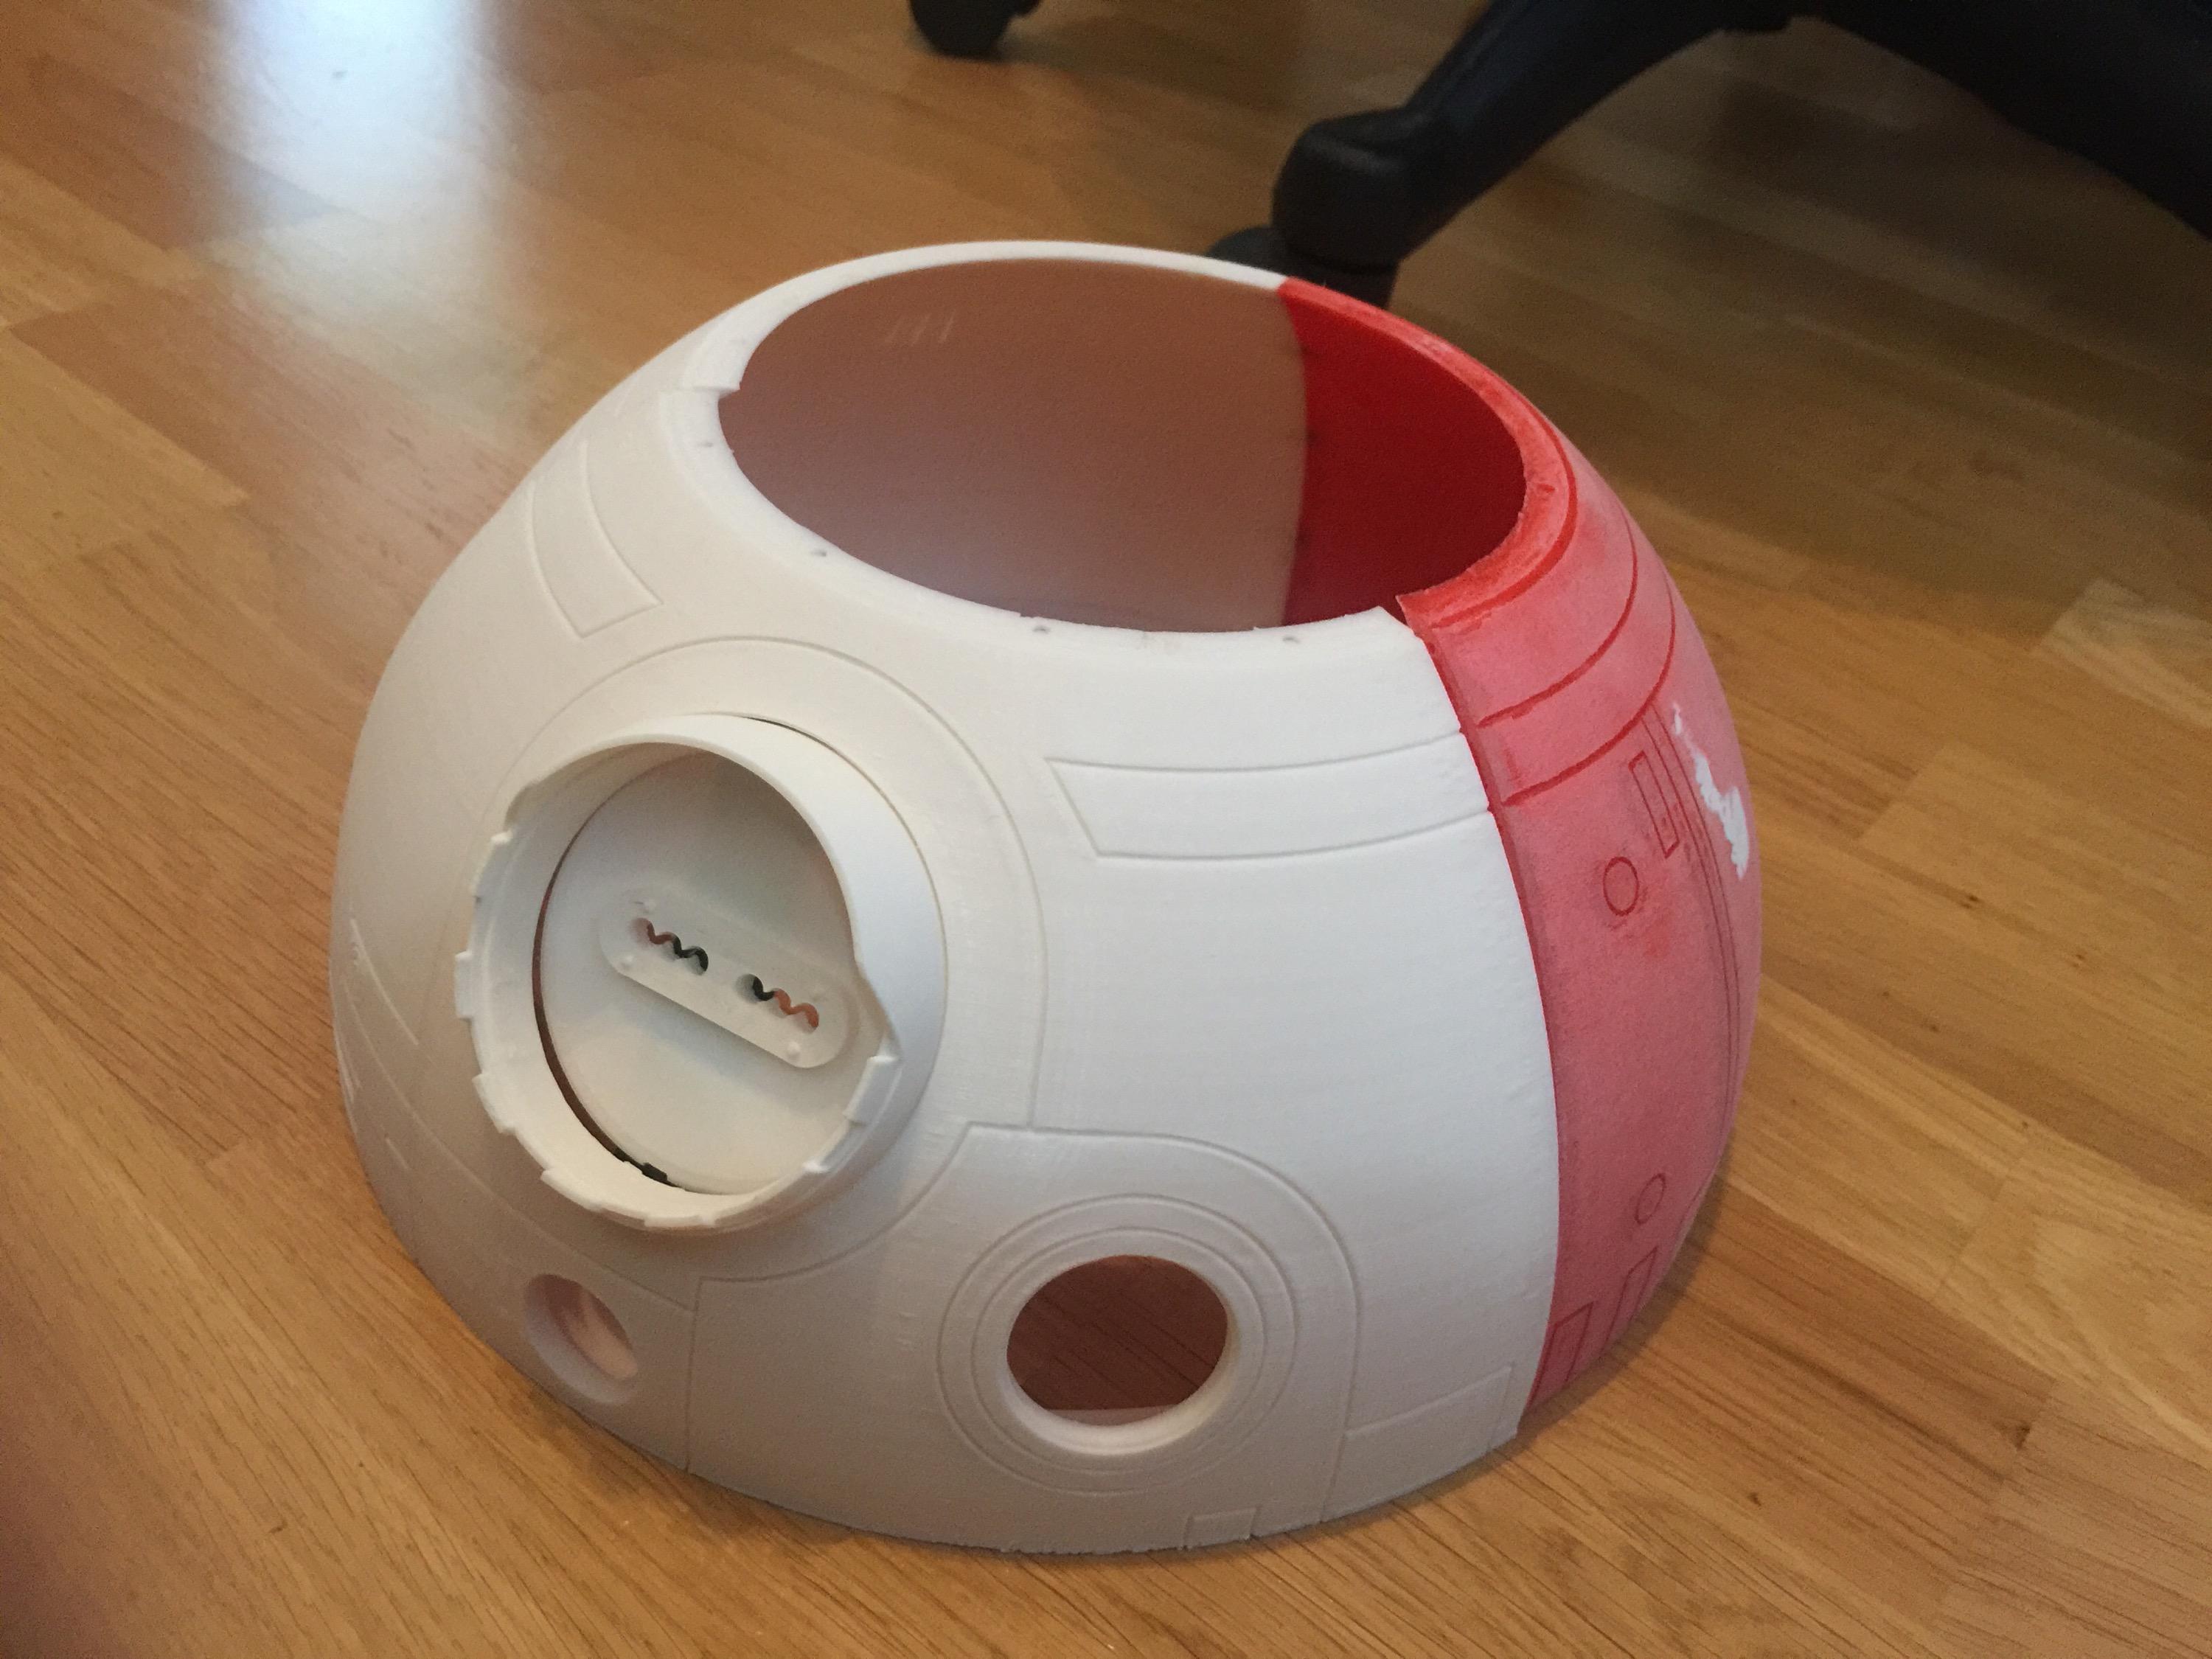
It all started with printing a lot of parts on my trust Makergear M2:
A box of parts, really.

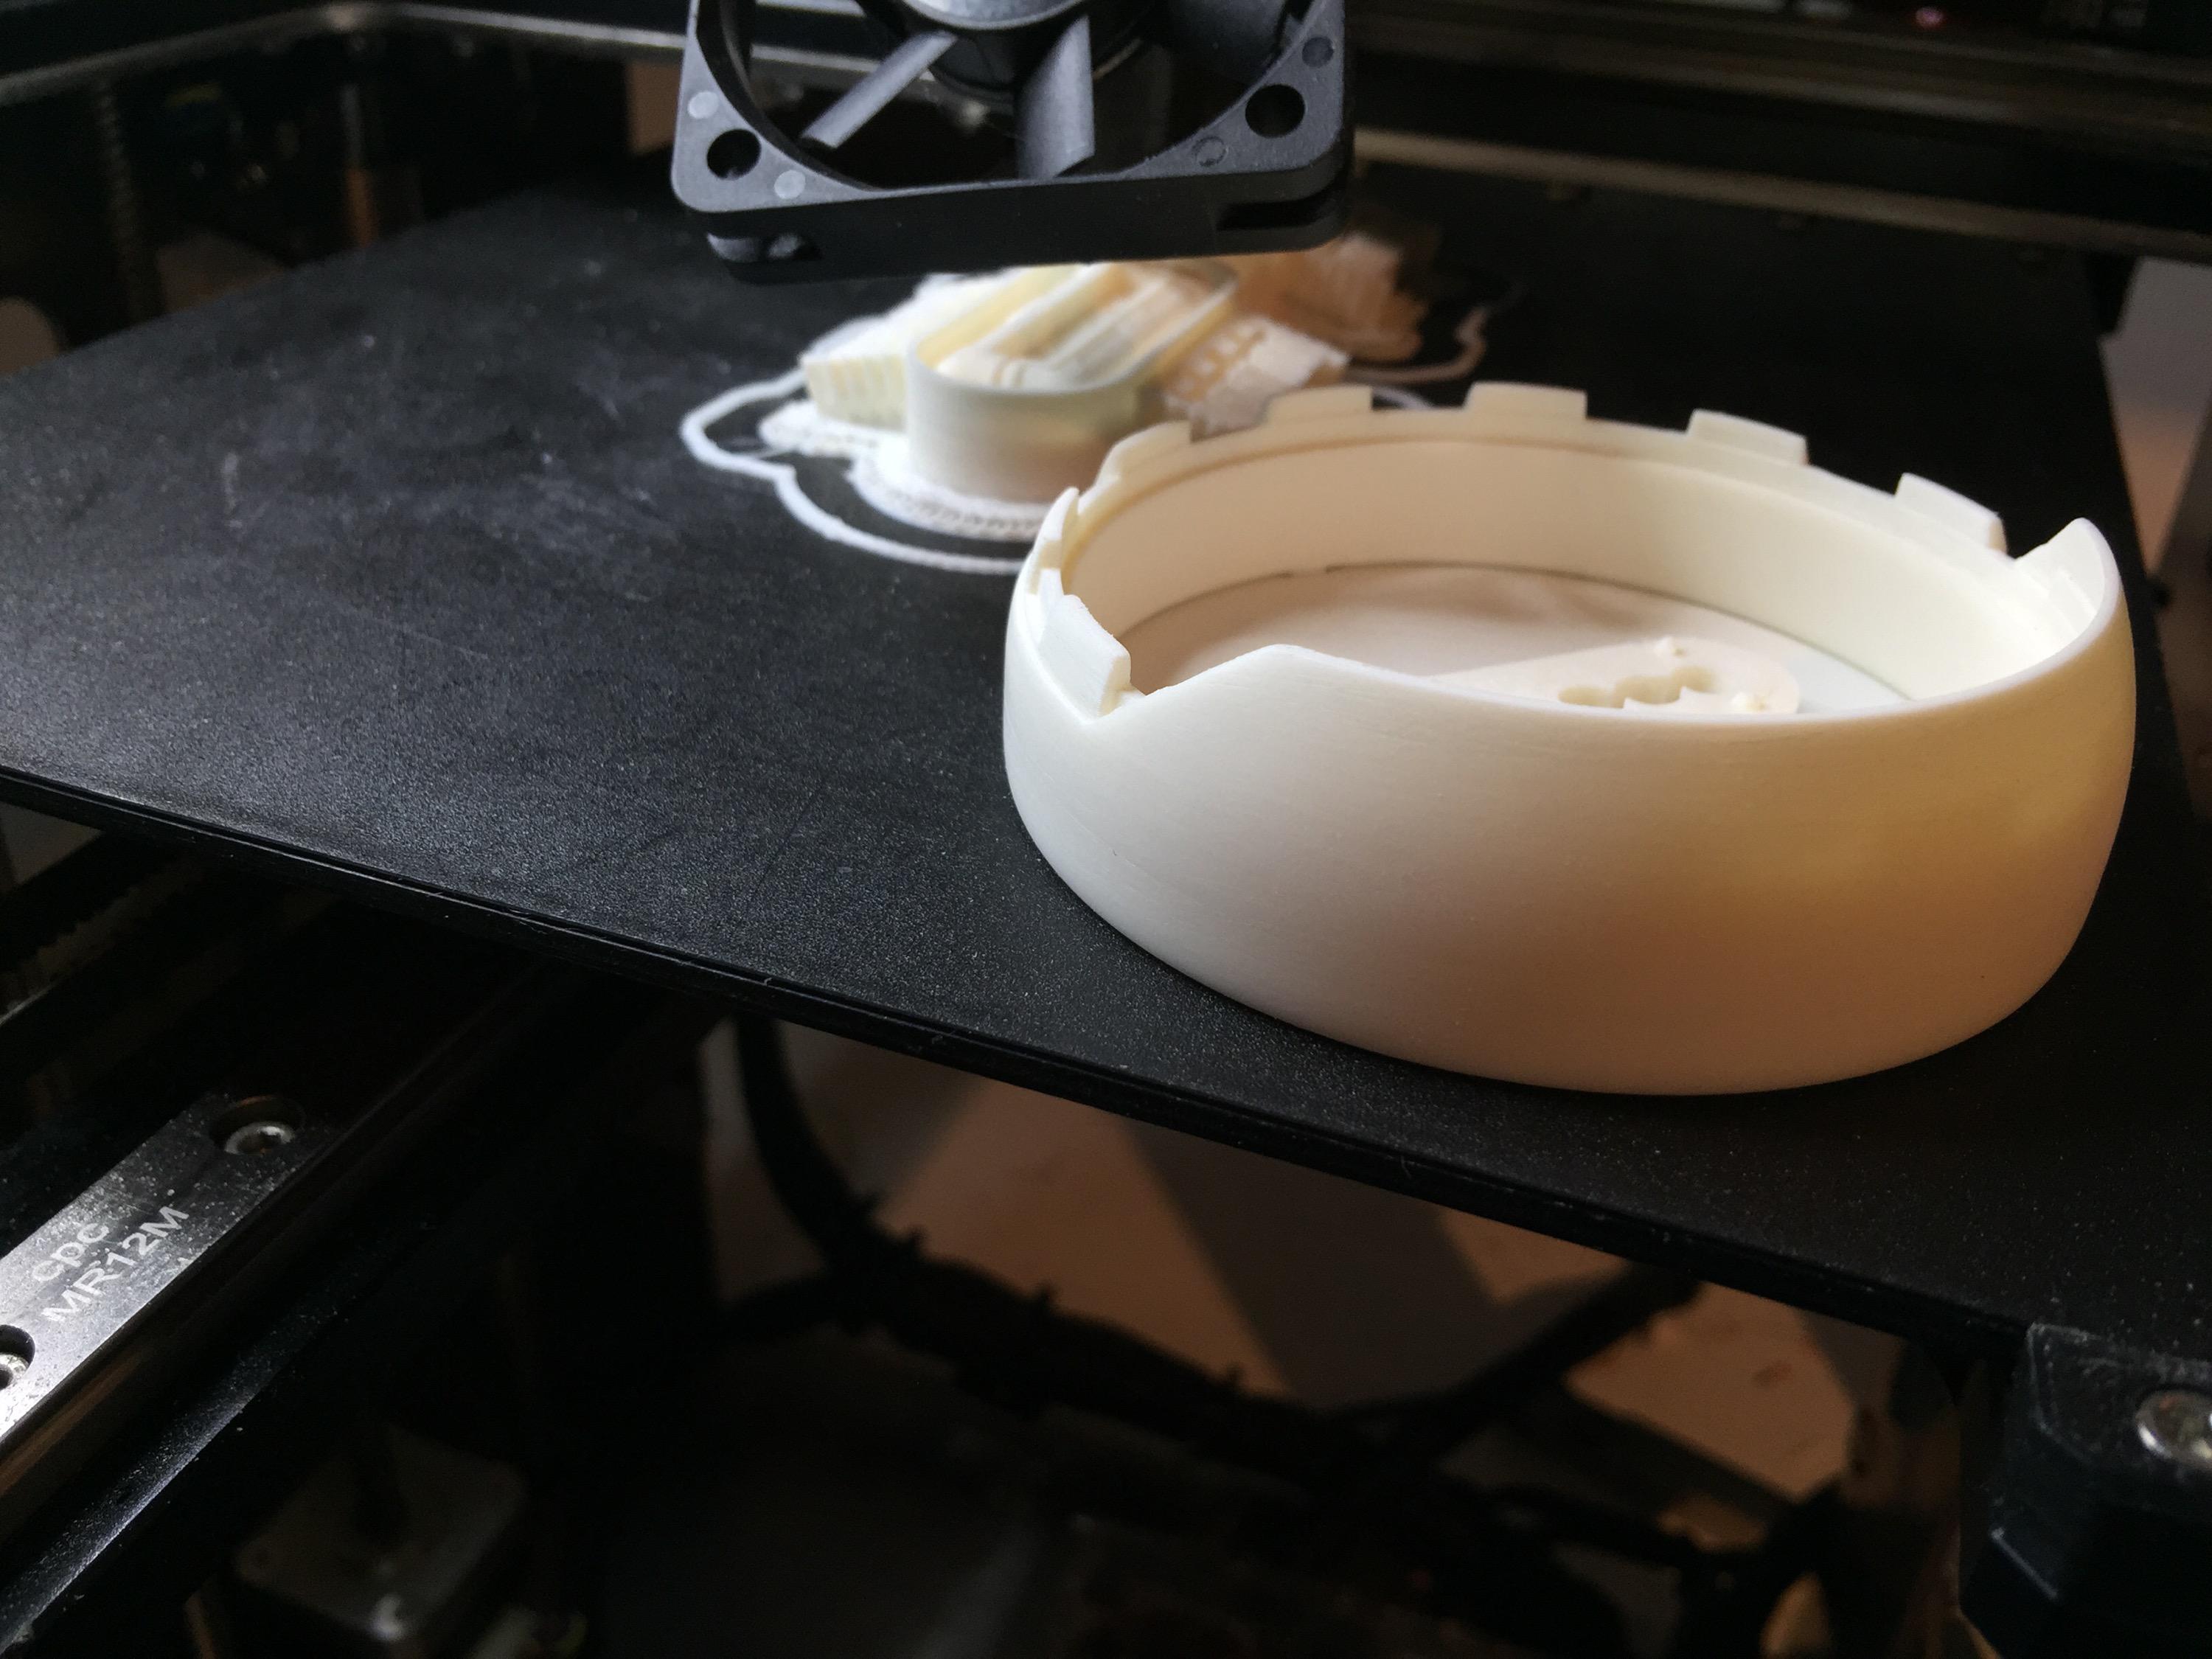
The first piece I printed was the front third of the dome: I used PLA for this, as it warps a LOT less and less chance of cracking, like ABS.

I was VERY surprised about the support towers showing in the back. They are standing on nothing (since I forgot to add a helper disk where they start), and was really sturdy!

Thanks to the BuildTak, they managed to stay put the entire print, and made me this lovely piece:

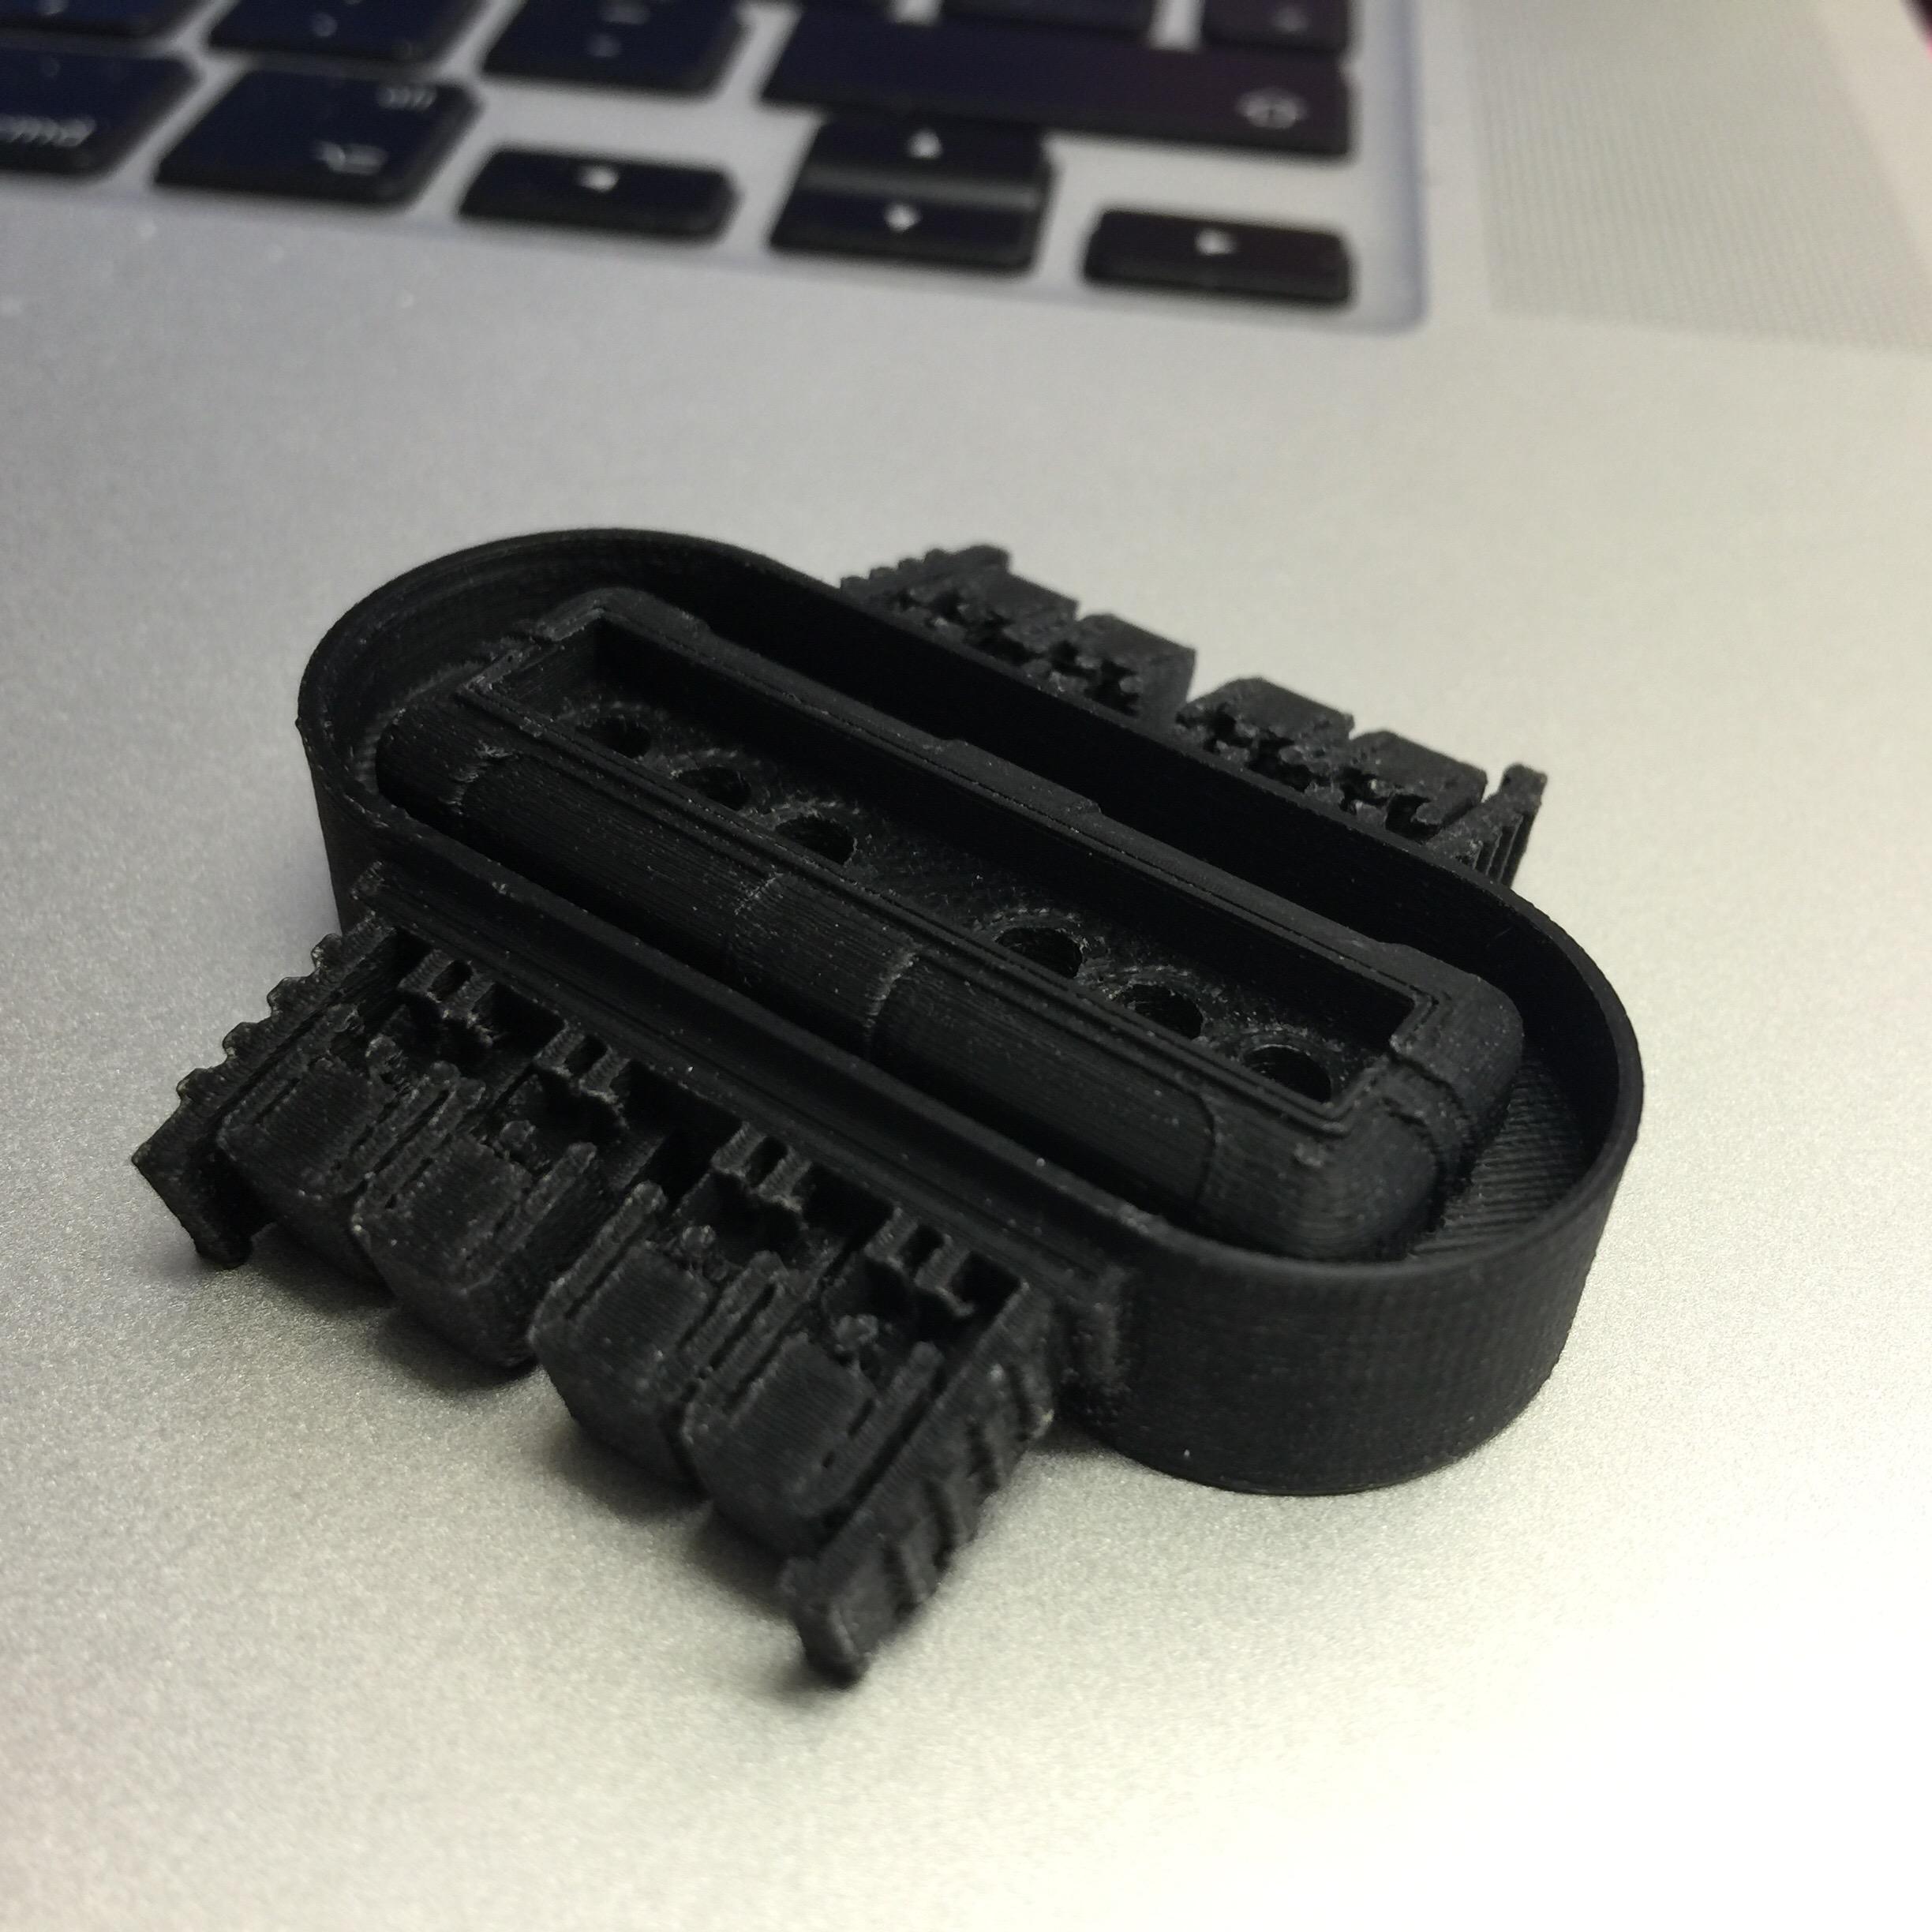
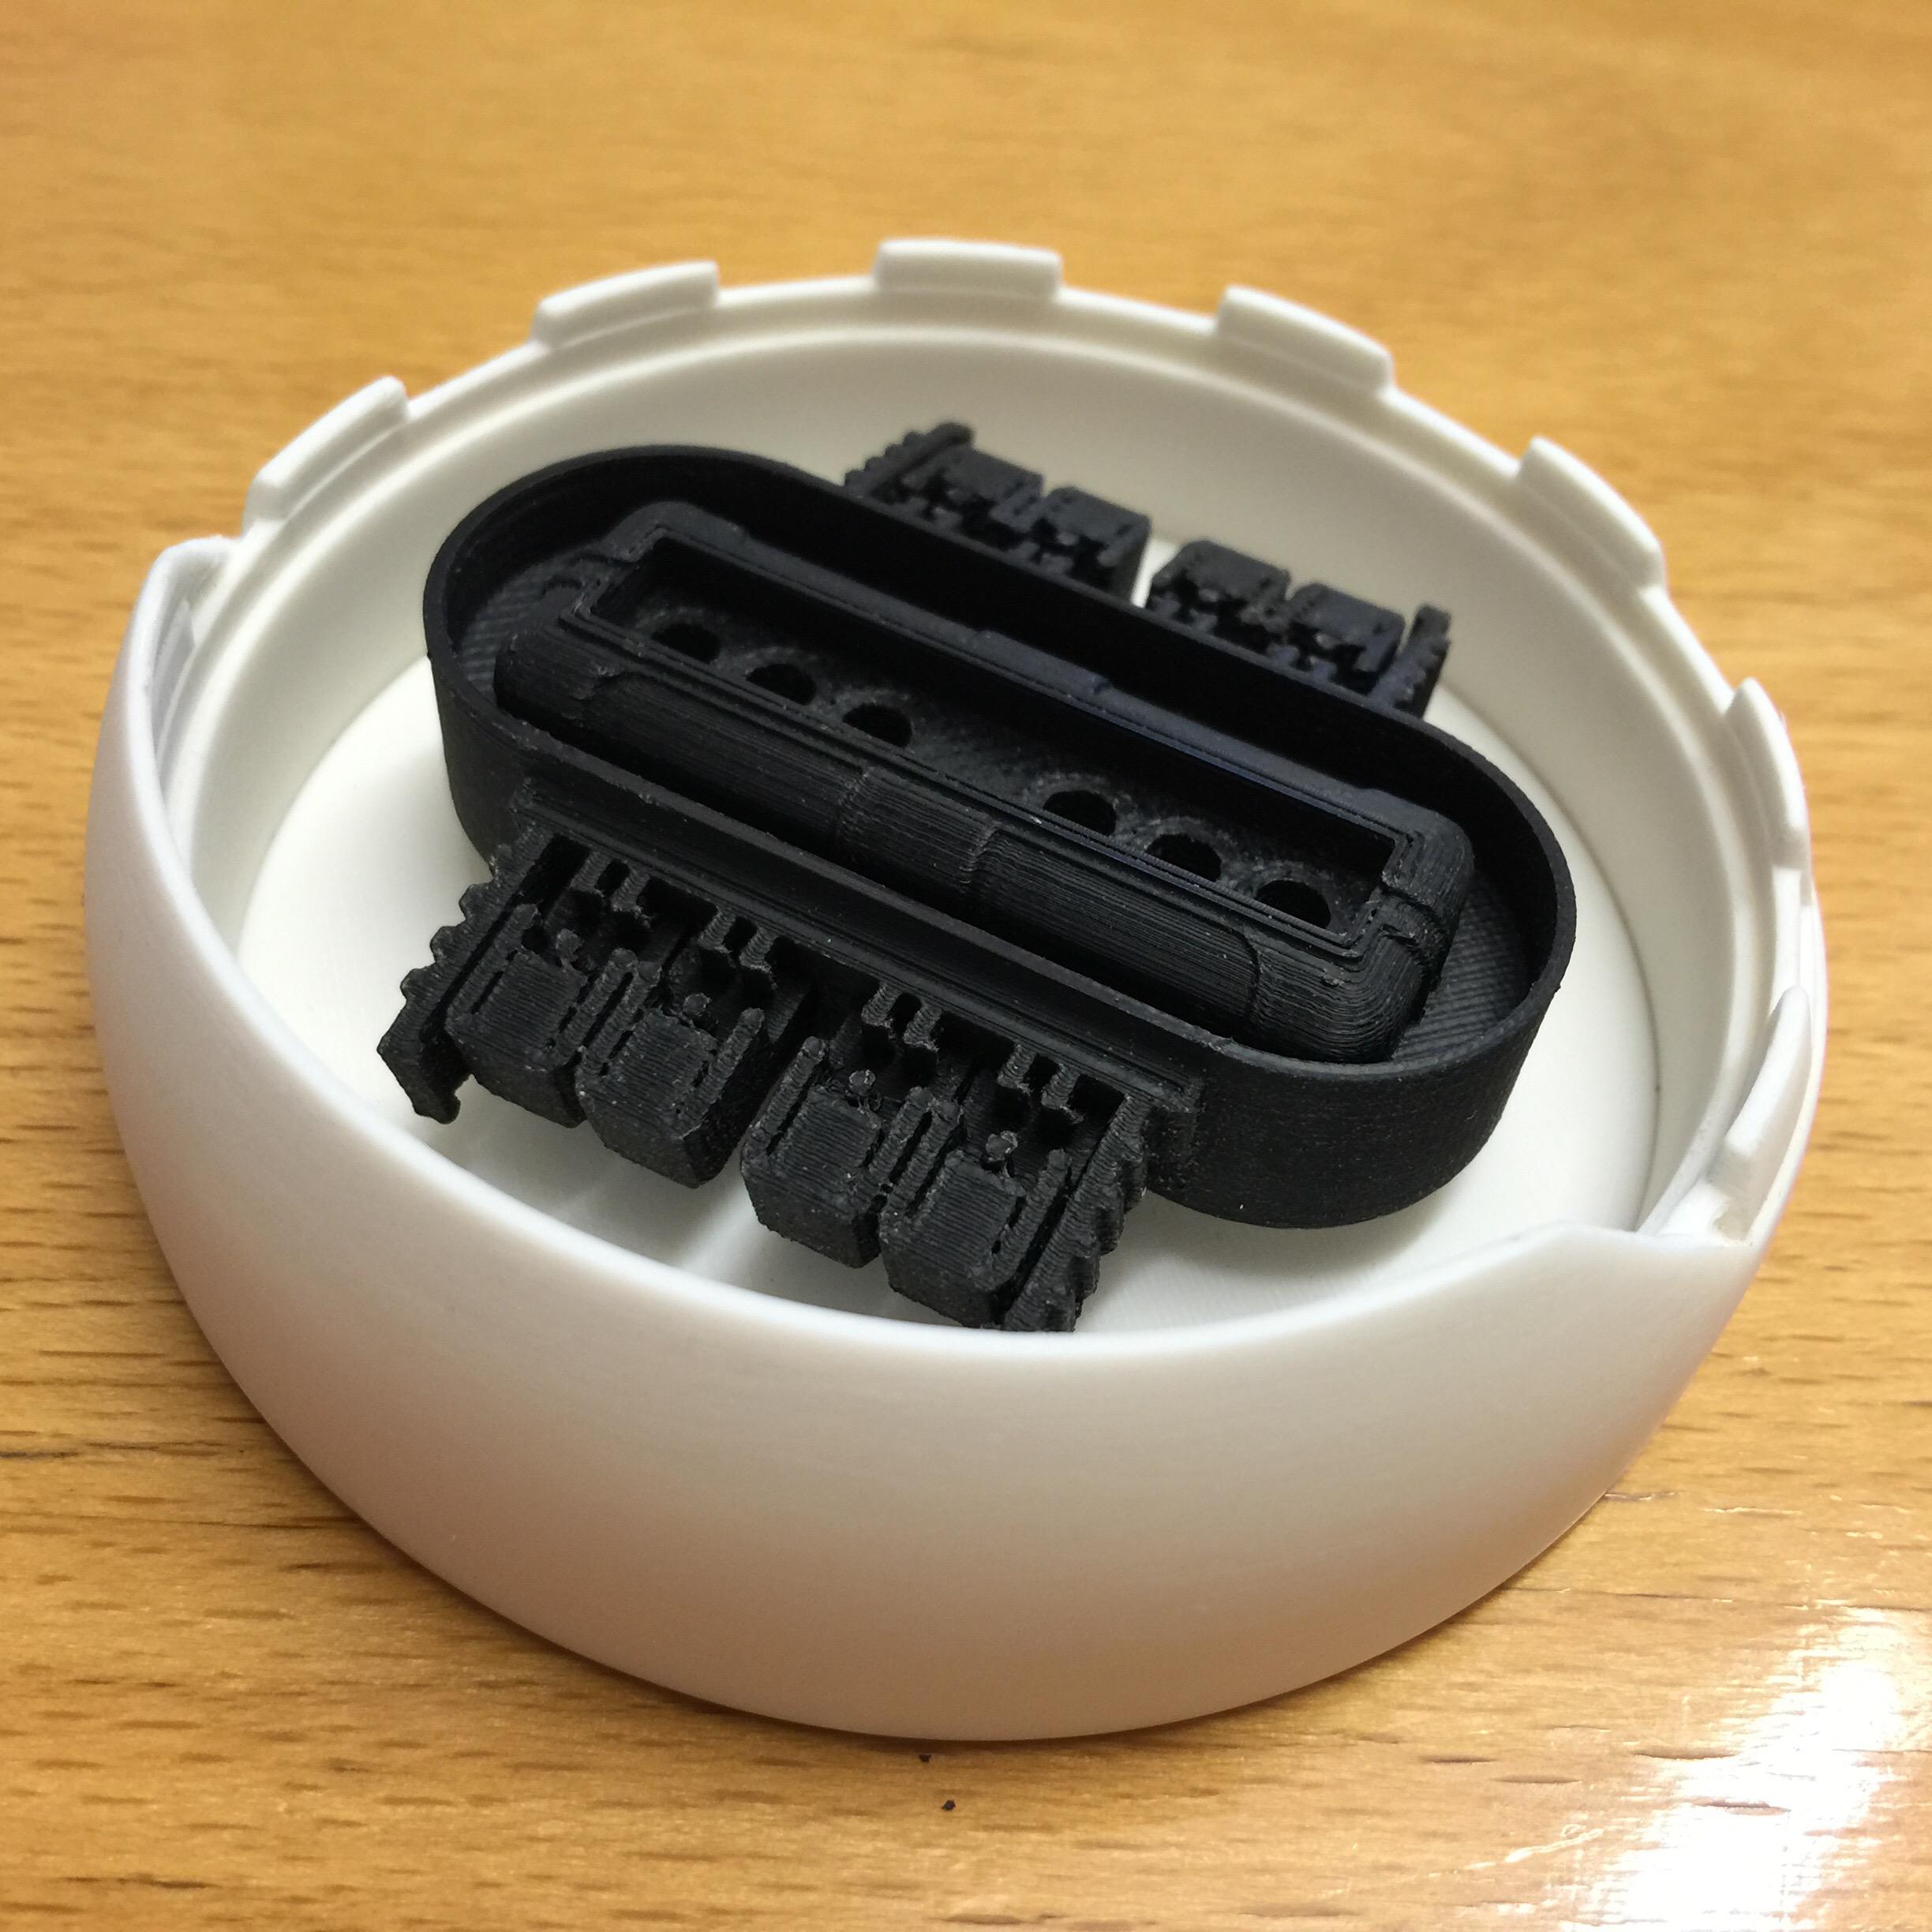
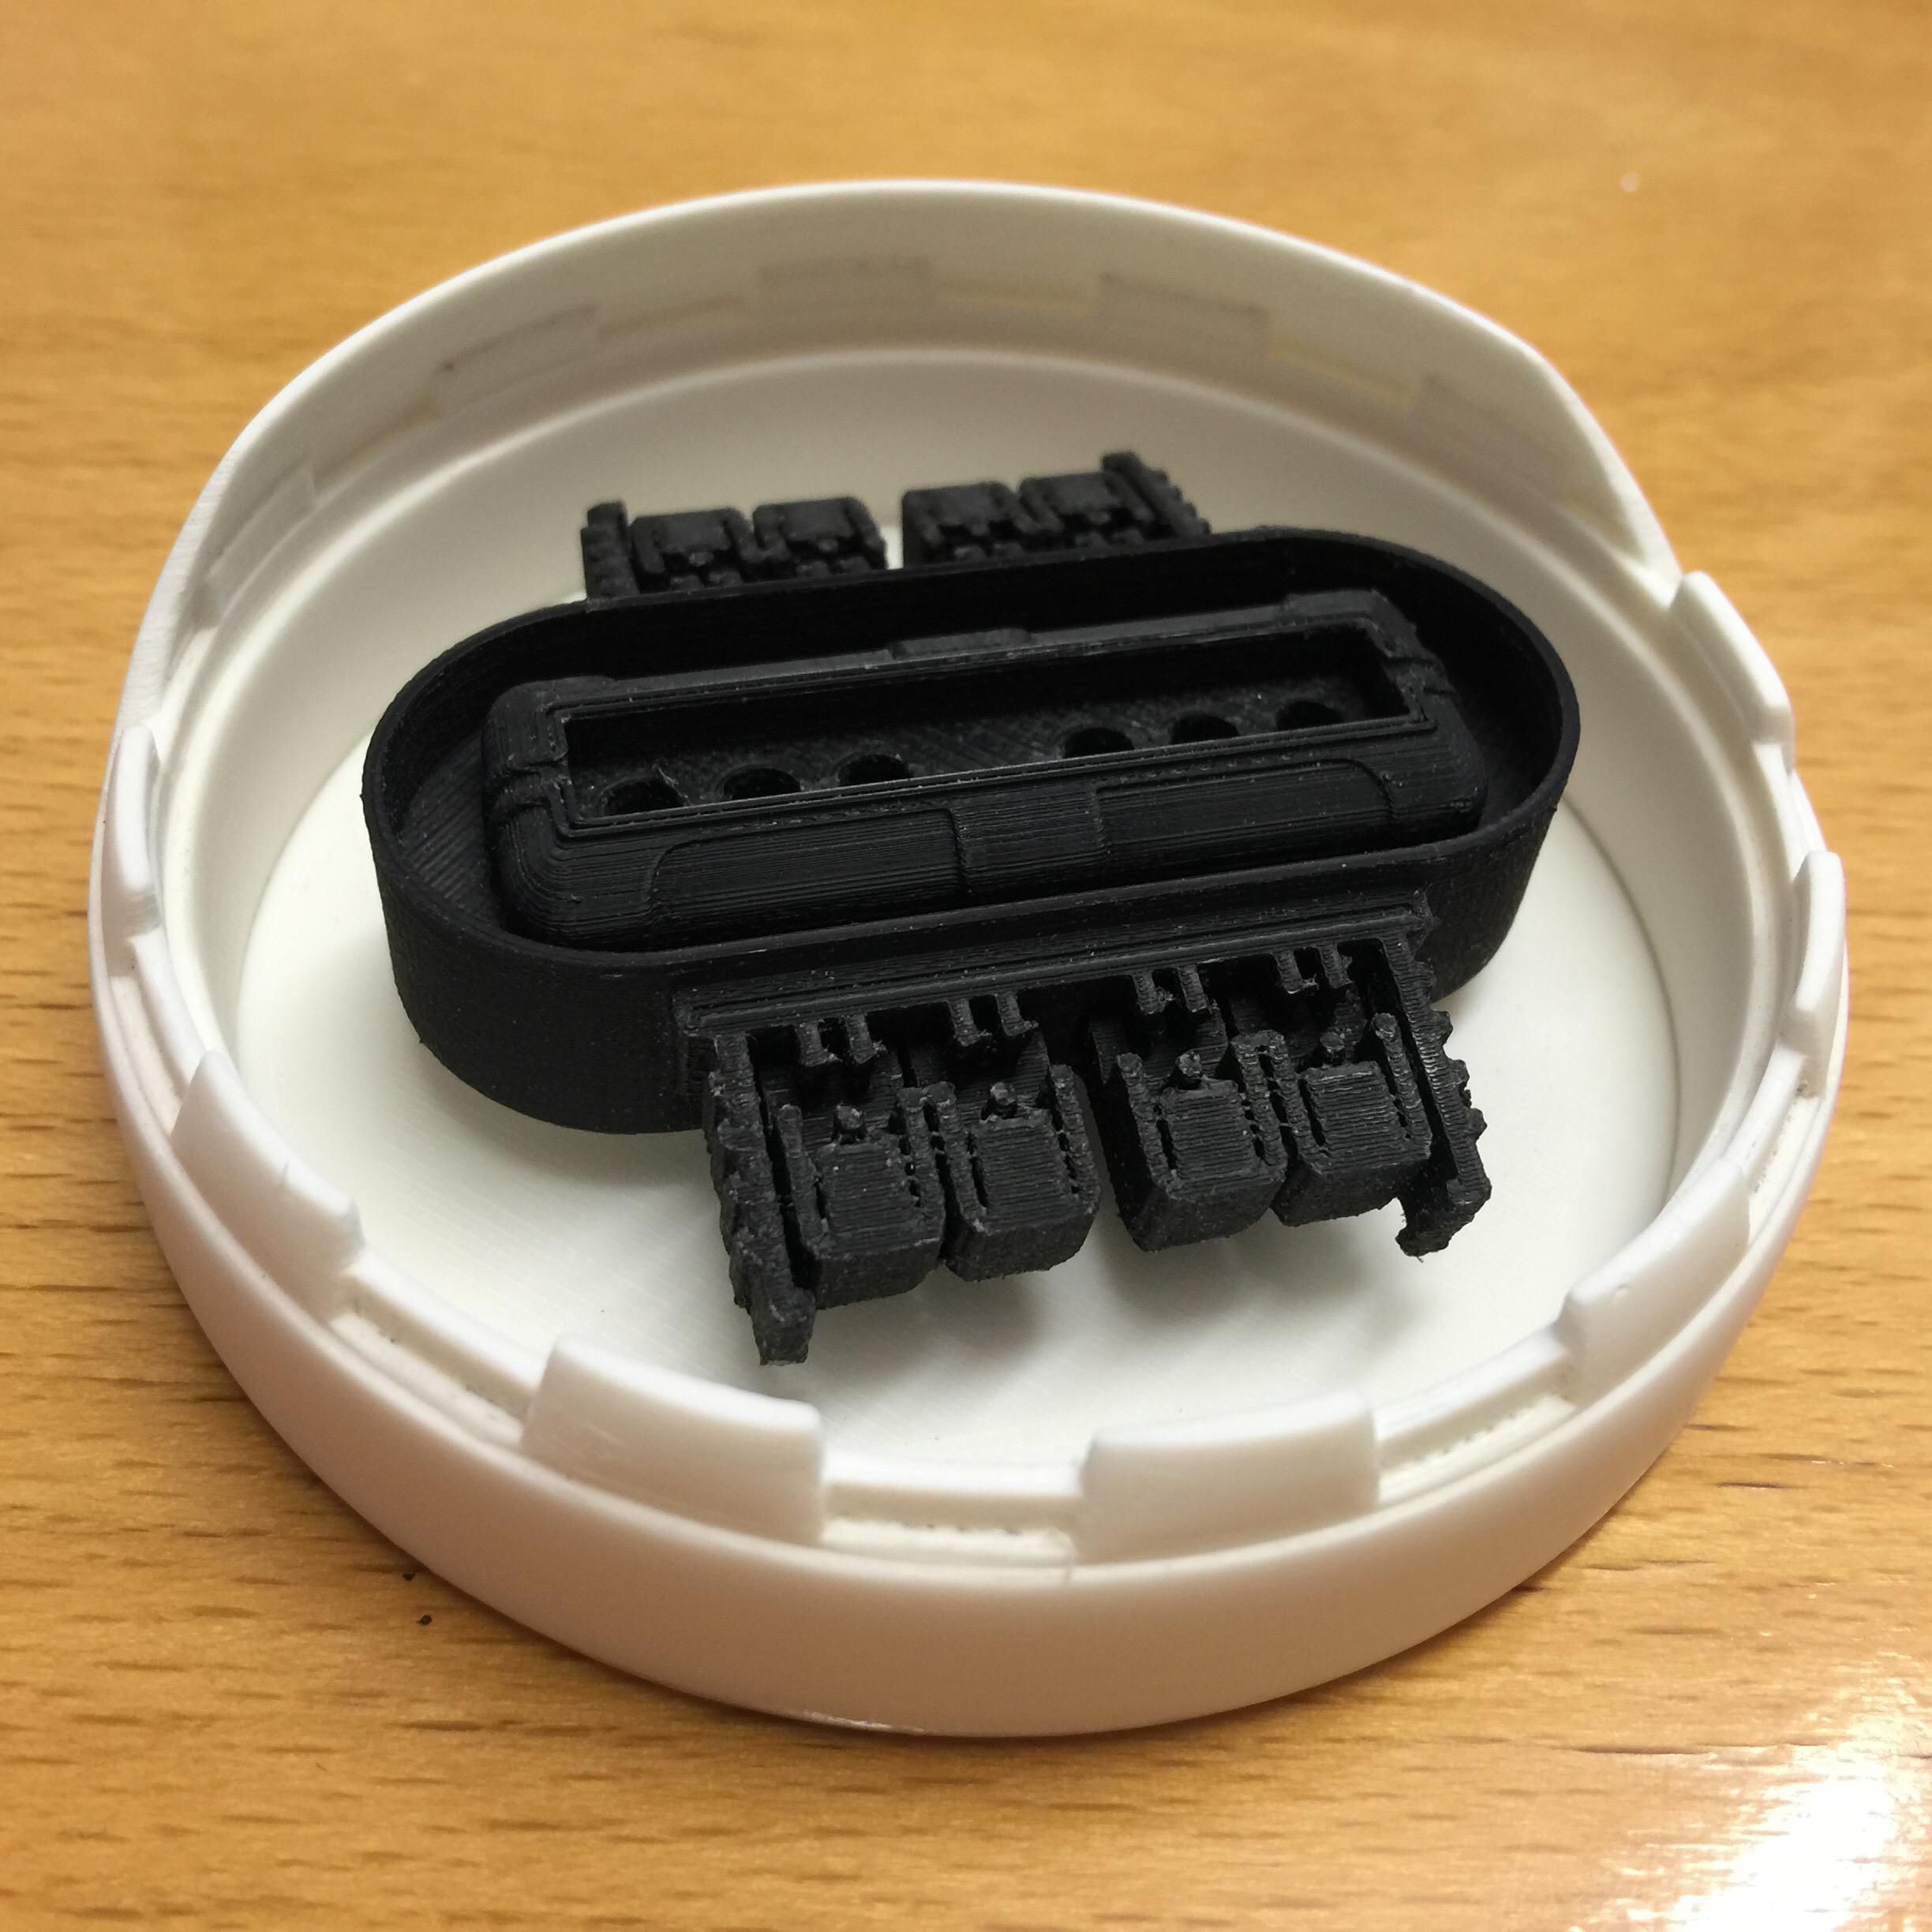
A few more pieces followed, and..

.. we have something that already looks like a dome!
The (almost see through) red PLA was the roll I had that I’ve used the least. I figured if I was going to paint this anyway, why not use a colour I would never use for anything else…
A bit of sanding and some putty..

… and some more printing…

… and gluing … and sanding… part after part..

.. and tweaking the firmware of your 3D printer and modifying layer heights… and print speeds.. and making the best prints you’ve ever made..
…and reprinting…
realizing you just printed something that has a layer height of 0.05 mm.. 1/20th of a millimeter…
.. so I guess … that when almost all parts for the dome are done … like now..
.. i guess that I AM building BB-8 … after all
But still…
If my fiancée asks..
or if anyone asks..
Remember:
#NOTBUILDINGBB8


