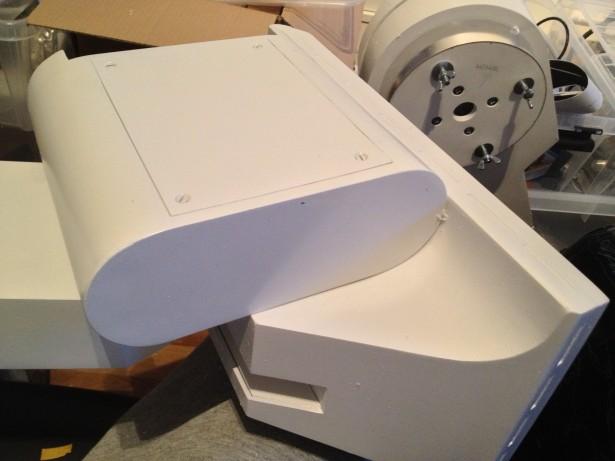
construction

Fixing a hobbled droid, part II

So, once the shafts were drilled, it was time to play the waiting game.

I wanted the wheel hubs to sit firmly and not spin, but also retain the option of some day remove them, in need. Not saying it has to be easy, just … well .. possible! =)

In order to make sure the grub screws stayed inside the grooves in the motor axles, I ordered a bottle of this:

treadlock

Loctite Thread Locker! High Strength! High temperature! Now they should be really sticking in there!

But wait…. if I can’t get the motor hubs off .. what happens if the screws holding the motors (that are right underneath the big hubs) comes loose, I can’t fasten them… Better loctite them down as well! (medium strength thread locker this time around).

Hubs in place, sticking really hard. I almost completely destroyed a hex screw trying to (by force alone) unscrew a grub screw once set with the high strength thread locker. Not gonna happen.

Last step for the feet: screw the motor plates together, and also add a small holder for the bottom of the white insert.IMG_2705


OH, and before you ask: “Isn’t that James Short’s design on the motor holders?” Let me clear up this once and for all. It is not. Not one bit. In fact. James will see this for the very first time after these are posted, and invent a time machine, go back in time, and make a set that looks 99% identical, make a blueprint off them, and send them to my mailbox in the past, so it looks like he might have emailed me the plans for his, and then, based on those, I’ve made these, with just a tiny, minute difference (that he even will be so cleverly evil to put into his blog post about his motor holders that he should have done (again, posted in he past through time machine so it looks like it predates mine)).

I’ve also replaced the center wheel to the same type of wheel I had previously, as it lifted up the center foot better from the ground, and should work great with these wheels.

Step three of this, is to drill upp the holes in the styrene ankles. I suspect (well .. quite strongly, in fact, since I just drilled them freehand without any pillar drill or anything. Basically eyeballed it) that the holes through the ankles of my droid is not perfectly perpendicular to the surface they are in.

This might be why my droid is veering off to the left all the time when driving!

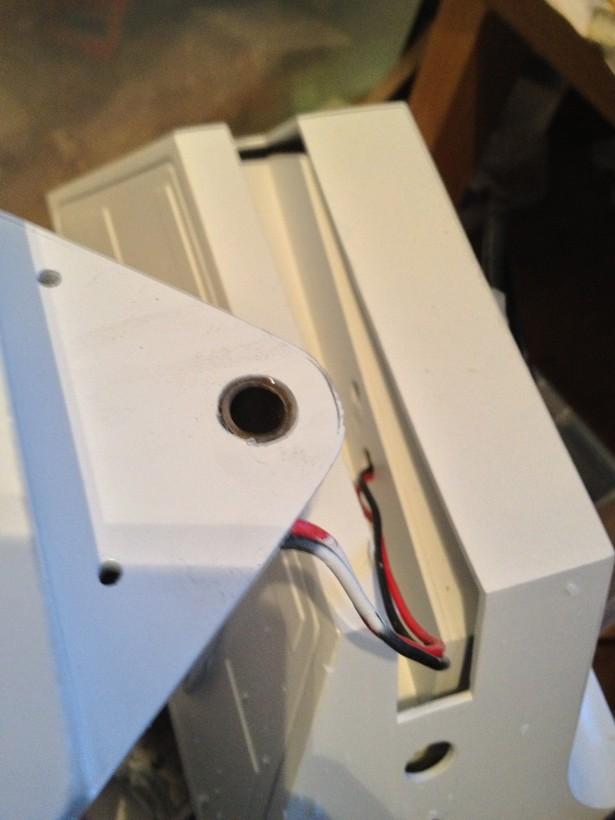
My solution for this is simple. The bolt going through the ankle is 8mm, I’ve got a 10mm metal tube inside the hole through the ankle to protect the styrene. I just need to firmly stick the ankle to something straight, drill a new, bigger hole in its place, make sure the plastic doesn’t try to veer off in any direction (Might even mix up a batch of styrene putty and pack tight into the ankle hole and let dry first, to make sure this doesn’t happen easily.), then insert a new metal insert into this bigger hole. That is another job for another day. I can do the prep job, but drilling the holes and making new inserts on a lathe is something my friend Anton will have to help me with.
By |2016-12-06T00:00:29+01:00January 14th, 2014|R2-D2|Comments Off on Fixing a hobbled droid, part II

R2 sighted in public!

For two weekends, I have now taken my R2 out to get the last bugs out!
I started last weekend with a trial run at a friends birthday party. The kids went nuts and LOVED it!
R2 danced with the kids and posed for pictures. His presence was much appreciated!

During the week, I’ve experimented with the new control system, but there are a few issues there that I’m not all happy with yet, so I had to go back to the radio control, since I wanted to bring R2 to my weekly business meeting!

Every Friday, I eat lunch with about 60 people. A great bunch of people that I’ve gotten to know over the past year and a half, and they have been aware of my project of building this droid. Since he was finished, I had asked for a little time during this meeting to present R2.

When taking the droid home, on the subway, it took me 40 minutes to take him ONE block, due to so many kids, parents, people wanted to see him, take pictures with him and generally asked questions about him. It was great!

However, the cobblestones did not fare well with the center ankle/foot mounting, so the center foot was loose after the little outing.

An hour and a half later, I had removed the existing screws (one of them was bent, due to the full weight of the droid pushing down on this point), increased the holes in the ankle, inserted pieces of aluminium pipe into the ankle holes, and ended up with two thick 6mm screws through the sides of the foot, in to the ankle and out the other side.

This has now firmly locked the ankle in position, and it will not move again. Ever. 😉

I test drove it again on Saturday, at yet another friend that had a kid that had a birthday. Worked like a charm! However, this time, I had some electronics issues, but I’ve narrowed them down to a faulty USB cable in between my power distribution board and my bluetooth speakers! *phew* ! =)

Next up: Finish up the new droid controller in time for ScifiWorld!

By |2016-12-06T00:00:43+01:00November 20th, 2012|R2-D2|Comments Off on R2 sighted in public!

Almost there… (stay on target)

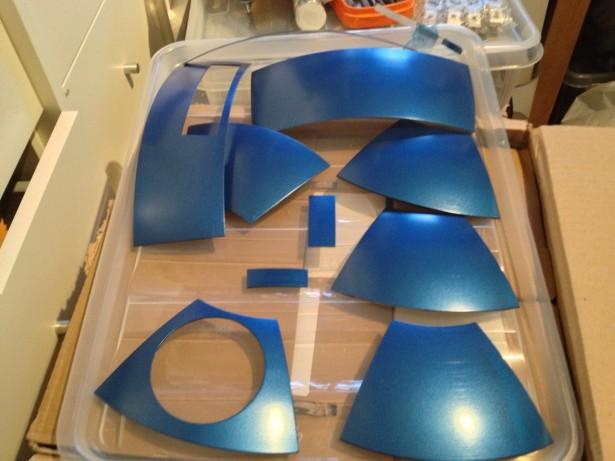
Last night I finally got around to sand off the dome panels and paint them!

I found the secret to get rid of the spin lines quick!

First time around, I tried to just sand them in small circles with 400 grit. This didn’t seem to do anything with the spin lines.

After experimenting a bit, I realized that if I sanded along the spin lines instead of against, it went a lot faster and quicker!

A quick spray with my blue paint, straight on the metal, this is the result after having to wait a full 4 minutes or so for the paint to dry.

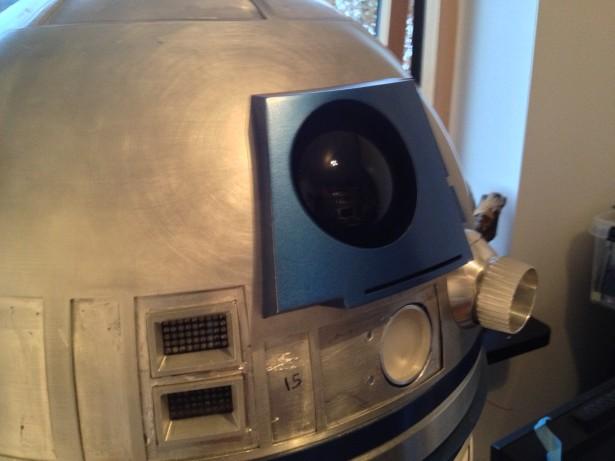
I also got around to finally paint my radar eye!

I actually painted it three times.. I painted it once, wasn’t happy with the masking, trued to sand off, and some paint peeled. I sanded off the entire radar eye, and painted again. Still an anomaly I did not like. This time around I sanded off just the front surface and gave it a new paint job. Looked great!

Next step was to mount all the blue panels.. and R2 looked a lot better again!

Since I had painted my second leg, I drilled up the ankle and inserted a metal tube in the pivot point and glued it in place with some E-6000.

I also decided to paint the screws to my battery boxes white, to make them more discrete.

This is the before image

And this is the after

From a little distance, it is nice and discrete!

I then spent a good few hours getting my arms mounted in my arm boxes, and my arm boxes mounted in the frame. It required a fair bit of carving, routing with my dremel, and finally go in with my metal cutter to cut off a big block of styrene inside the droid!

So… what does it look like at the moment? Well … feast your eyes on this!

Still to do:

  • Make end caps for second ankle cylinder
  • Wrap center ankle cylinders in aluminium tape
  • Make two ankle wedges
  • Mount Ankle Details
  • Mount Under Shoulder Details
  • Chamfer Main Foot strips
  • Weather Skirt
  • Weather Main legs
  • Double check new wiring

…. and done!

By |2016-12-06T00:00:49+01:00November 7th, 2012|R2-D2|Comments Off on Almost there… (stay on target)
Go to Top